Table Of Contents
Cutting the Roof Panel
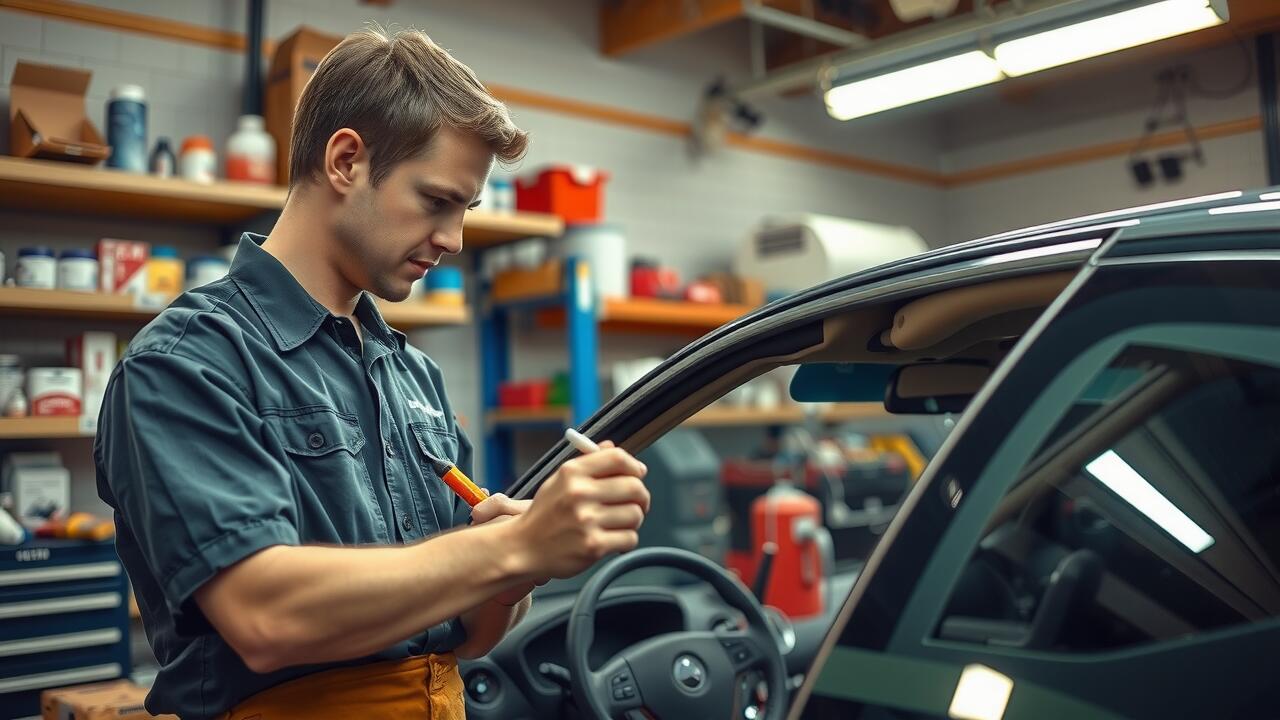
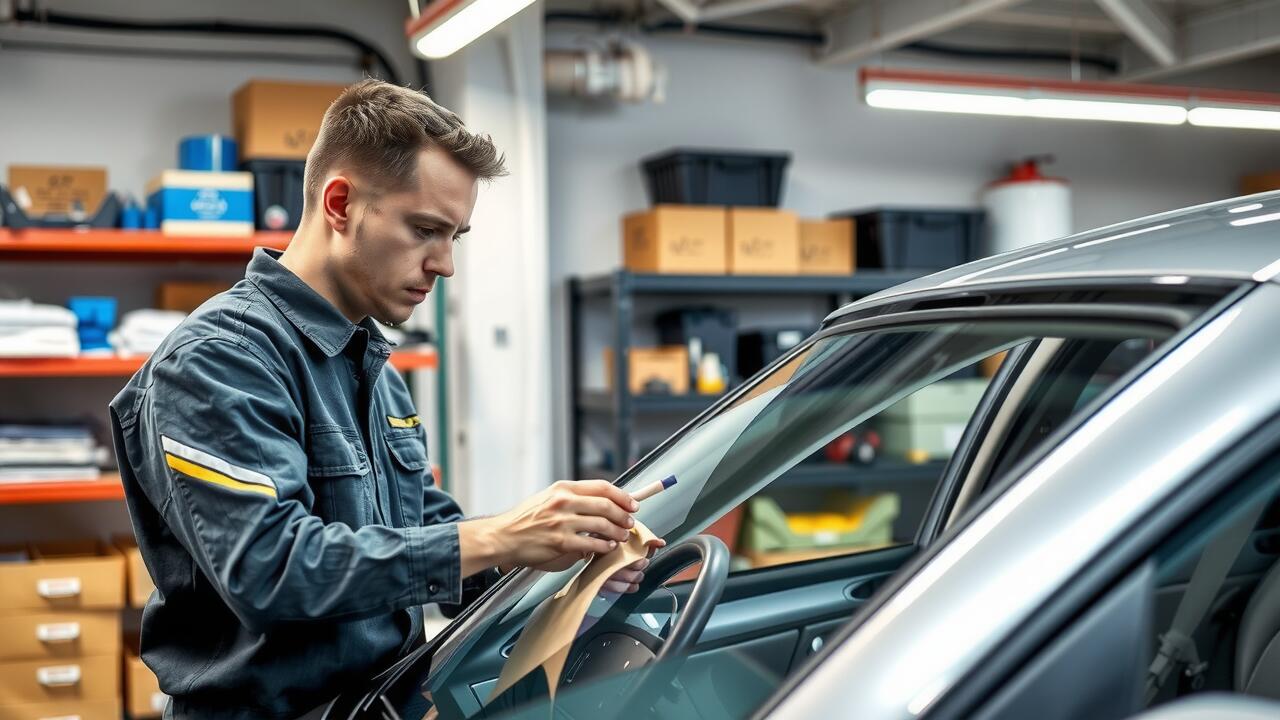
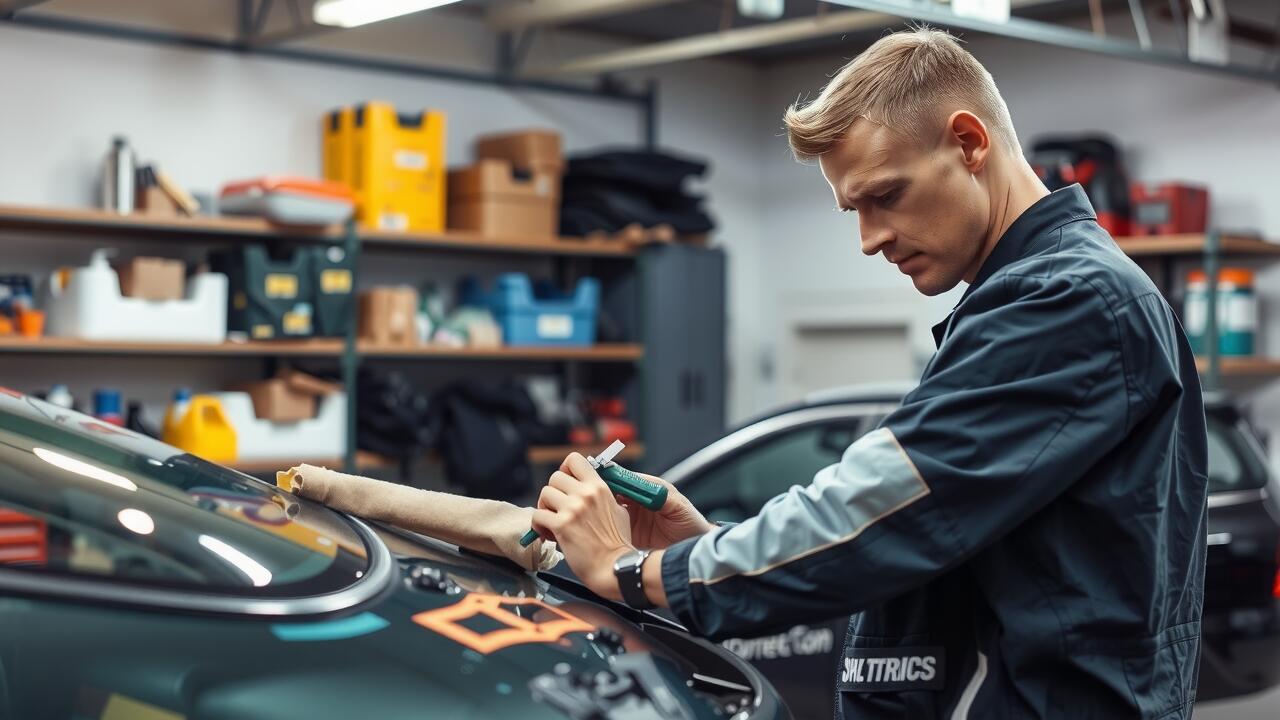
Cutting the roof panel is a crucial step in the sunroof installation process. Precise measurements are essential to ensure that the sunroof fits correctly and functions as intended. First, you'll want to measure and mark the area where the sunroof will be located. Using a high-quality jigsaw or a cutting tool designed for metal or fibreglass can help achieve a clean cut, preventing any damage to the surrounding roof structure. Consider using masking tape along the marked lines to help minimise any paint chipping during the cutting process.
Once the area is marked and protected, carefully begin cutting along the lines. Go slowly to maintain control and accuracy. After you’ve cut through the roof panel, remove the jagged edges with a file or sandpaper to create a smooth surface. This preparation is critical for the installation of the sunroof frame, ensuring that it sits securely without gaps or misalignment. Properly executed cutting will also aid in any future sunroof replacement, permitting easier access to the area if needed.
Techniques for Cutting with Precision
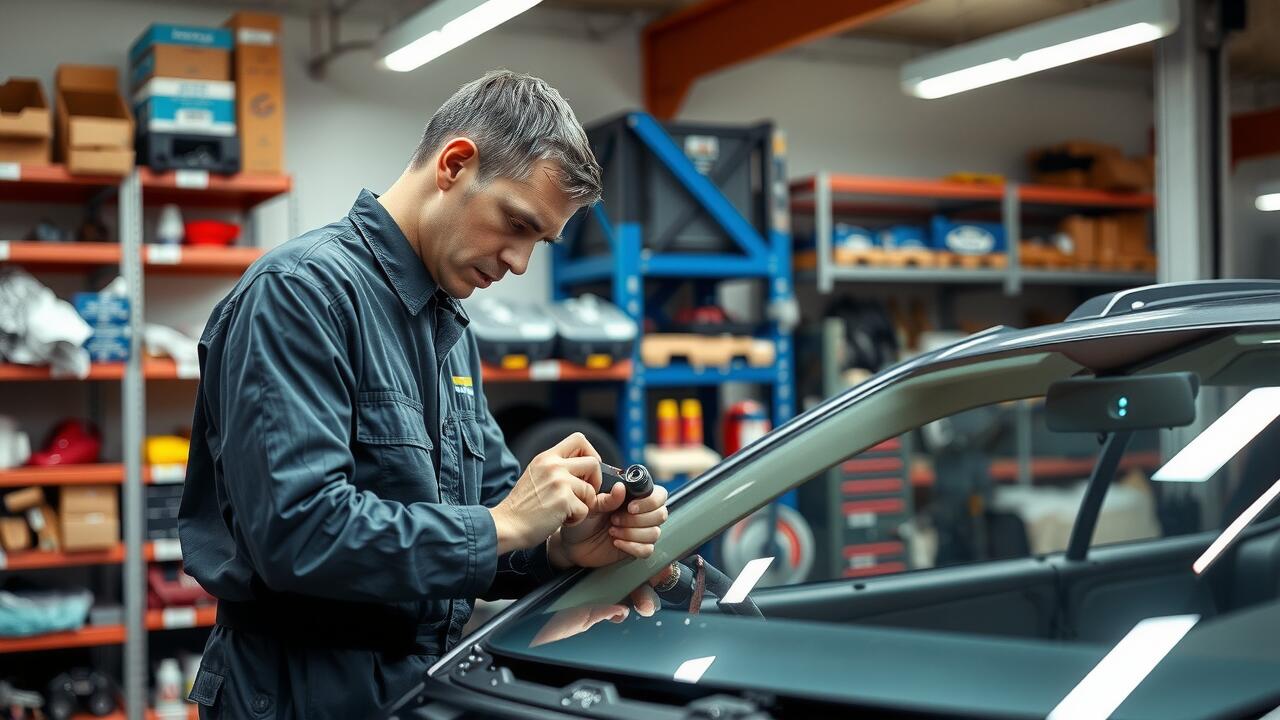
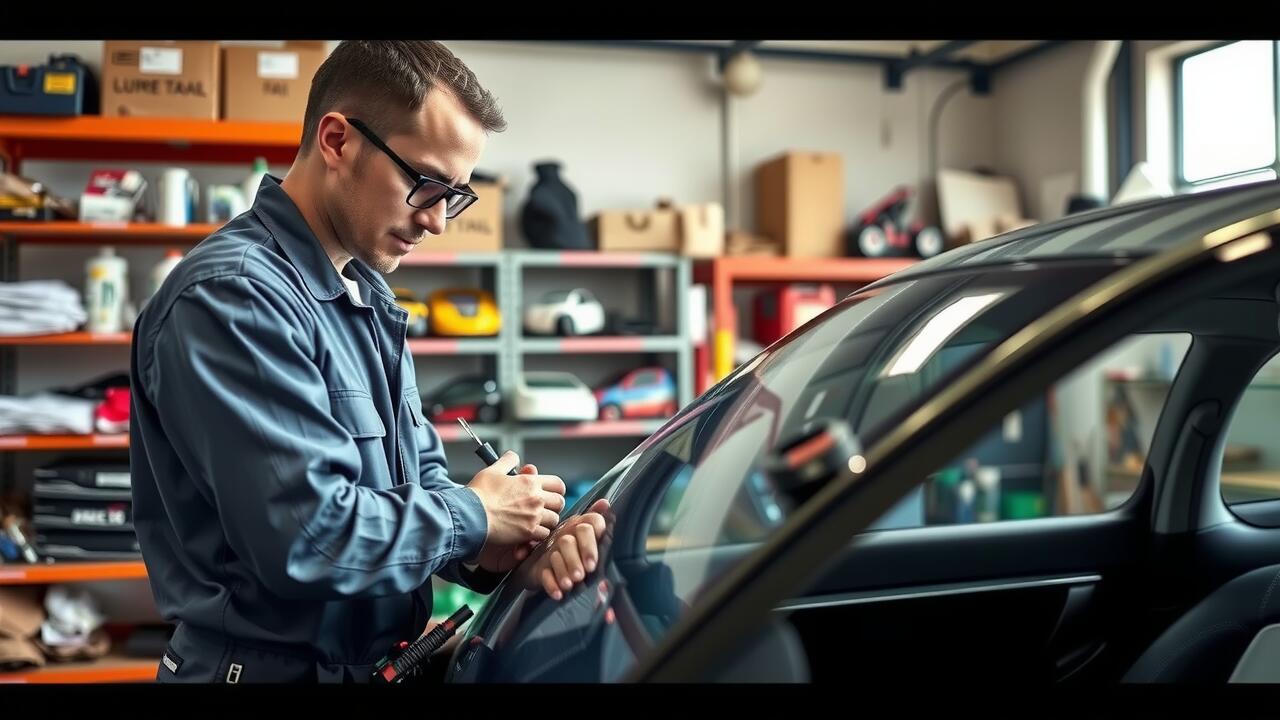
Achieving precision when cutting the roof panel for a sunroof installation is critical. Using a marker, outline the dimensions for the sunroof replacement, ensuring that the measurements are accurate and centralised. Employ a fine-toothed jigsaw or a similar cutting tool designed for automotive applications. This method helps maintain a clean edge, reducing the risk of damaging surrounding areas. It’s also advisable to wear protective gear, including safety glasses and gloves, to safeguard against potential hazards during the process.
Another effective technique involves utilising a template. Create a cardboard or plywood template that matches the dimensions of the sunroof replacement. This not only helps in marking the cutting area but also serves as a guide to prevent mistakes. When applying the template, double-check the alignment before proceeding with the cutting. Taking the time to ensure a precise cut will ultimately contribute to a better fit for the sunroof and a more professional appearance once installation is complete.
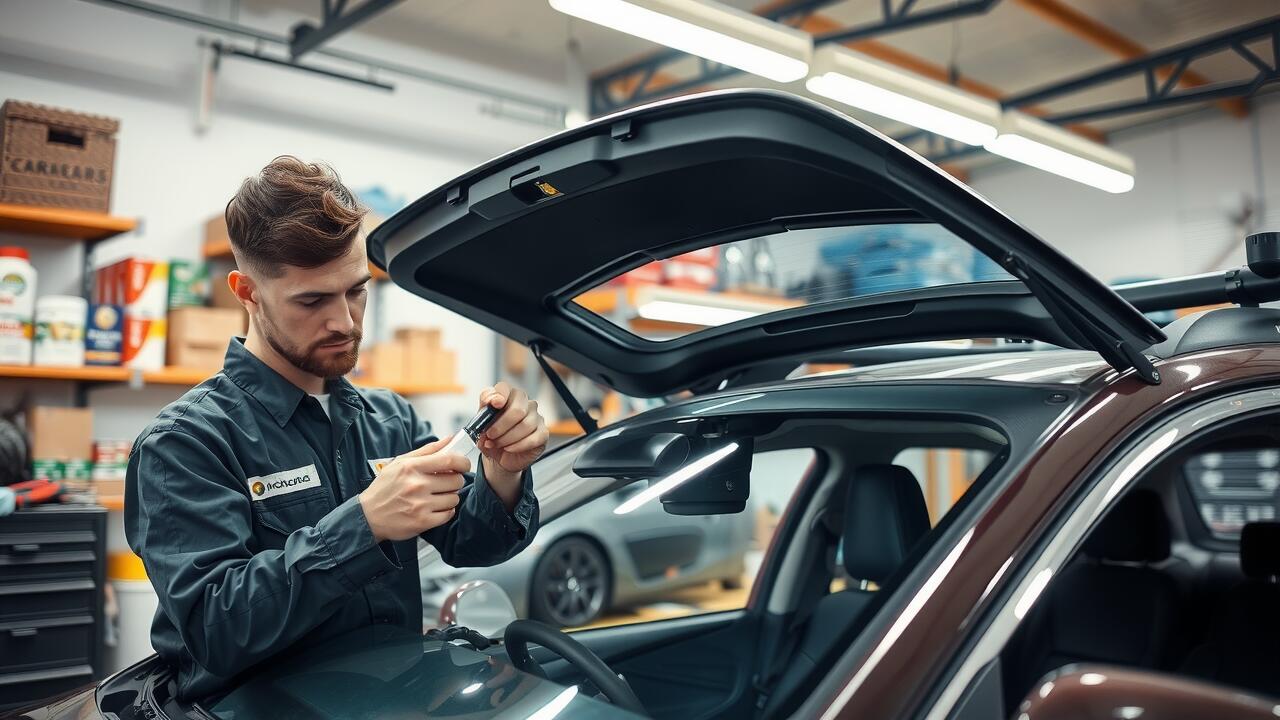
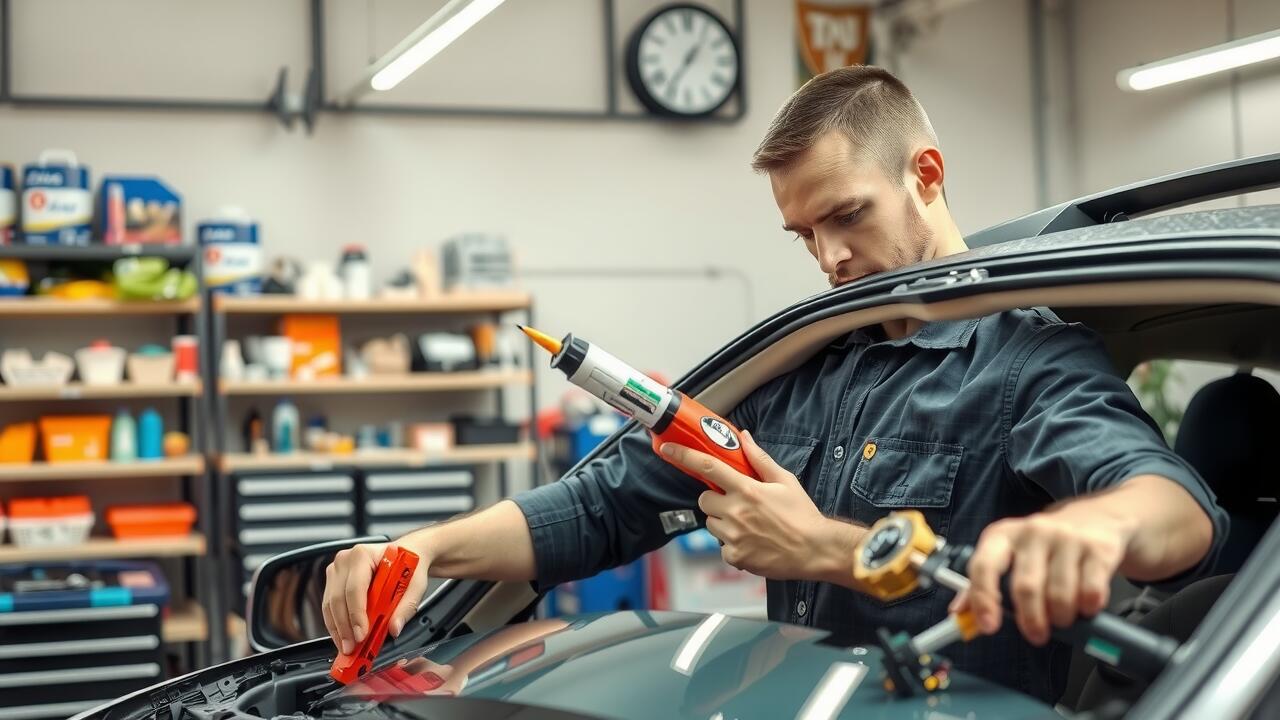
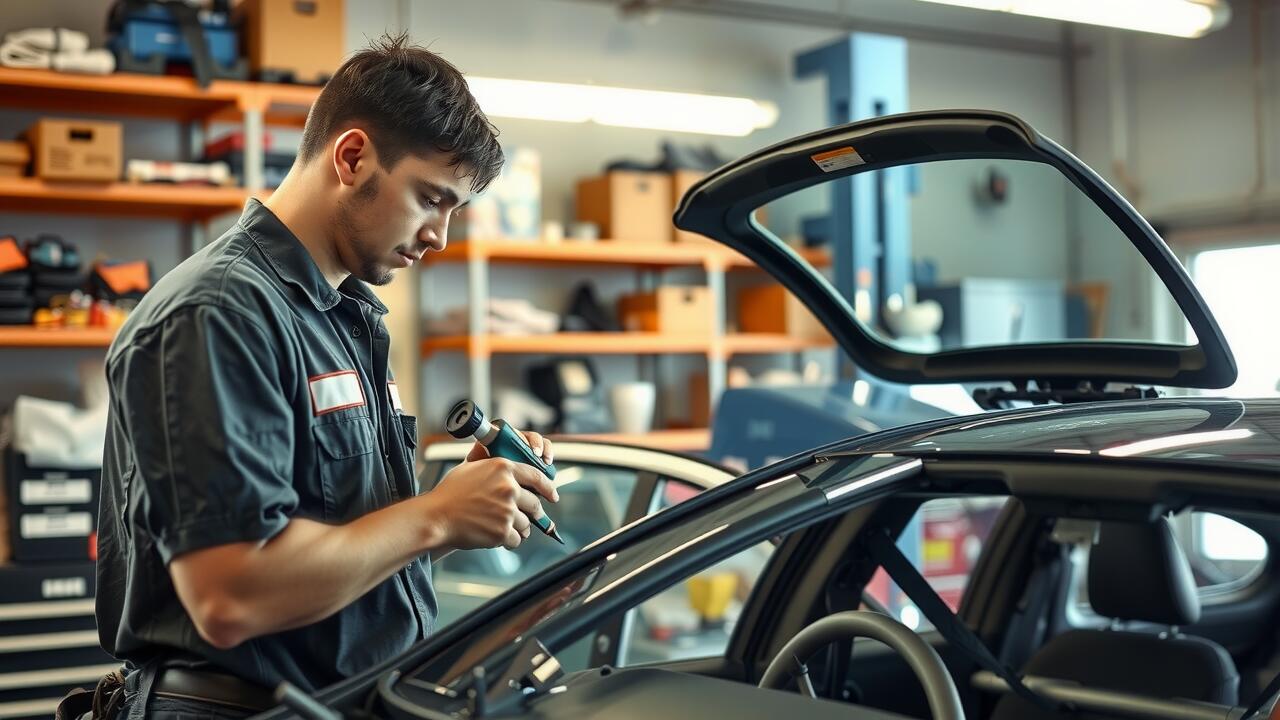
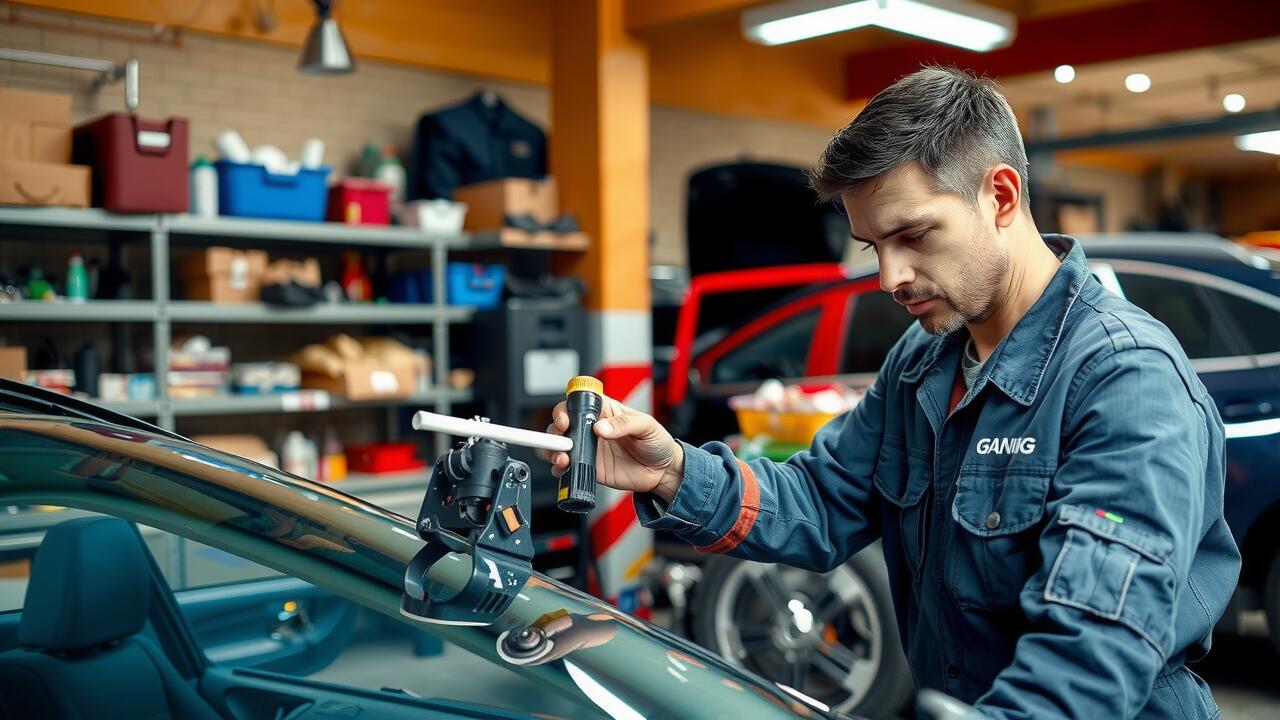
Installing the Sunroof Frame
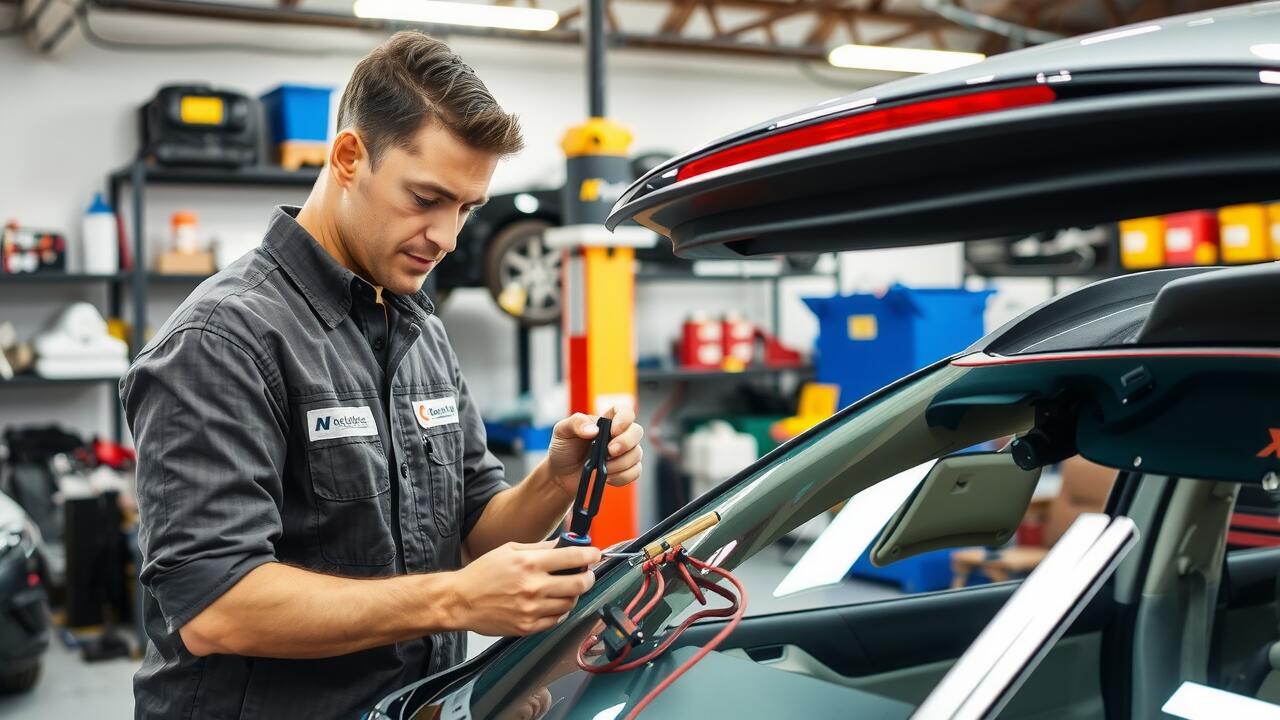
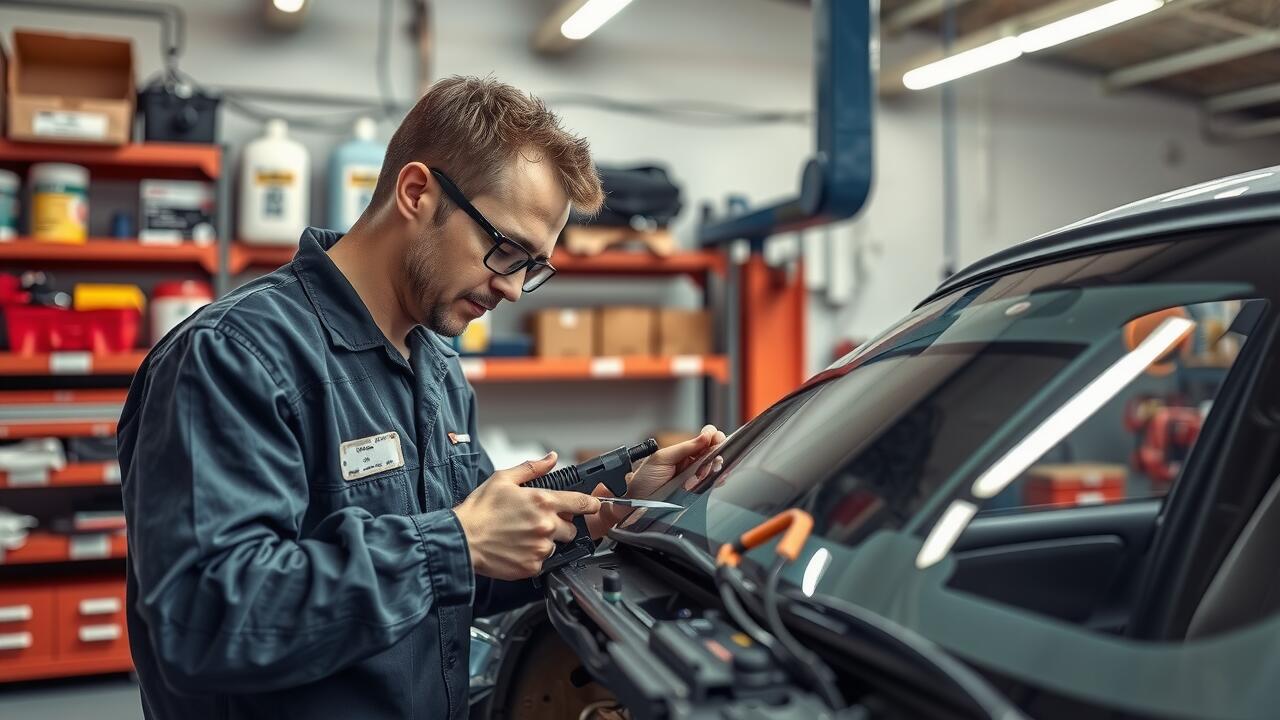
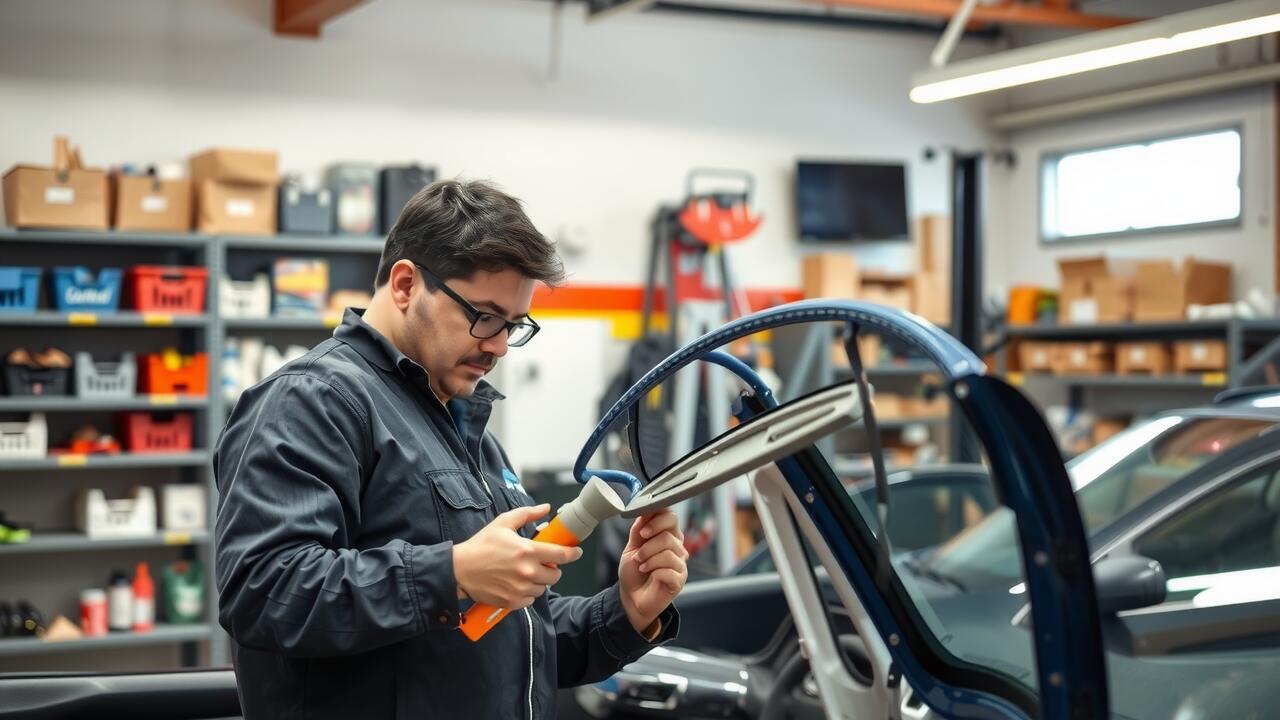
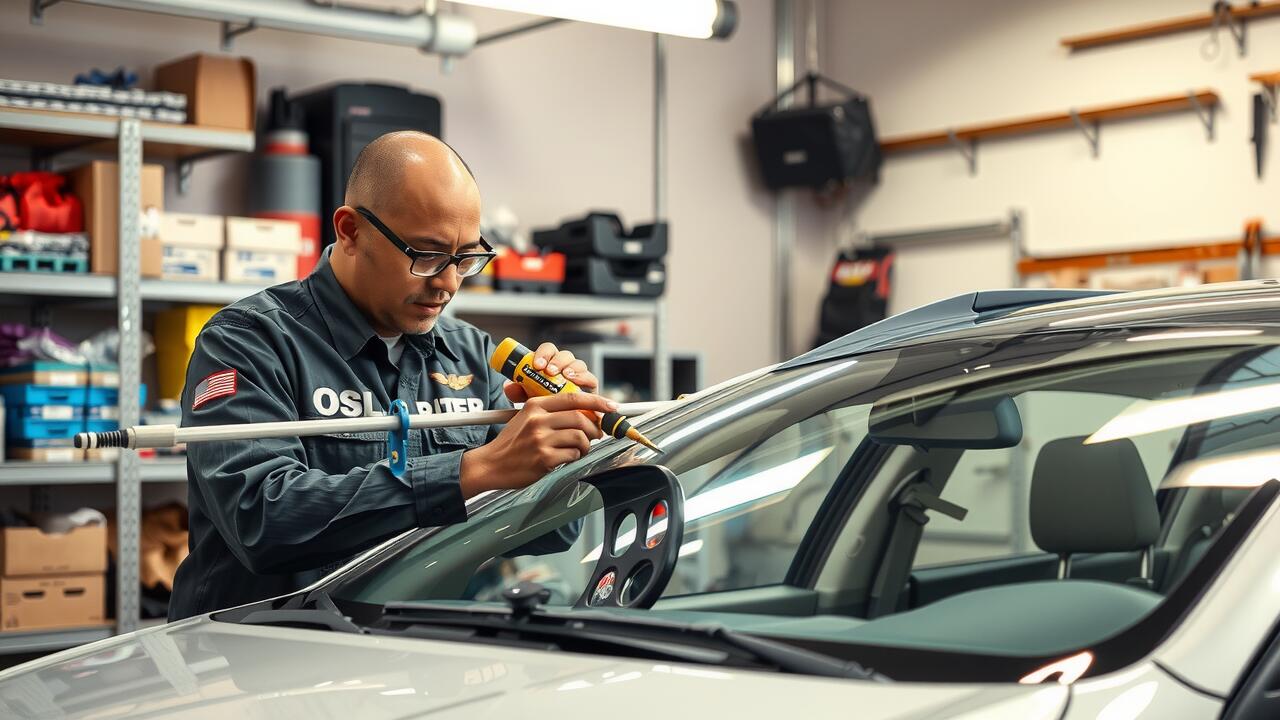
Once you have successfully cut the roof panel, it’s time to install the sunroof frame. Start by positioning the frame into the newly created opening. Ensure that it sits evenly and flush against the roof to prevent any misalignment. It is important to check that all edges are even and that the frame does not obstruct any vital components of the vehicle. Making adjustments at this stage will save headaches later.
Securing the frame is crucial for overall integrity. Use self-tapping screws to anchor the frame in place, sealing the sides adequately to prevent water ingress. During this stage, inspecting the fit and alignment frequently will help maintain precision throughout the process. If you are considering a sunroof replacement, ensuring a strong attachment will enhance both functionality and aesthetics of your vehicle's new feature.
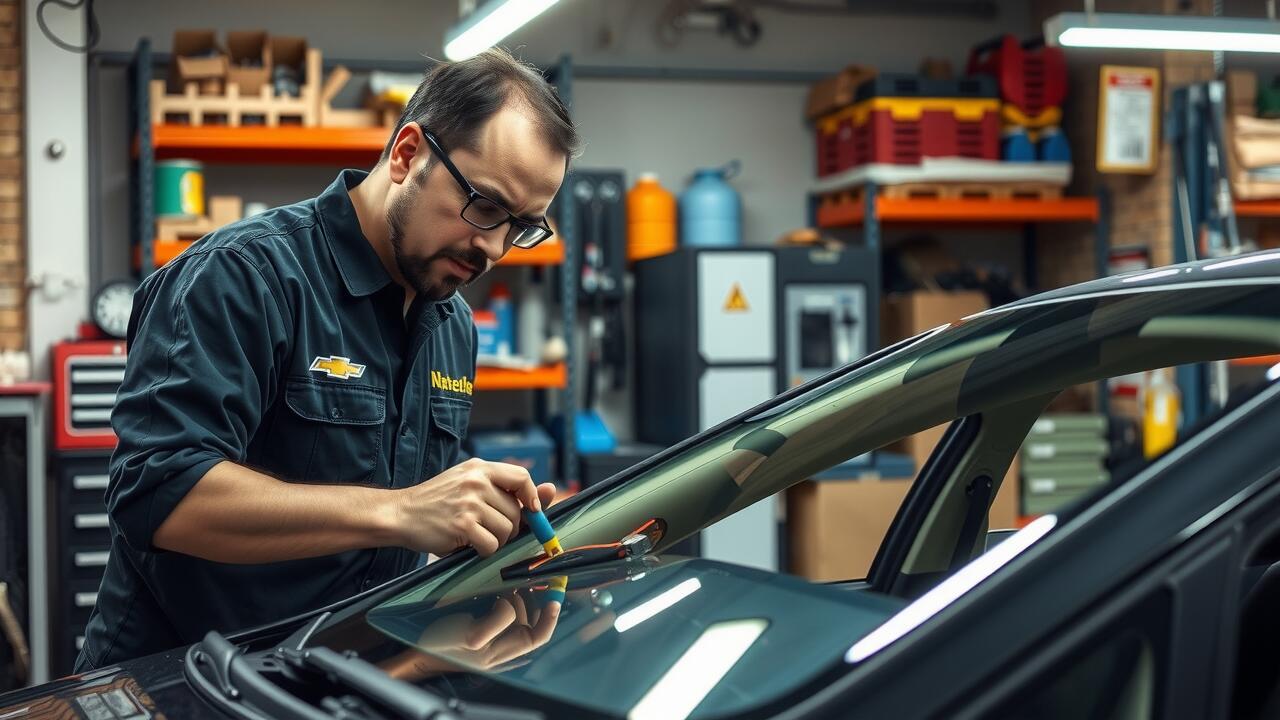
Step-by-Step Guide to Frame Installation
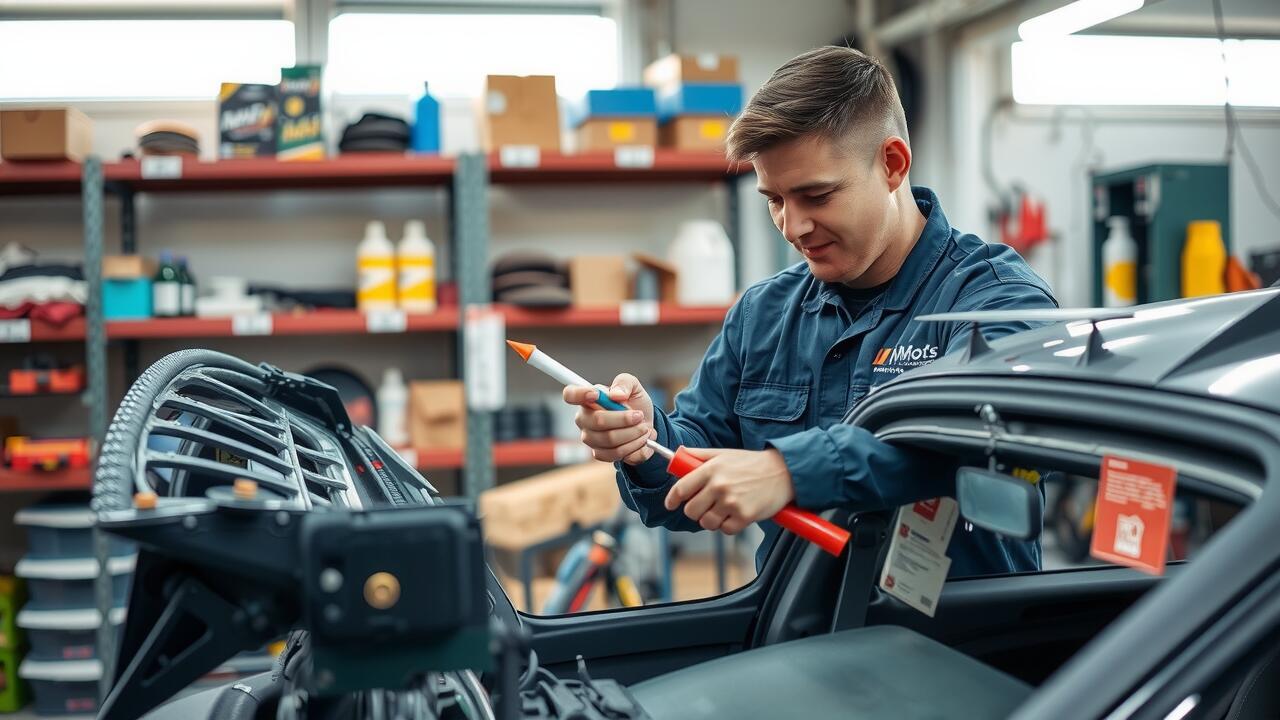
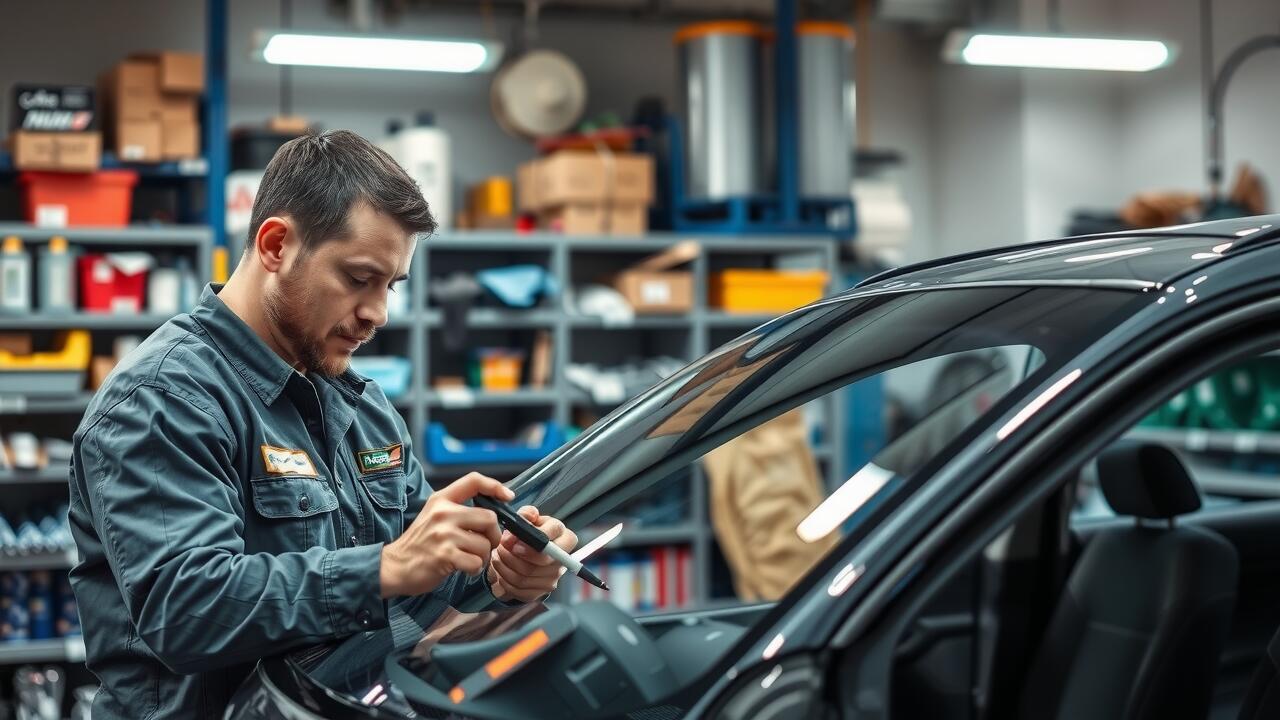
Begin the installation by positioning the sunroof frame over the cutout in the roof. Ensure that it aligns perfectly with the edges to avoid any misalignment during the sealing process. Use clamps to hold the frame in place temporarily. Once secured, take a moment to check the alignment again before proceeding to attach it permanently.
Next, drill pilot holes into the roof structure through the mounting points of the sunroof frame. Be cautious not to damage the surrounding area. After drilling, insert screws into each pilot hole, ensuring they are tightened securely without over-torquing, which could lead to material damage. This process is crucial for a successful sunroof replacement, as a well-installed frame will significantly reduce the chances of leaks and structural issues over time.
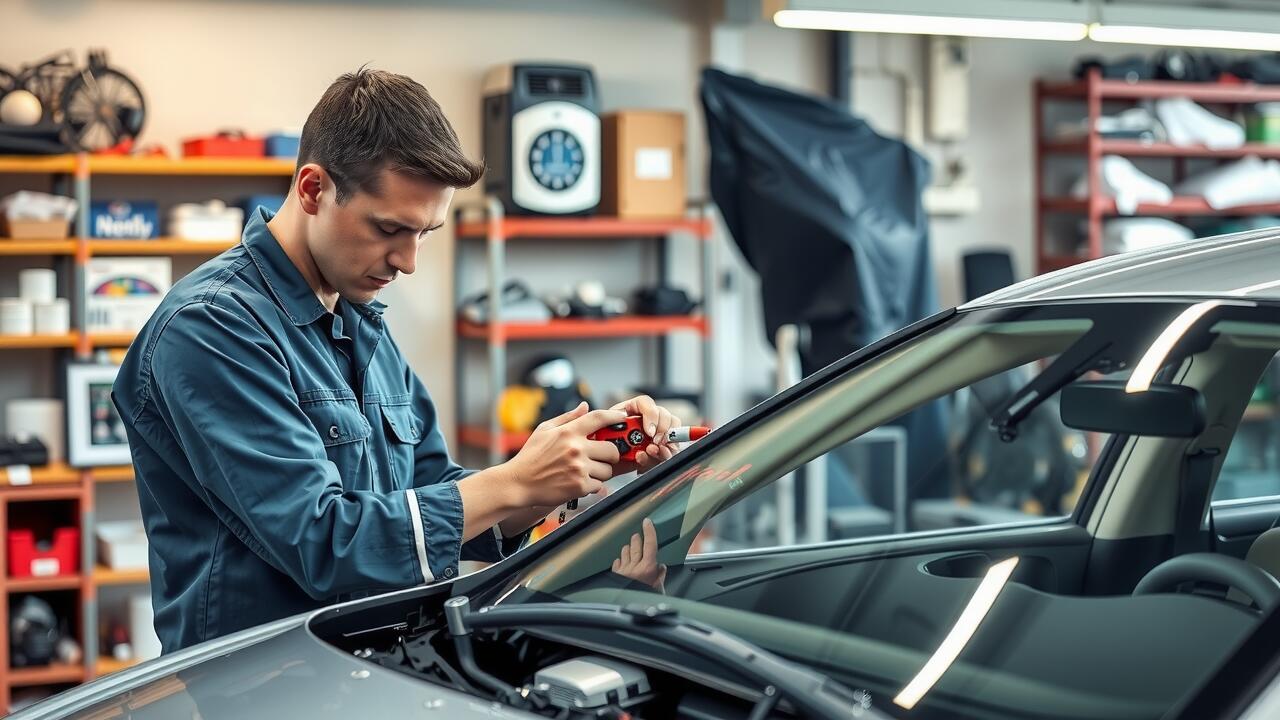
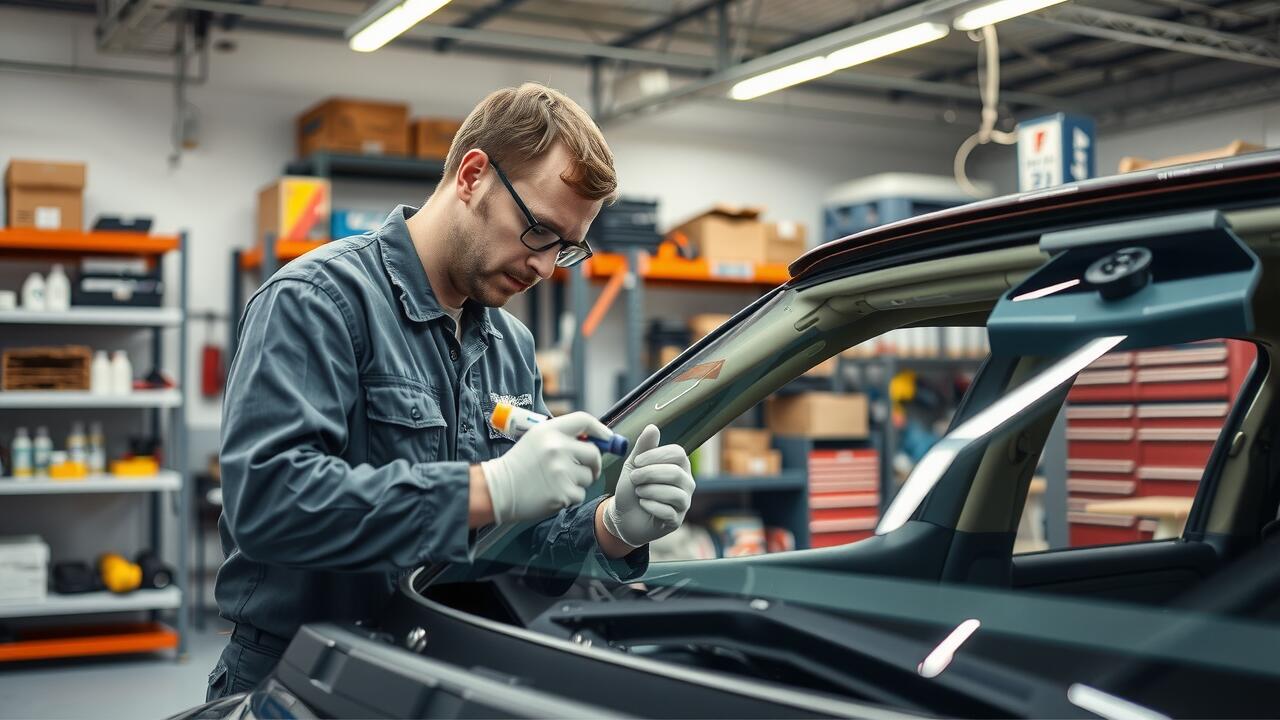
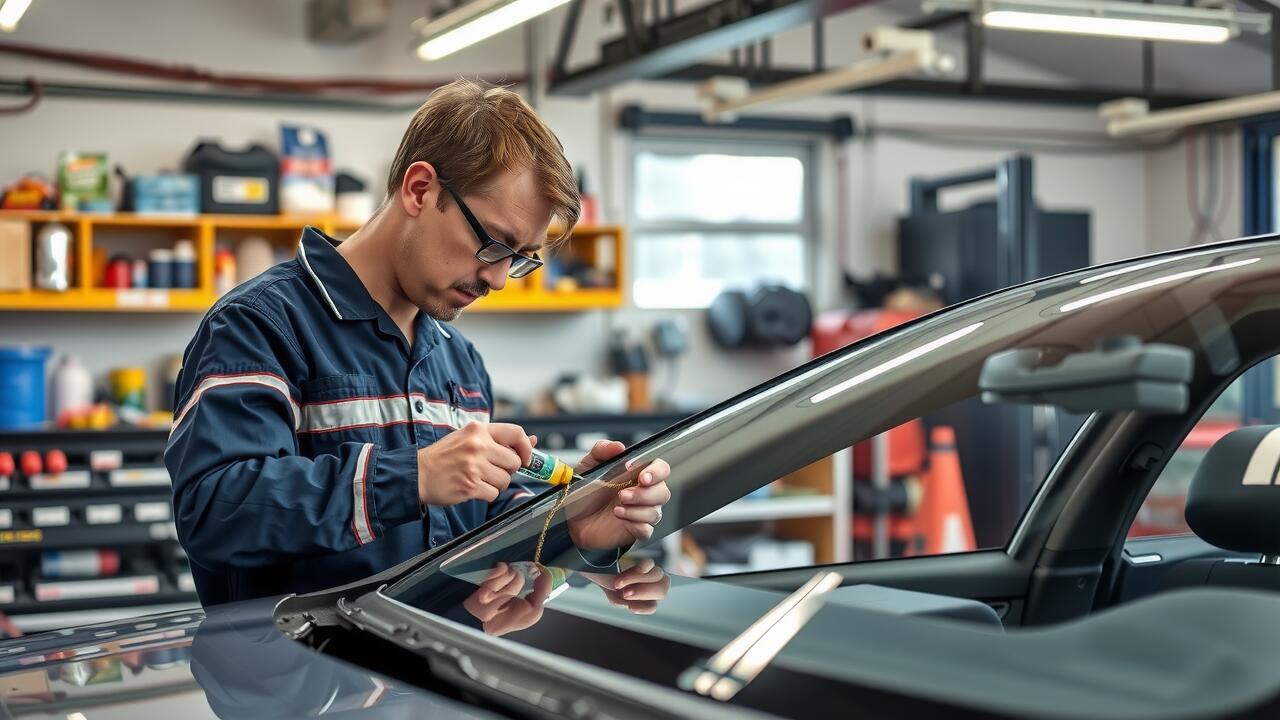
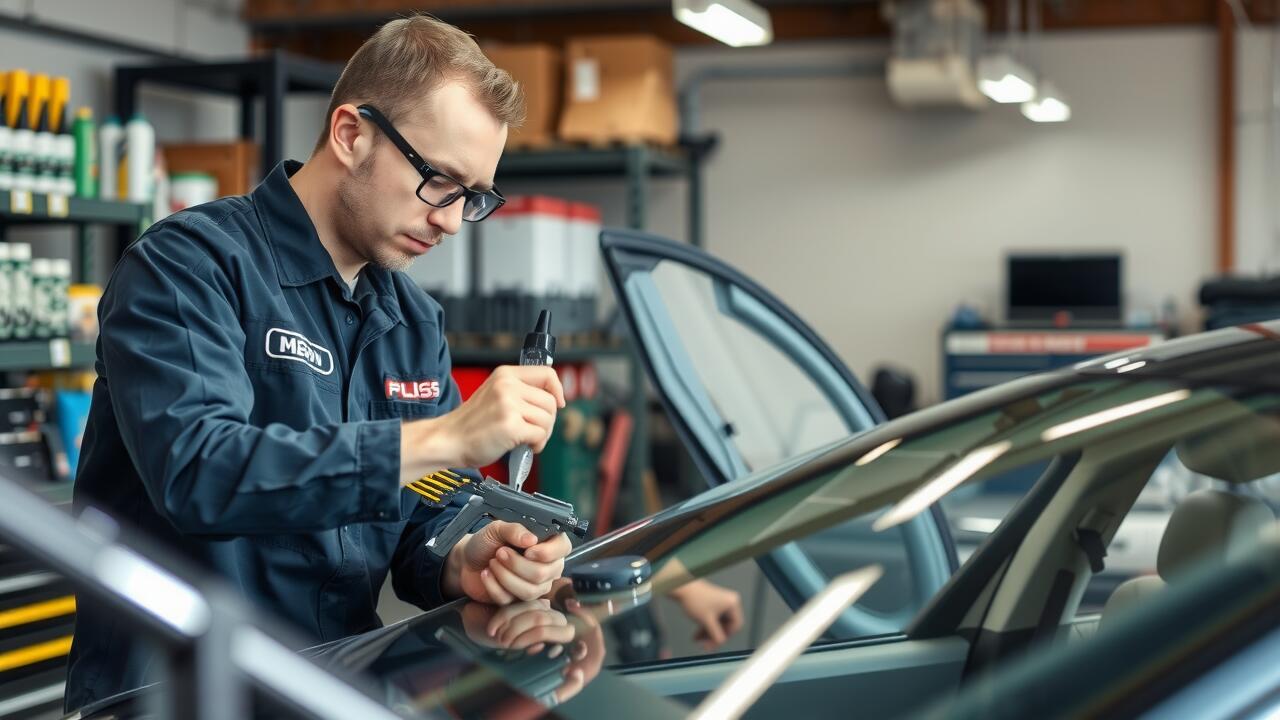
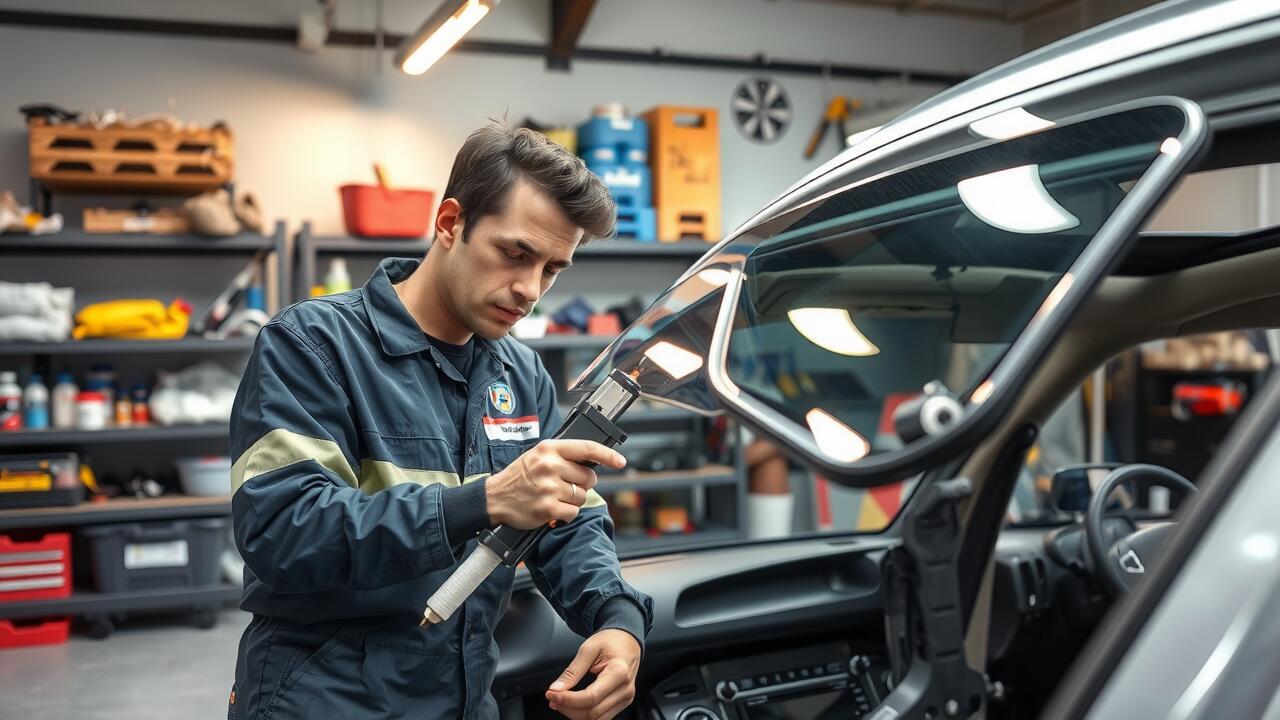
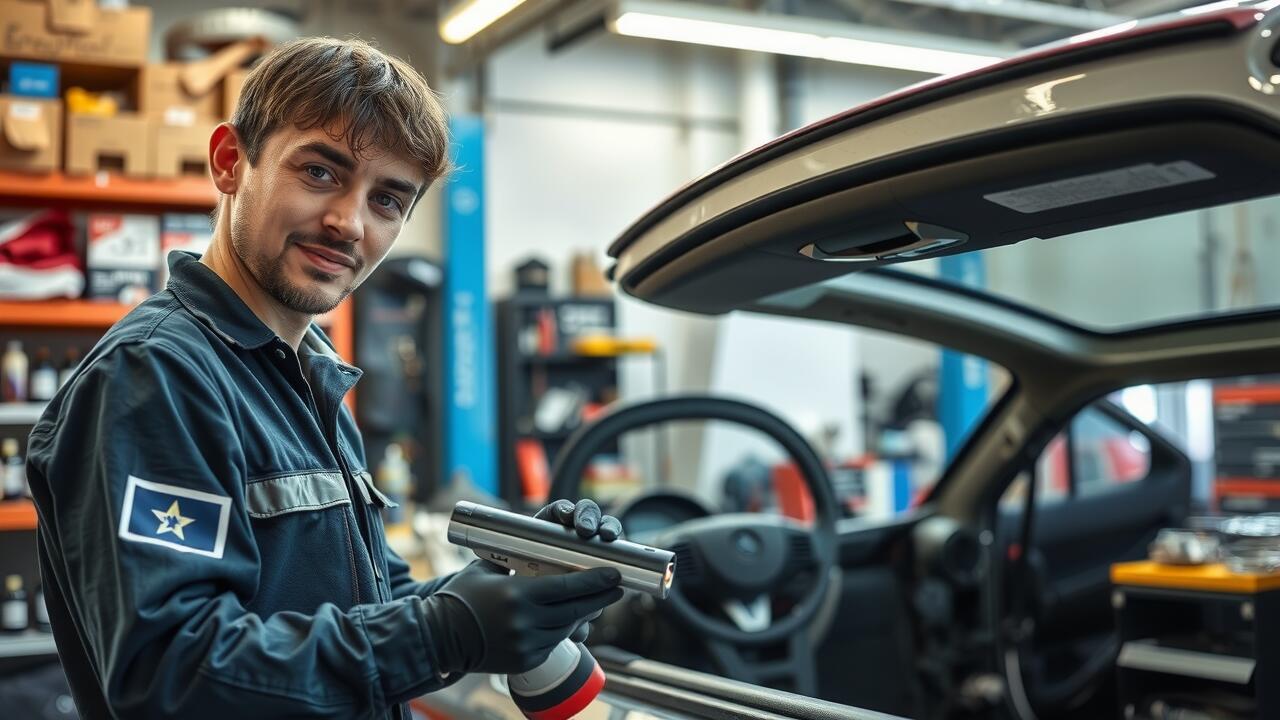
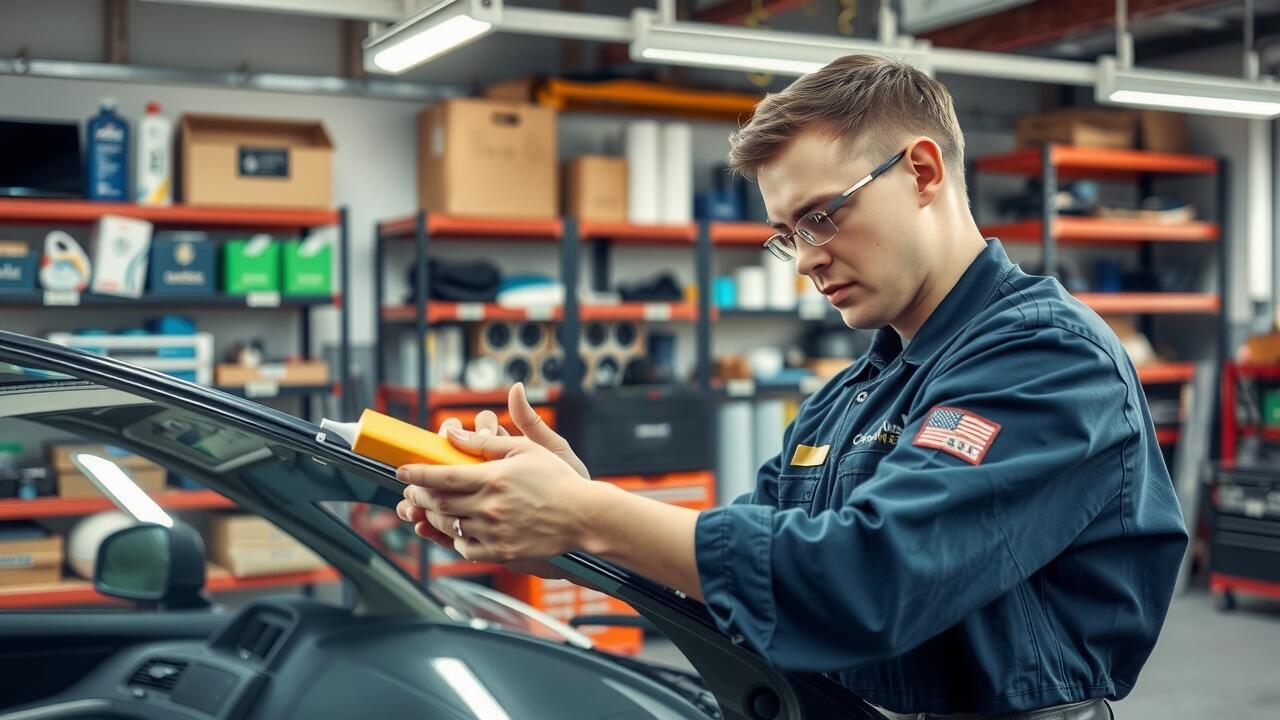
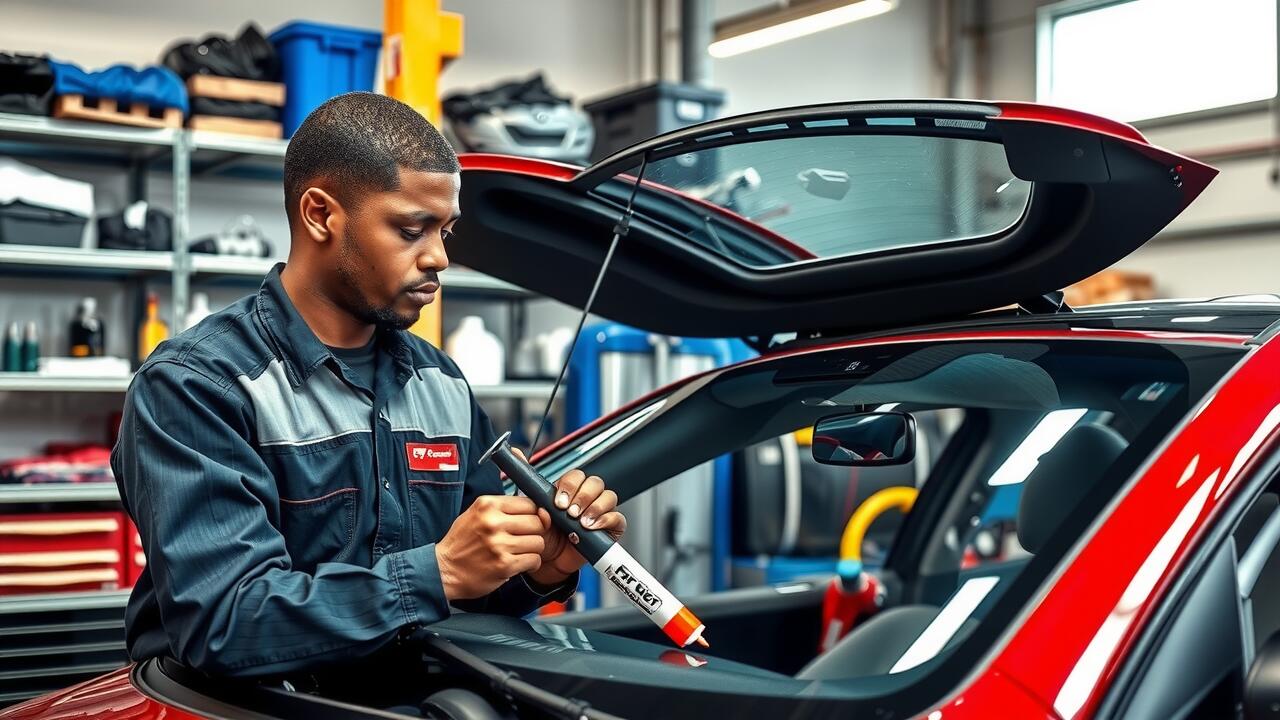
Sealing the Sunroof
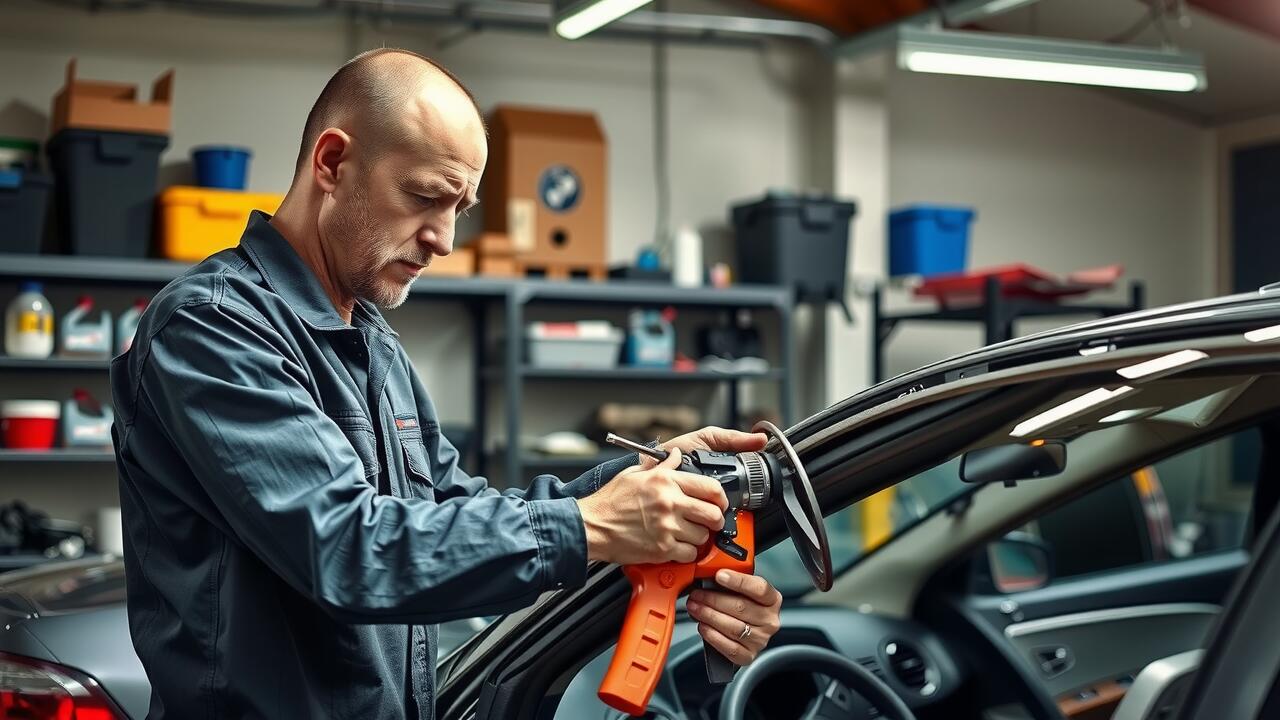
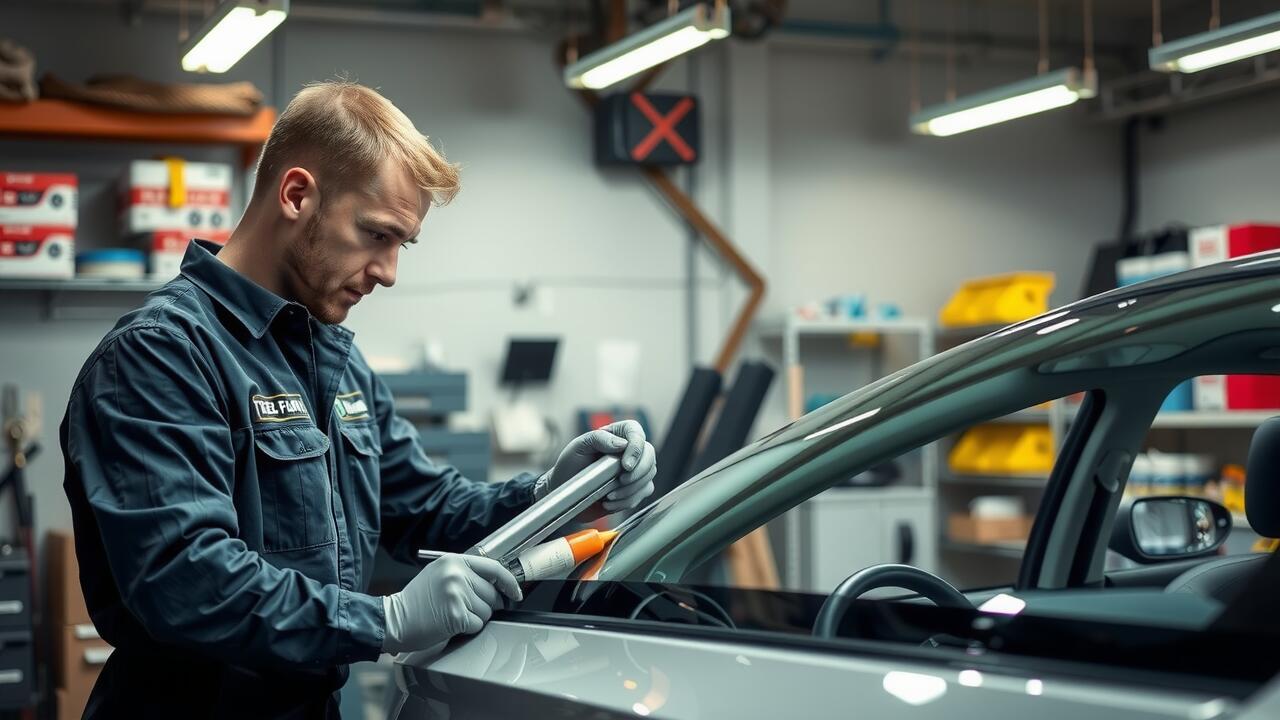
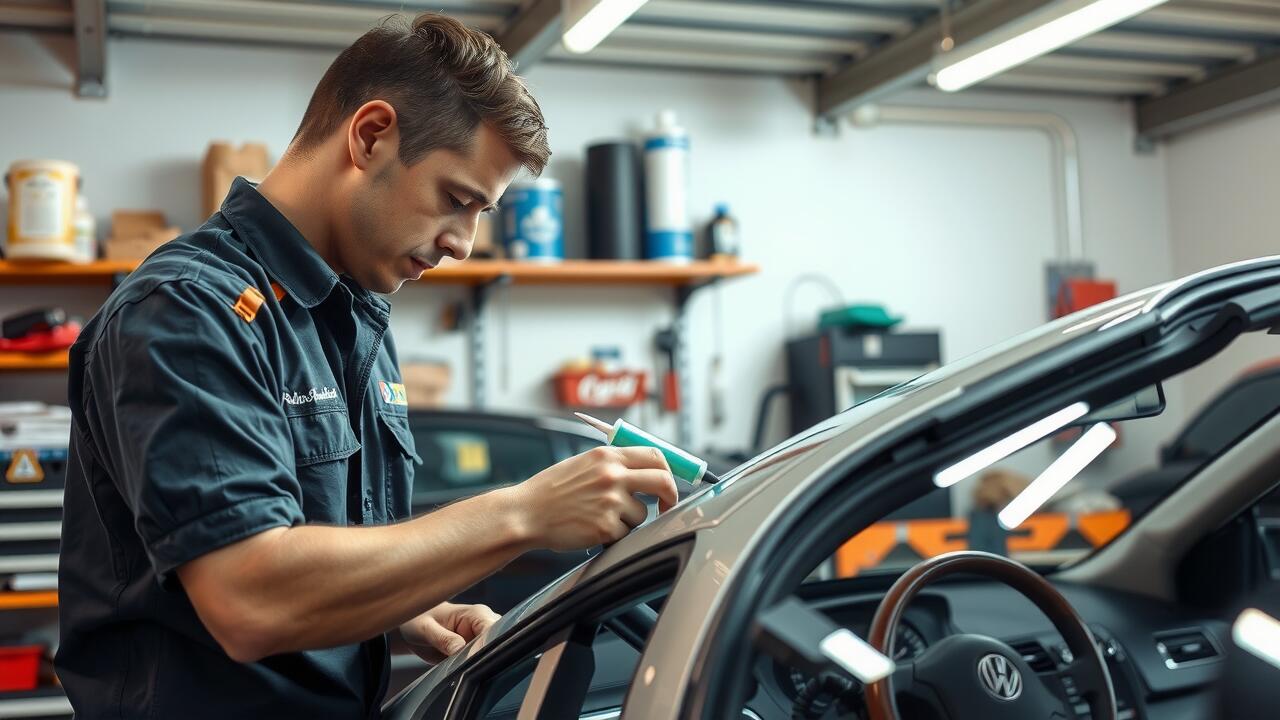
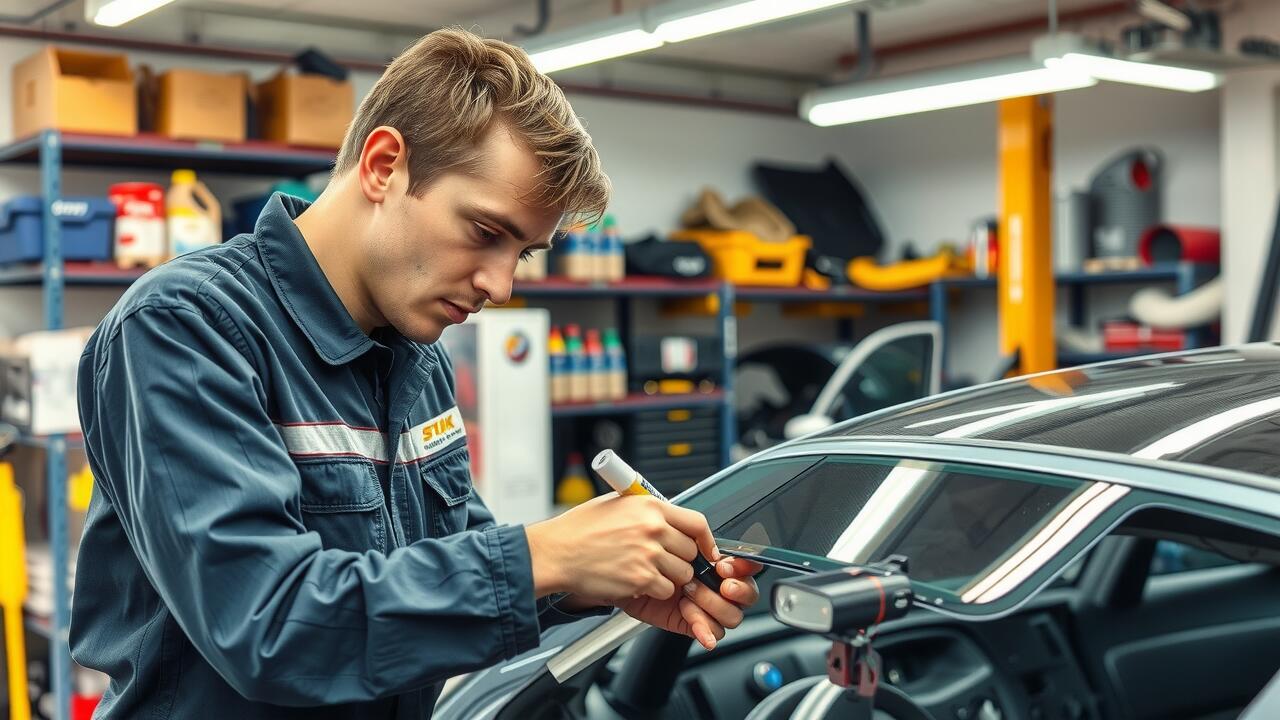
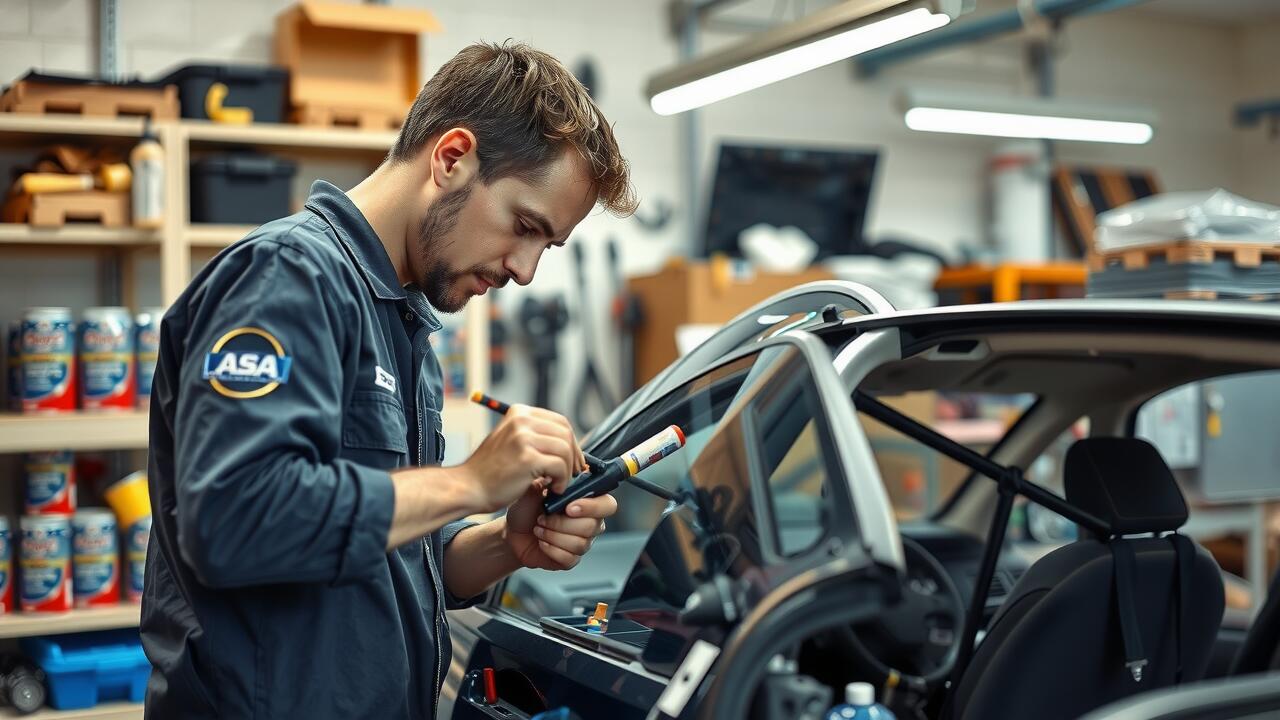
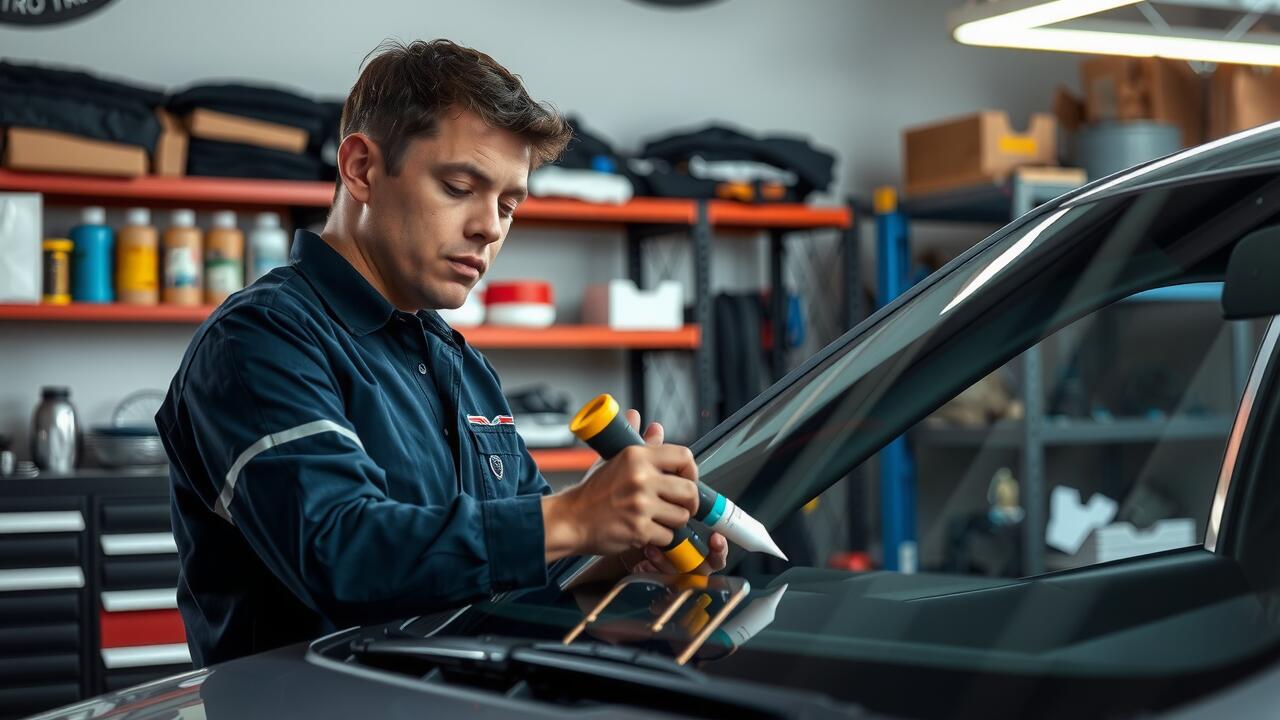
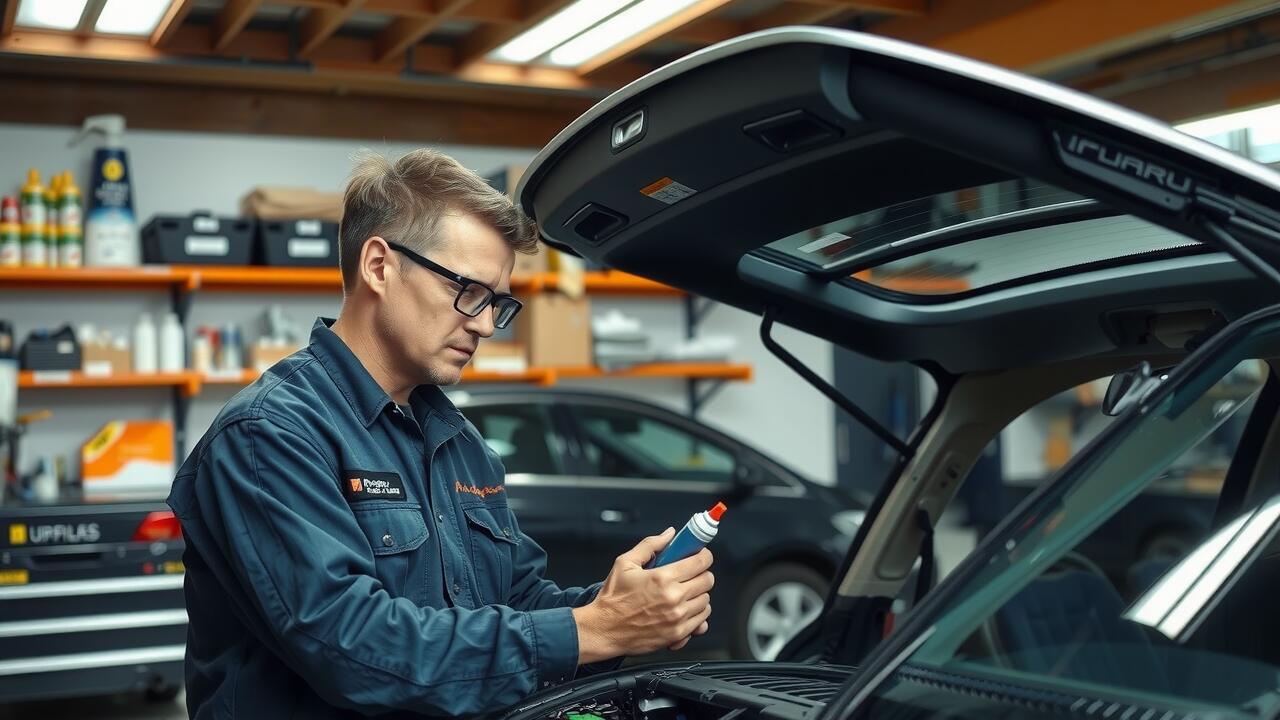
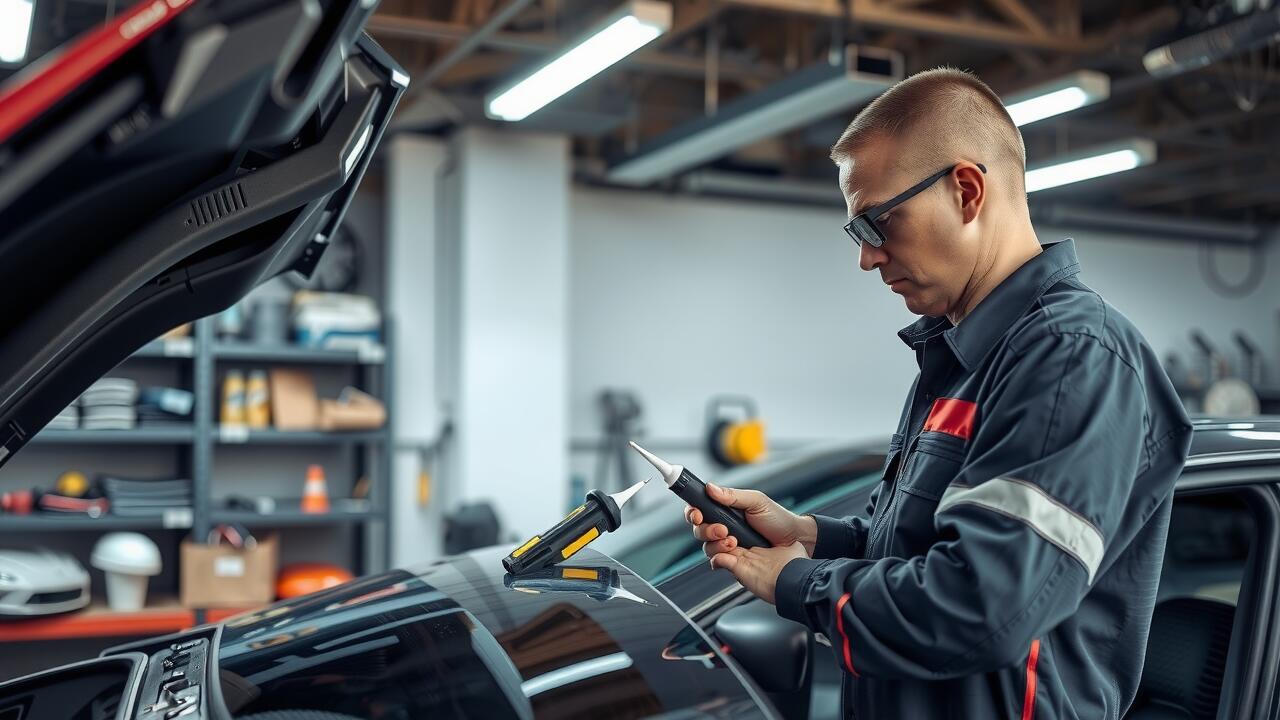
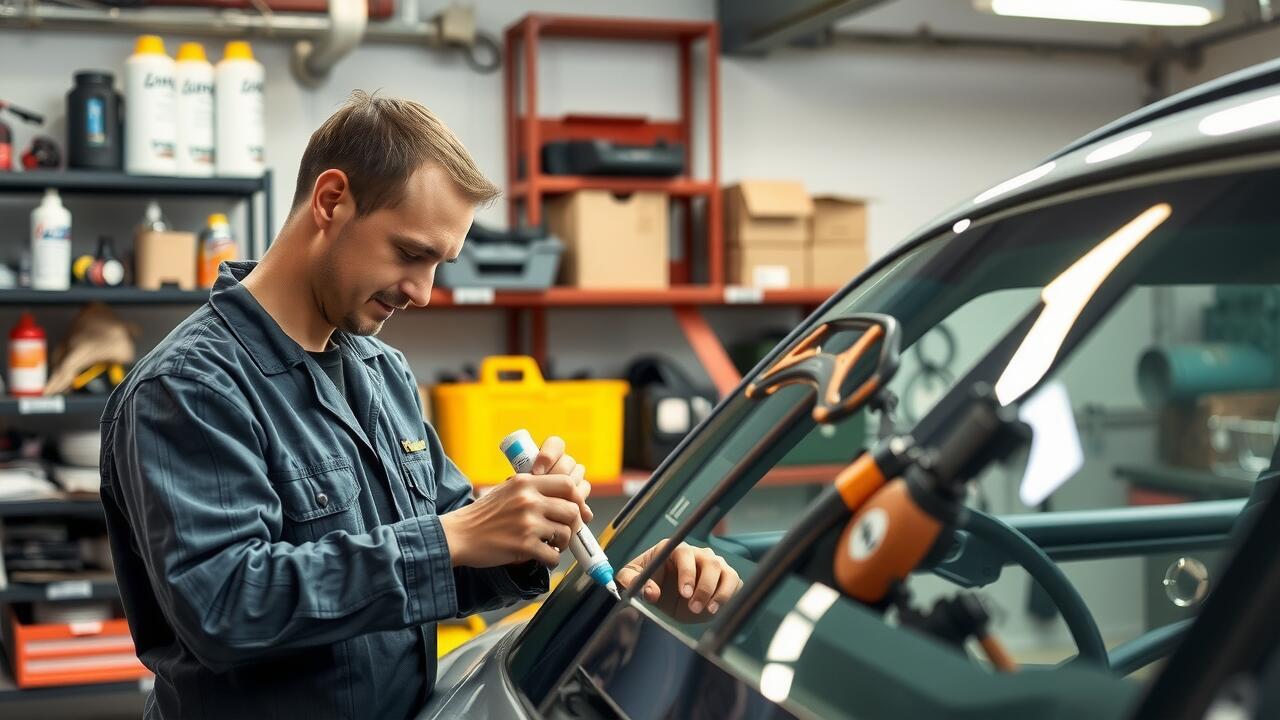
To ensure a leak-proof installation, proper sealing is crucial. An effective seal prevents water from entering the vehicle, which can lead to damage and mould. Start by selecting a high-quality automotive sealant specifically designed for sunroof applications. Apply the sealant evenly along the edges of the sunroof frame before securing it in place. Take care not to over-apply, as excess sealant can squeeze out during the installation process, affecting aesthetics and functionality.
After the sunroof frame is installed, it's important to test the seal. This can be done by using a hose to simulate rain conditions, allowing water to flow over the area while checking for leaks inside the vehicle. In cases where leaks are detected, you may need to remove the frame and reapply the sealant. Adequate attention to the sealing process can prevent the need for a future sunroof replacement, ultimately saving time and ensuring your vehicle remains dry and comfortable.
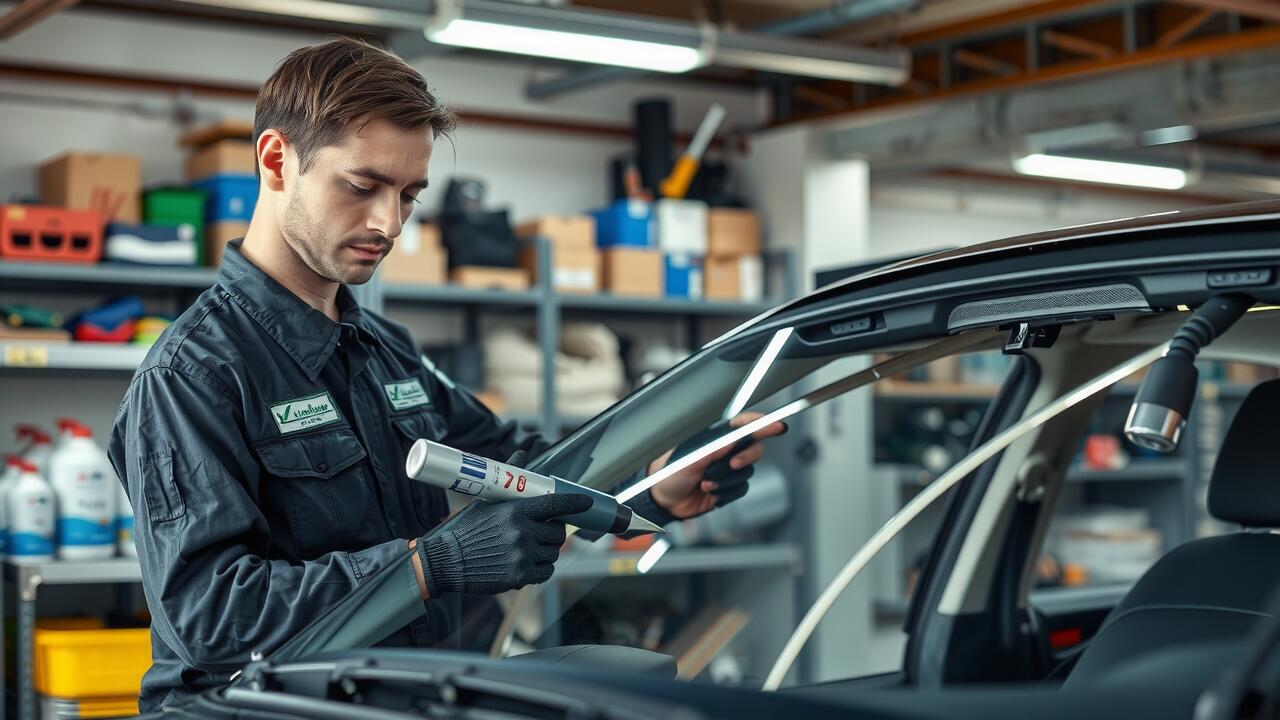
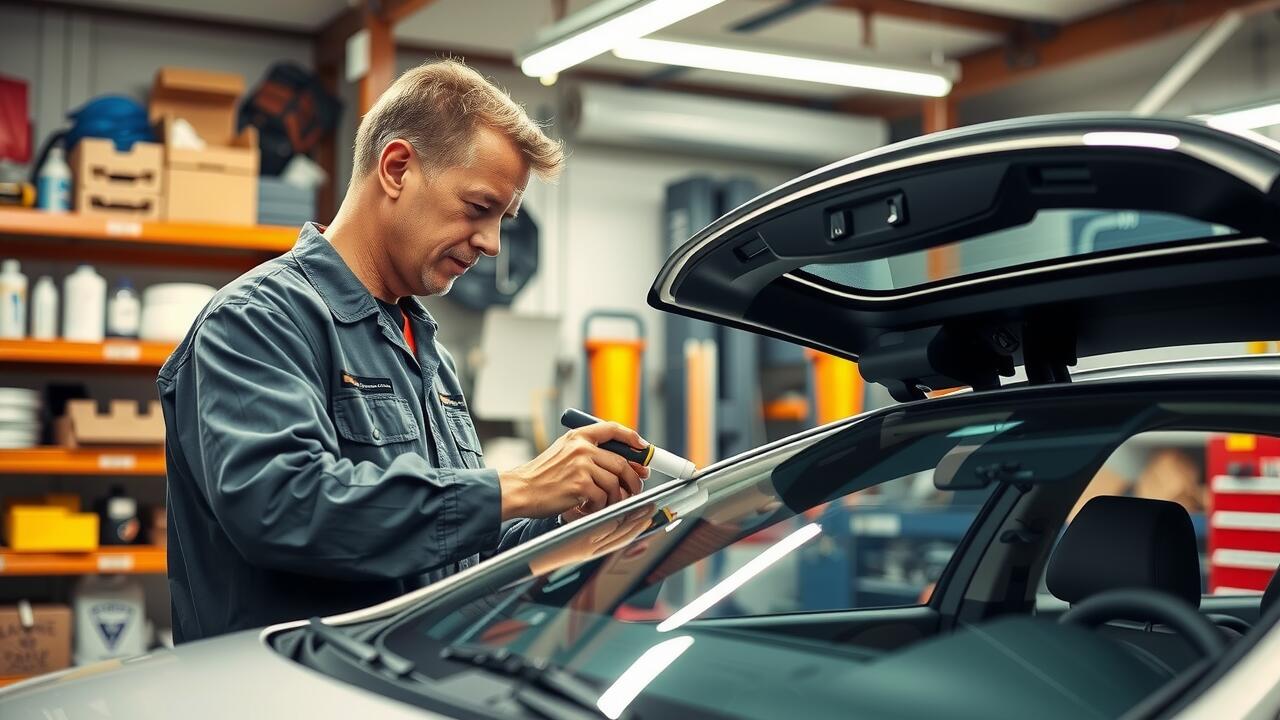
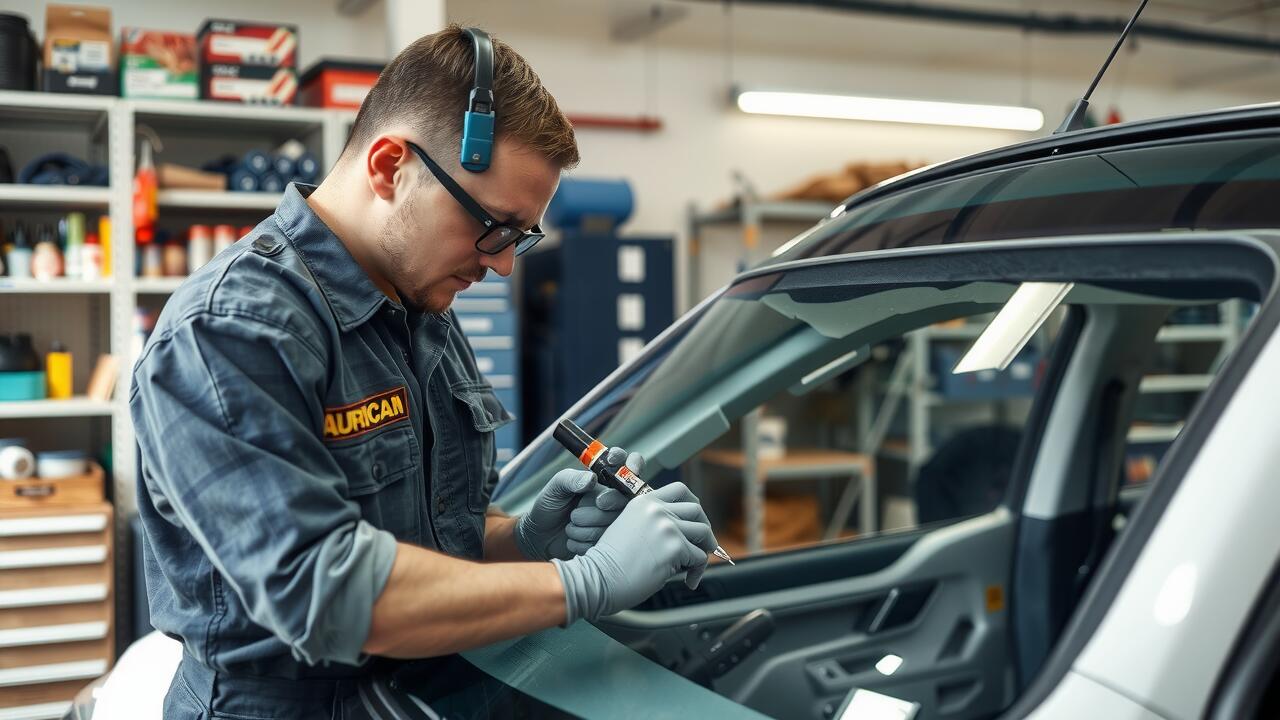
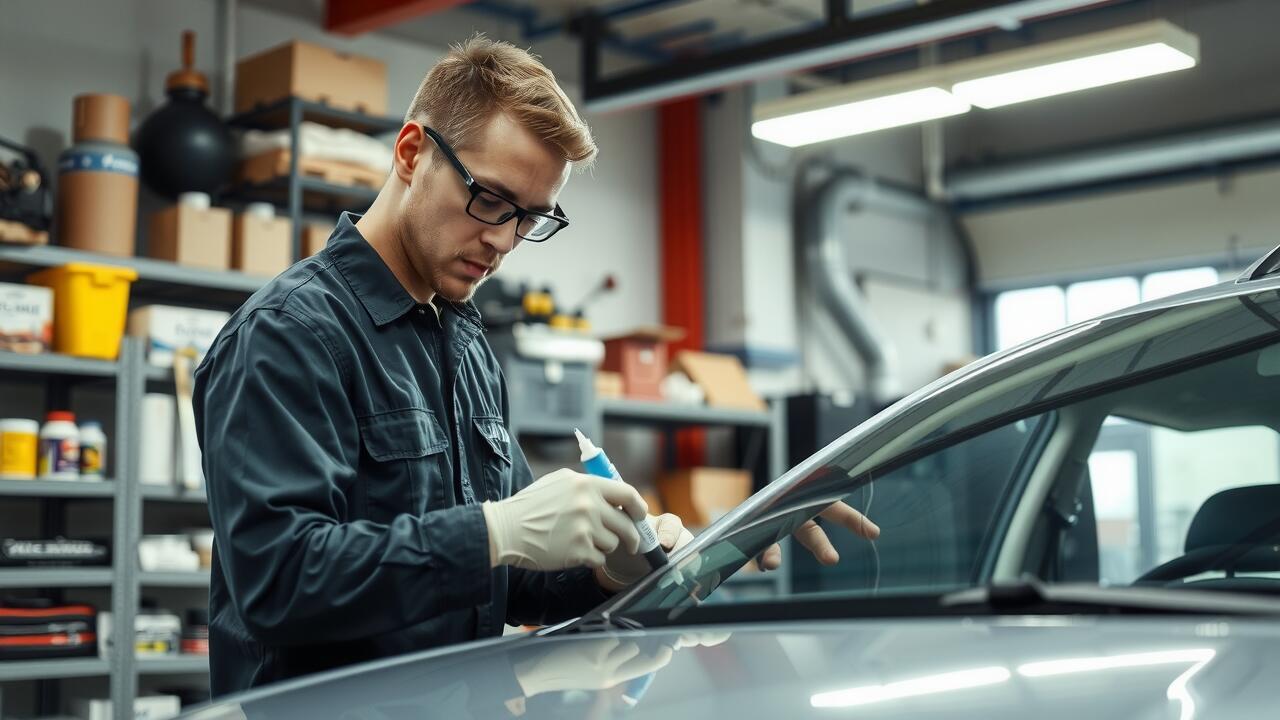
Ensuring Leak-Proof Installation
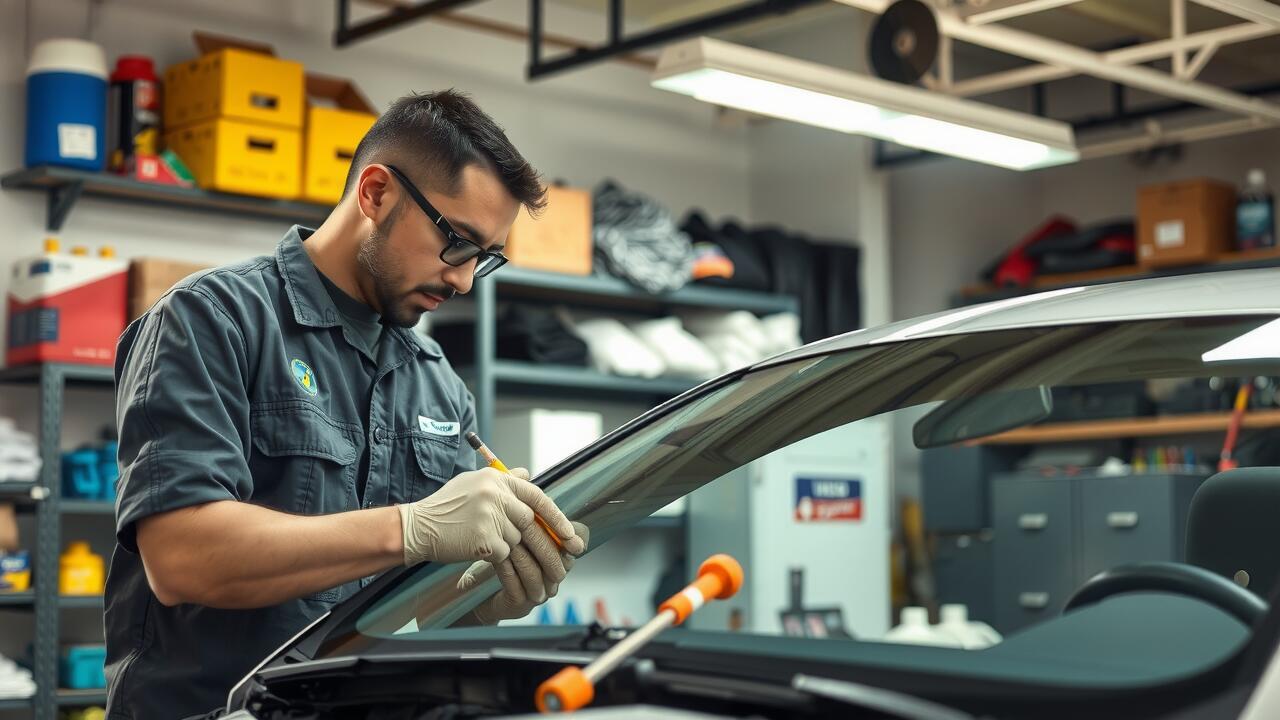
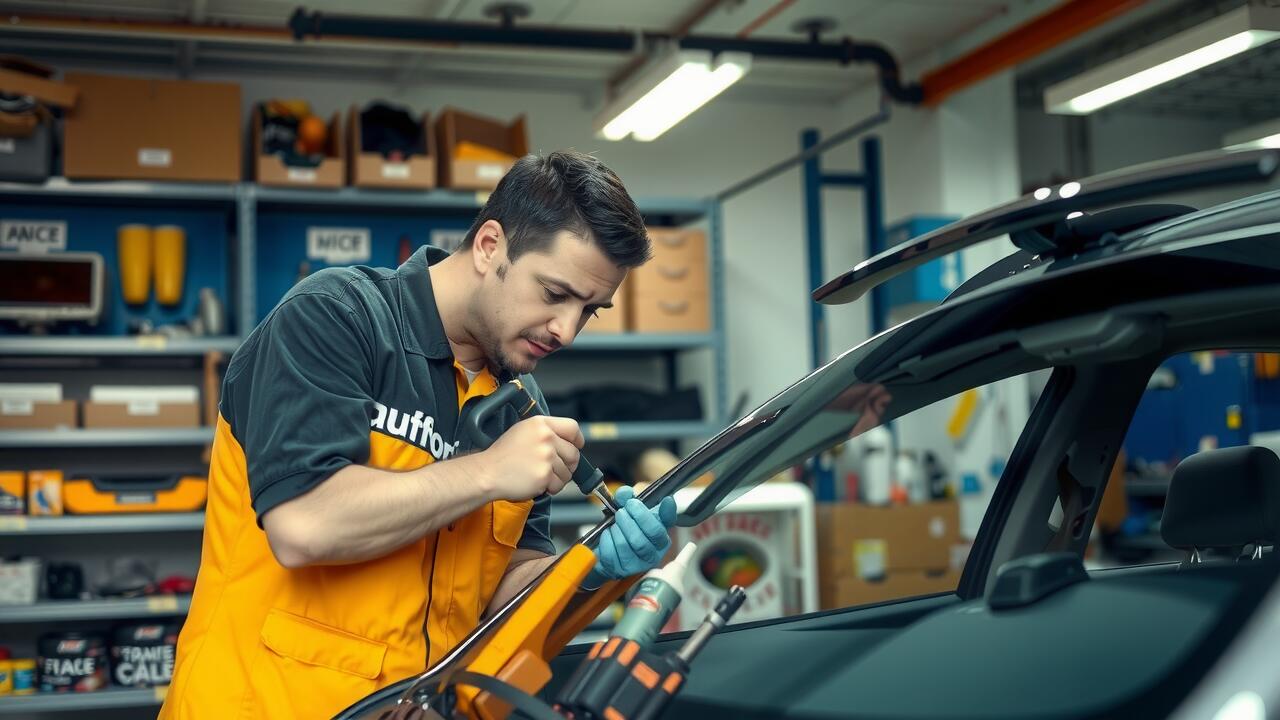
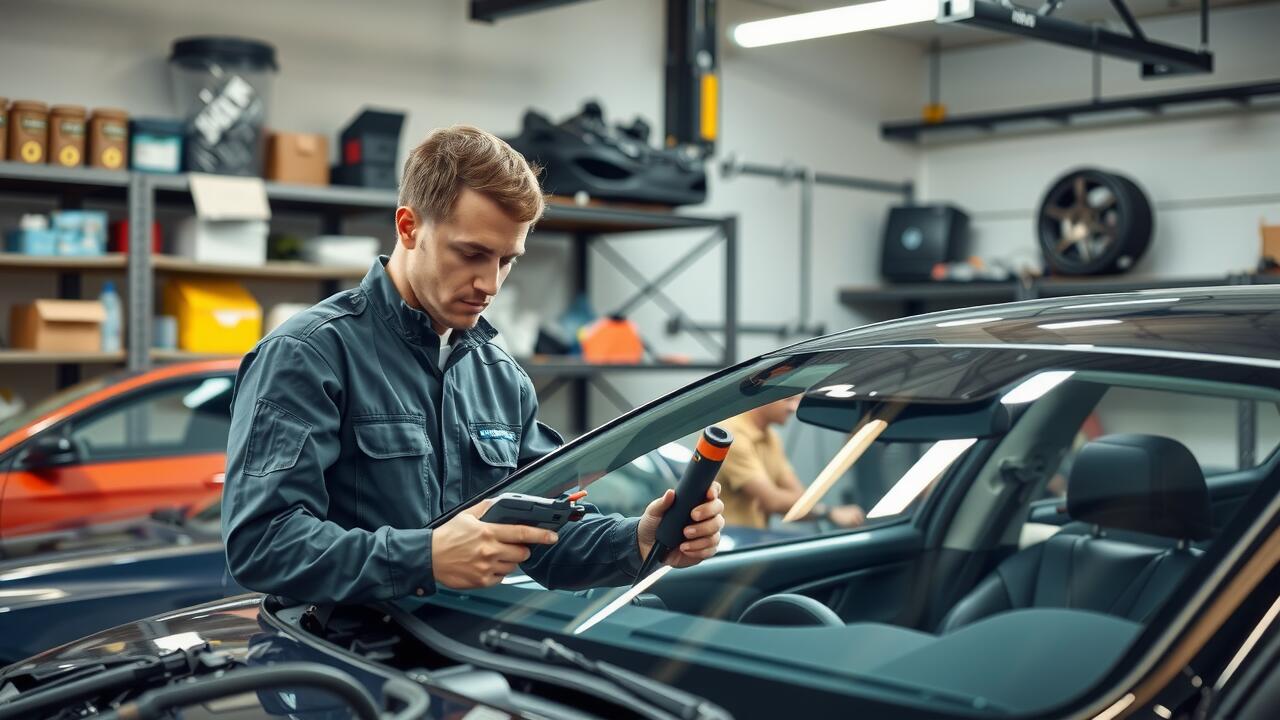
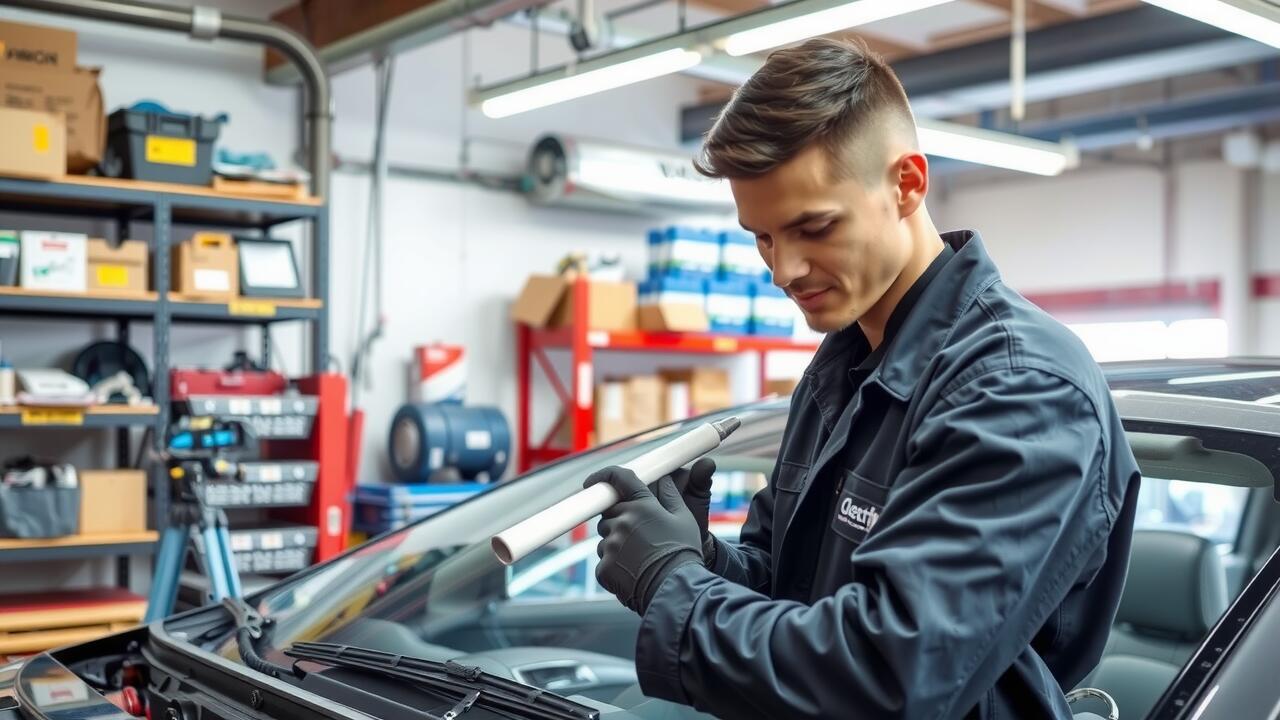
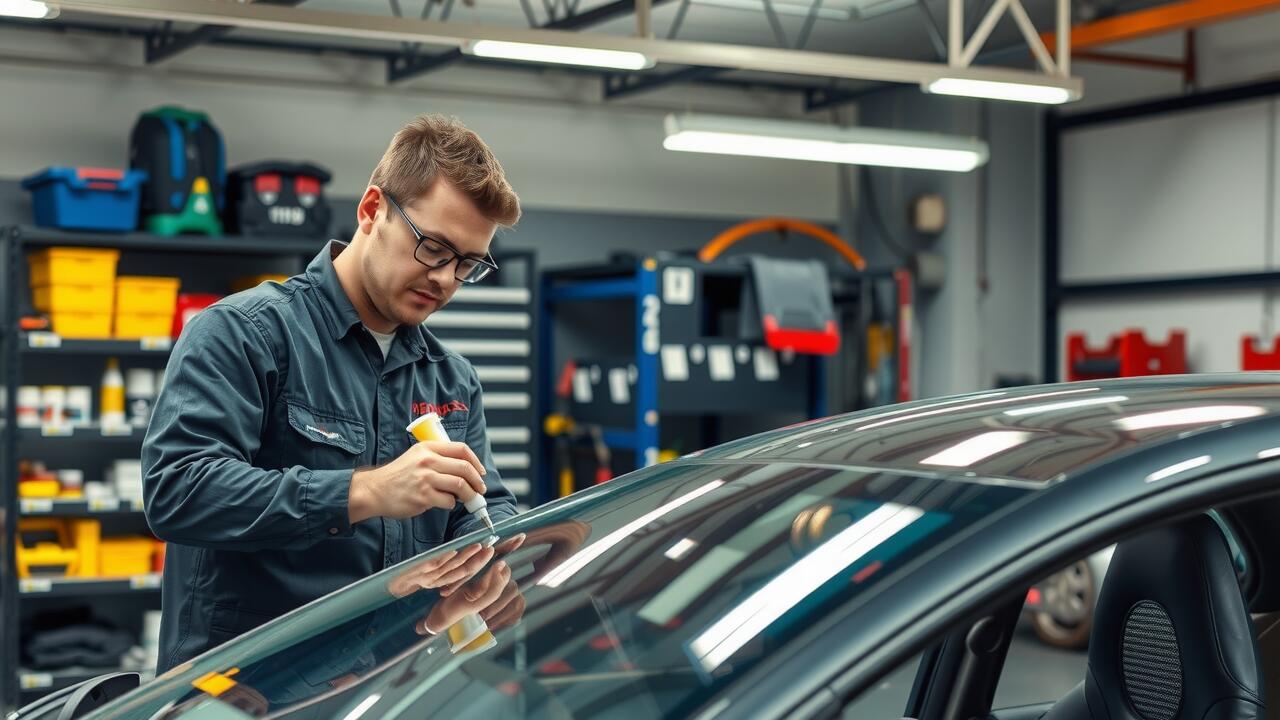
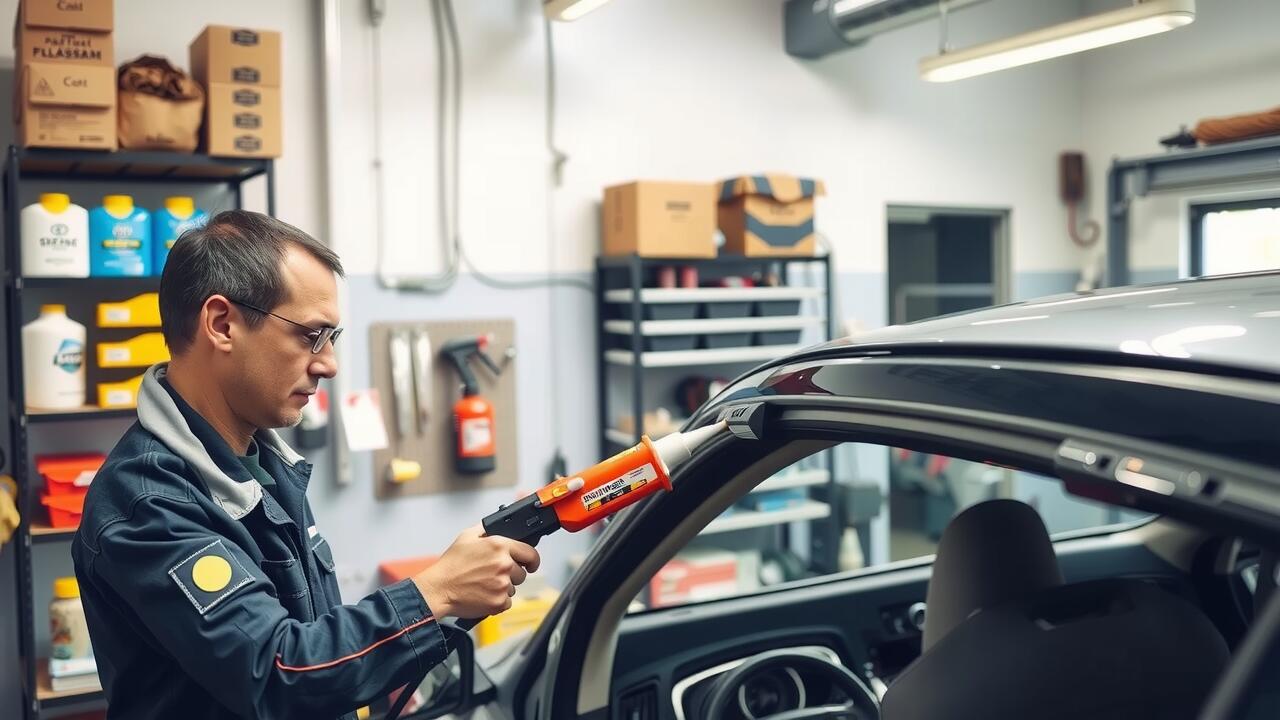
Achieving a leak-proof installation of your sunroof is critical to prevent water ingress and subsequent damage to your vehicle's interior. Begin by meticulously inspecting the edges of the cut roof panel to remove any sharp edges or debris. This creates a clean surface, allowing for a more effective seal when the frame is installed. High-quality sealant adhesive should then be evenly applied to the frame's edges. This ensures a strong bond between the frame and the roof, which is essential for a durable and leak-resistant seal.
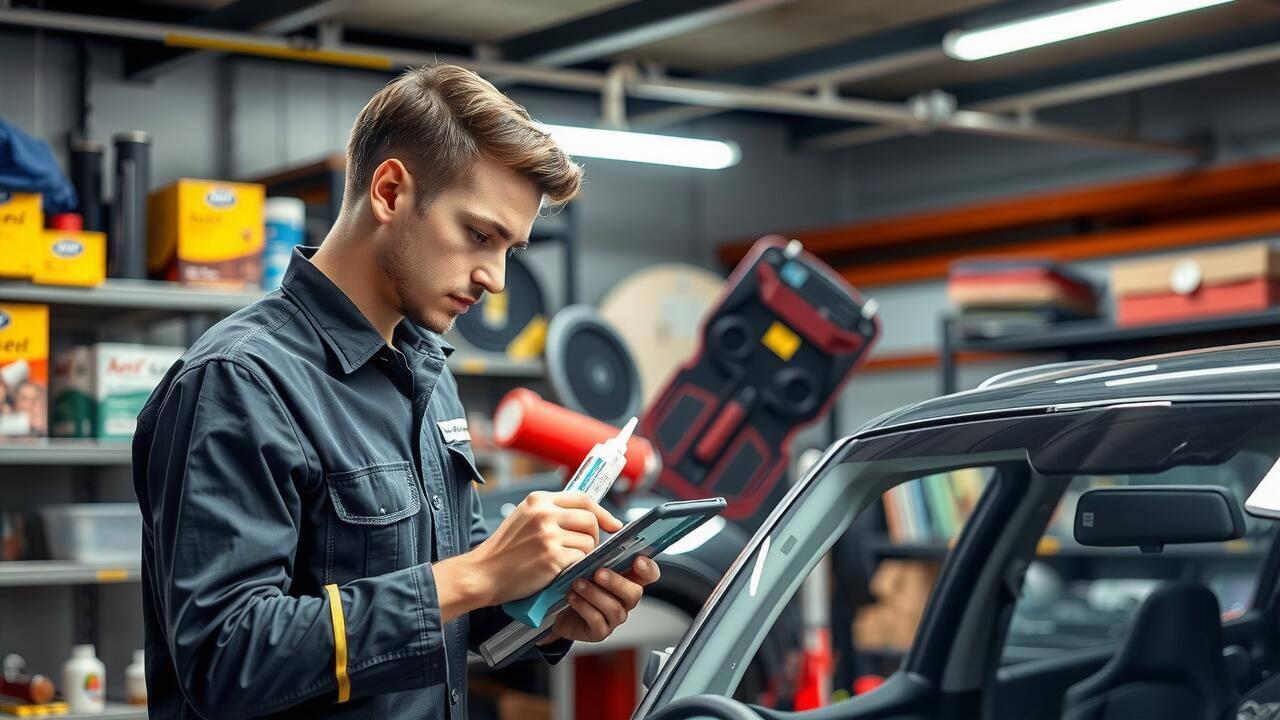
After placing the sunroof frame in position, it is crucial to secure it tightly and uniformly. Proper fastening will prevent any gaps that could lead to leaks. Following the manufacturer's instructions for sealing and securing will help verify that the installation meets specifications. If you're undertaking a sunroof replacement, additional attention to the drainage systems also plays a vital role. Clear drainage tubes should be checked and positioned correctly to facilitate water flow away from the sunroof area, thus enhancing the overall effectiveness of the installation.
FAQS
Is it safe to install my own sunroof?
While it's possible to install your own sunroof, it requires a good understanding of car mechanics and careful attention to detail. If done improperly, it may compromise the integrity of your vehicle or lead to leaks.
What tools do I need to install a sunroof myself?
You will typically need a jigsaw or reciprocating saw for cutting, drill and drill bits for mounting, weather stripping for sealing, and various hand tools like wrenches and screwdrivers for installation.
How long does it take to install a sunroof?
The installation time can vary, but it generally takes anywhere from a few hours to an entire day, depending on your skill level and the complexity of the sunroof model.
What are the risks of not sealing the sunroof properly?
Failing to seal the sunroof correctly can lead to water leaks, which may damage the interior of your vehicle, cause rust, and compromise electrical components.
Can I install a sunroof in any car model?
Not all cars are suited for sunroof installation. It's important to check your vehicle's structure and design to ensure compatibility and safety before proceeding with the installation.