Table Of Contents
Replacing Glass
Replacing a broken car window can be a straightforward process with the right approach. For a side window replacement, it is crucial to source glass that matches the specifications of your vehicle. OEM (Original Equipment Manufacturer) parts are often the best choice, as they ensure a perfect fit and clarity. You can also consider aftermarket options if budget constraints are a concern, but ensure they comply with safety standards.
Before commencing the replacement, clear out any debris from the frame and check for rust or damage that may affect the installation. Take your time with measurements to select the correct replacement size. Remember, the quality of the glass plays a significant role in overall safety and performance, so investing in a good product will pay off in the long run.
Choosing the Right Replacement Glass
When selecting the appropriate glass for a side window replacement, it is crucial to consider the specific make and model of your vehicle. Many vehicle manufacturers use glass that is tailored to their designs, which ensures proper fit and function. Shopping for factory-approved replacement glass is advisable. This will not only meet safety standards but also maintain the integrity of the vehicle’s aesthetic.
Additionally, there are various options available, including tempered glass and laminated glass. Tempered glass is strong and resistant to impacts, while laminated glass provides added security and reduces noise. Understanding the differences between these types can assist in making an informed choice. Be sure to consult with professionals who can provide insights based on your needs and preferences.
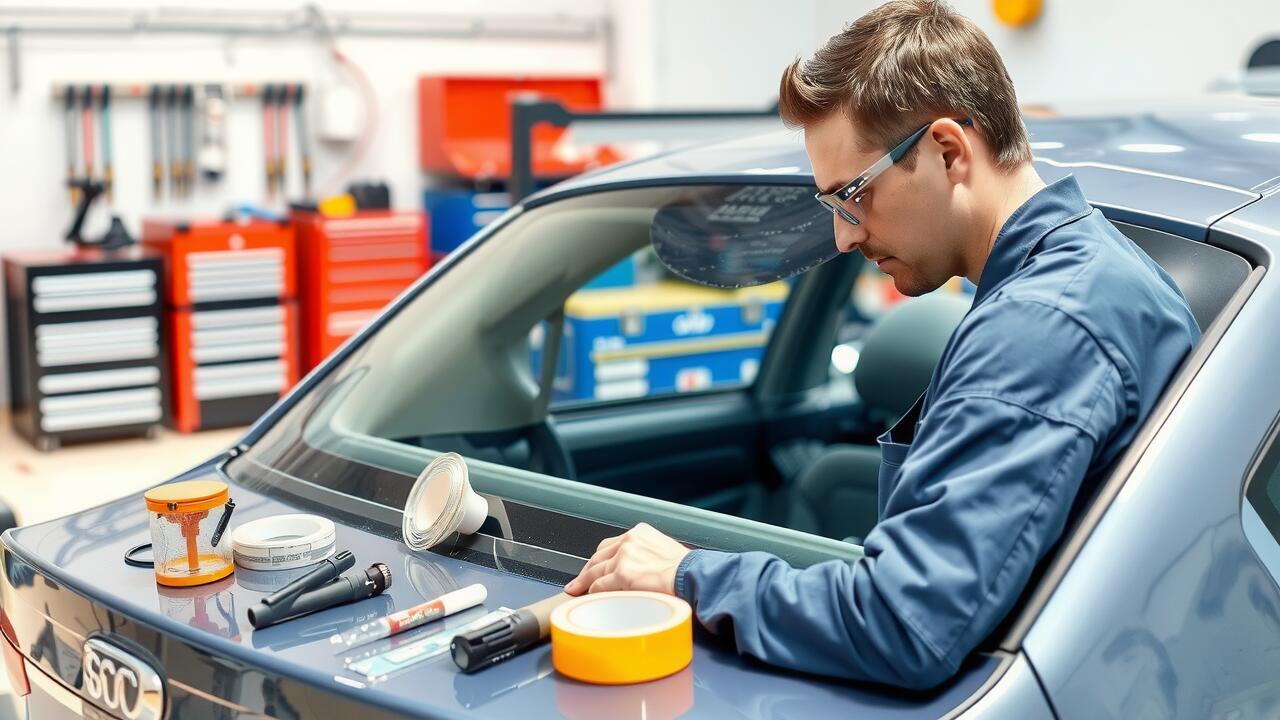
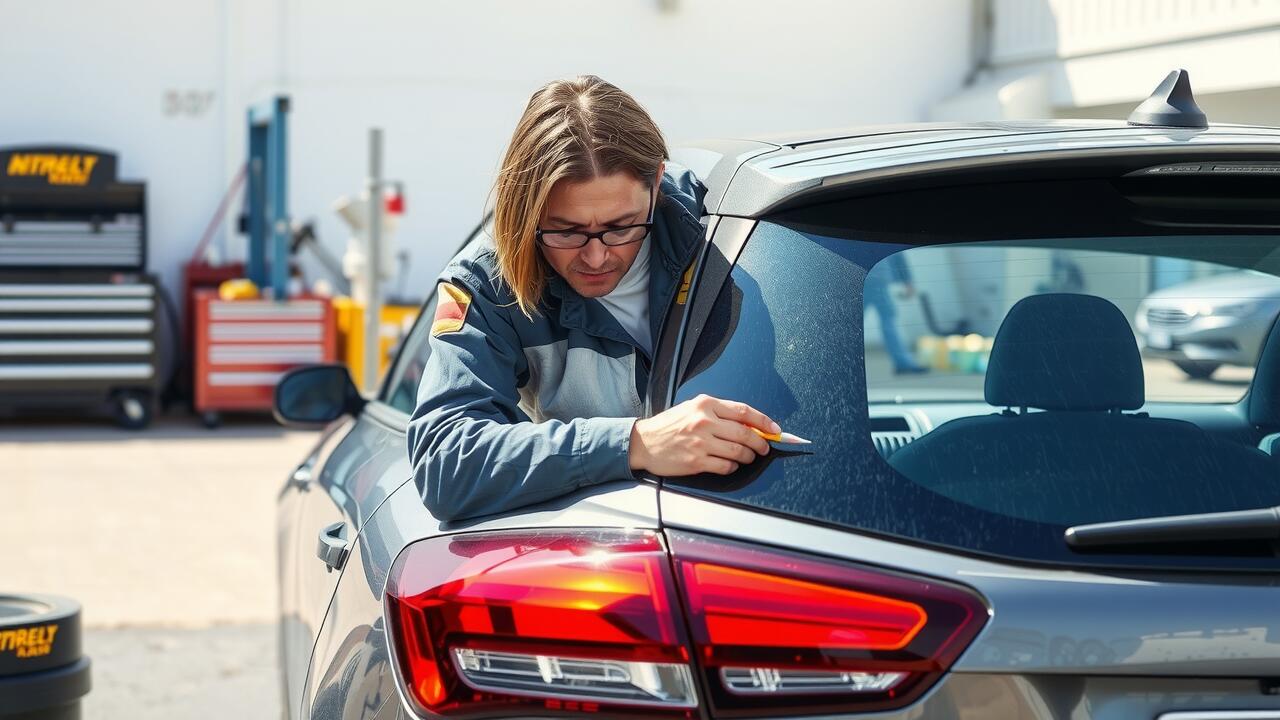
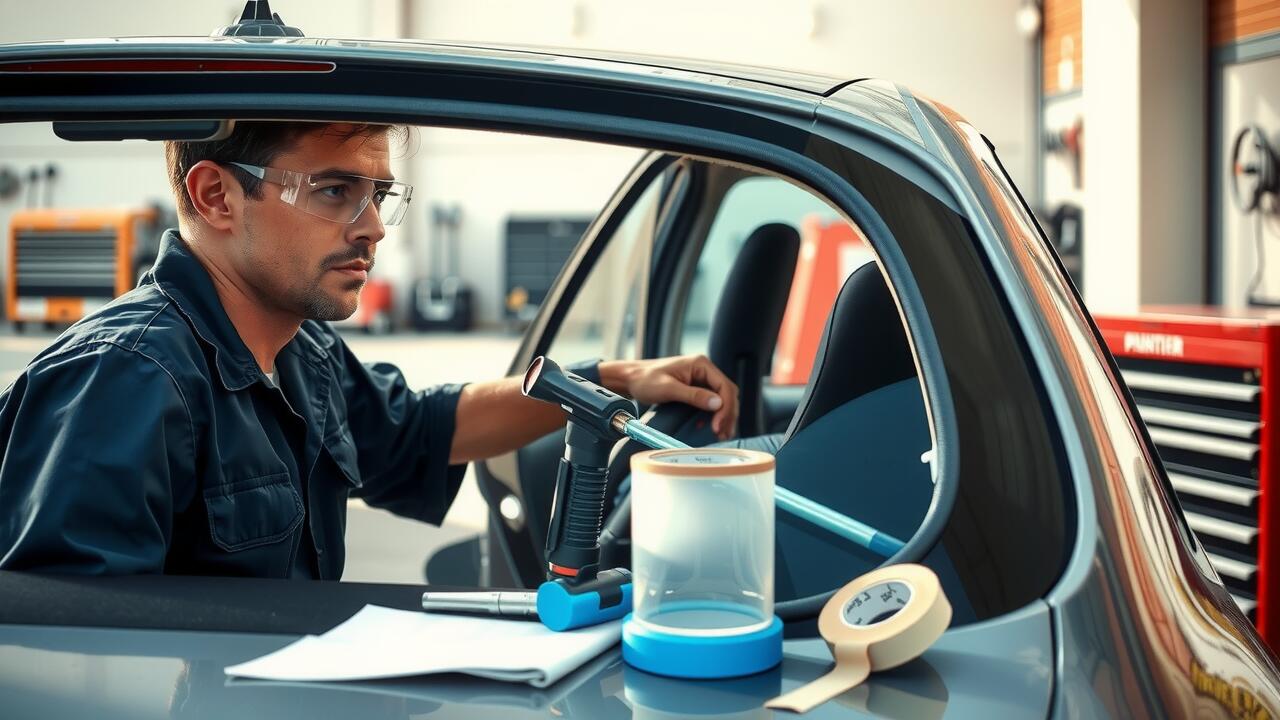
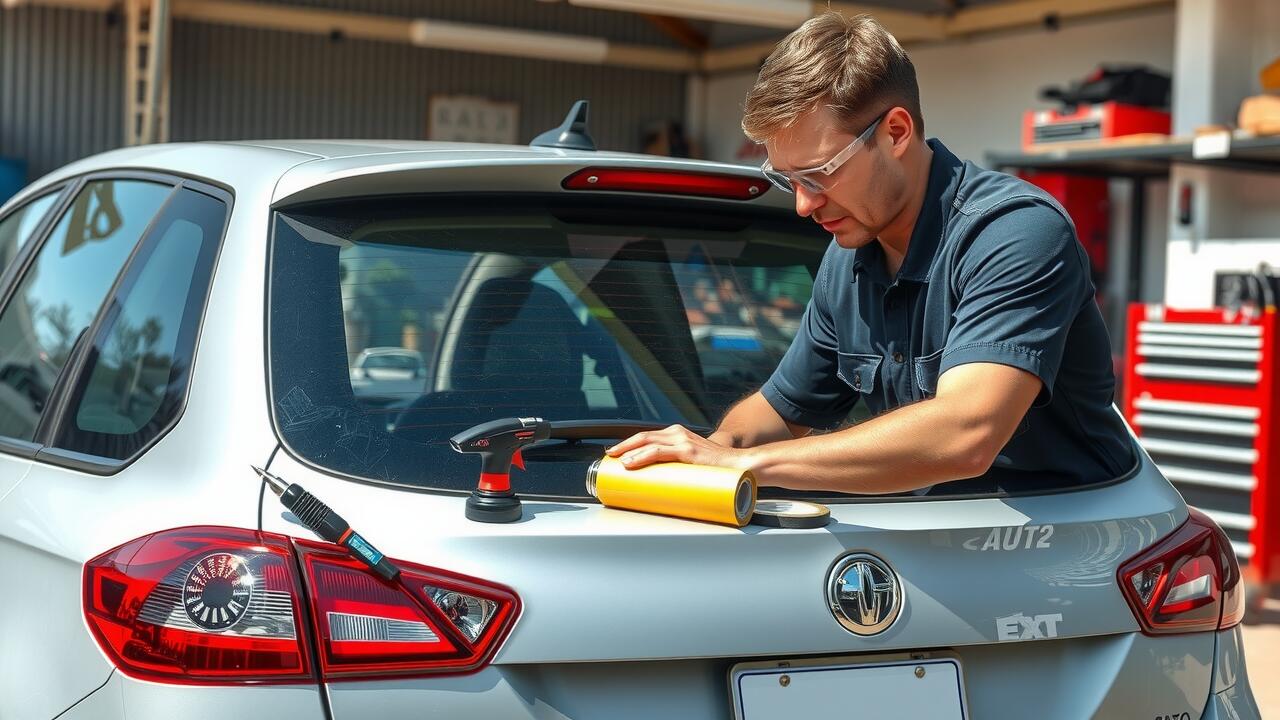
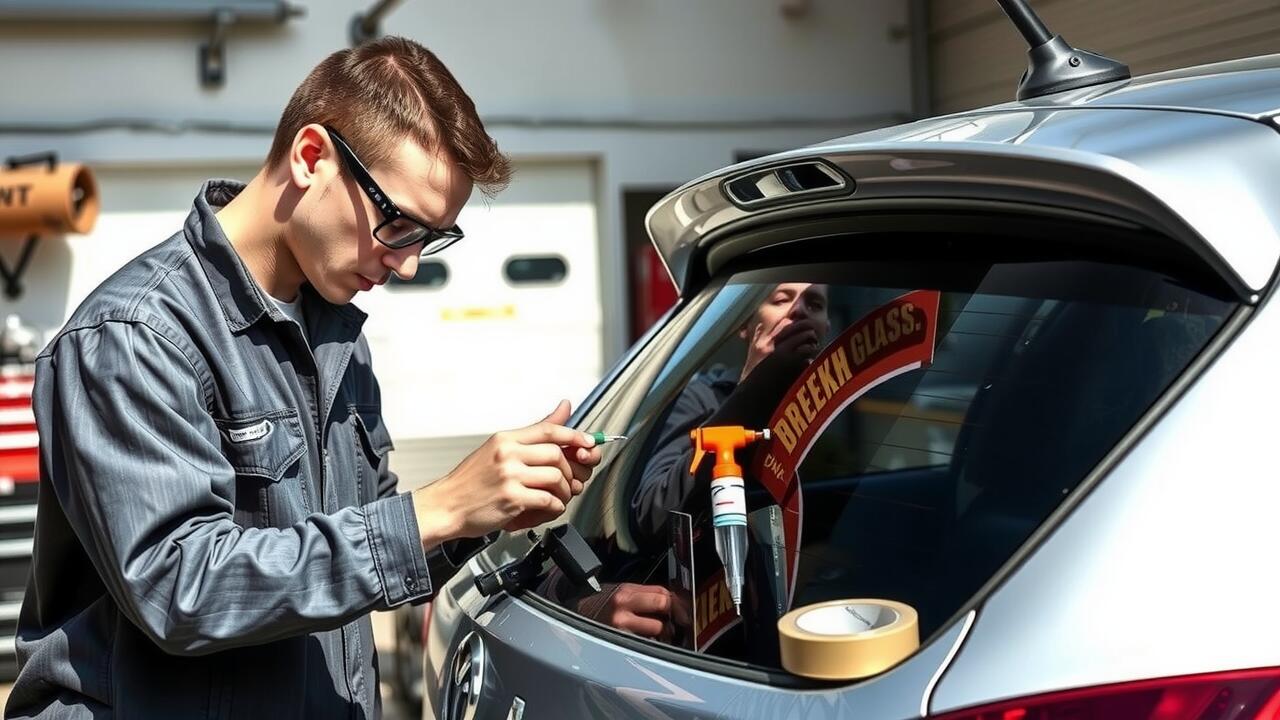
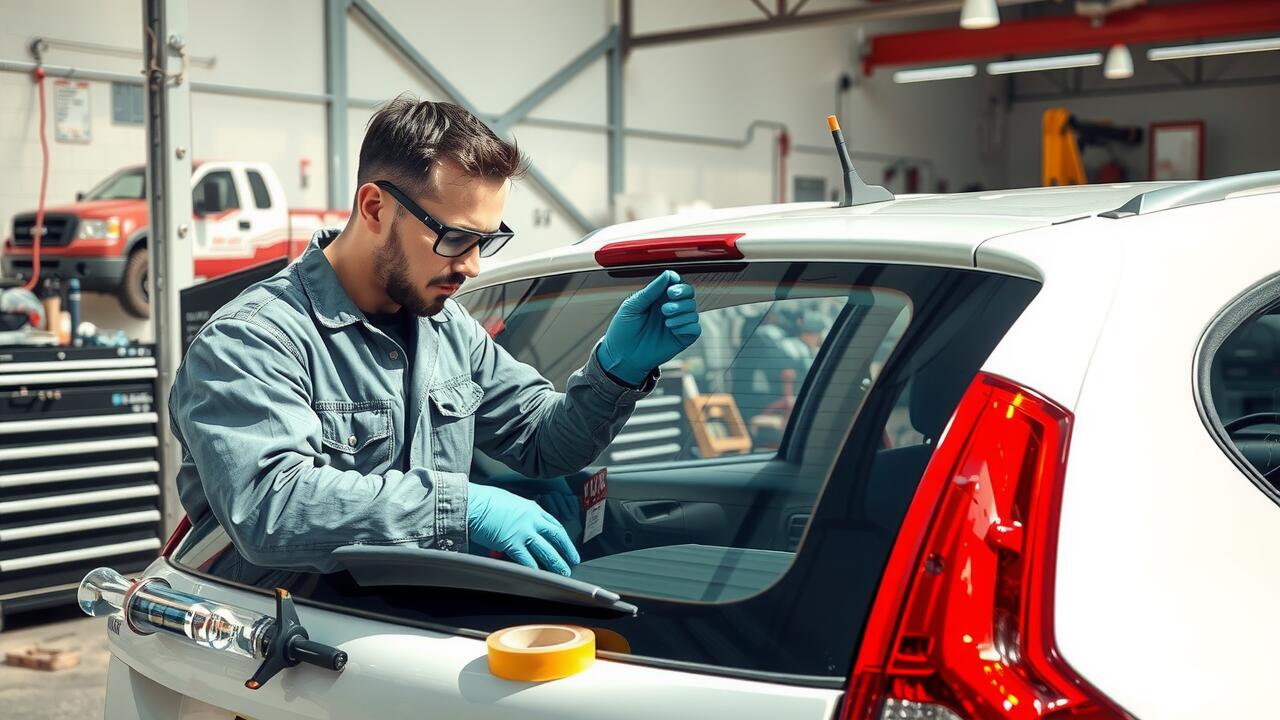
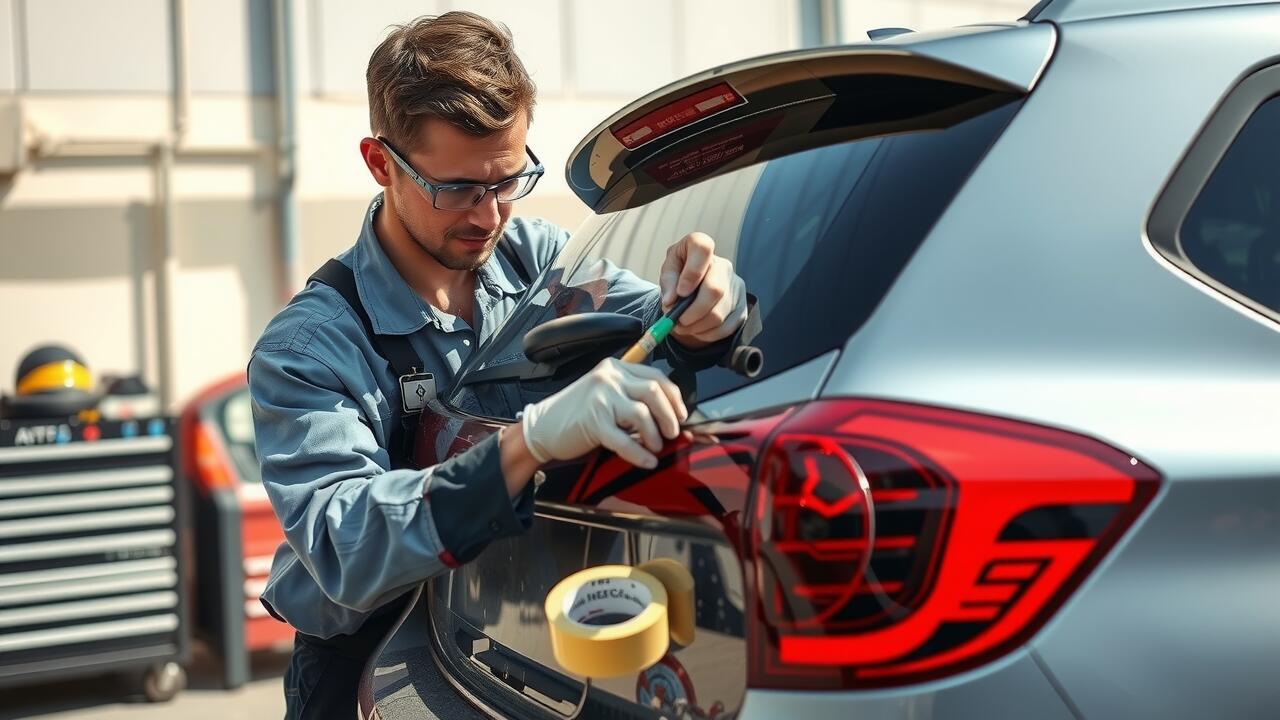
Installation Process
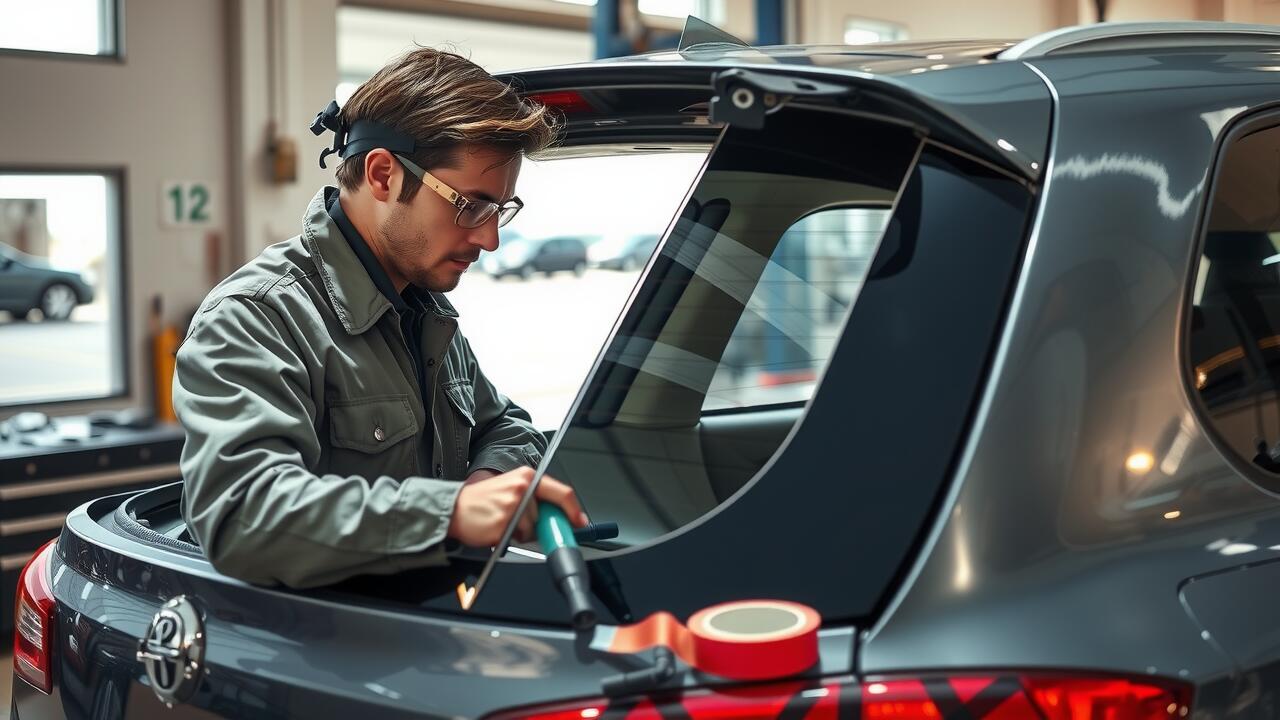
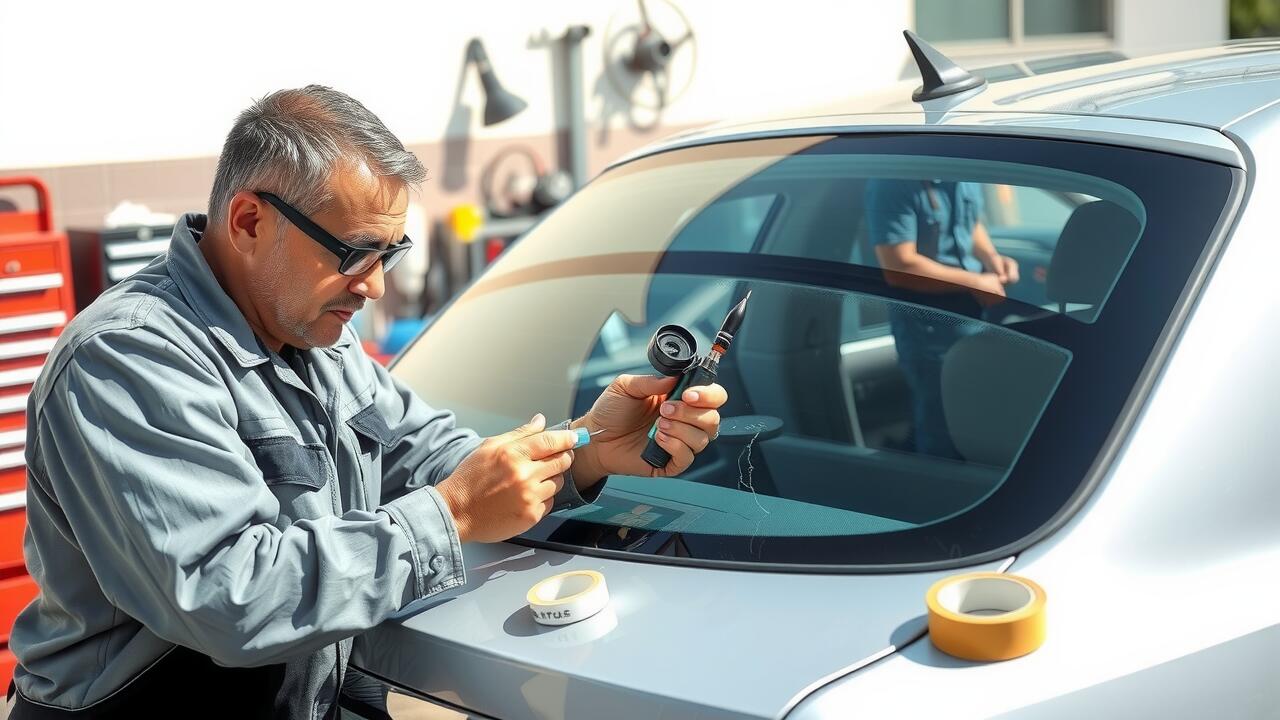
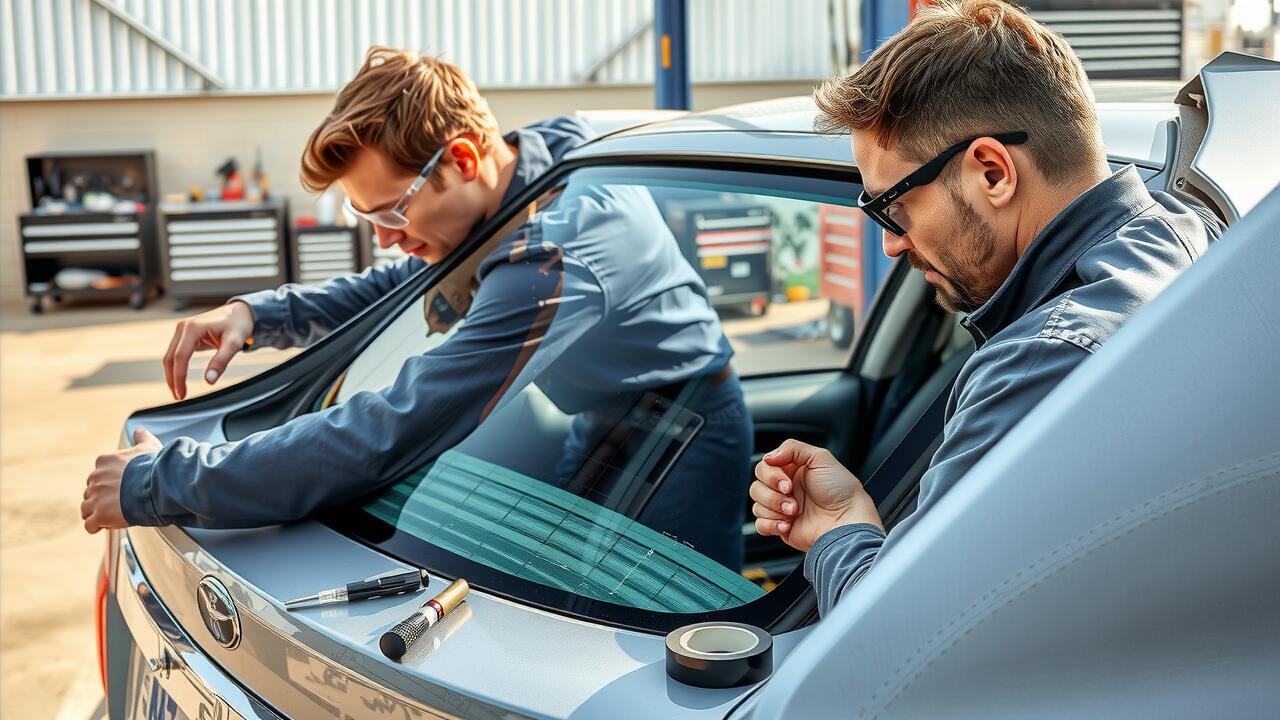
When considering a side window replacement, the installation process is crucial for ensuring a secure and long-lasting fix. Begin by gathering all the necessary tools, including a flathead screwdriver, a socket wrench, and a sealant specifically designed for automotive glass. Carefully remove any remnants of the old glass, ensuring you avoid damaging the surrounding frame or any electronic components, particularly if it’s a powered window.
Once the area is prepped, position the new side window into the frame. It’s important to align it correctly so that it fits snugly without gaps. After ensuring the glass is properly seated, fasten any mounting clips or brackets that may have come with the replacement kit. Finally, apply the sealant around the edges for a watertight fit, taking care to smooth it out for an even finish. A well-executed installation will not only enhance the aesthetic of the vehicle but also contribute to its overall integrity.
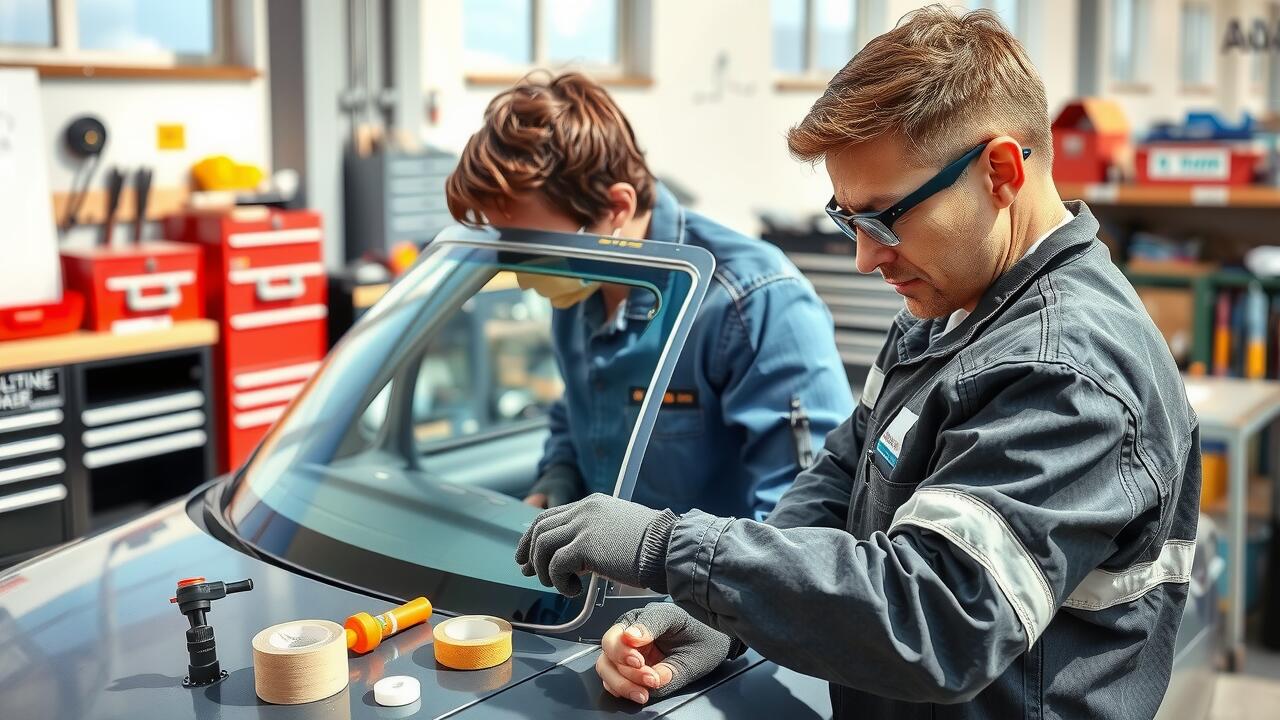
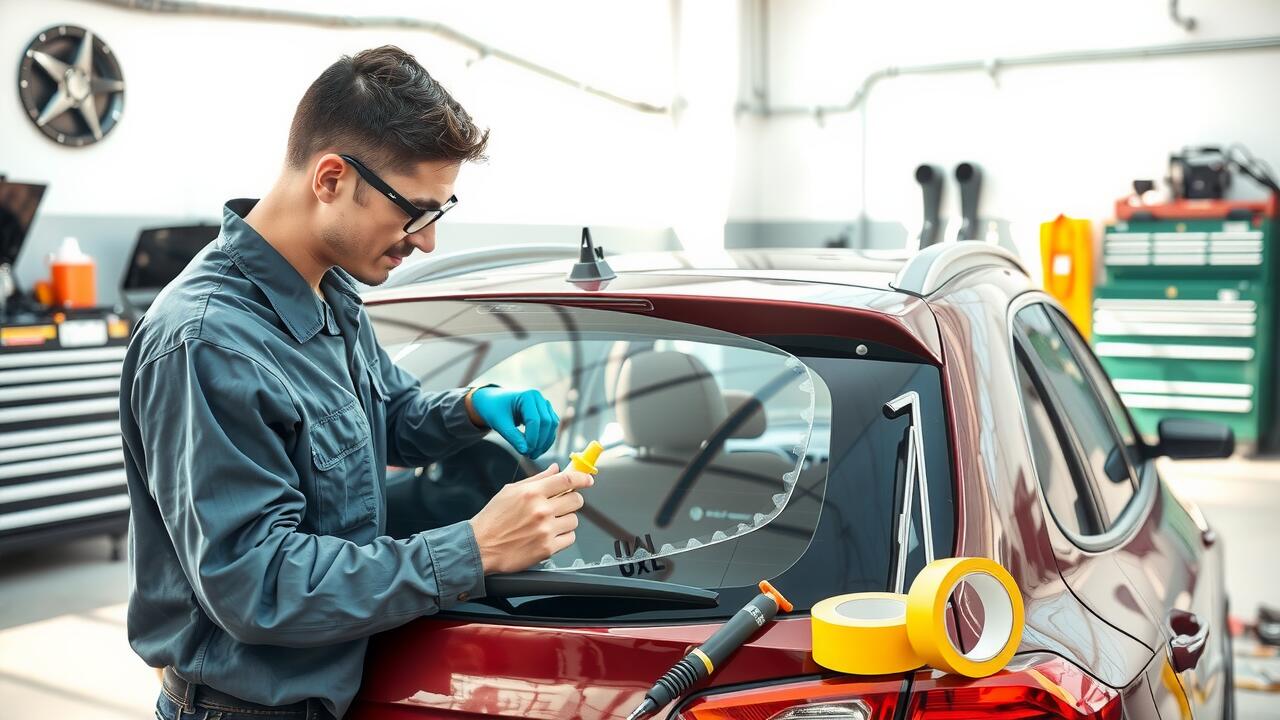
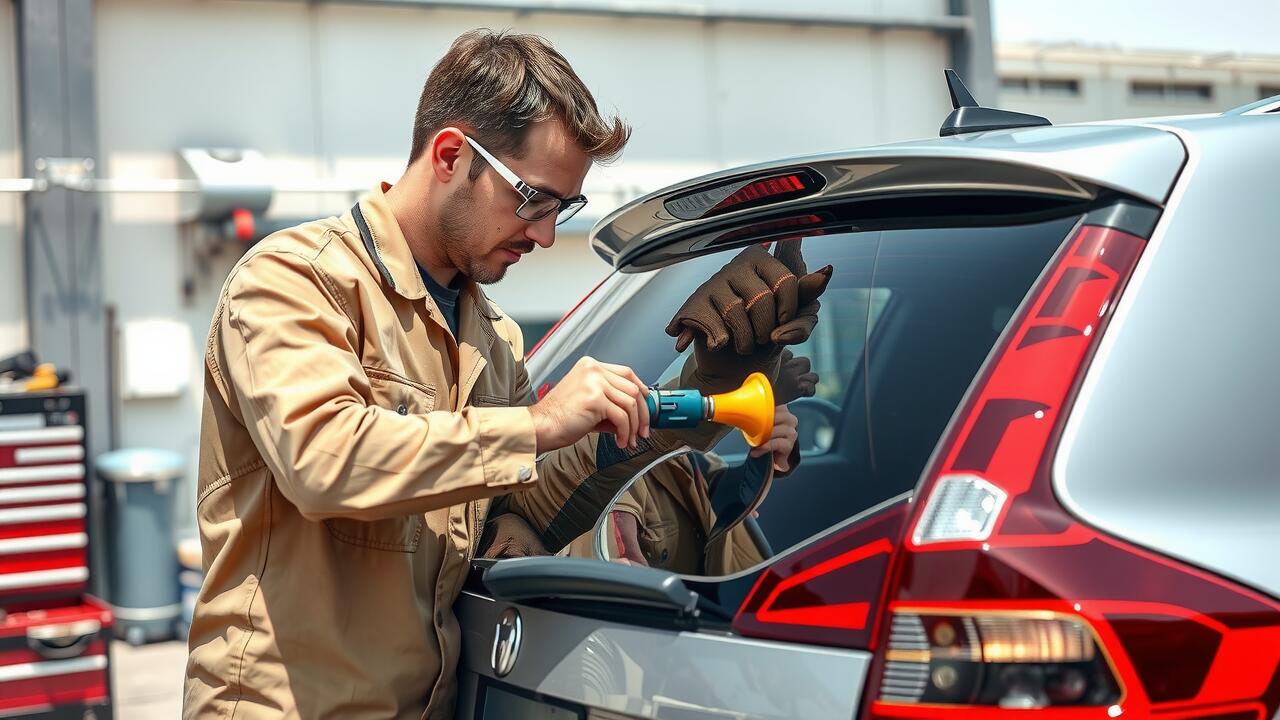
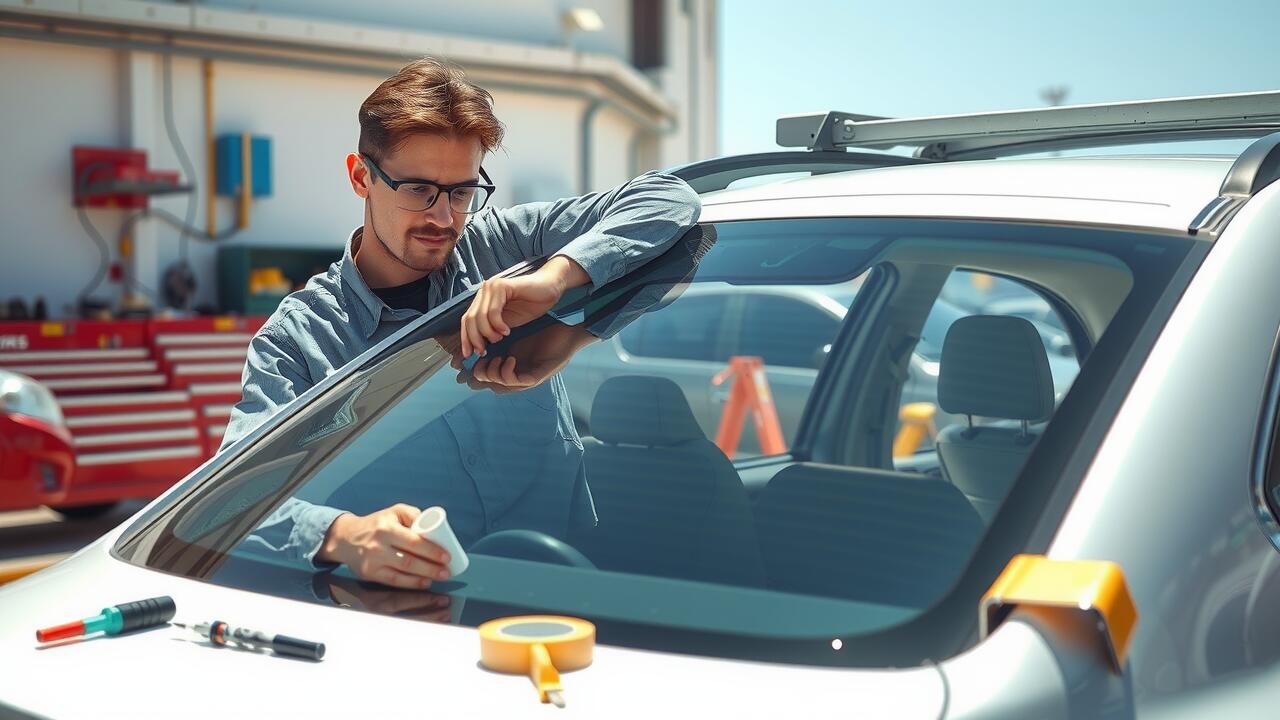
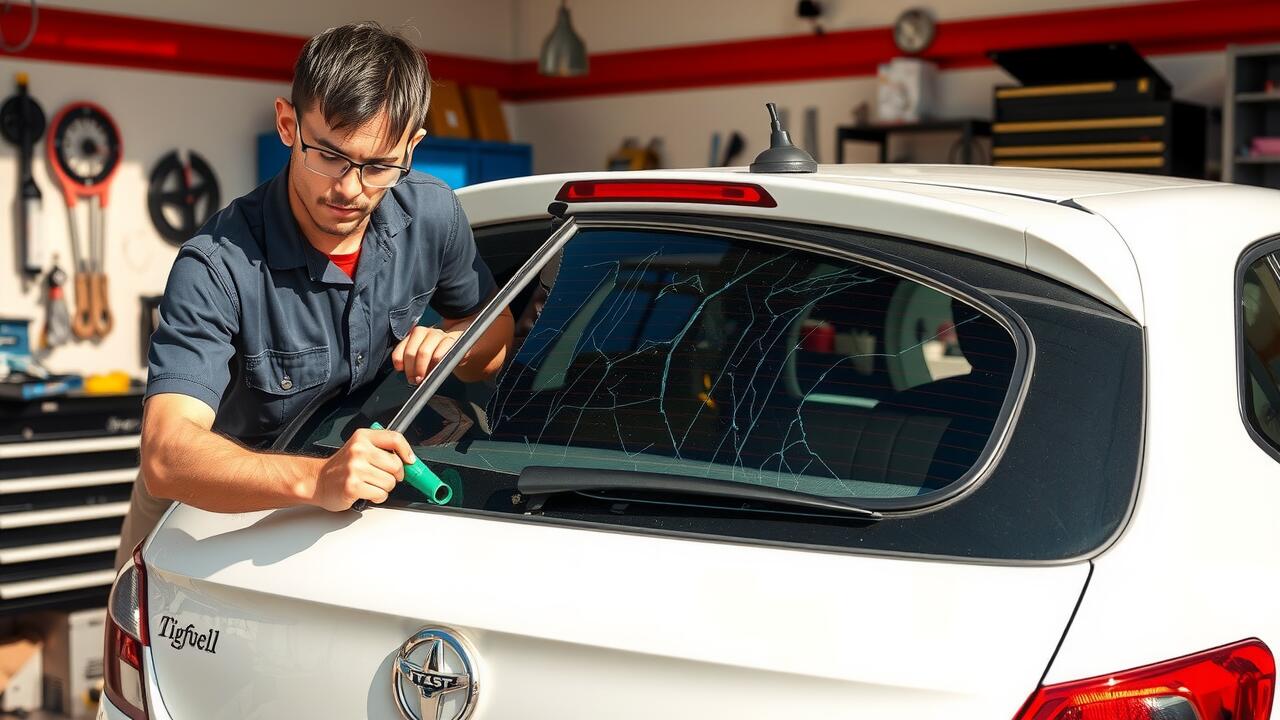
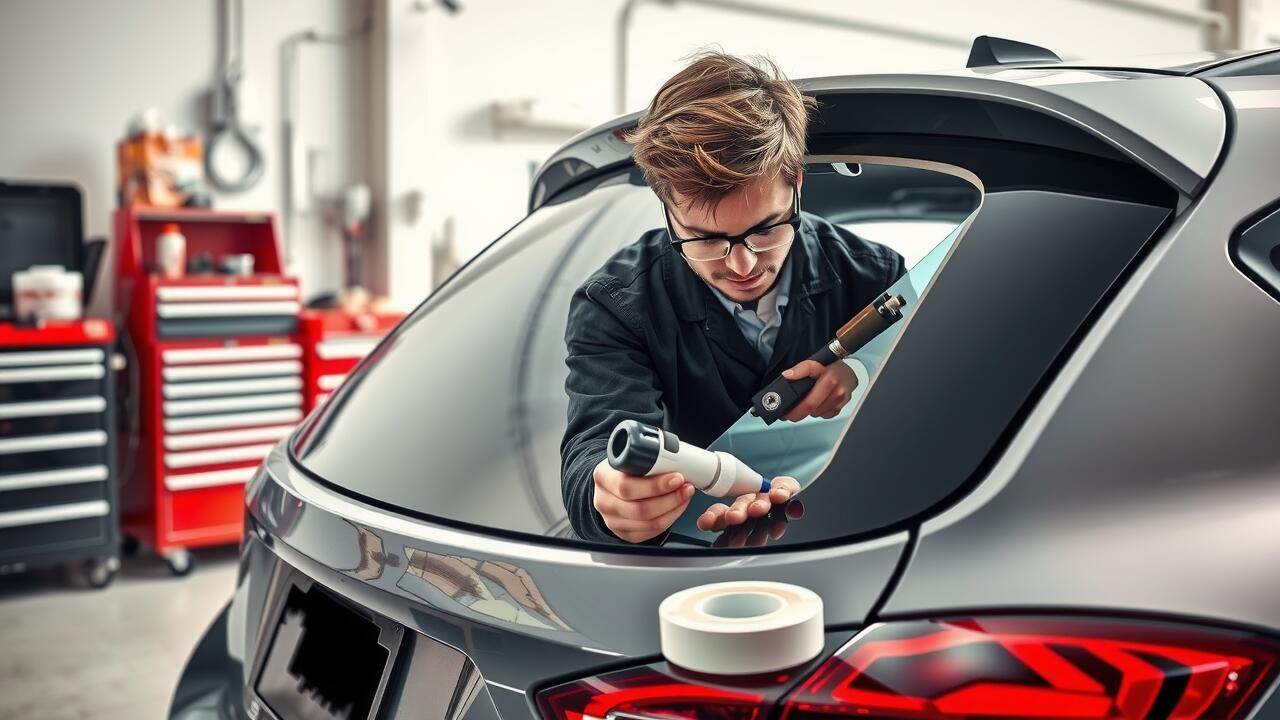
Step-by-Step Guide to Fitting the New Glass
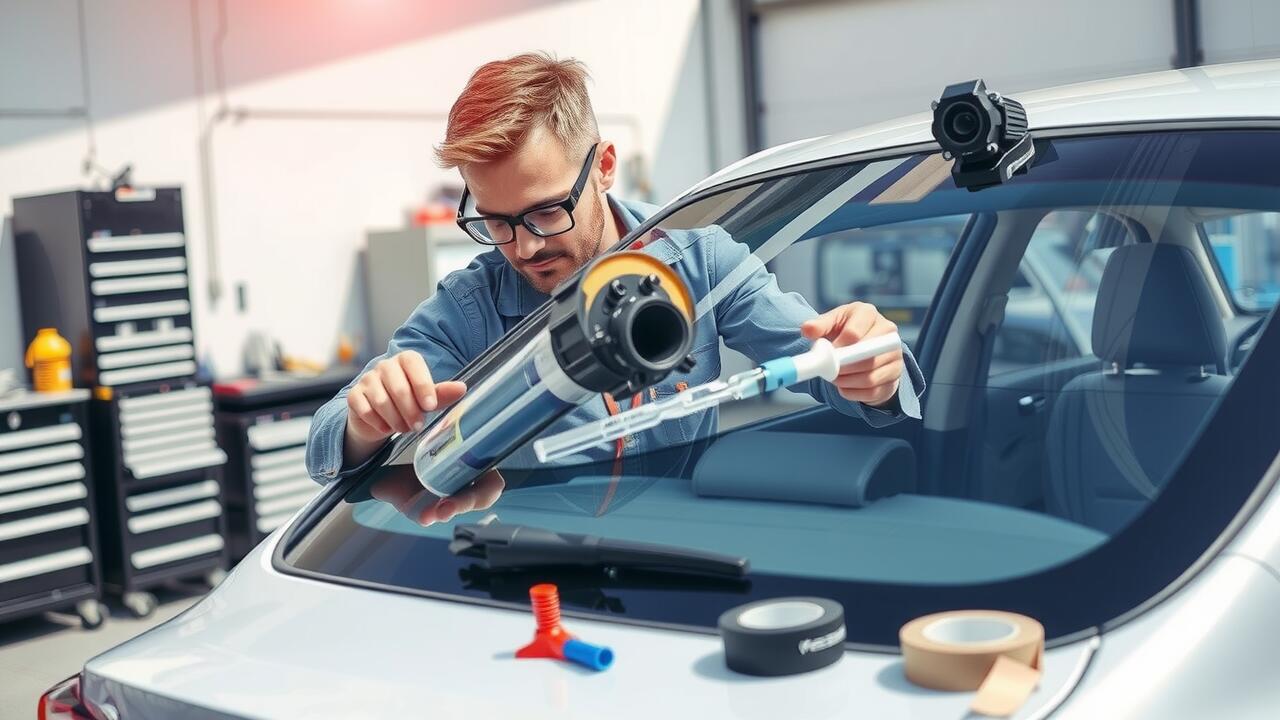
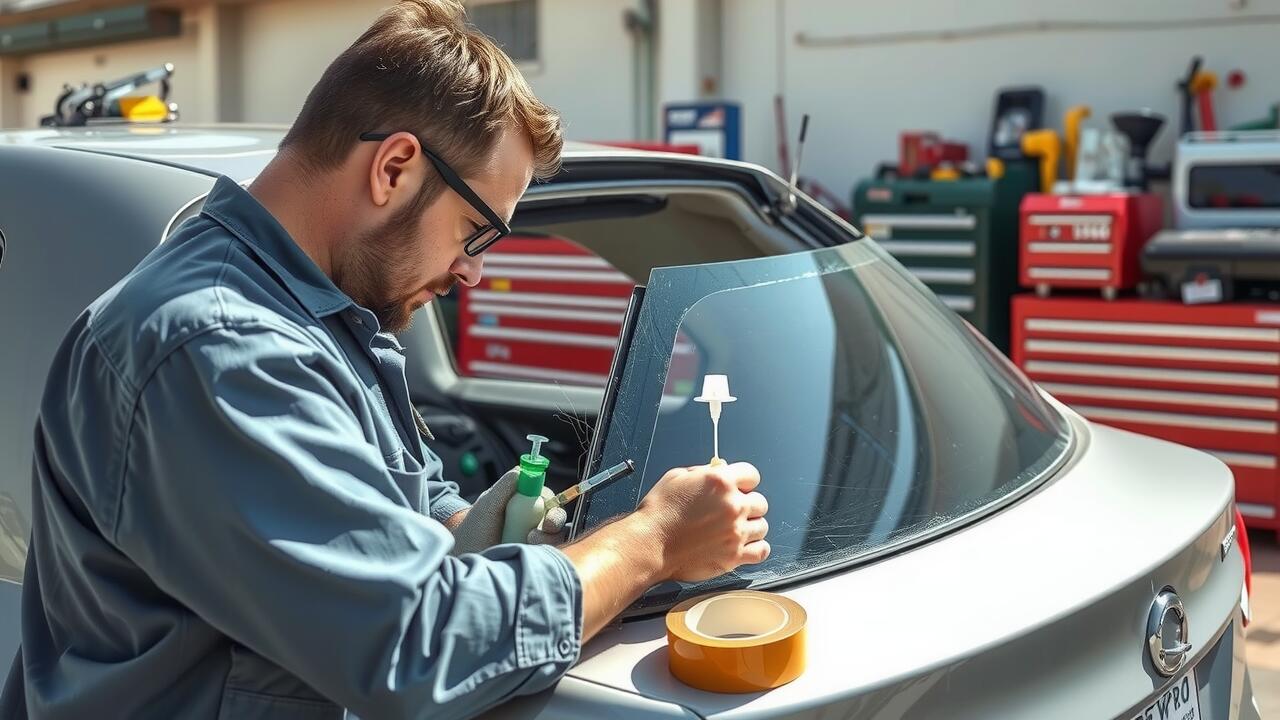
Fitting the new glass for your broken car window requires careful attention to detail. Begin by removing any broken shards from the window frame, ensuring that the area is clean and free from debris. Take the replacement glass and carefully position it in the frame, aligning it with the mounting points. It's crucial to handle the glass gently to avoid any additional damage during the process.
Once you have the new glass in place, secure it using the manufacturer's recommended clips or adhesive. Press firmly to ensure that the glass sits snugly within the frame. After the initial installation, allow the adhesive to cure as per the instructions provided. This will ensure a strong hold and help prevent any leaks. Following these steps will provide a secure Side Window Replacement that restores your vehicle's integrity and appearance.
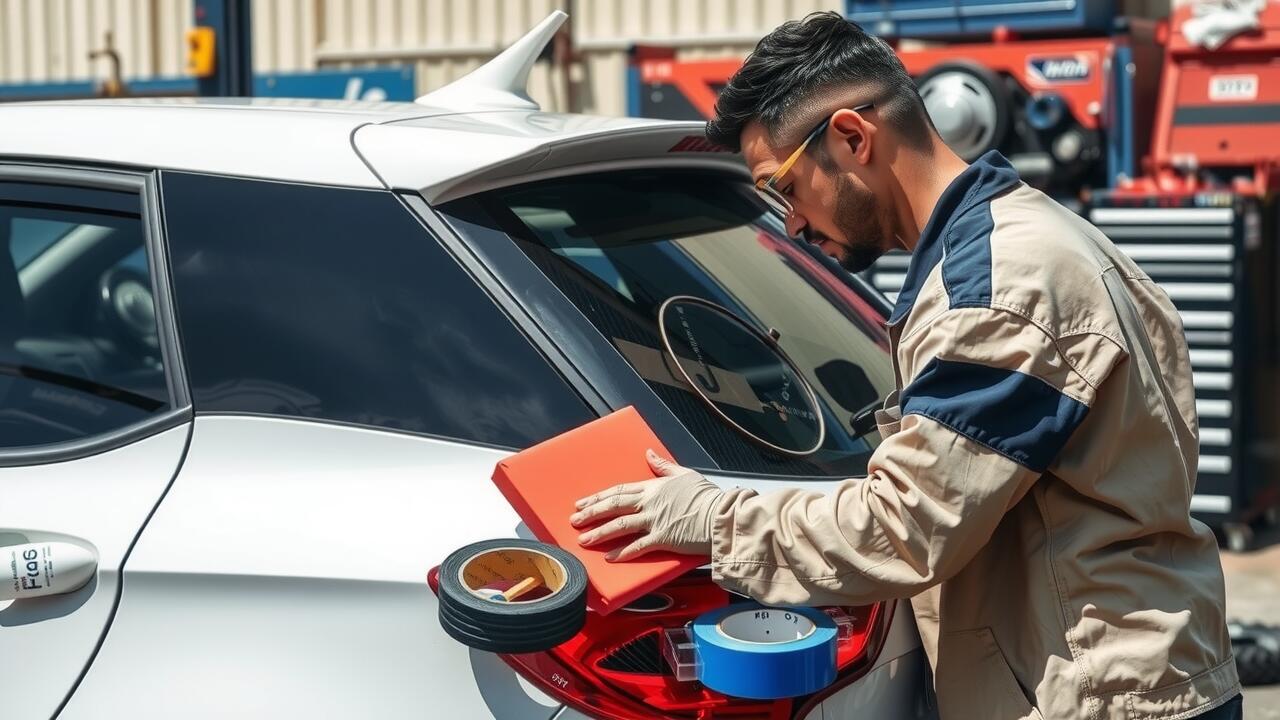
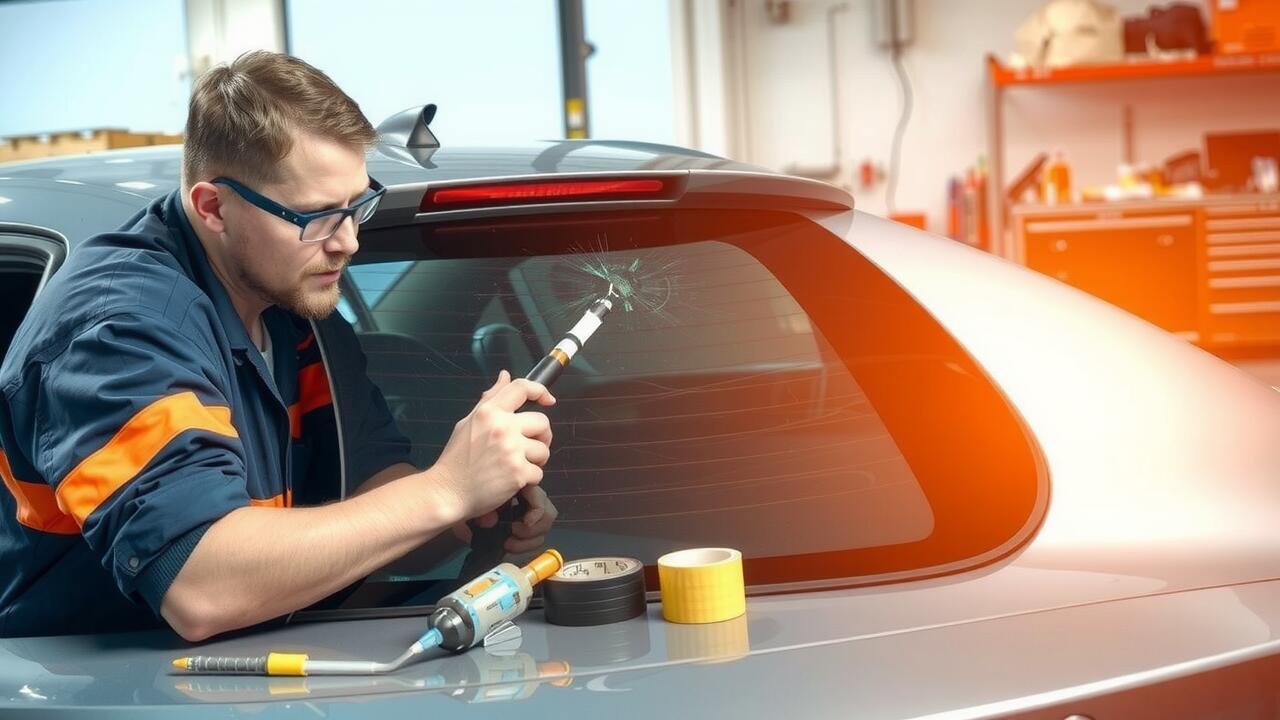
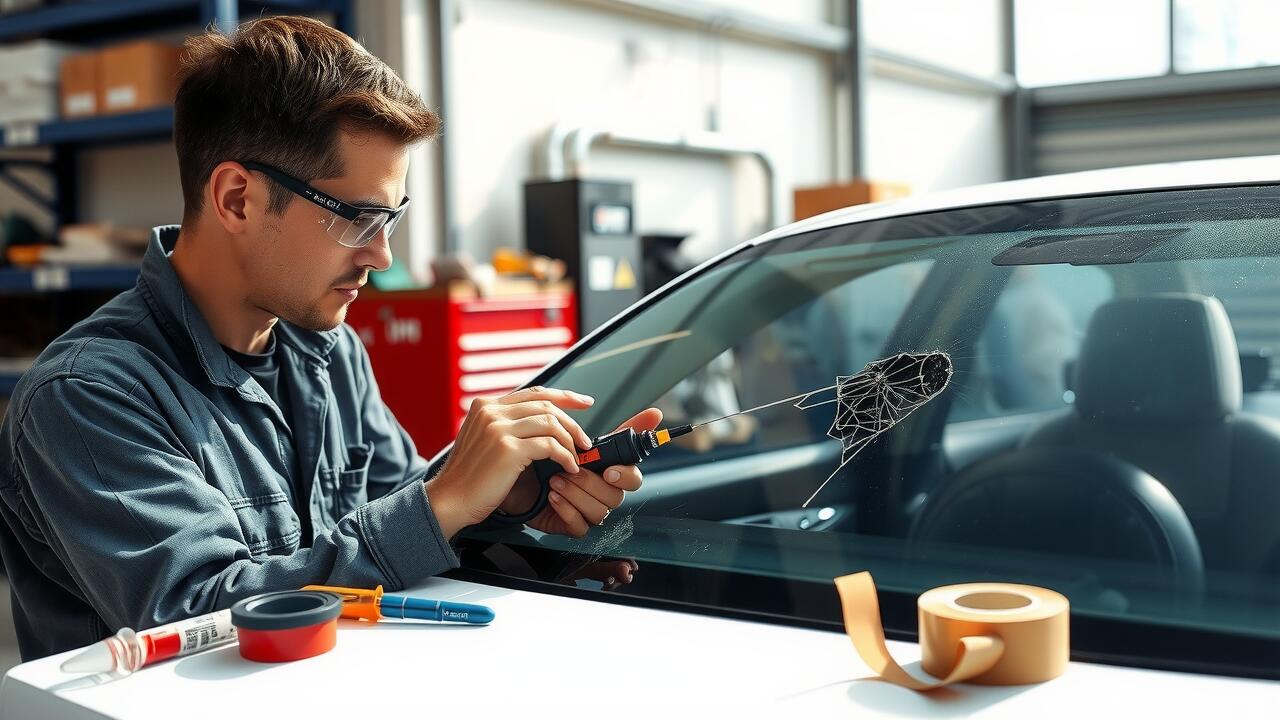
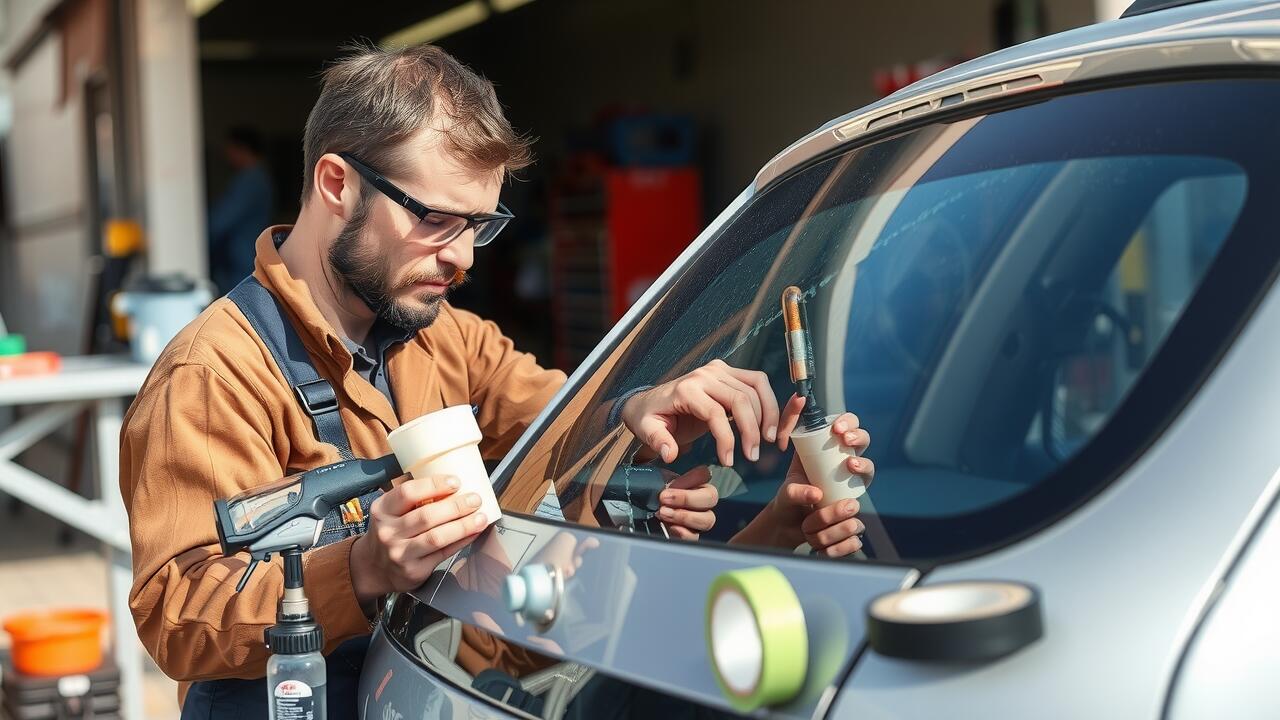
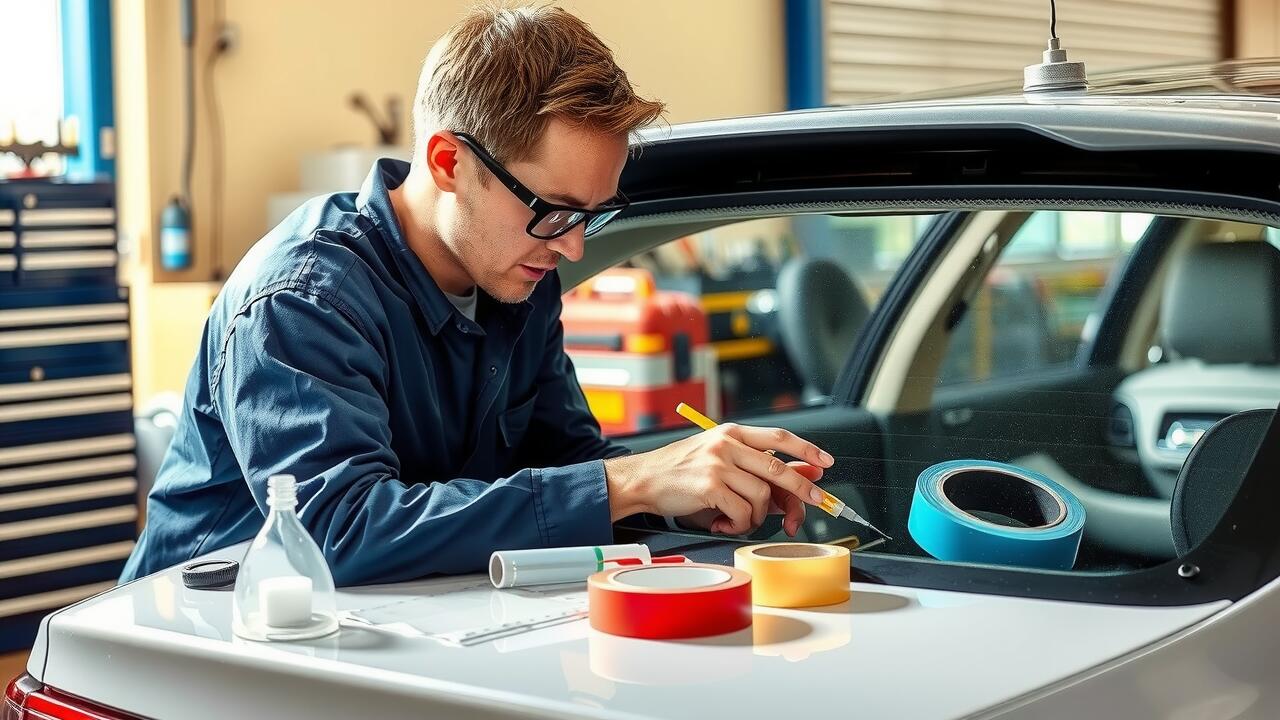
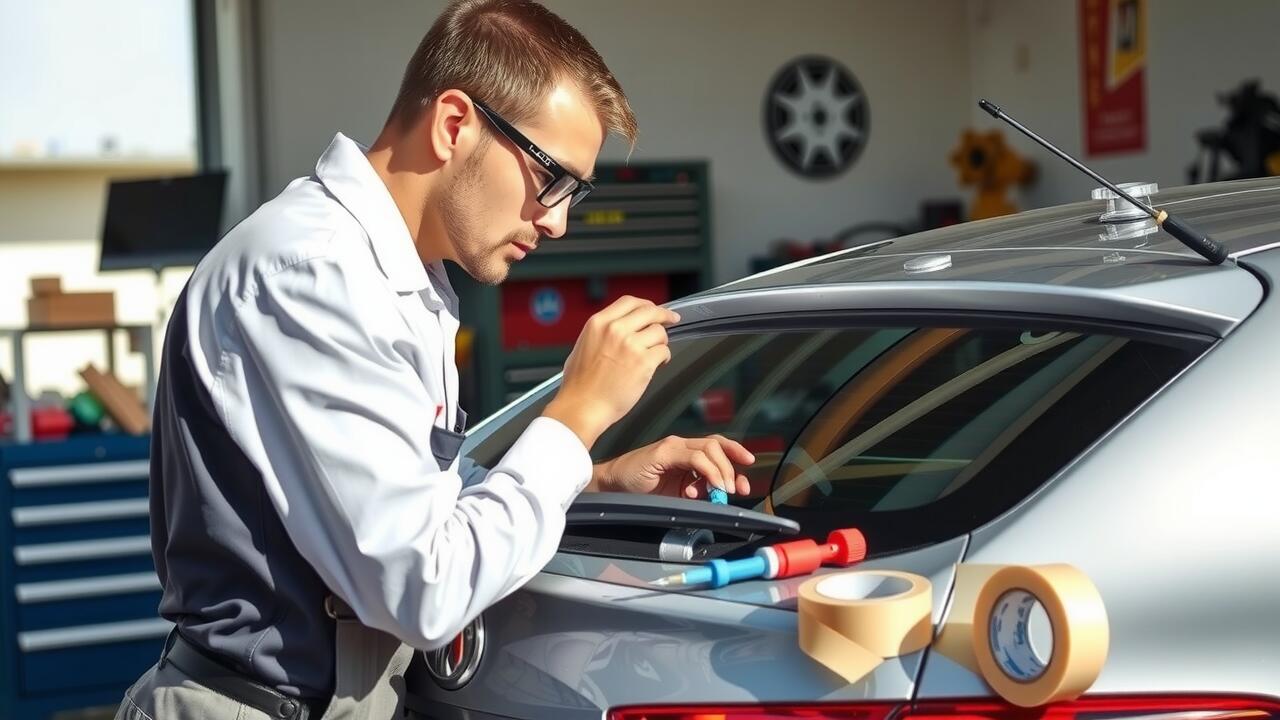
Sealing the Edges
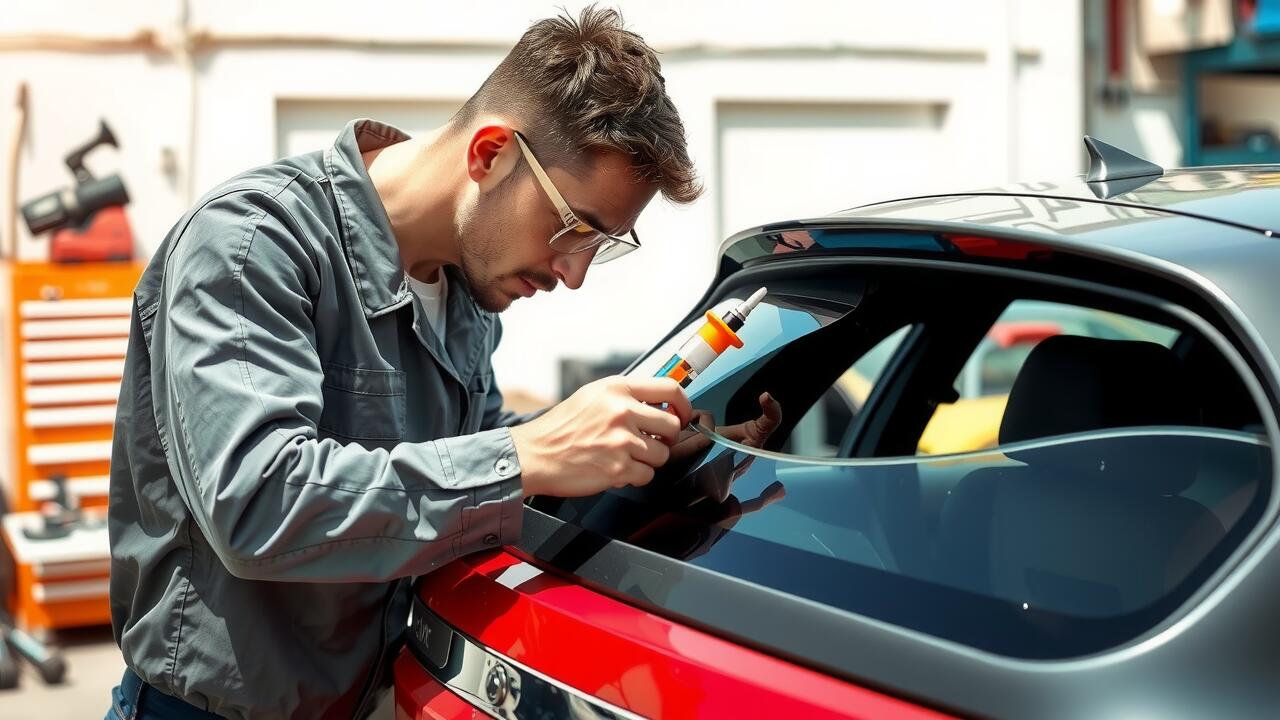
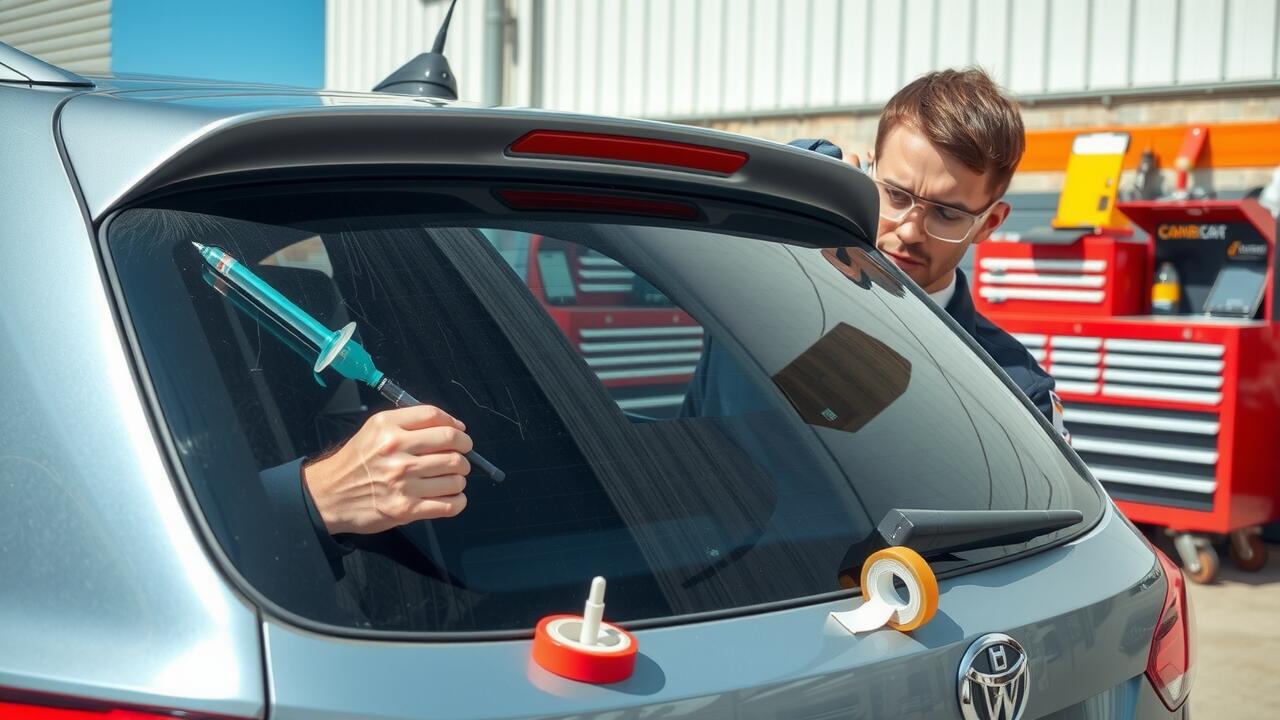
Once you have installed the new glass for your side window replacement, it is crucial to focus on sealing the edges properly. An inadequate seal can lead to water leaks, which may cause damage to the interior of your vehicle. Begin by applying a bead of high-quality silicone sealant around the perimeter of the glass where it meets the frame. Make sure the sealant is even and extends slightly beyond the edges of the glass for optimal adhesion.
After applying the sealant, smooth it out with a finger or a sealant smoothing tool to ensure proper contact with the surfaces. Allow the sealant to cure for the recommended time as specified by the manufacturer. This ensures a strong, waterproof bond that will keep your car's interior safe from moisture. Regularly check the seal after installation, particularly after heavy rain or car washes, to ensure it remains intact and protective.
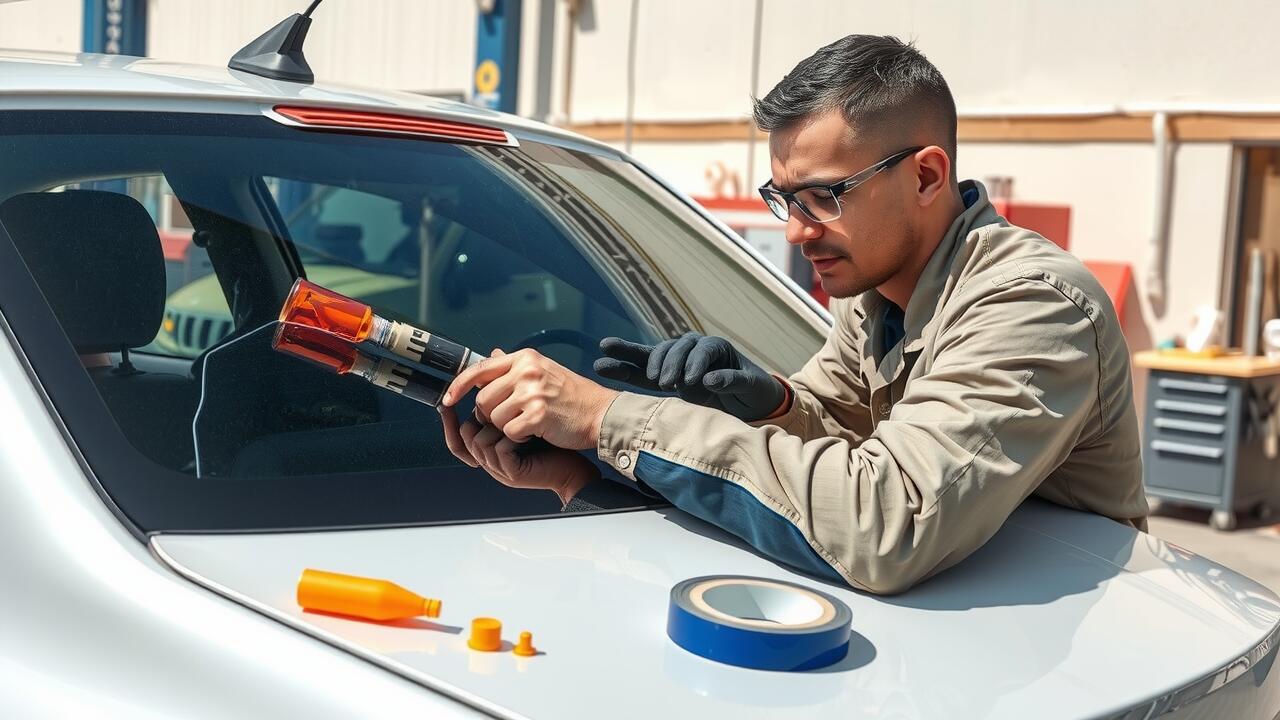
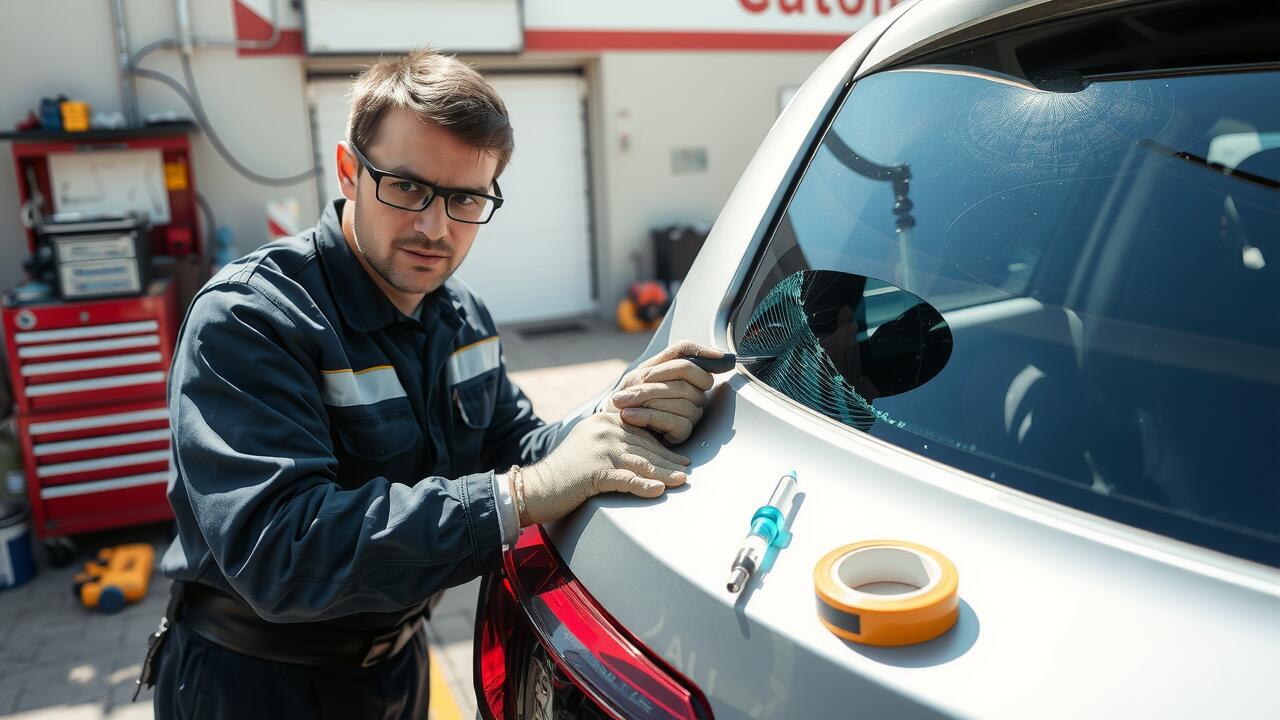
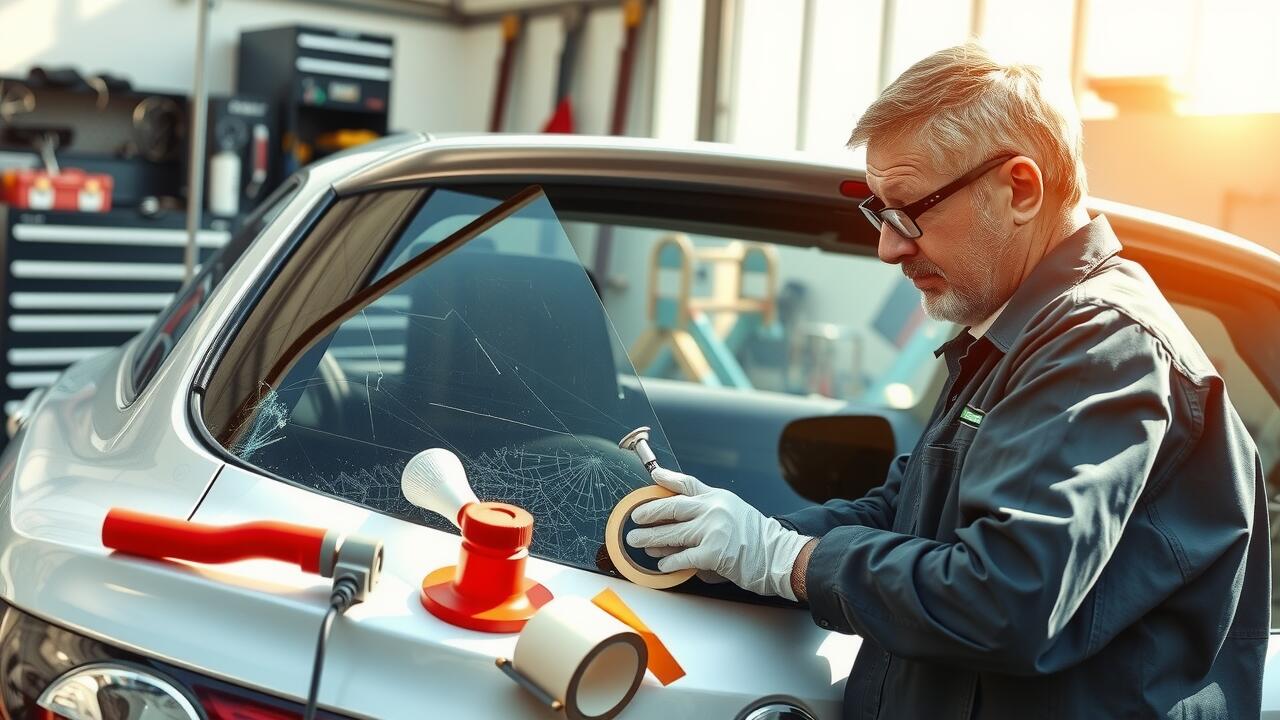
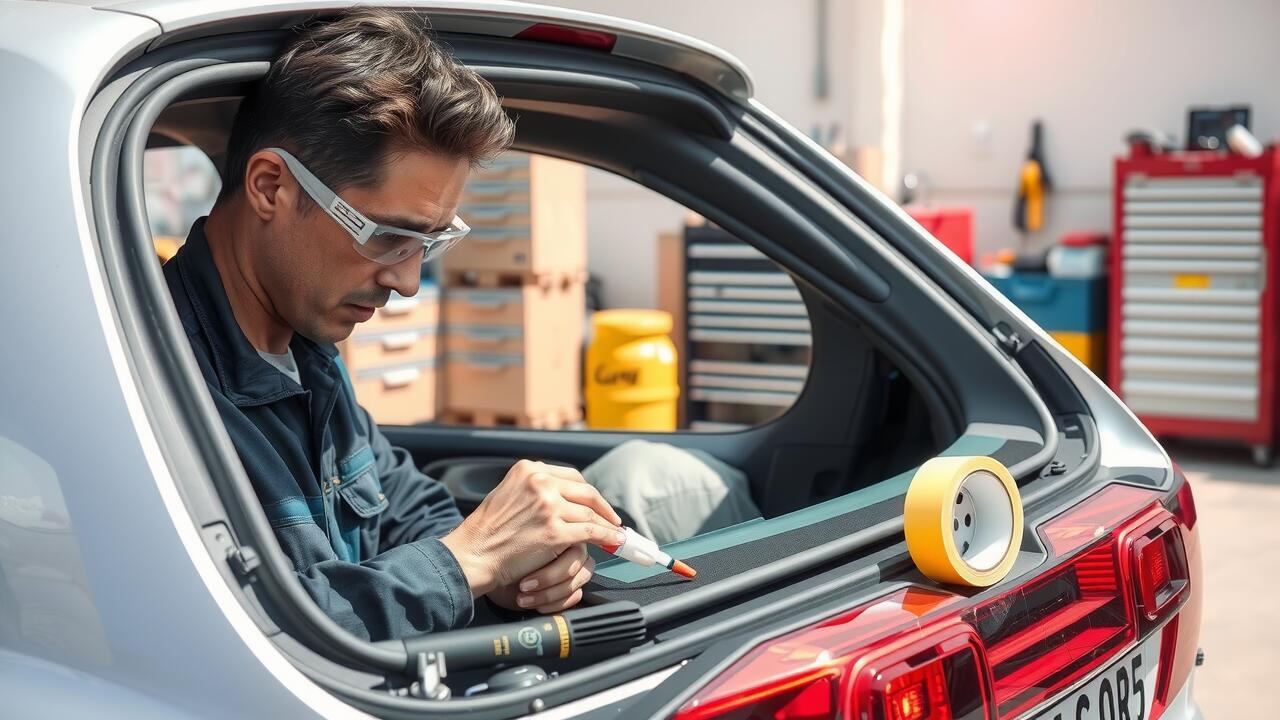
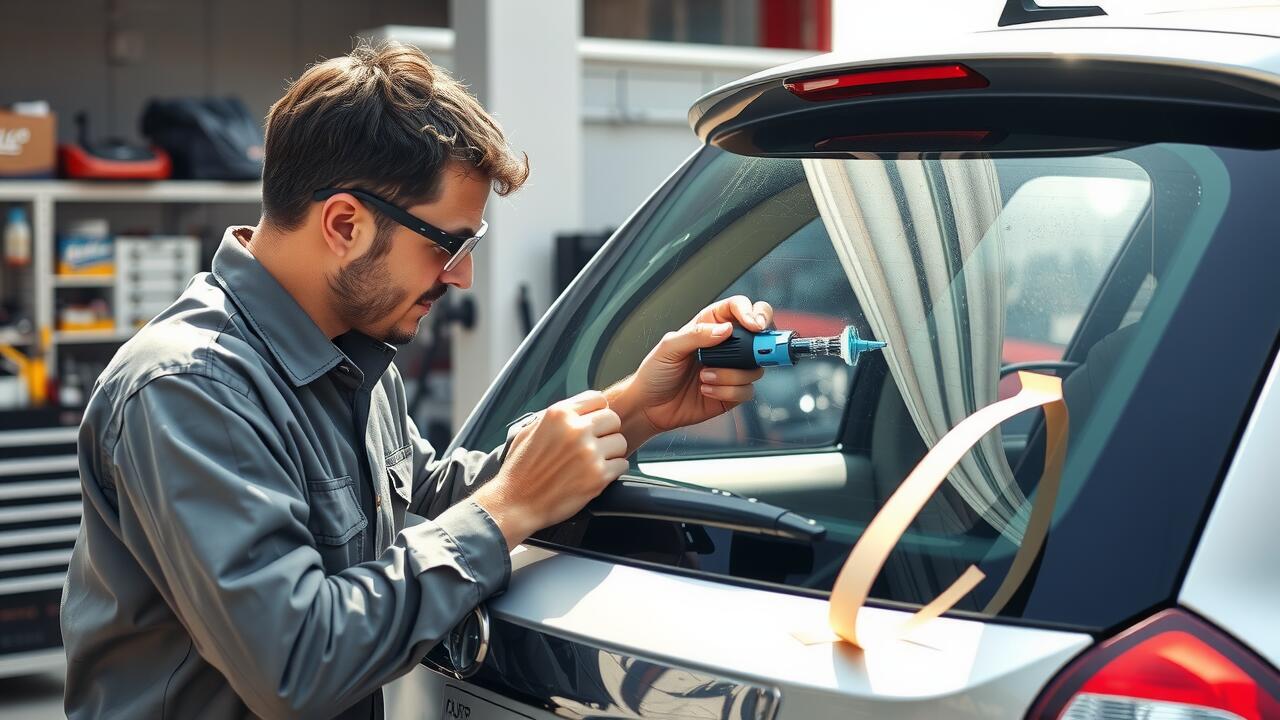
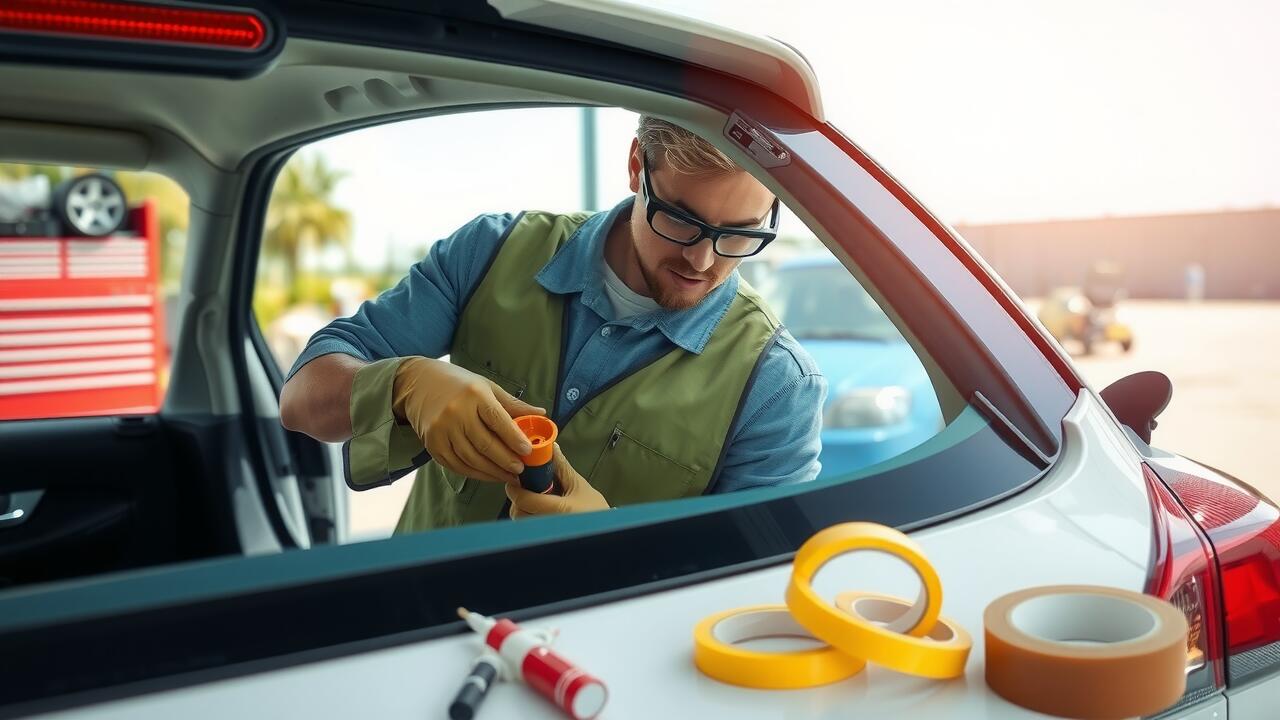
Ensuring a Proper Seal to Prevent Leaks
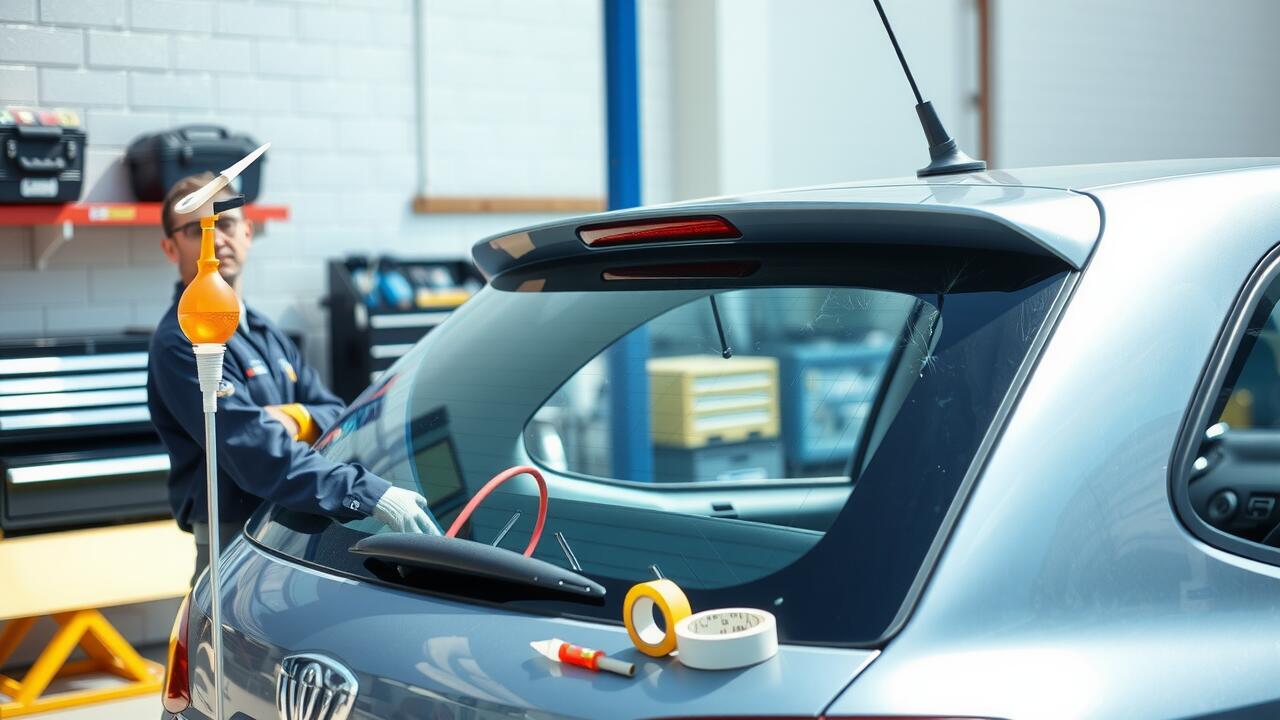
A proper seal is crucial to ensure that a newly installed side window replacement functions effectively and prevents any potential leaks. After fitting the glass into its frame, inspect the edges carefully for any gaps. Use a high-quality adhesive or sealant specifically designed for automotive applications. This will help create a tight bond between the glass and the vehicle's frame.
Allow adequate time for the adhesive to cure, following the manufacturer's recommendations. Test the seal by gently applying water over the edges of the window to identify any weak points. This proactive approach will help protect the interior of your vehicle from rainwater or other moisture that could lead to lasting damage. Regular checks on the seal after installation can also prevent future issues and ensure the longevity of your side window replacement.
FAQS
What are the options for covering a broken car window temporarily?
You can use materials like cardboard, plastic sheeting, or duct tape as a temporary cover for a broken car window. These materials help block wind and rain until a more permanent solution can be arranged.
How do I choose the right replacement glass for my car window?
When selecting replacement glass, make sure to consider your vehicle's make and model, as well as whether you need original equipment manufacturer (OEM) glass or aftermarket glass options. It's also important to check for any tinting requirements that match the other windows in your car.
Can I install the replacement glass myself, or should I hire a professional?
Installing replacement glass can be done by experienced DIYers, but it can be tricky. If you're confident in your skills and have the right tools, you can follow a step-by-step guide. Otherwise, hiring a professional is recommended to ensure proper installation and sealing.
How do I properly seal the edges after replacing the glass?
To ensure a proper seal, use a high-quality sealant designed for automotive glass. Apply the sealant evenly around the edges of the glass and press it firmly into the frame. Allow the sealant to cure as per the manufacturer's instructions to prevent leaks.
What should I do if I notice leaks after replacing my car window?
If you notice leaks after installing the replacement glass, recheck the seal around the edges. You may need to apply more sealant or adjust the glass to ensure it fits snugly. If the problem persists, it may be best to consult a professional for further assistance.