Table Of Contents
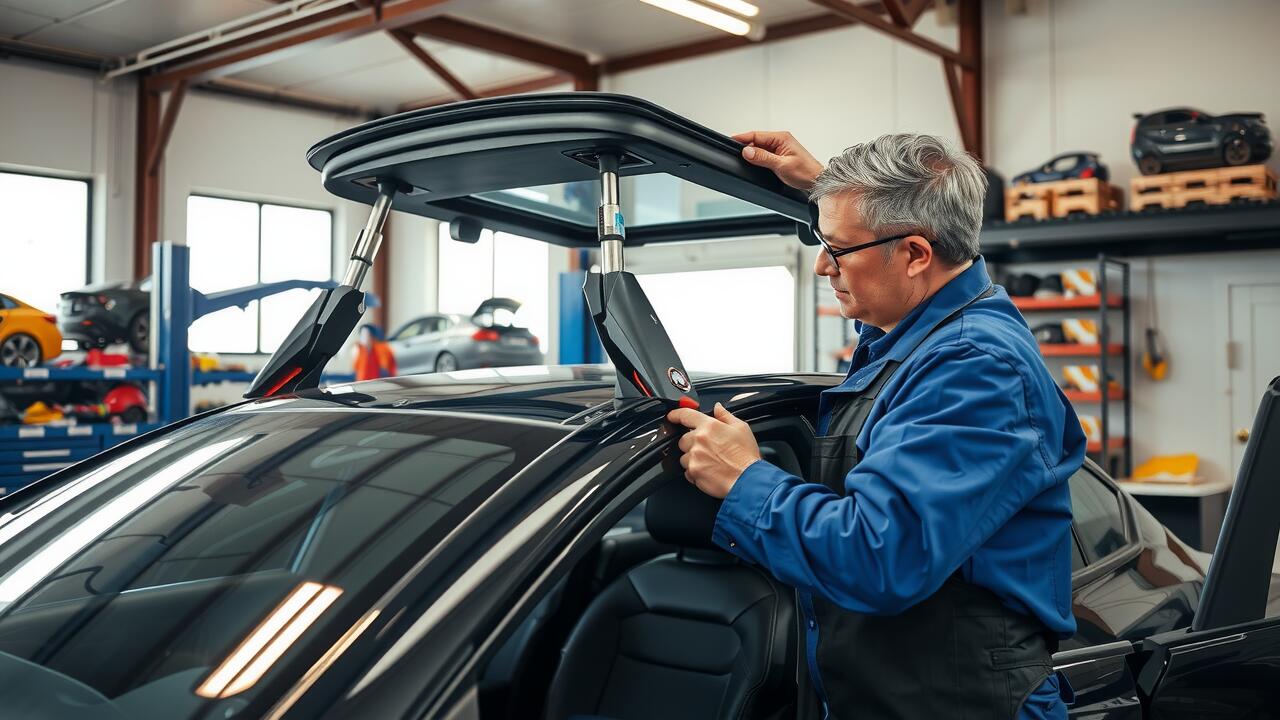
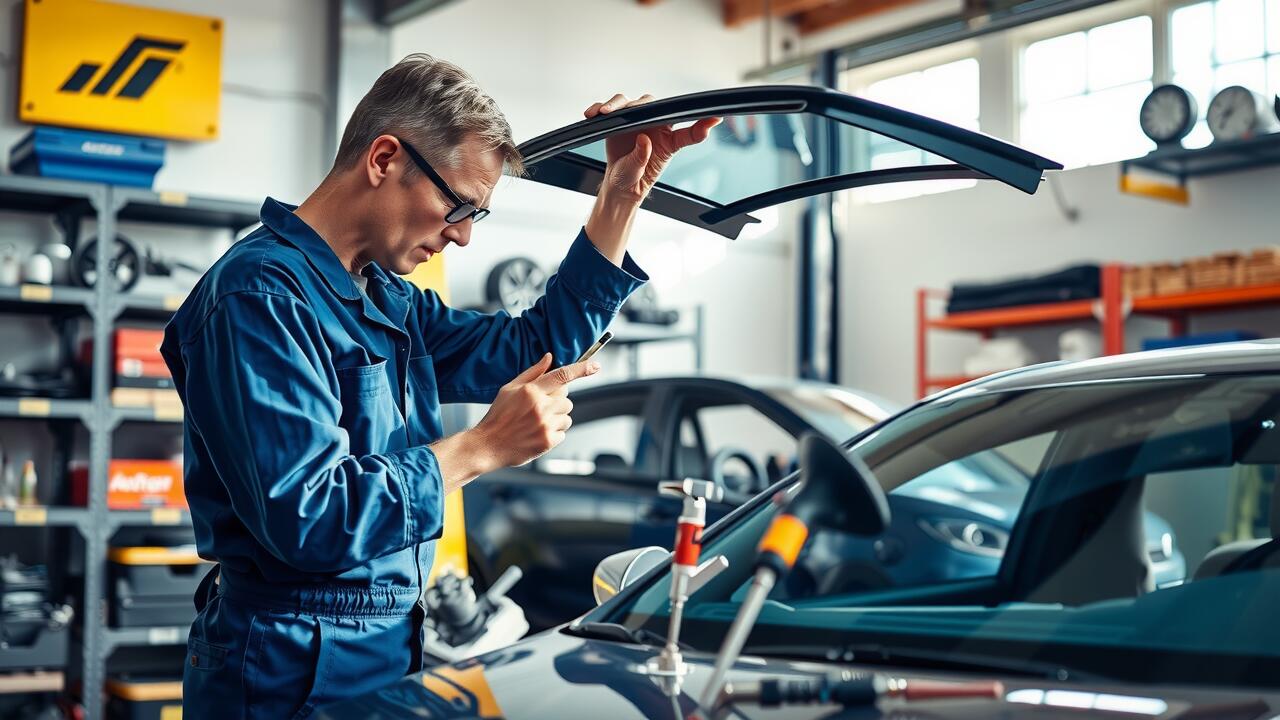
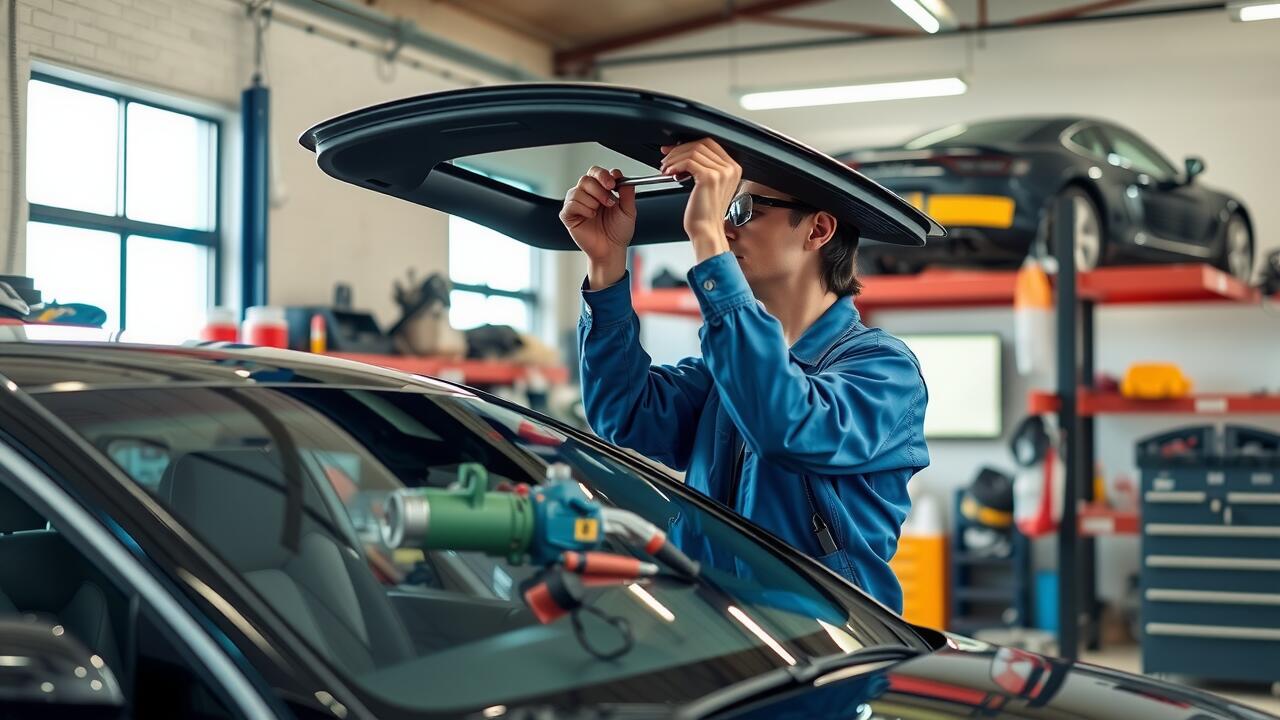
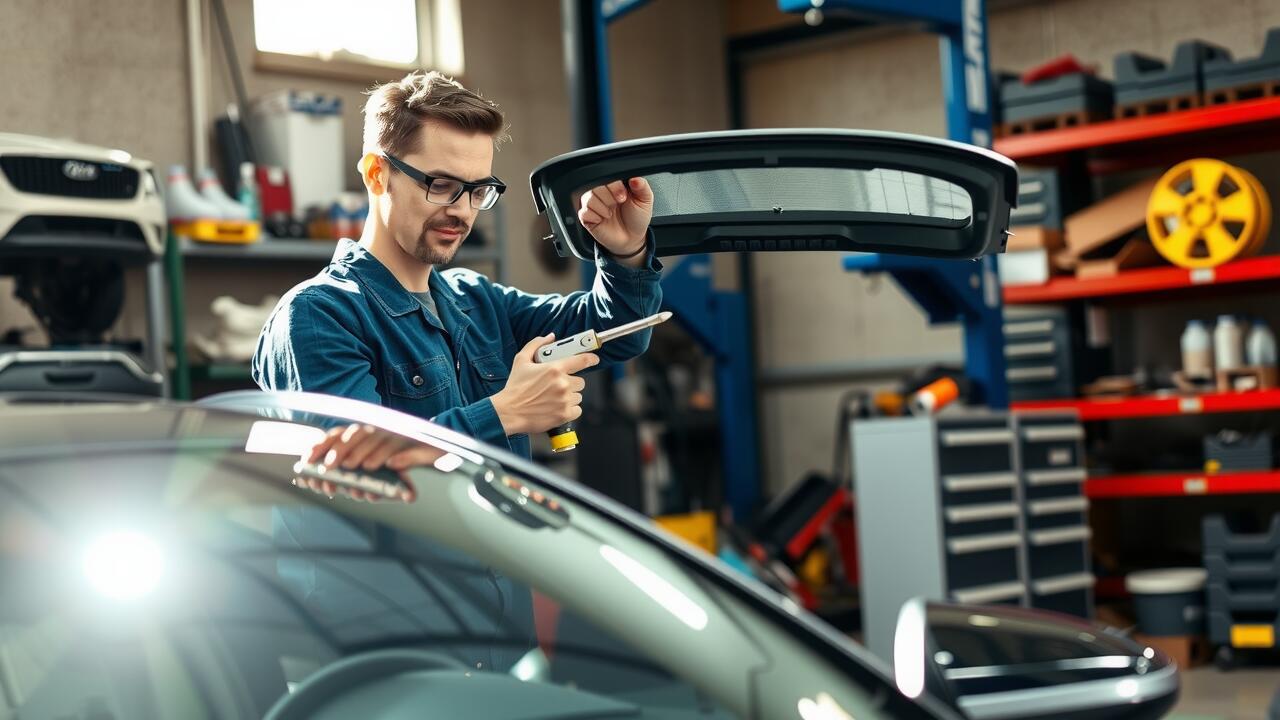
Removing the Broken Glass
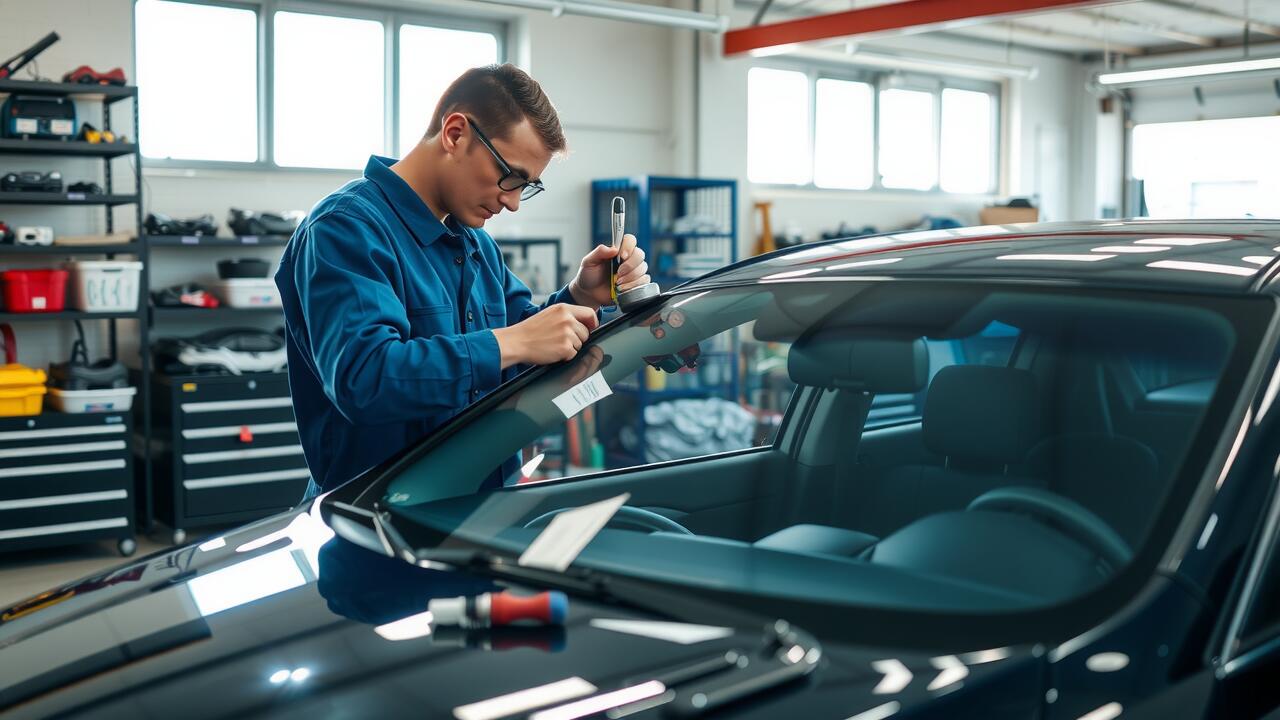
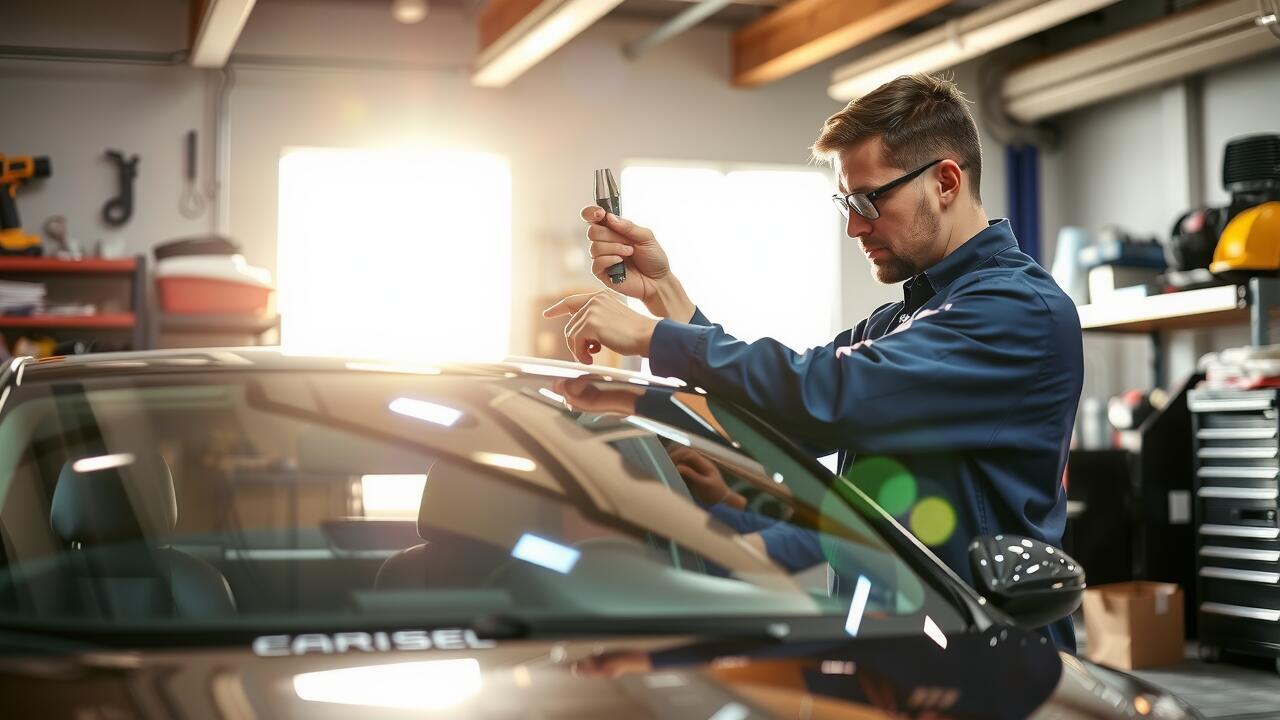
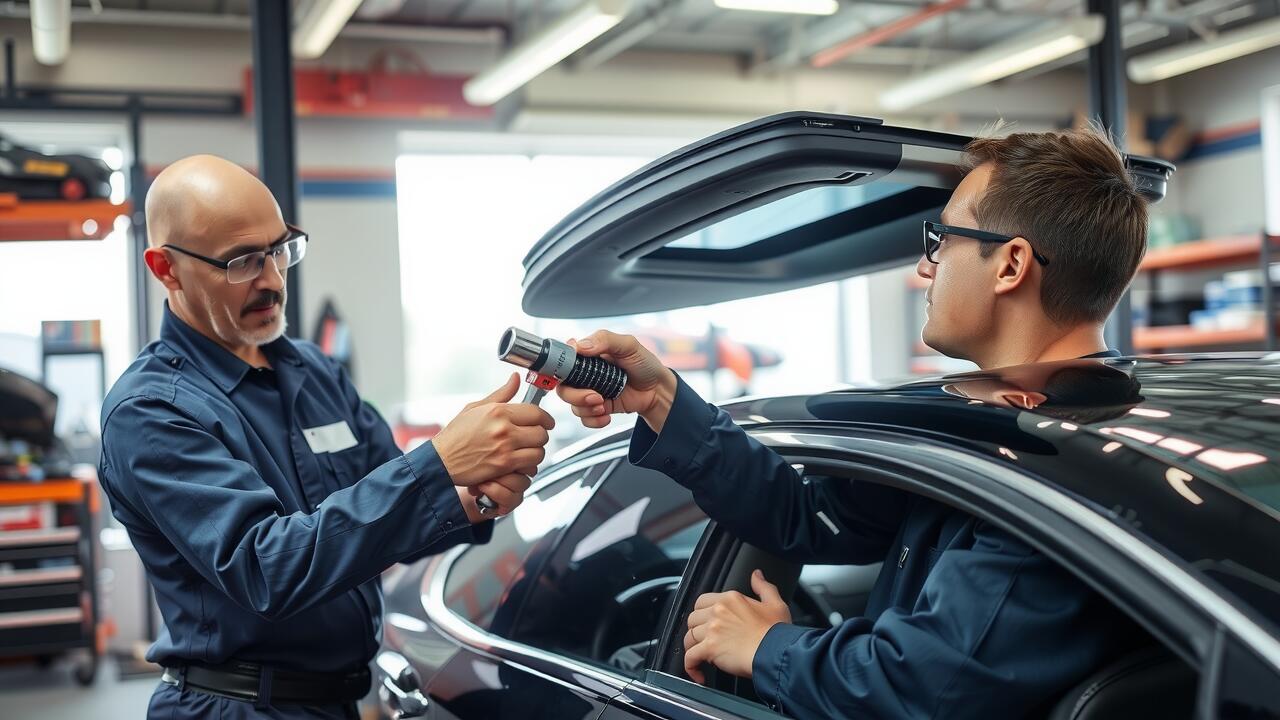
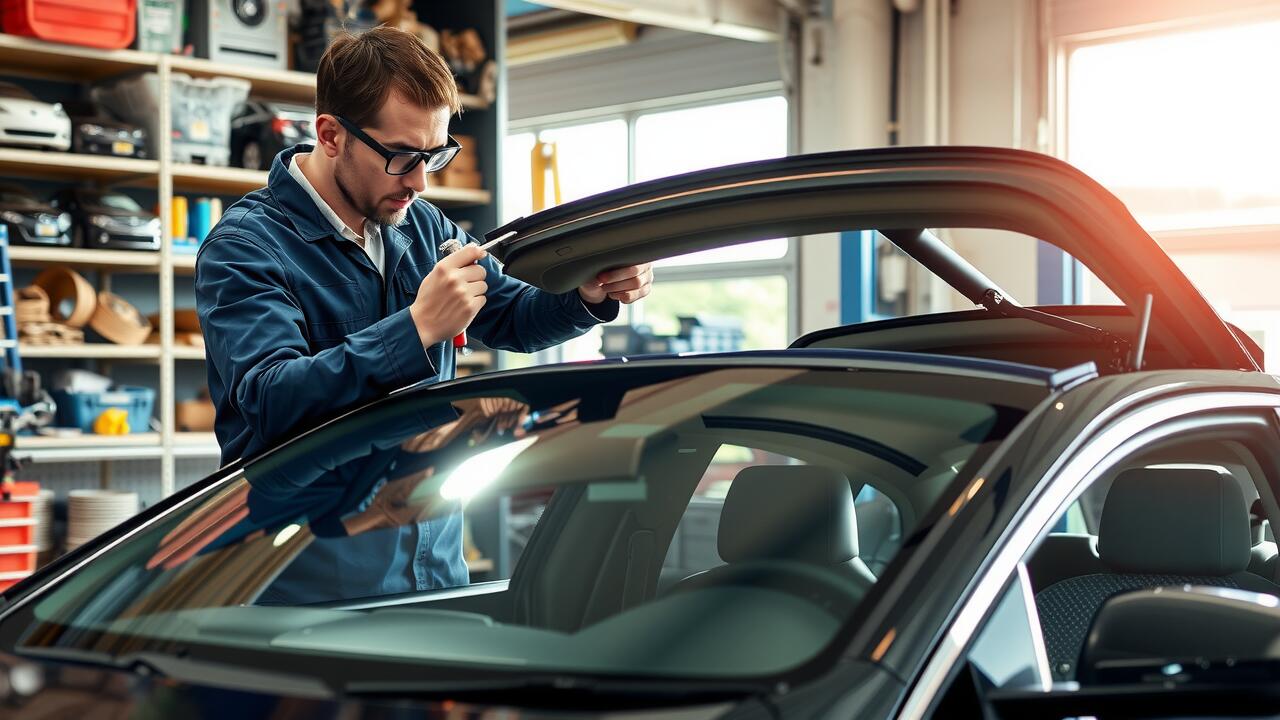
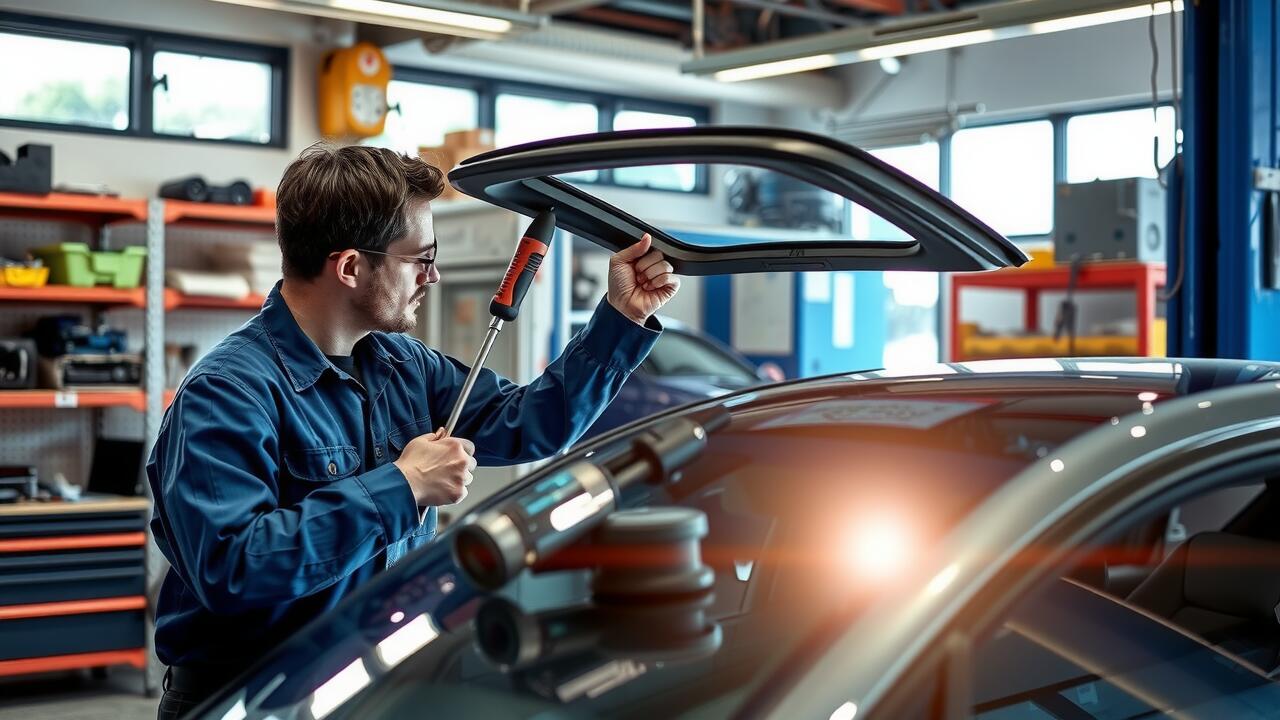
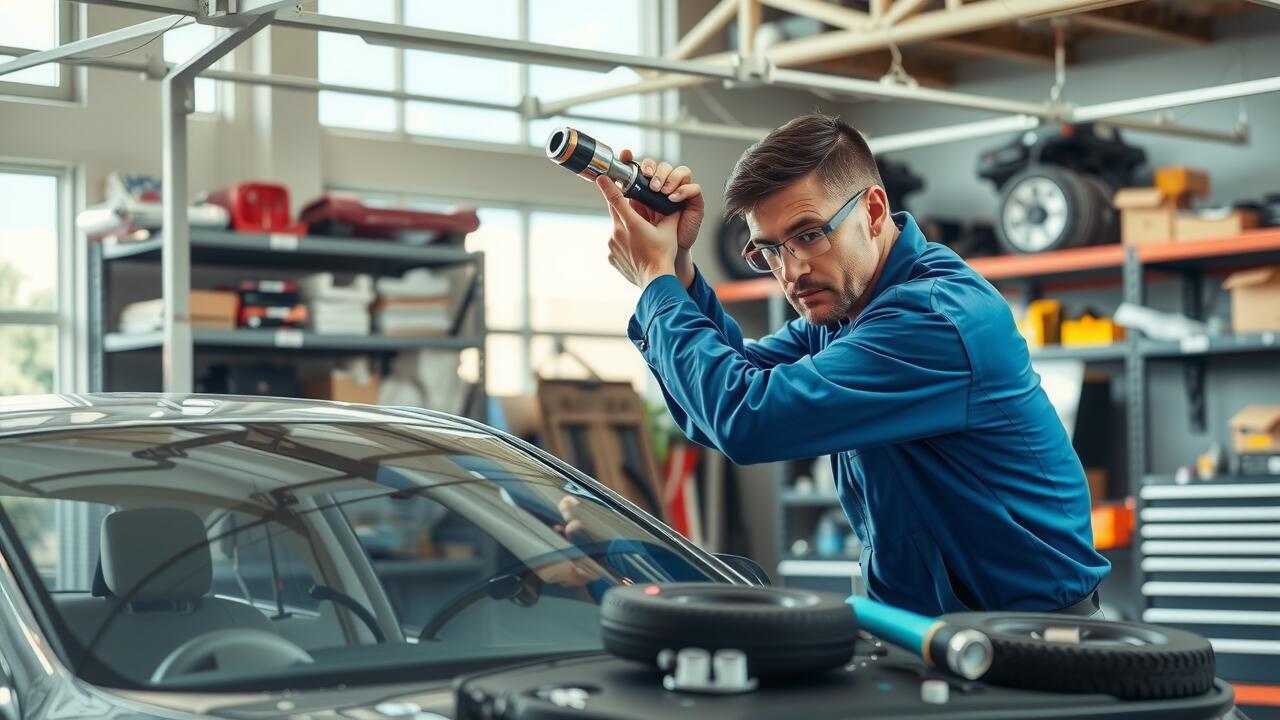
To begin the sunroof repair process, carefully inspect the broken glass. A thorough examination ensures that you ascertain the extent of the damage and identify how to remove the shards effectively. Ensuring you have all the necessary tools handy can streamline the procedure. Common tools include a socket set, screwdrivers, and a plastic trim removal tool, which helps prevent damage to surrounding surfaces during the removal.
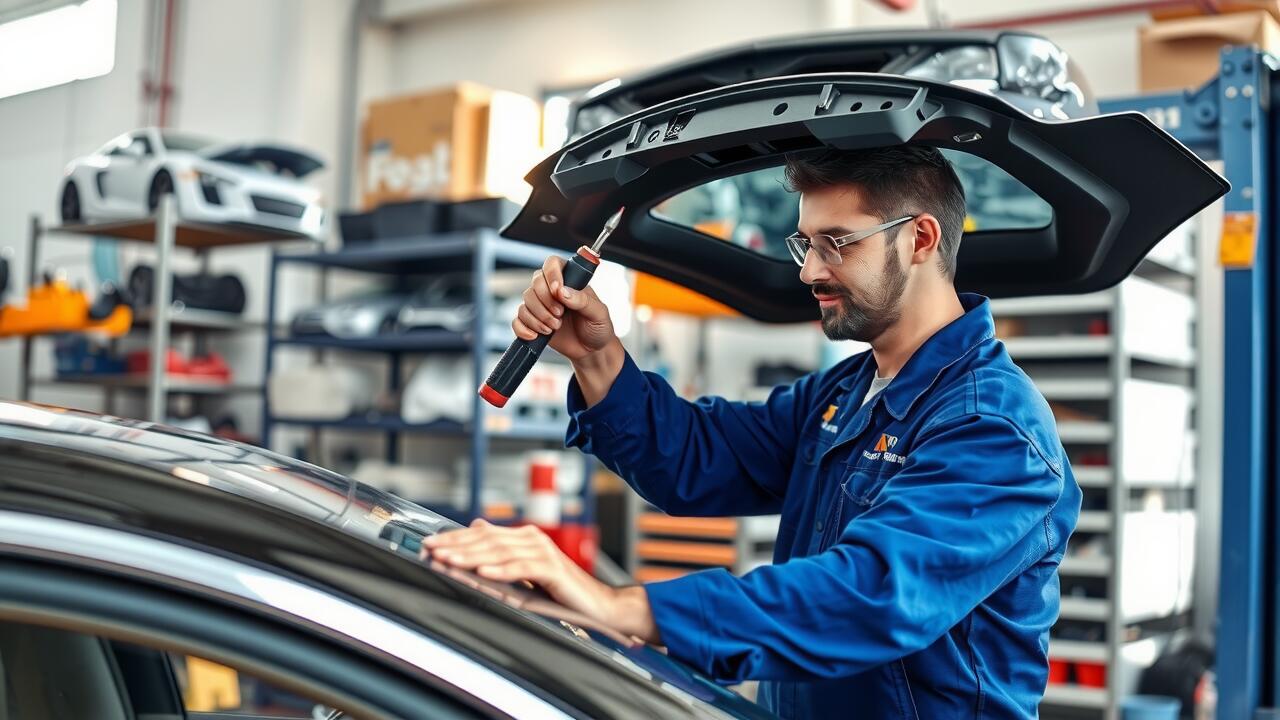
Next, start by detaching the interior sunroof panel. This typically involves accessing hidden screws or clips that may require a bit of patience. Once the panel is removed, the broken glass can be accessed easily. Remove any remaining pieces of shattered glass with caution, wearing safety gloves to protect your hands. Keeping the work area clean and organised will help avoid any accidents and assist in the smooth execution of the sunroof repair.
Step-by-Step Removal Process
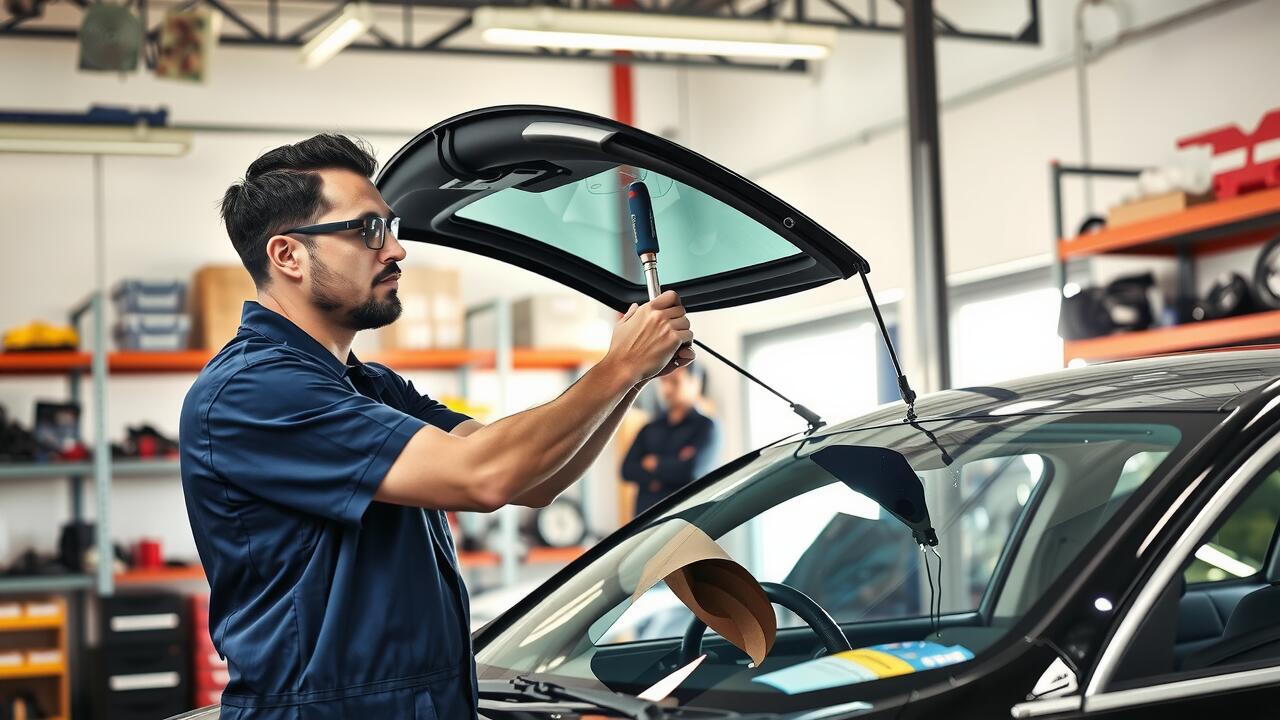
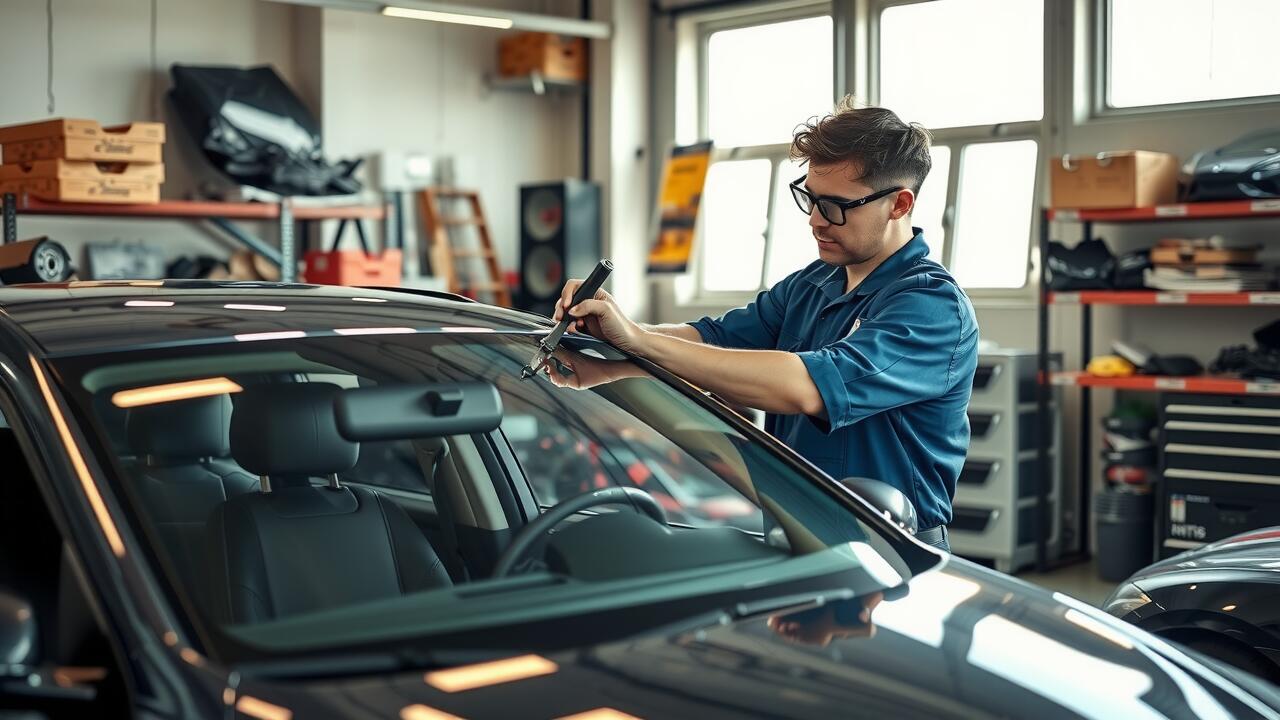
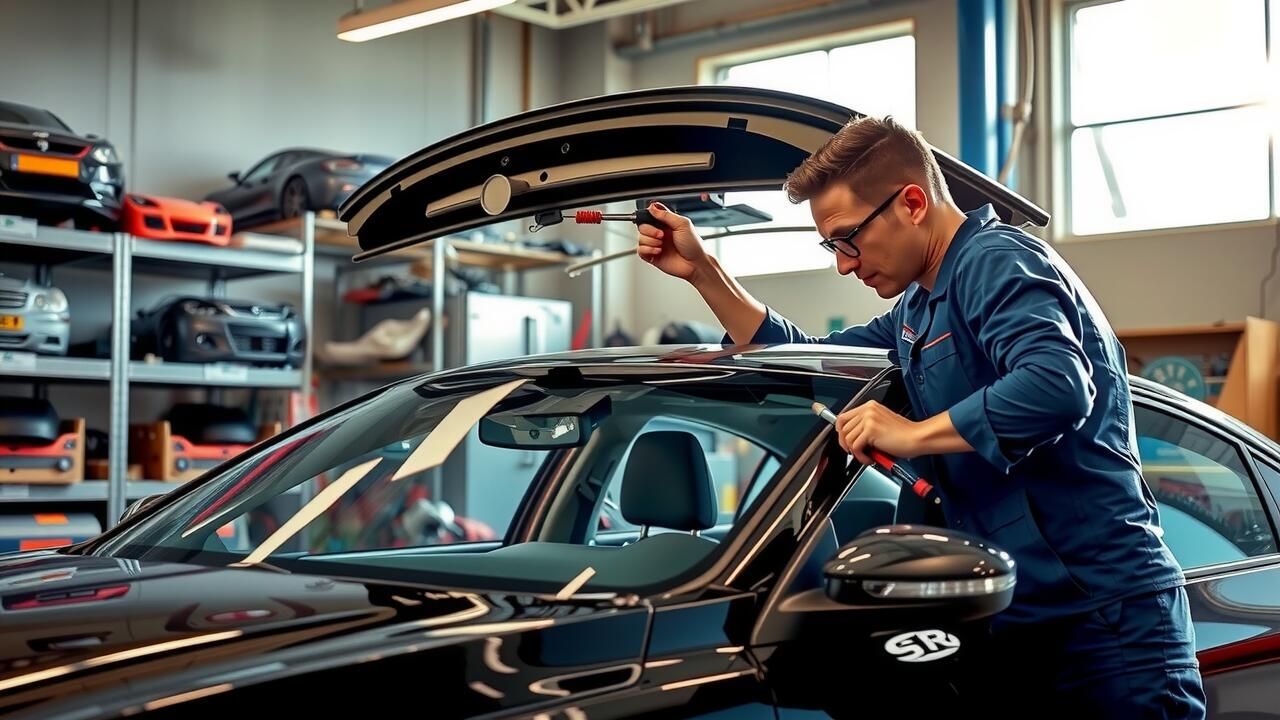
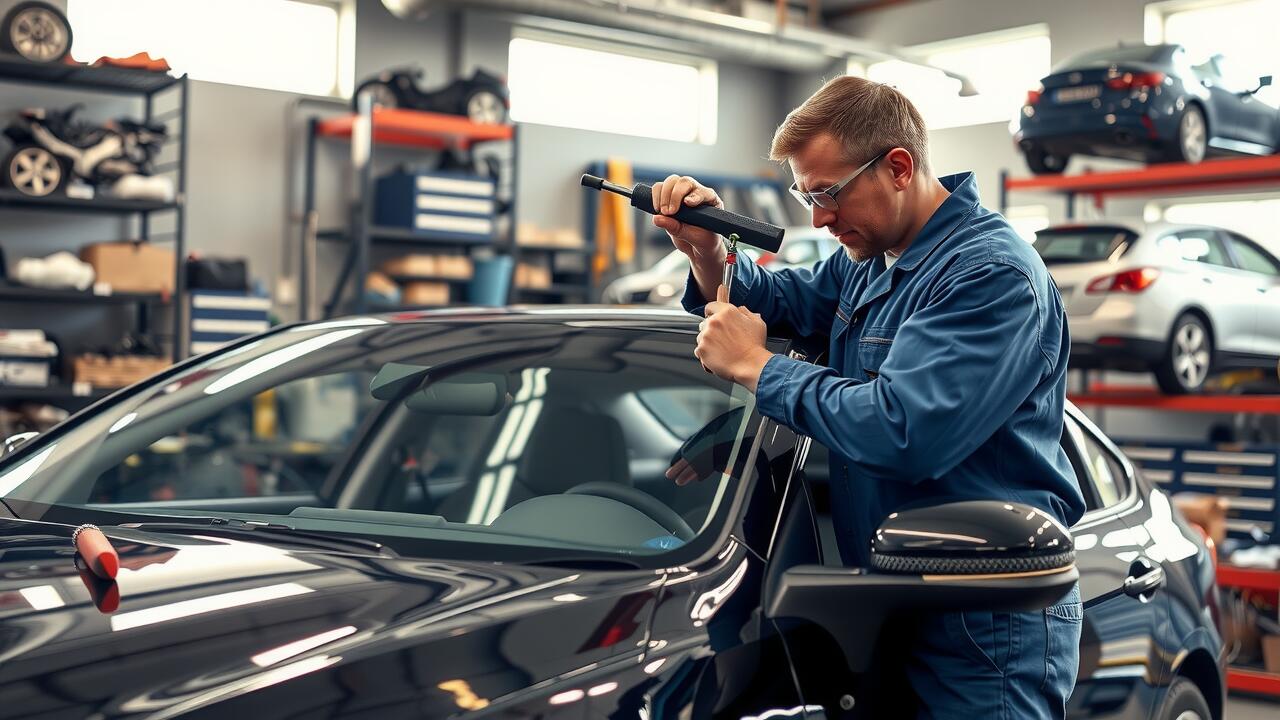
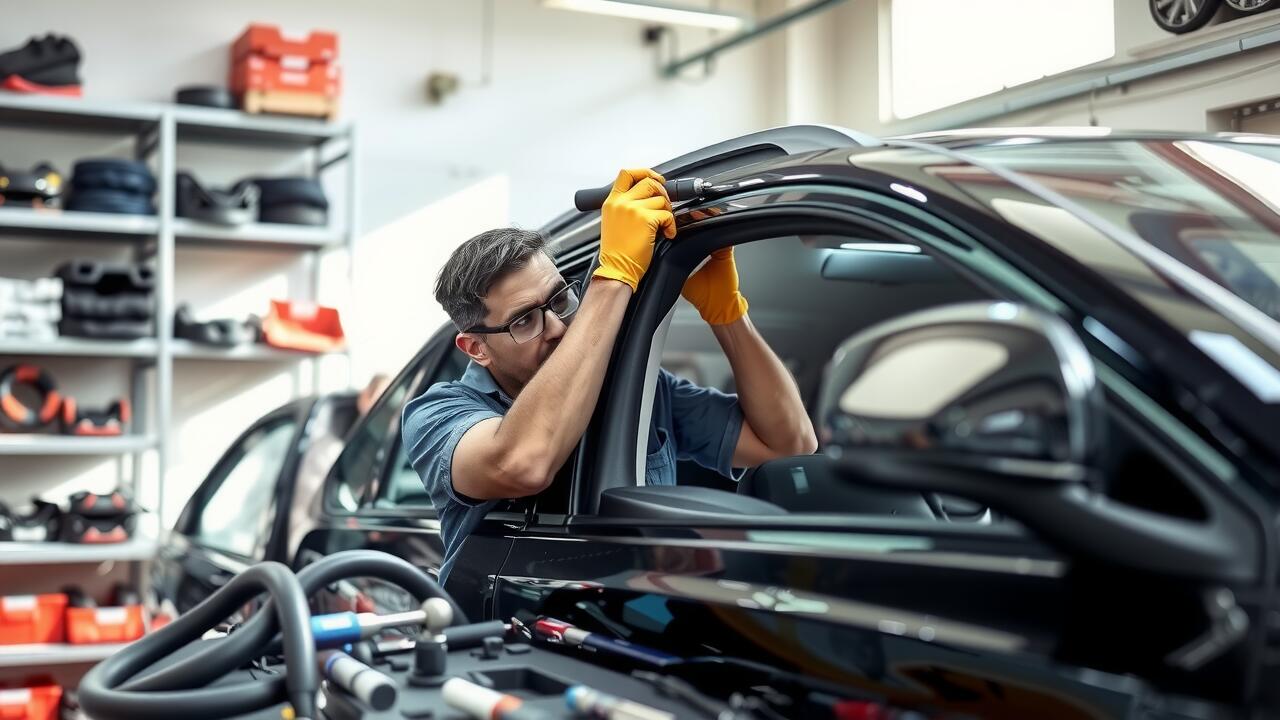
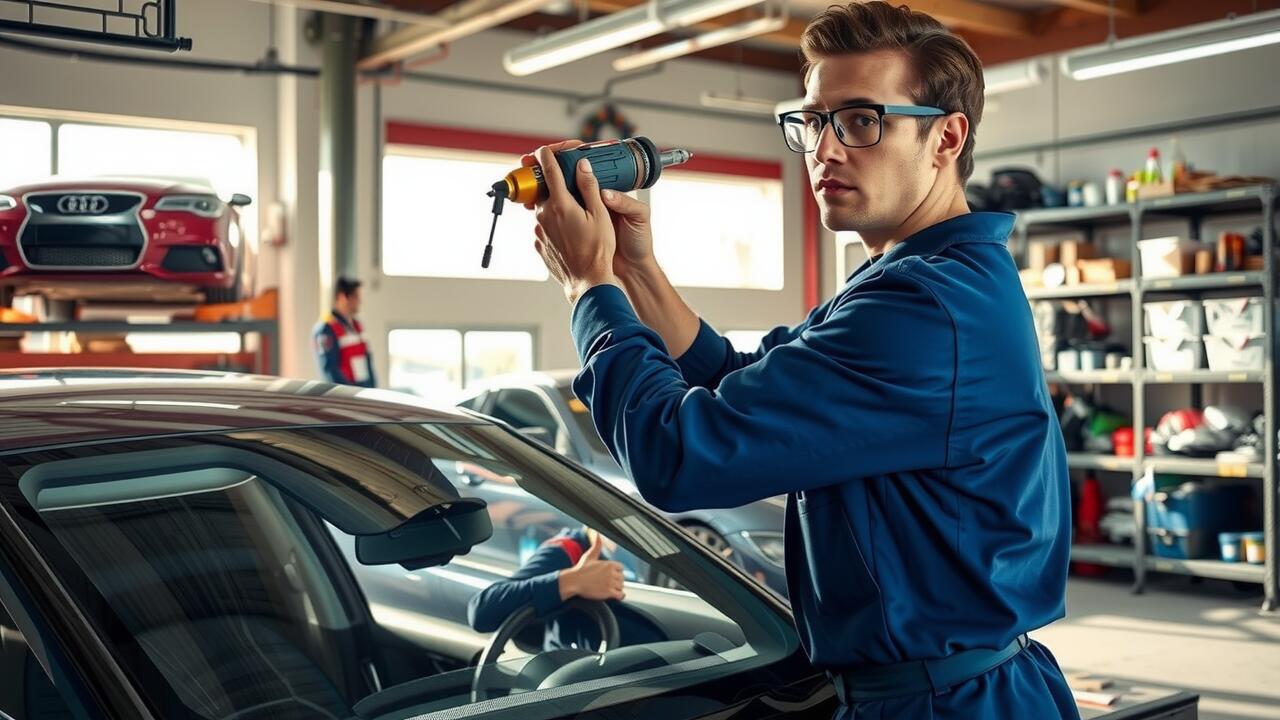
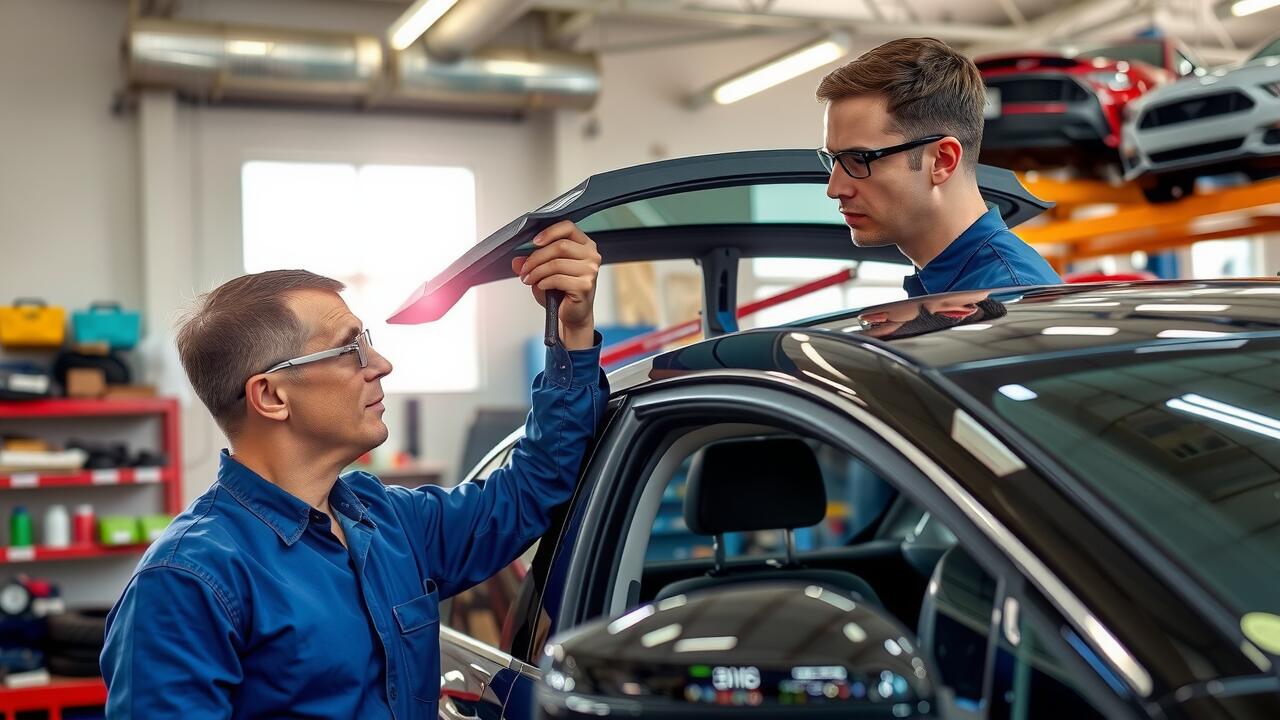
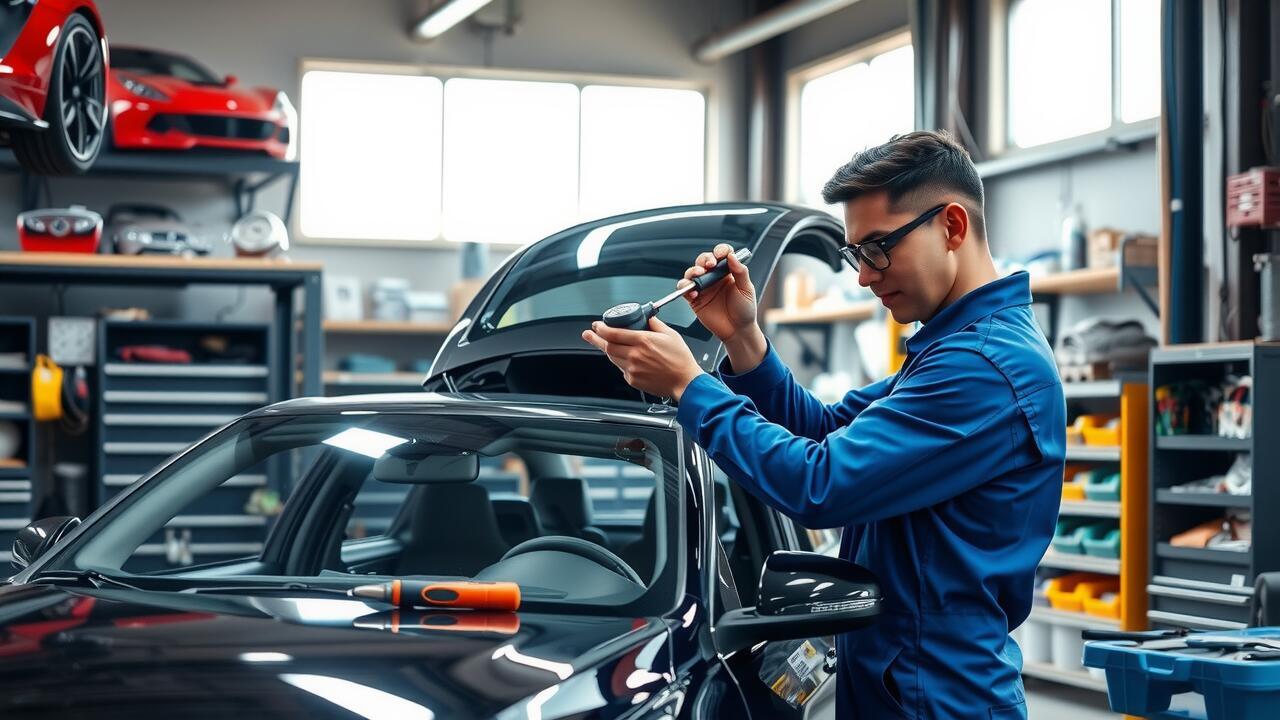
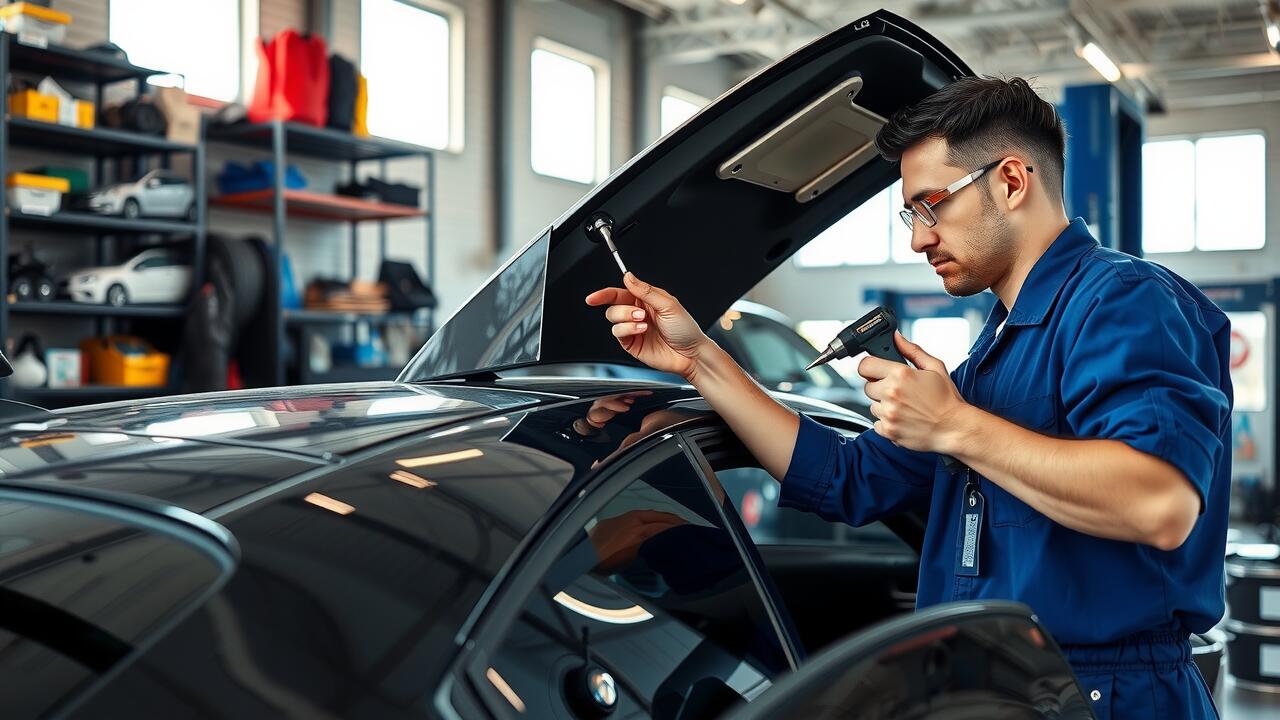
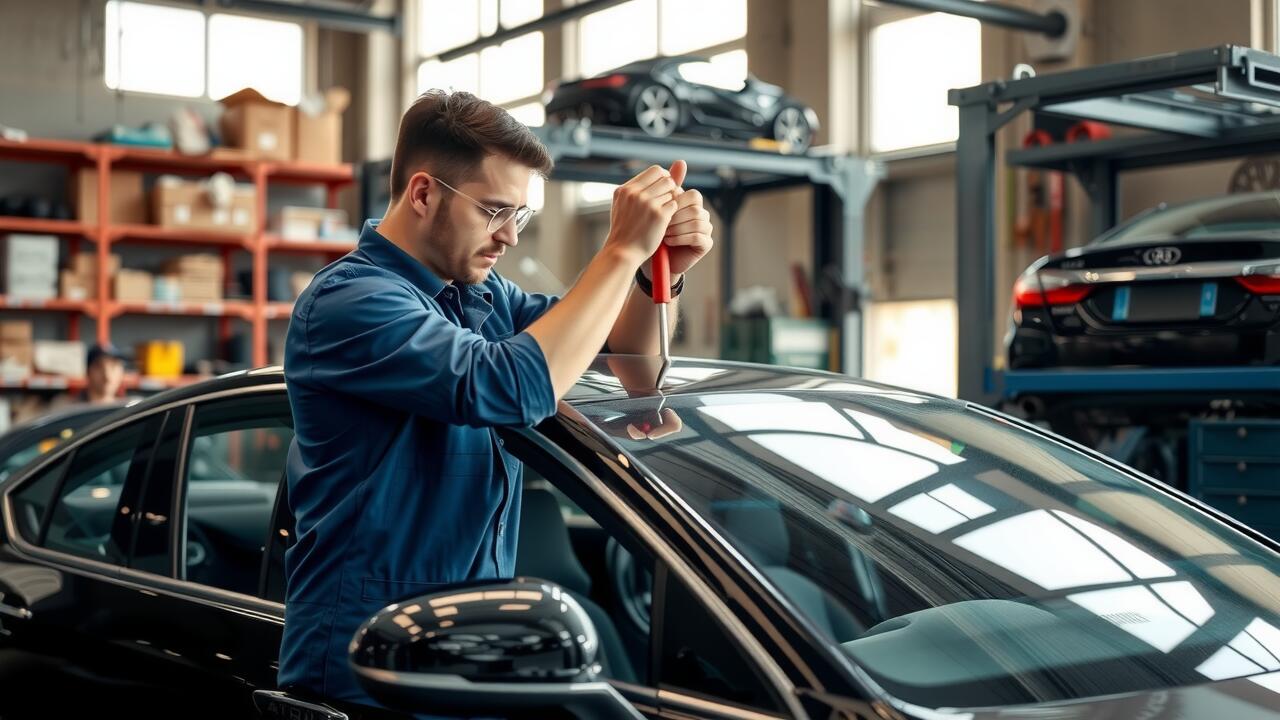
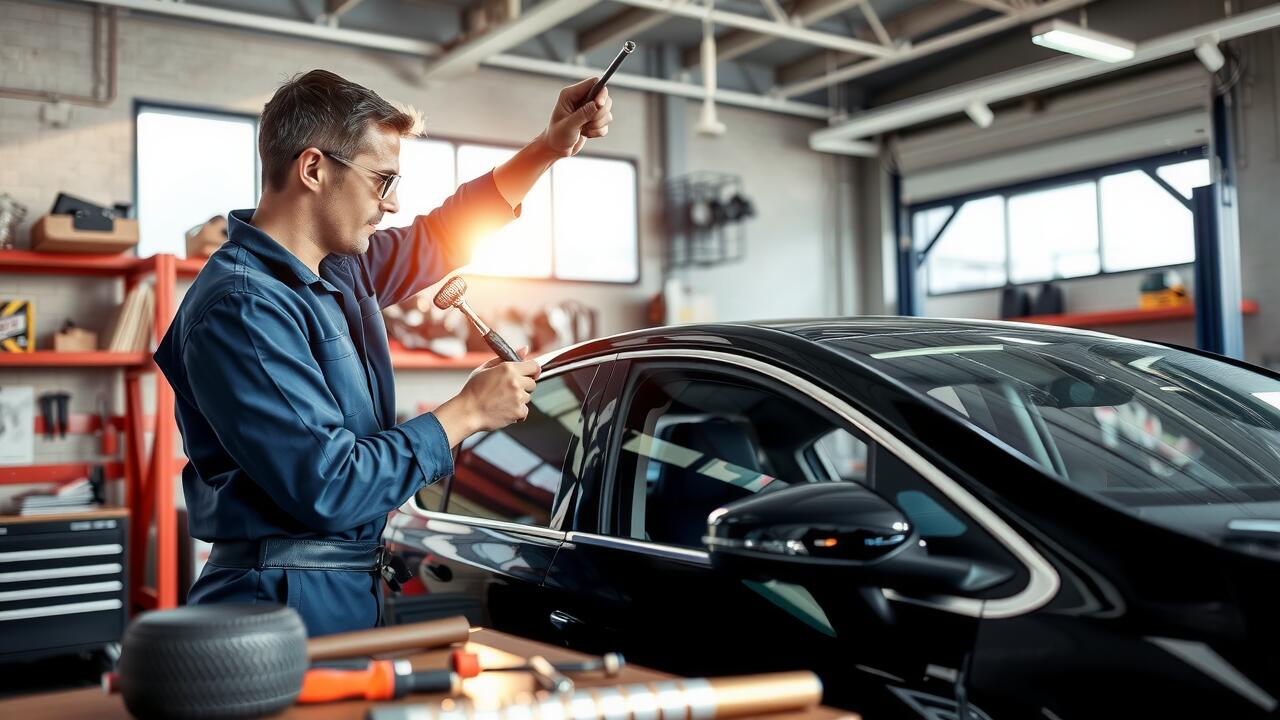
To begin the removal process of the broken sunroof glass, first ensure safety by wearing protective gloves and eyewear. Carefully inspect the sunroof’s frame and surrounding areas for any obvious damage that may complicate removal. Start by fully opening the sunroof to access the screws and clips securely holding the glass in place. Use a suitable tool, such as a screwdriver or socket wrench, to remove these fasteners. Be gentle during this phase to avoid causing further damage to the sunroof mechanism.
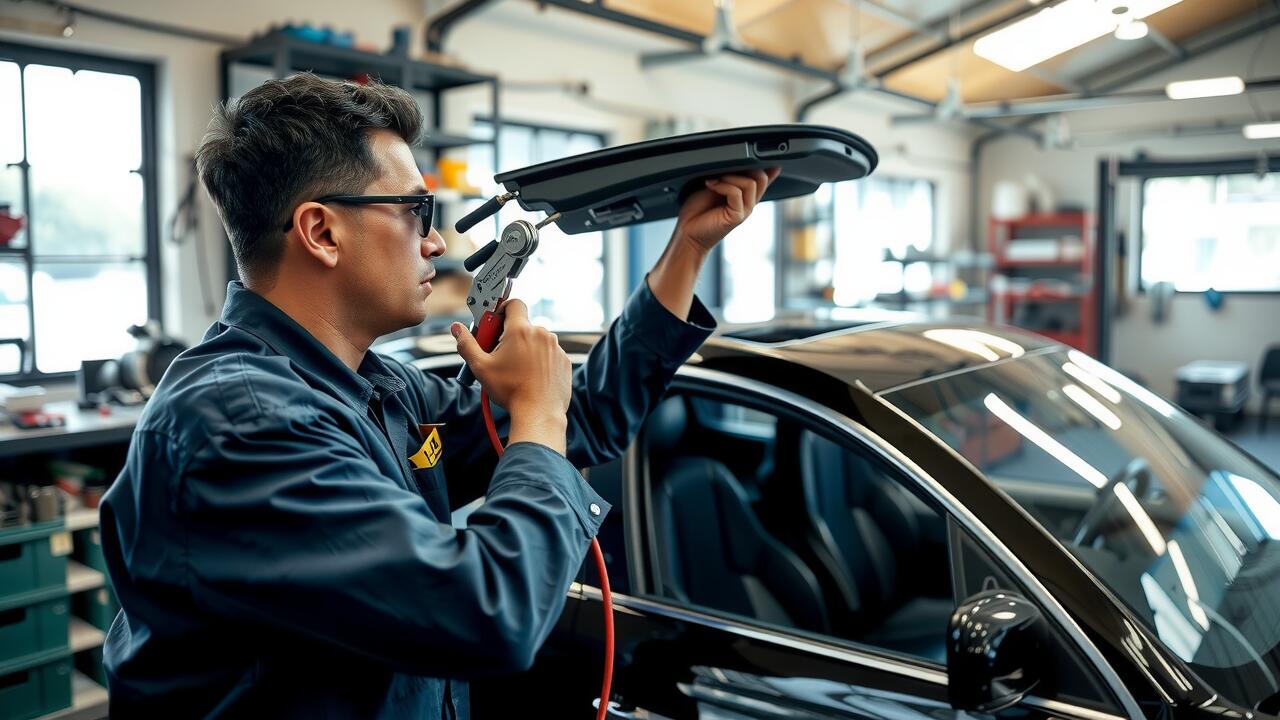
Once all screws and clips are removed, gently lift the broken glass out of the frame. It’s important to handle the glass with care, as sharp edges can pose a risk of injury. If any adhesive is present, use a scraper to clear it from the frame. After the glass is removed, clean the area thoroughly to prepare for the sunroof repair. Ensure no debris or remnants of adhesive are left behind, as this can obstruct the installation of the new glass.
Installing the New Sunroof Glass
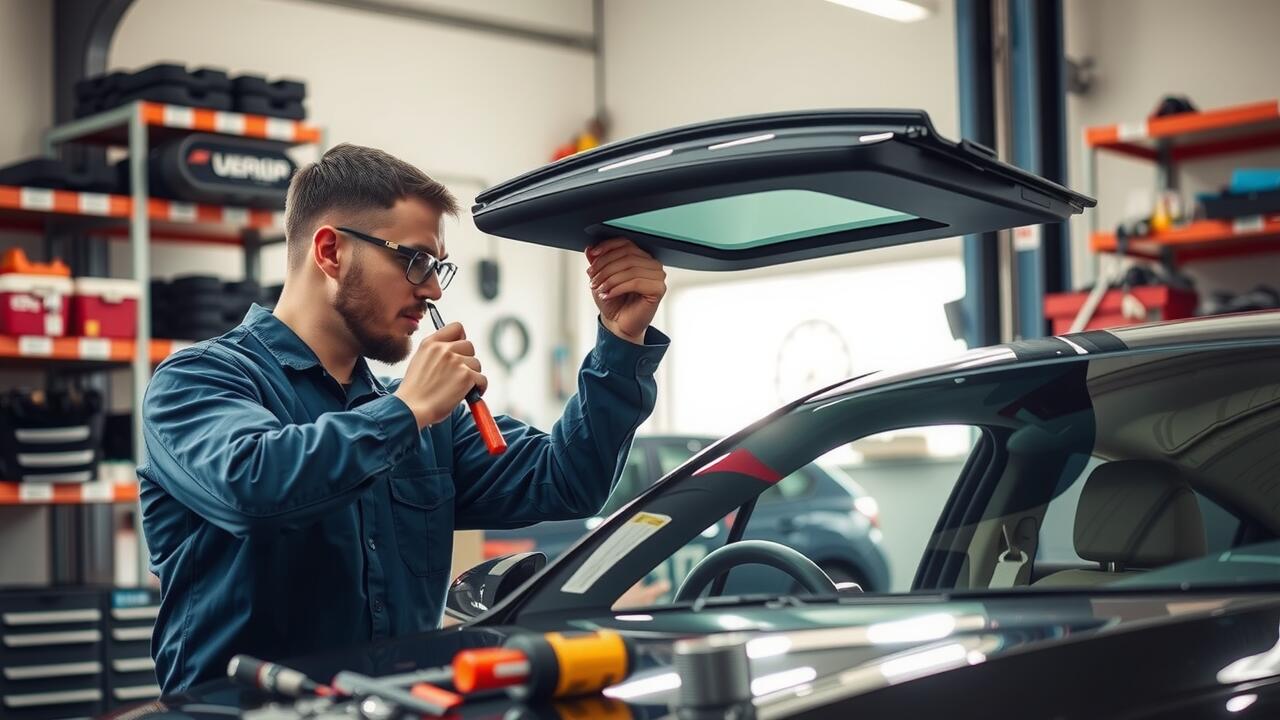
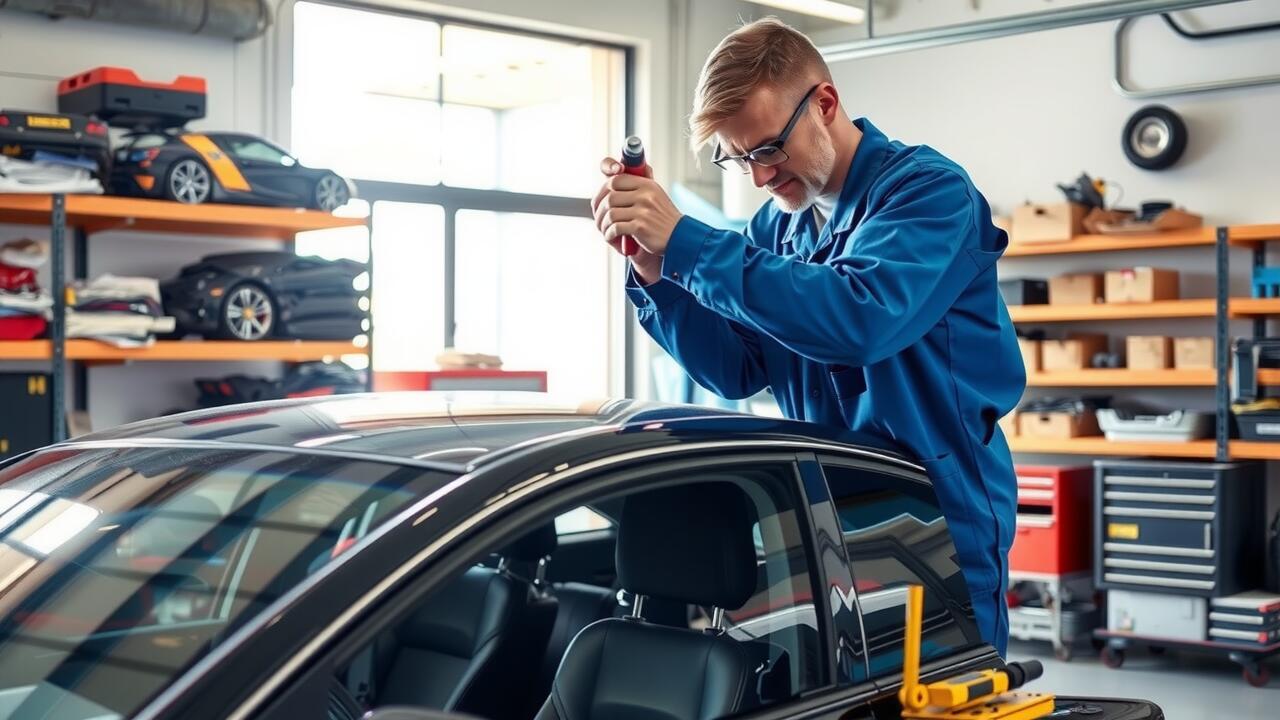
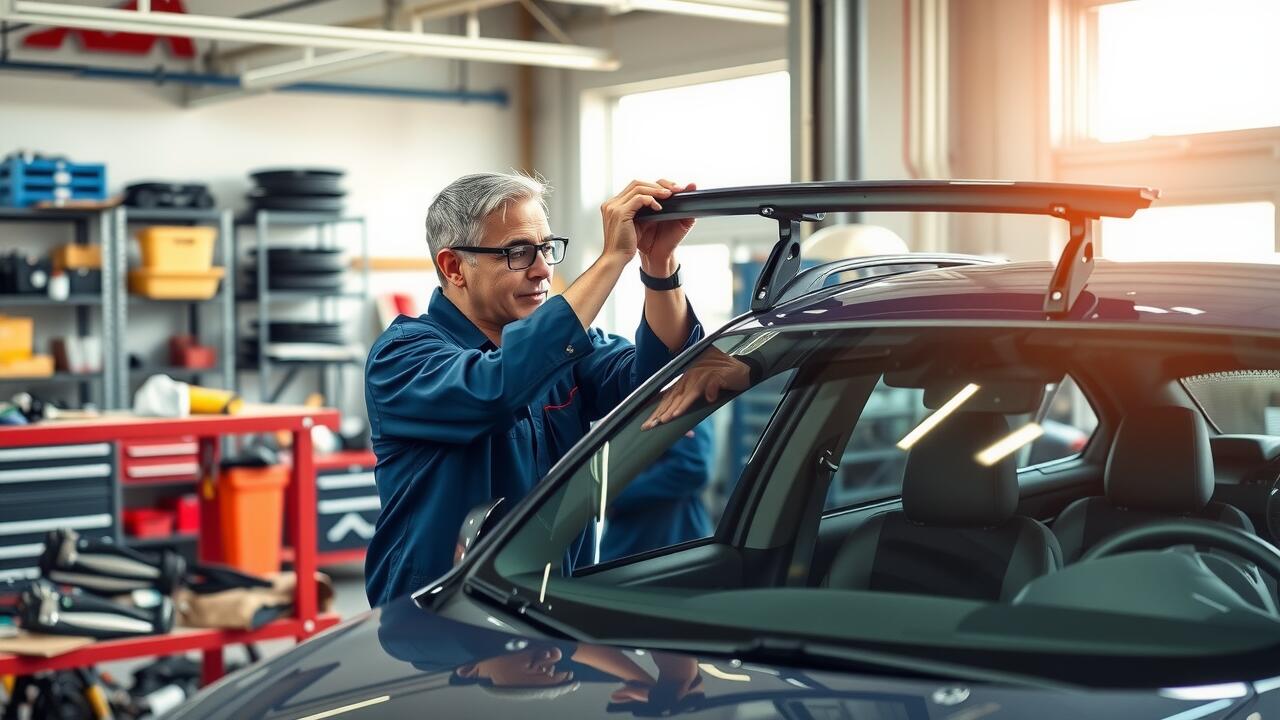
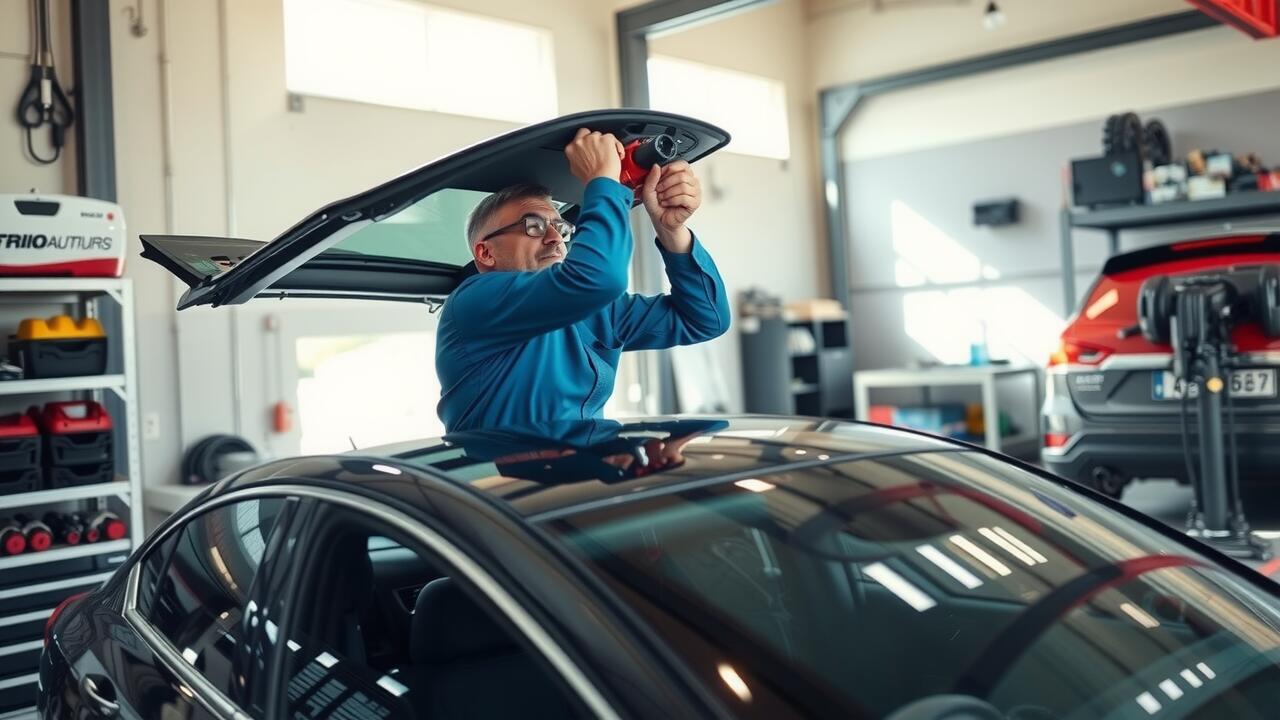
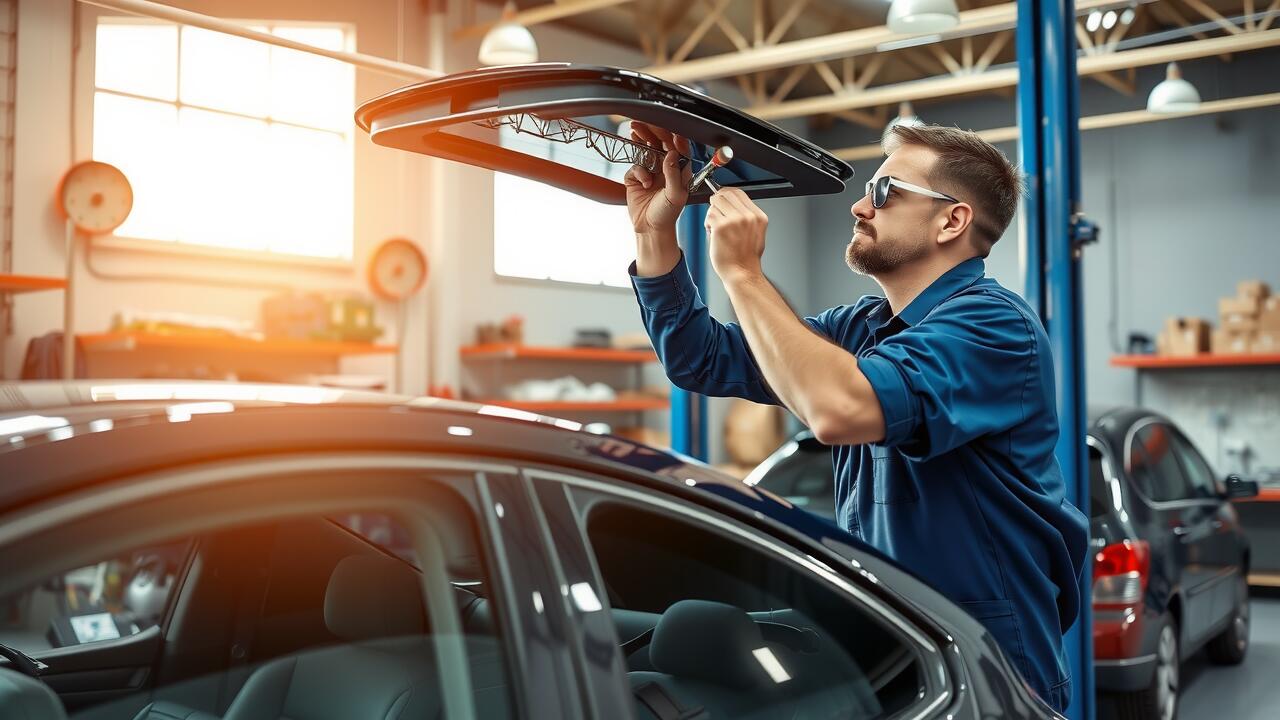
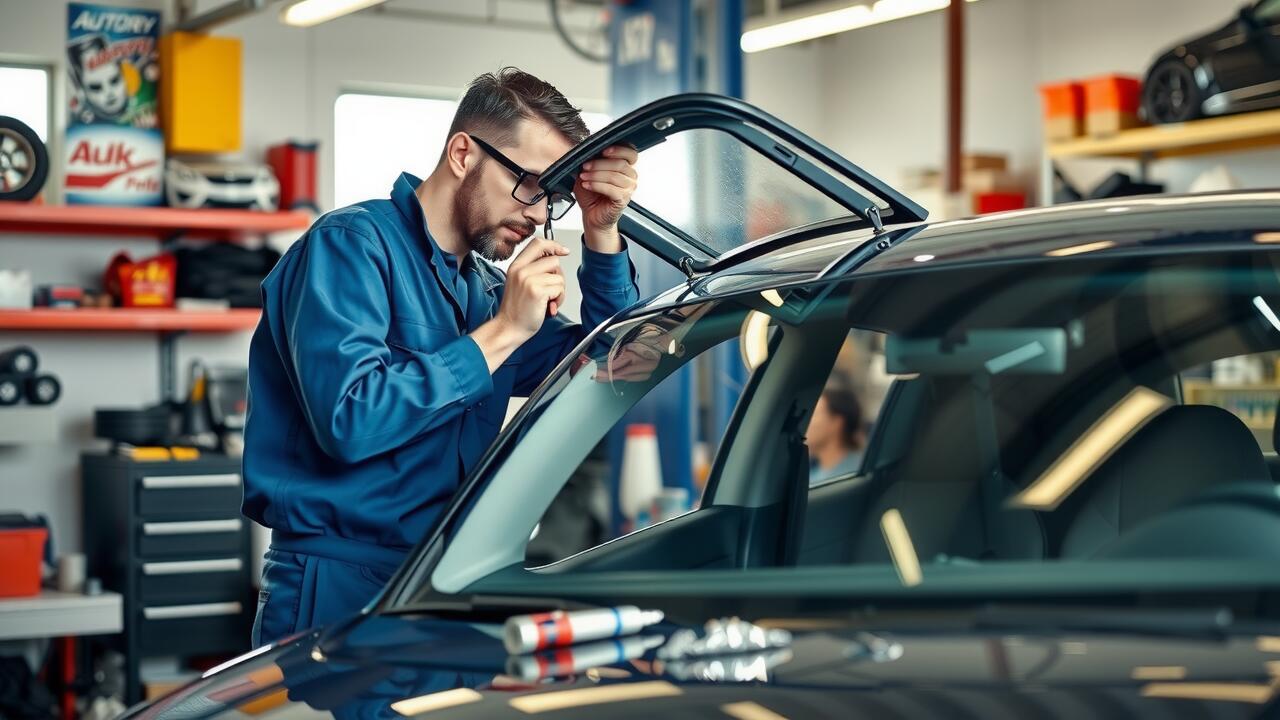
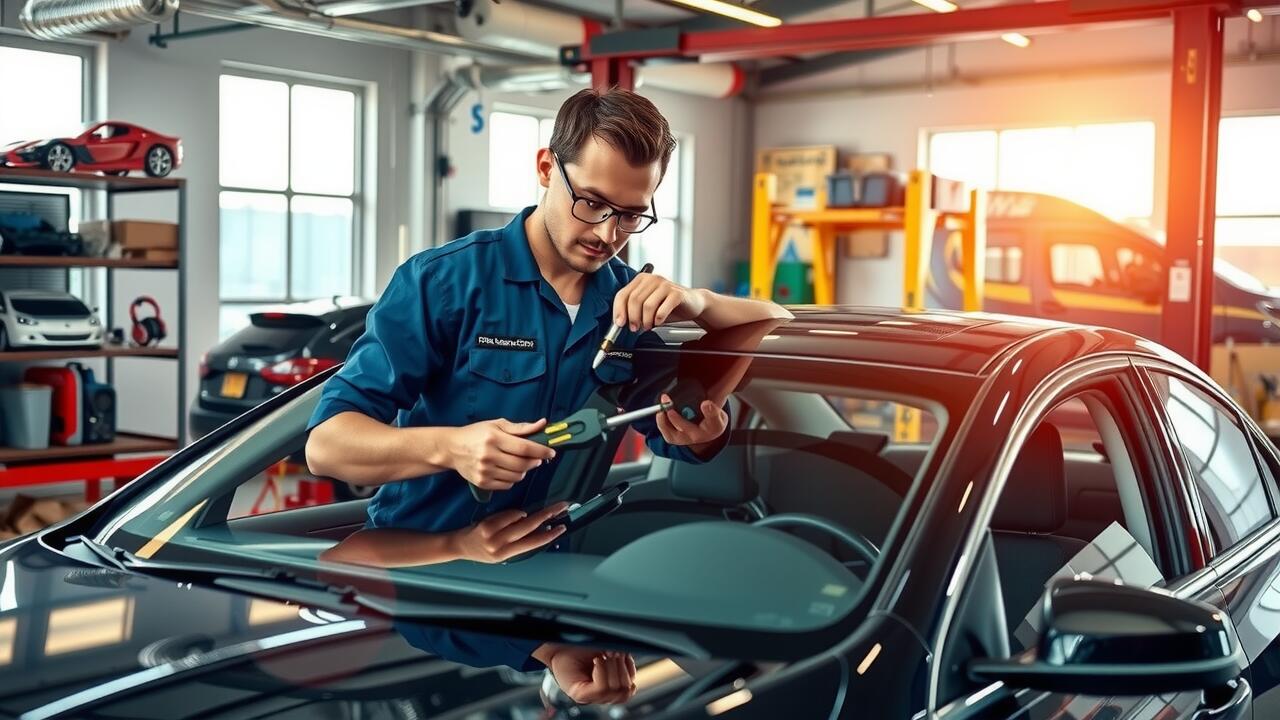
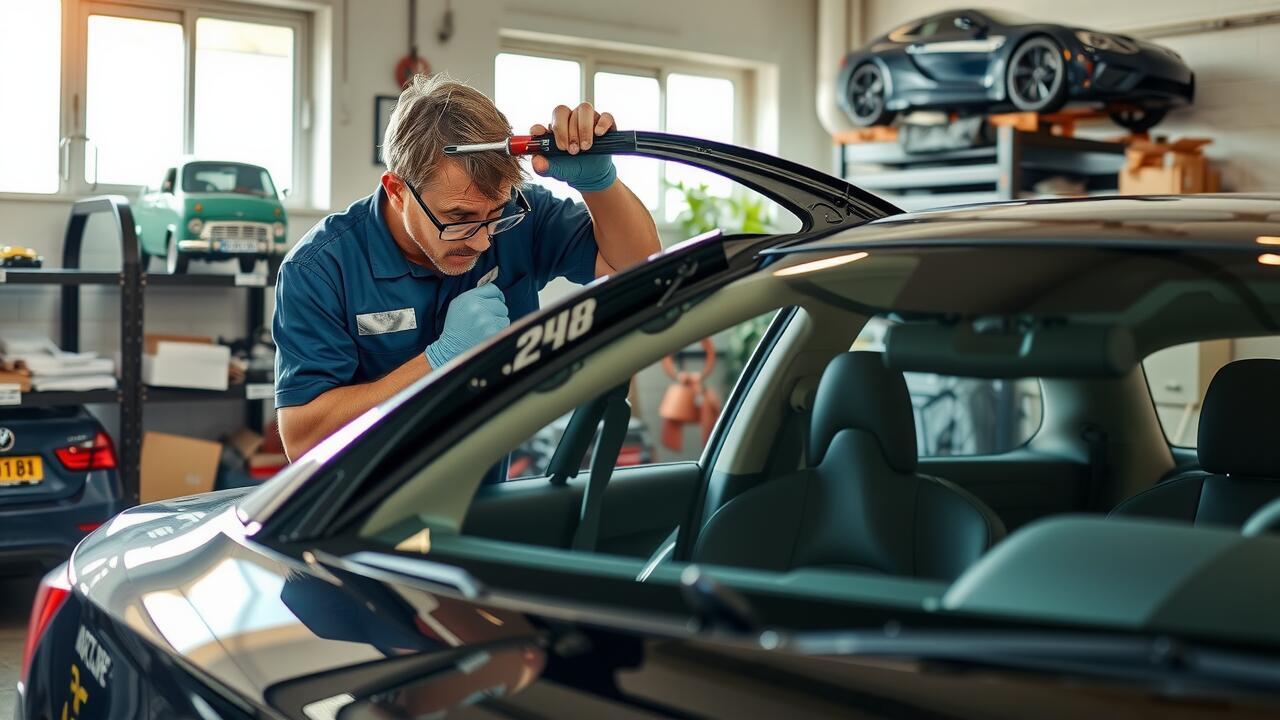
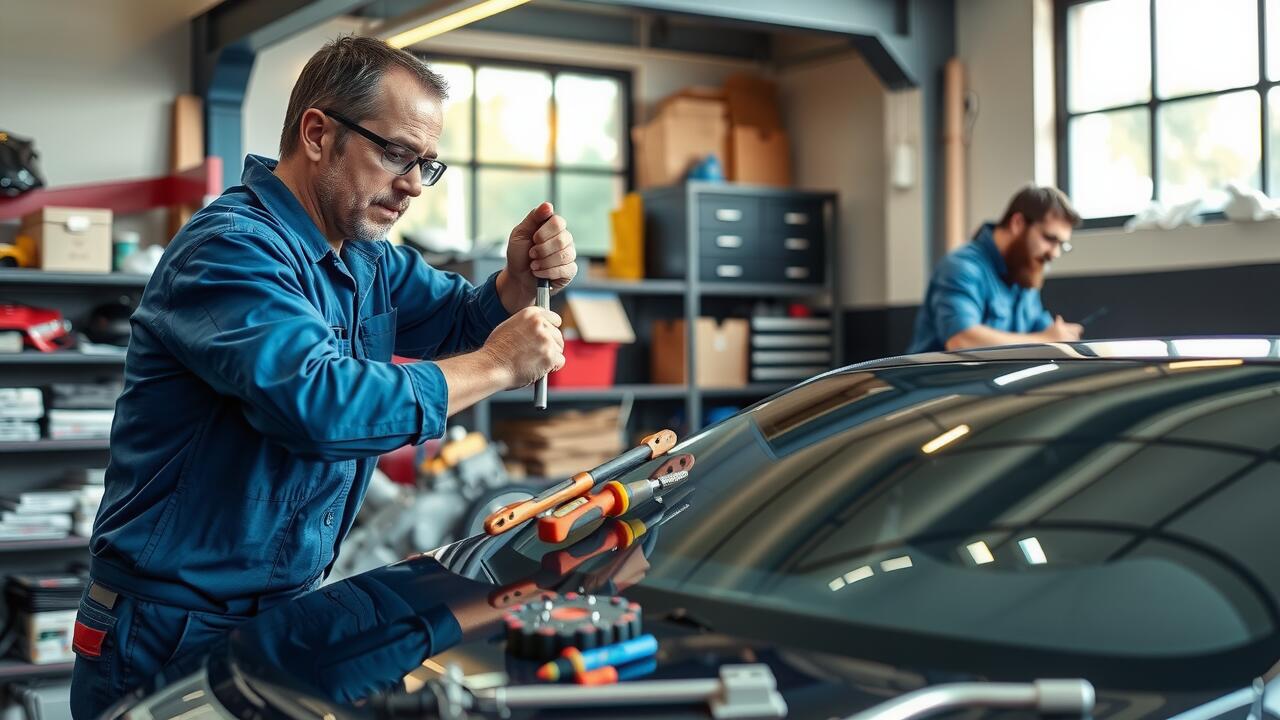
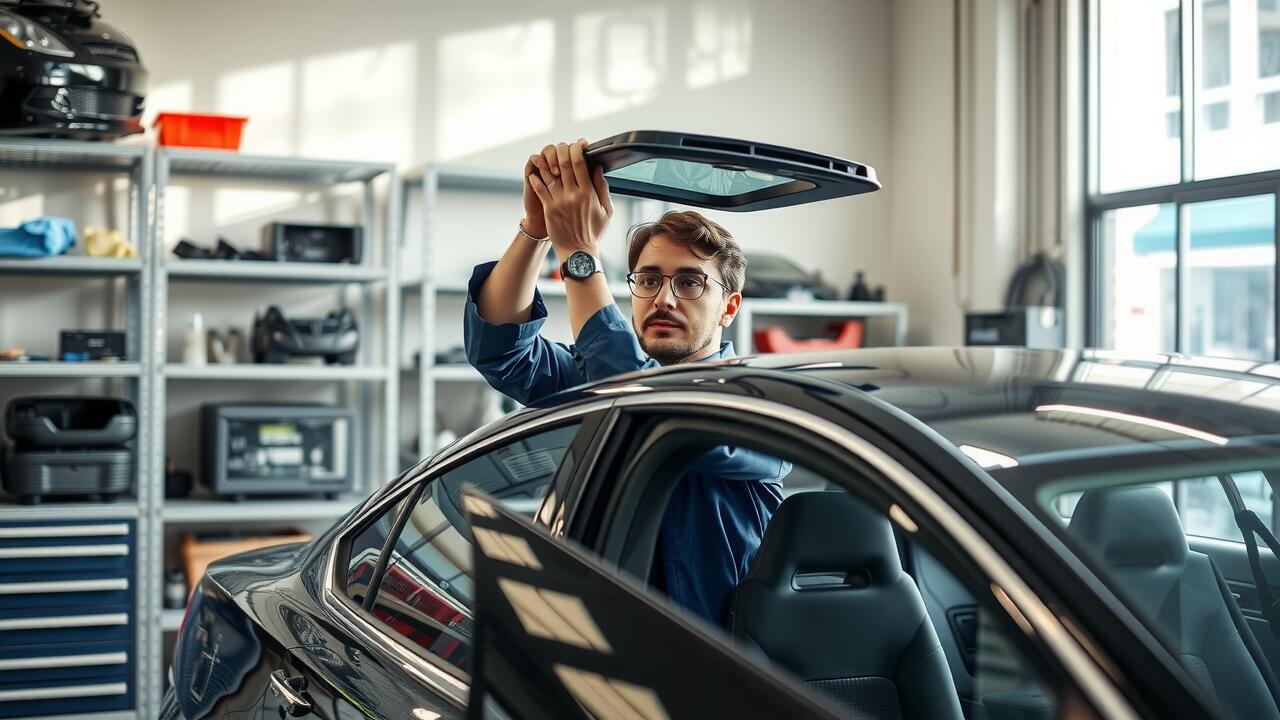
When installing the new sunroof glass, ensuring proper alignment is crucial for a successful fit. Start by placing the glass gently into the sunroof frame, ensuring it rests securely in the designated grooves. Use rubber or silicone seals to create a tight fit around the edges, which will help prevent leaks and provide insulation against noise. It’s important to take your time during this step, as any misalignment may lead to future problems, such as inability to close the sunroof completely or water ingress.
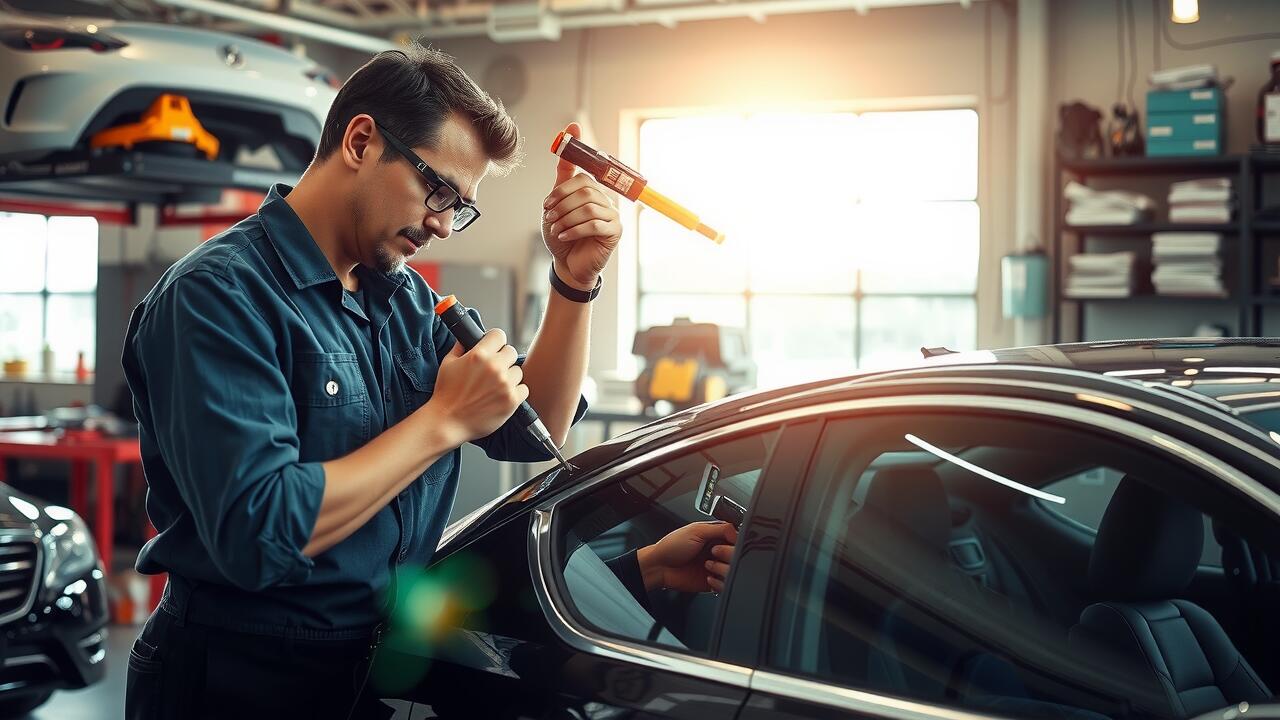
Once the glass is securely positioned, focus on sealing techniques to ensure durability and longevity. Apply a bead of adhesive along the edges of the sunroof frame before placing the glass down. Make sure to follow the manufacturer's instructions for the specific adhesive used, as it can vary. After the installation is complete, allow sufficient time for the adhesive to cure. Sunroof repair not only includes proper glass installation but also ensuring that all components work harmoniously for optimal performance.
Proper Alignment and Sealing Techniques
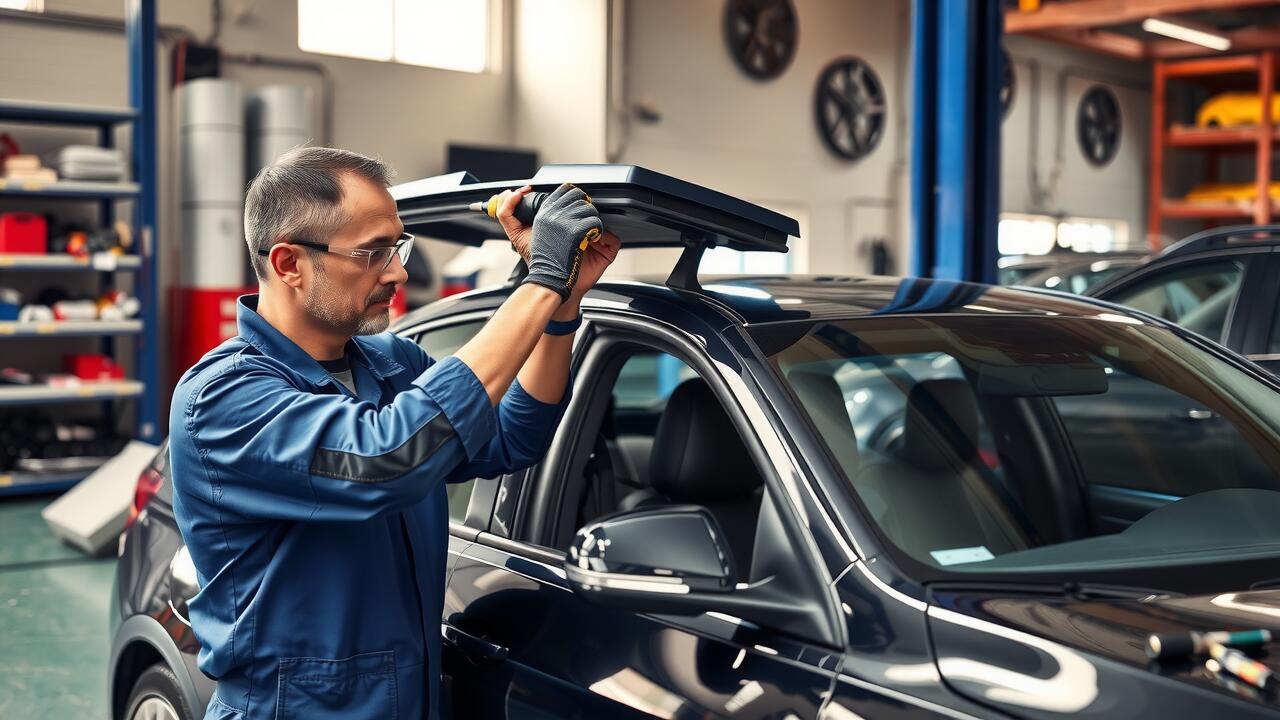
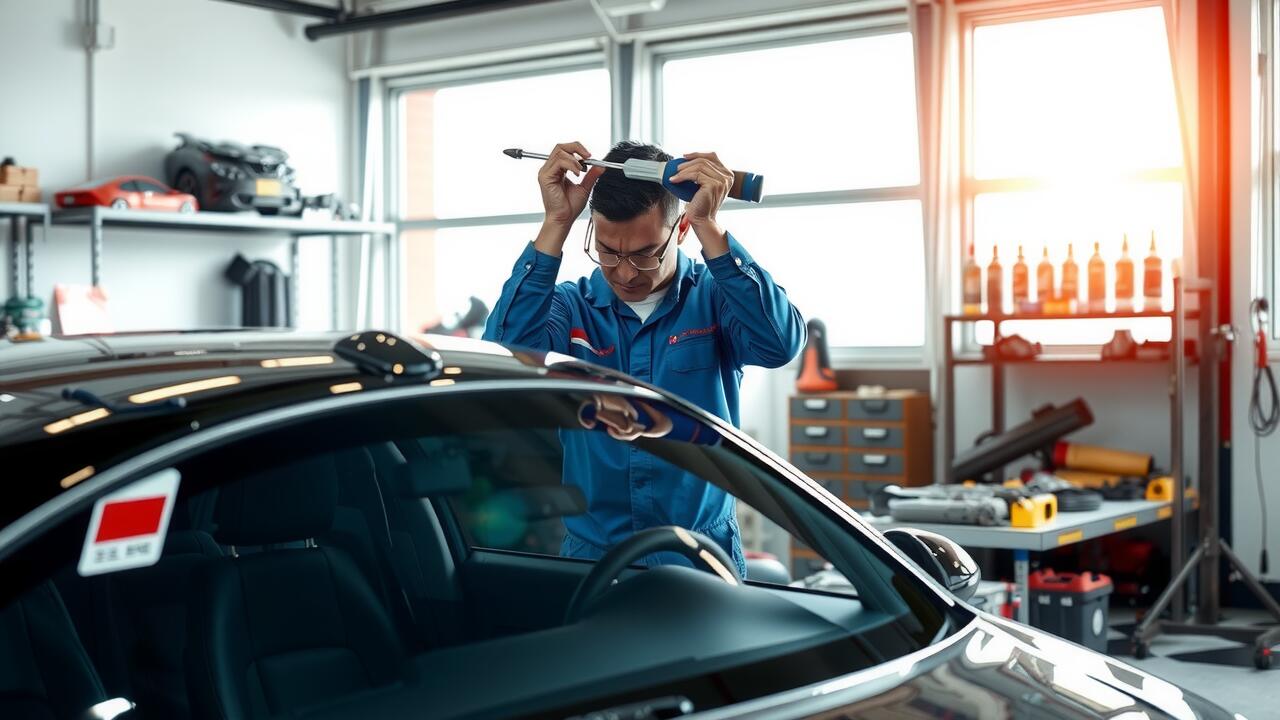
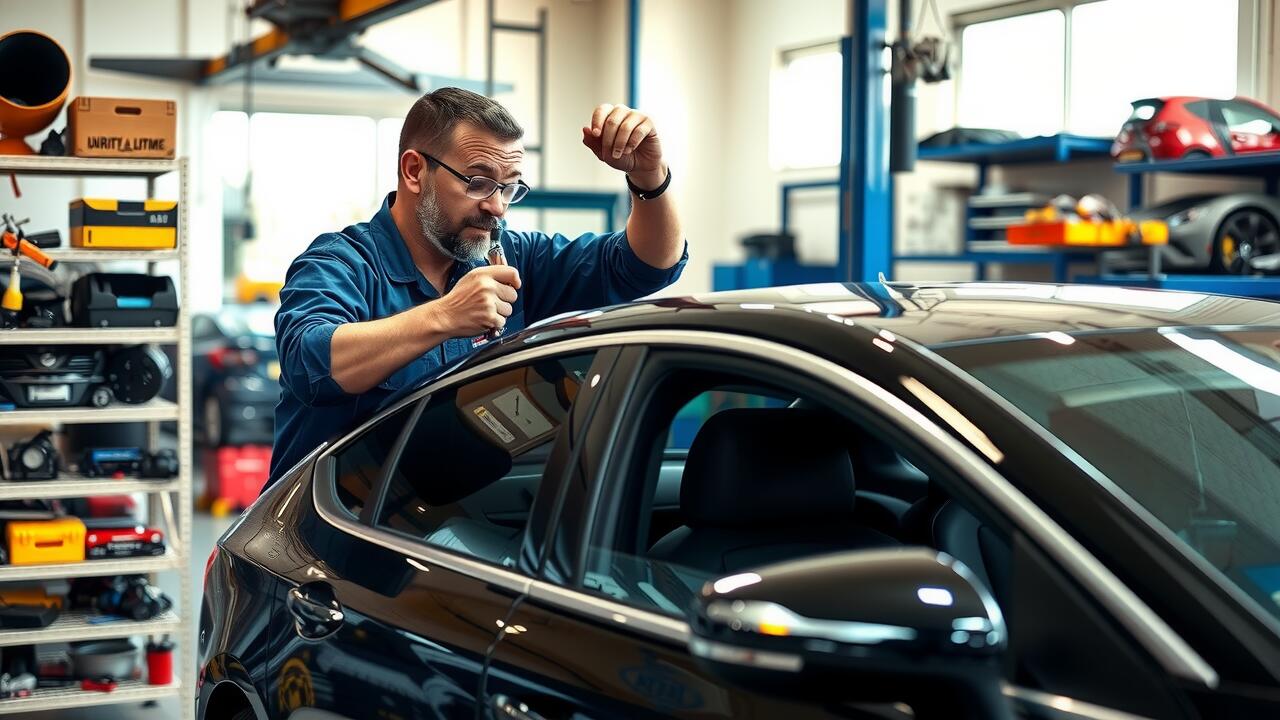
Achieving proper alignment of the new sunroof glass is crucial for both aesthetics and functionality. Begin by placing the glass into the sunroof frame, ensuring it fits snugly within the designated grooves. Adjust the positioning carefully, taking note to align the edges evenly with the frame. An assistant can be helpful at this stage to hold the glass in place while you secure it. This step will prevent any gaps that may lead to leaks or wind noise when driving.
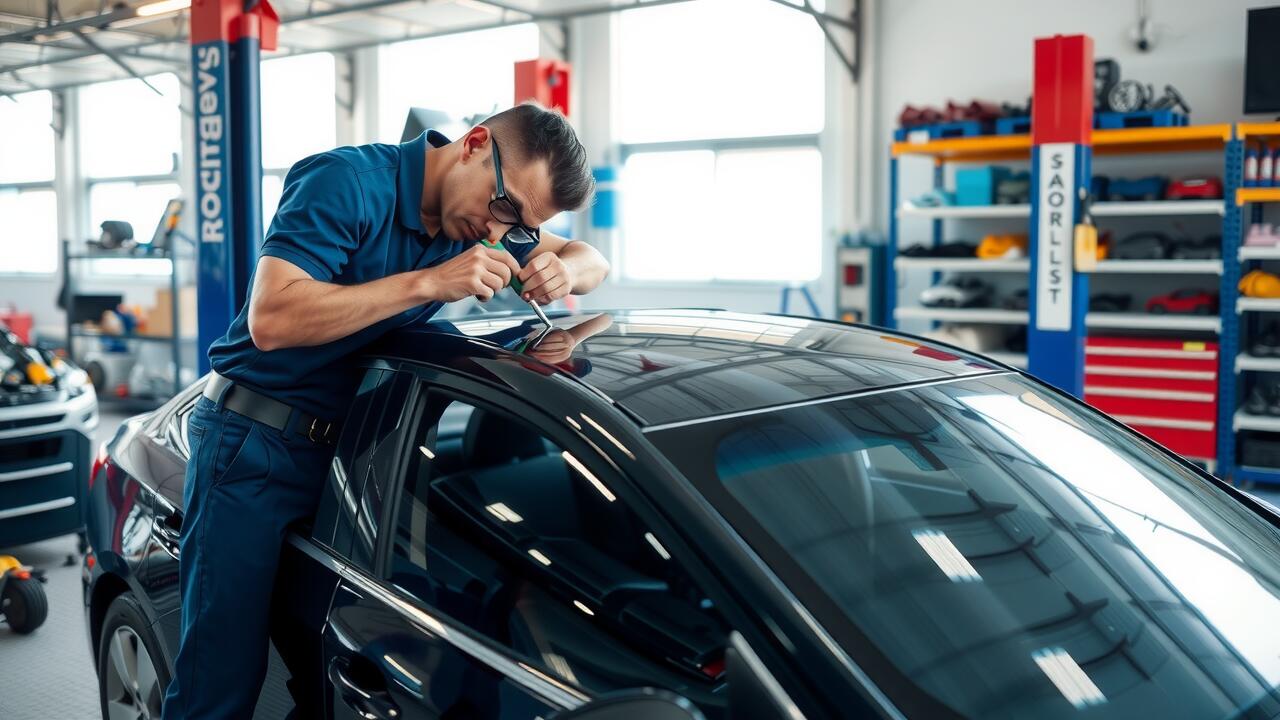
Sealing the glass is equally important in the sunroof repair process. Use an appropriate adhesive or sealant recommended for automotive applications. Apply a continuous bead around the edge where the glass meets the frame, ensuring a tight seal. Avoid excessive amounts of sealant, as this can create a messy appearance and may hinder the functionality of the sunroof mechanism. After applying the sealant, give it sufficient time to cure properly before testing the operation of the sunroof.
Testing the New Installation
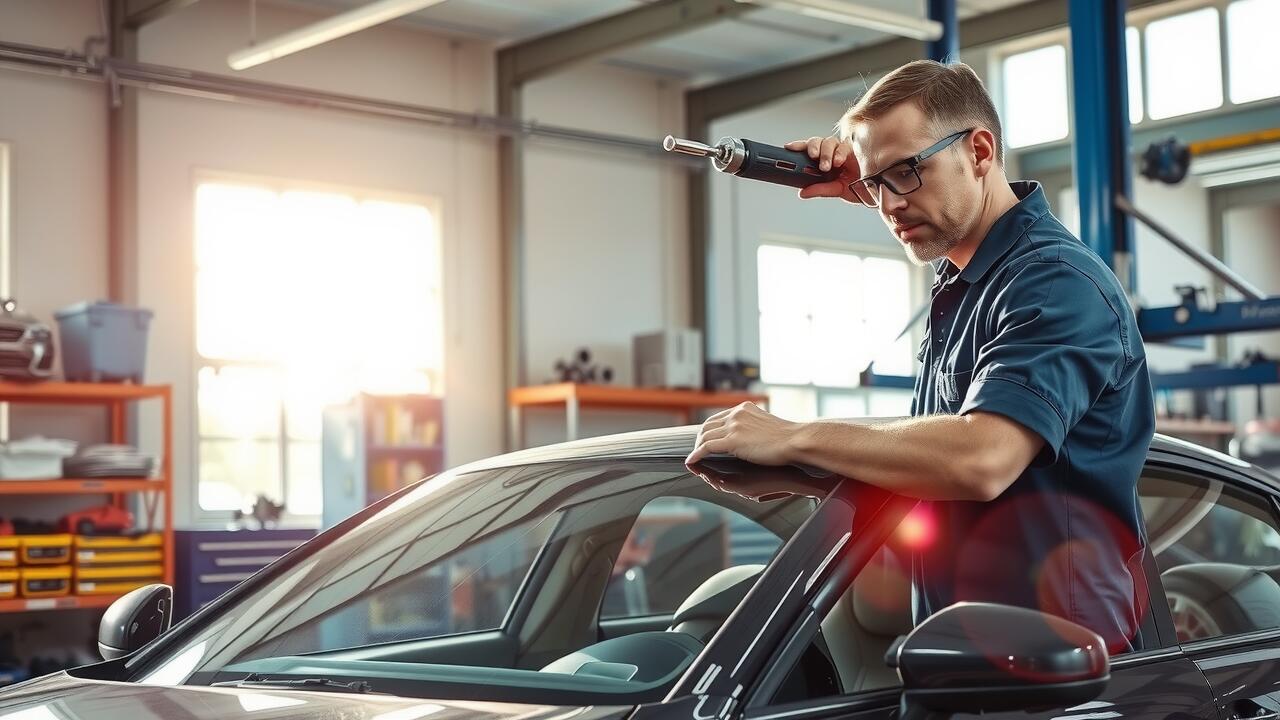
After installing the new sunroof glass, it’s crucial to test the integrity and functionality of the mechanism. Start the vehicle and open the sunroof fully to check for any unusual noises or resistance during operation. Observe how smoothly it opens and closes, ensuring it aligns properly with the frame. Any irregularities may indicate misalignment or an incomplete seal, which could lead to leaks or further damage.
Following the initial test, inspect the area around the sunroof for any signs of water ingress. Spray water over the newly installed glass to simulate rain and assess whether any drips occur inside the vehicle. This step is essential in sunroof repair to guarantee that the new glass is adequately sealed. Addressing any issues promptly will help maintain the sunroof’s functionality and prevent future complications.
Ensuring Proper Functionality
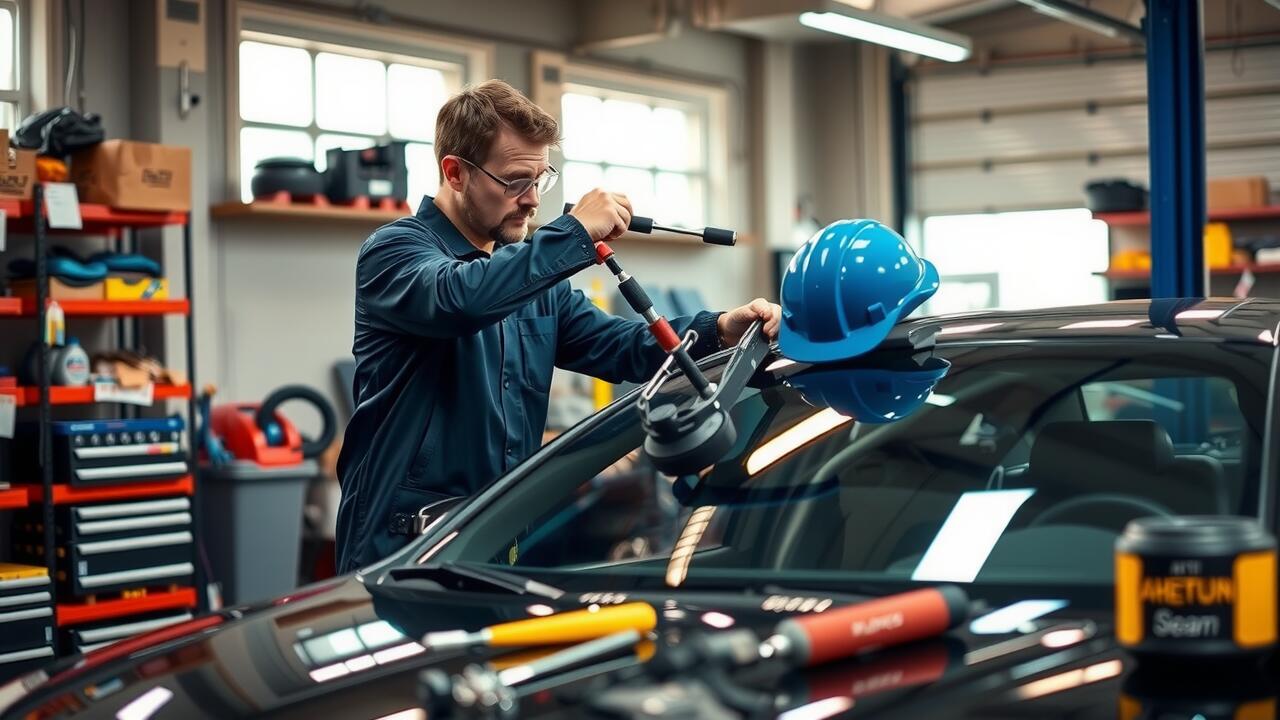
Once the new sunroof glass is securely installed, testing is essential to ensure everything functions properly. Start the vehicle and operate the sunroof through its various positions. Watch for any unusual noises or resistance while opening and closing the mechanism. If the sunroof does not glide smoothly or exhibits any trouble, it may indicate a misalignment or improper sealing. Addressing these issues immediately is crucial to prevent further damage and ensure long-term functionality.
During the test, it's also important to inspect for leaks around the edges of the sunroof. Run a water hose over the seam to check for any signs of water ingress. If leaks are detected, revisit the sealing technique to guarantee a tight fit. Sunroof repair can often require a few adjustments to achieve the perfect seal and alignment. Taking the time to properly verify the functionality can save you from future inconvenience and costly fixes.
FAQS
What tools do I need to replace a broken sunroof glass?
You will typically need a screwdriver, a trim removal tool, safety goggles, gloves, and possibly a sealant or adhesive specifically designed for automotive glass.
How much does it cost to replace a sunroof glass?
The cost can vary widely depending on the make and model of your vehicle, but you can expect to pay anywhere from AUD 200 to AUD 1,000 for parts and labour.
Can I replace the sunroof glass myself?
Yes, if you have some mechanical skills and the right tools, you can replace the sunroof glass yourself. However, if you’re unsure, it's always best to consult a professional.
How long does the replacement process take?
Replacing a sunroof glass can take anywhere from 1 to 3 hours, depending on your experience and the complexity of the installation.
What should I do if the new sunroof glass leaks?
If you notice any leaks, check the alignment and sealing of the glass. Ensure that the sealant is properly applied. If the issue persists, consult a professional for further assistance.