Table Of Contents
Inspecting Electrical Components
When troubleshooting a malfunctioning power window, the first step involves inspecting the electrical components responsible for its operation. Begin by checking the fuse associated with the window's circuit. A blown fuse can prevent the window from functioning, so replacing it with a new one may resolve the issue. If the fuse is intact, the next focus should be on the window switch itself, as a faulty switch can lead to intermittent or completely non-responsive actions.
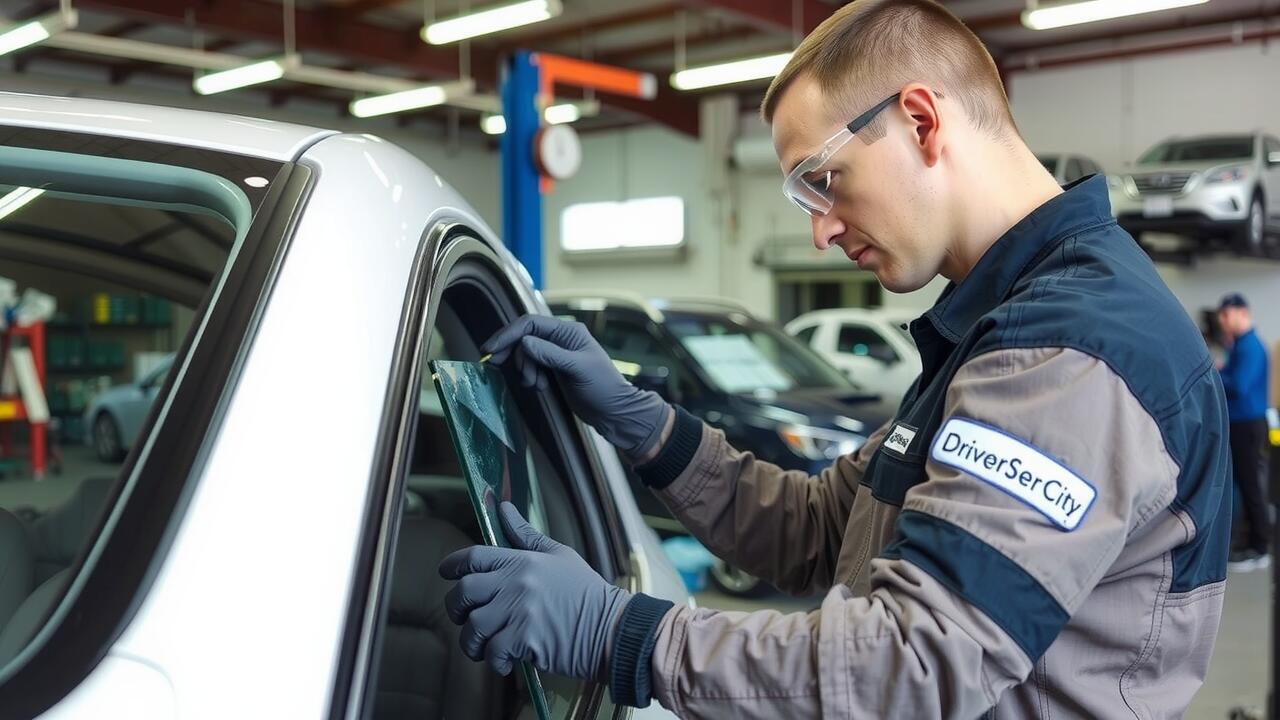
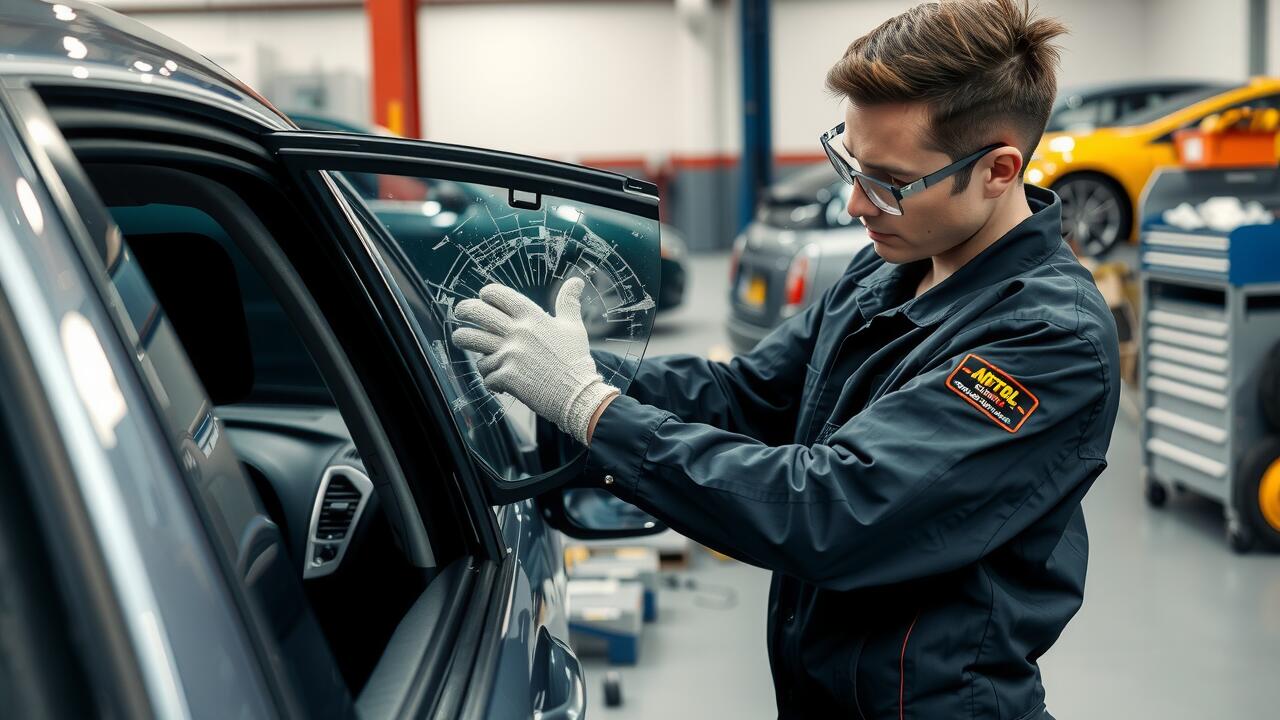
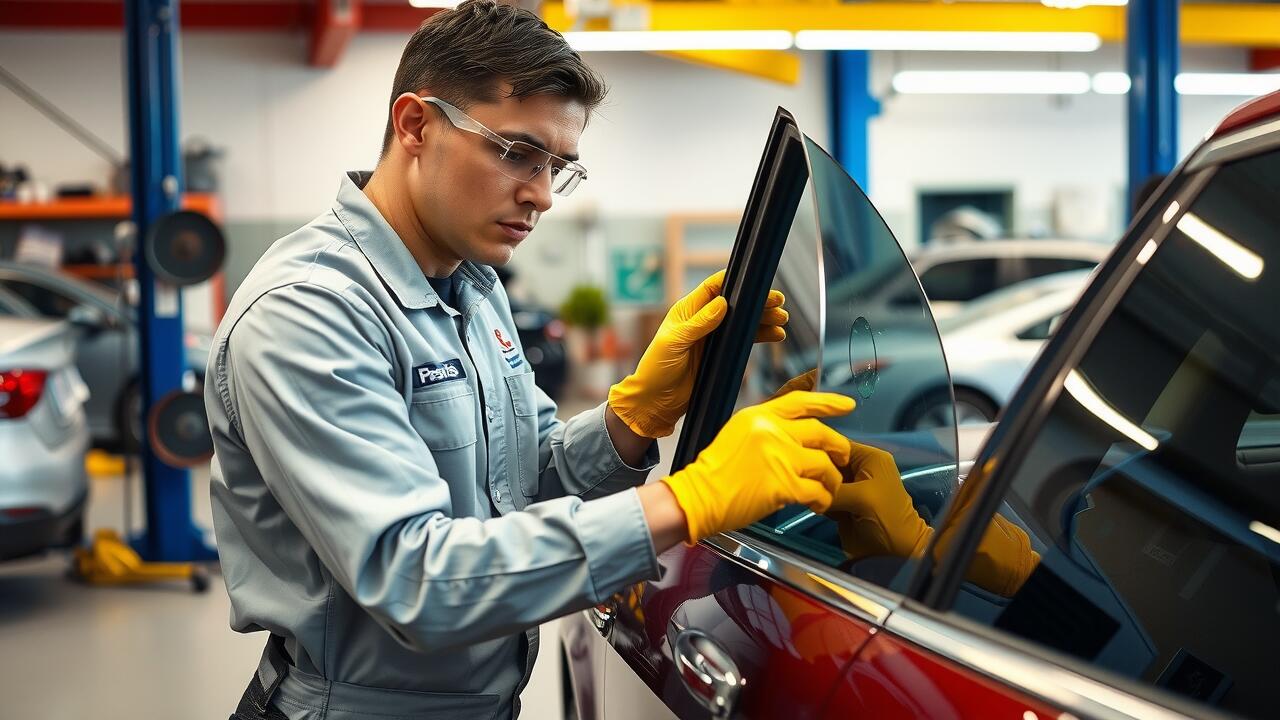
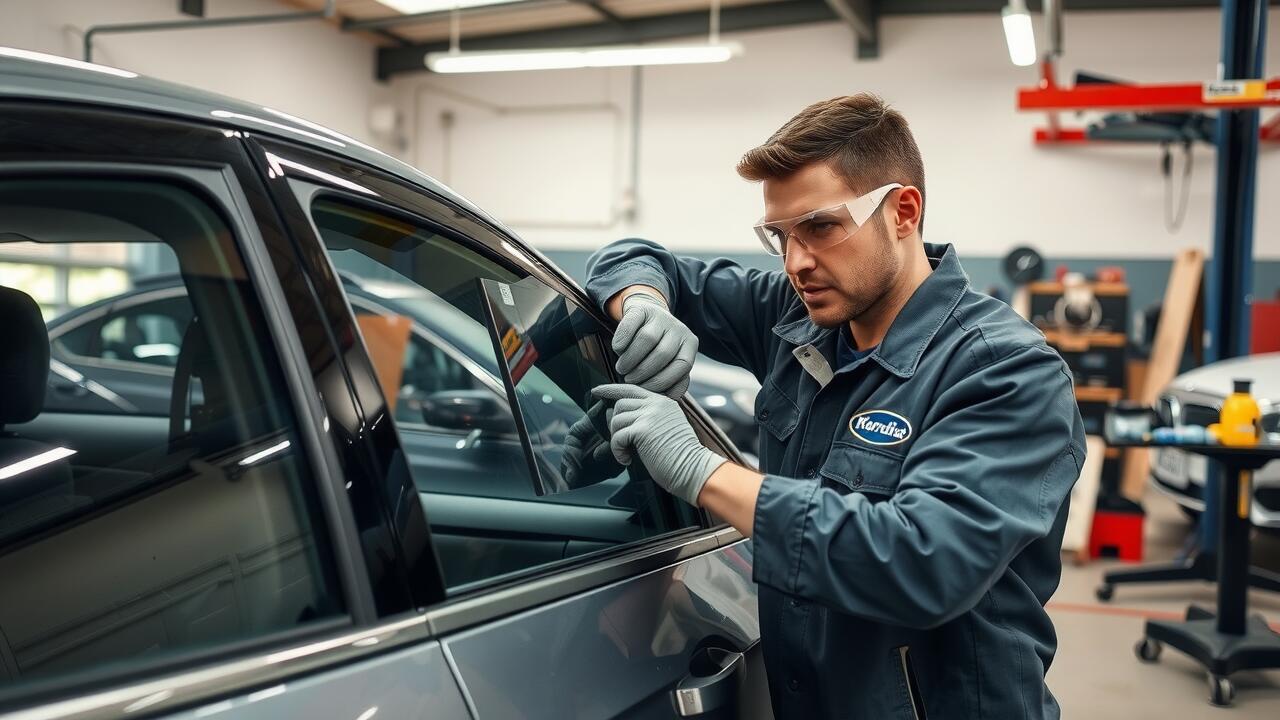
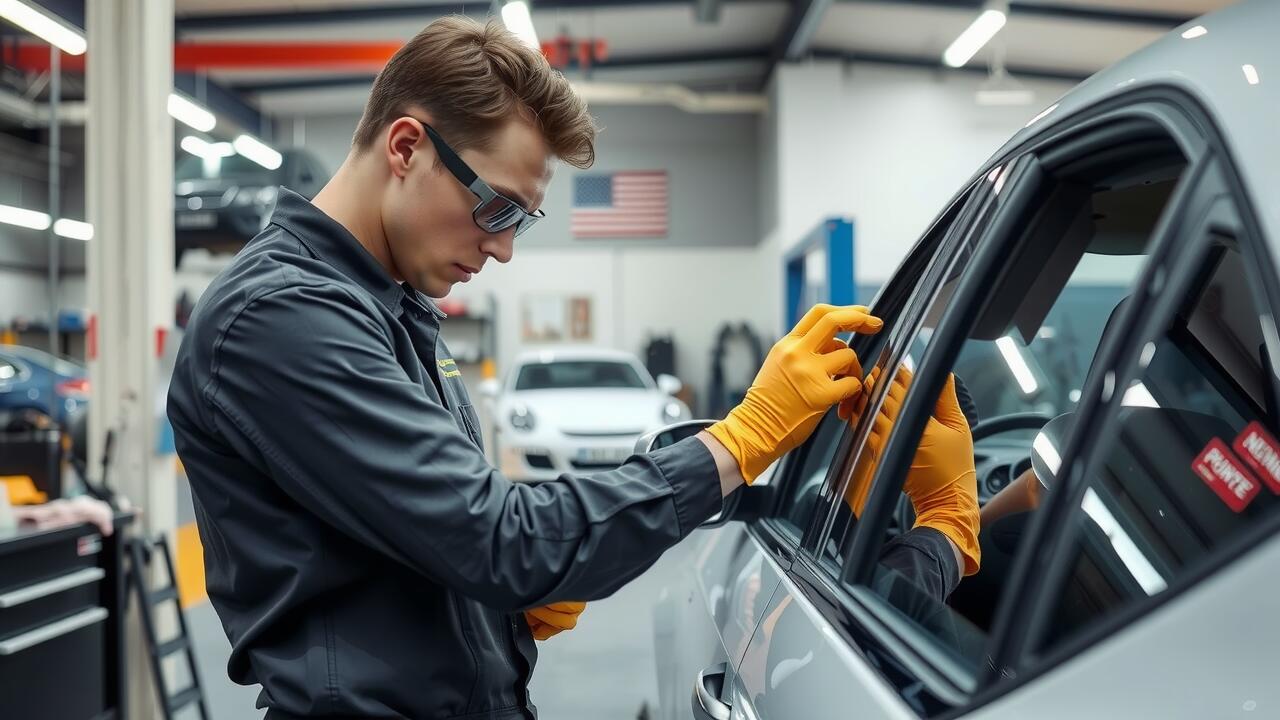
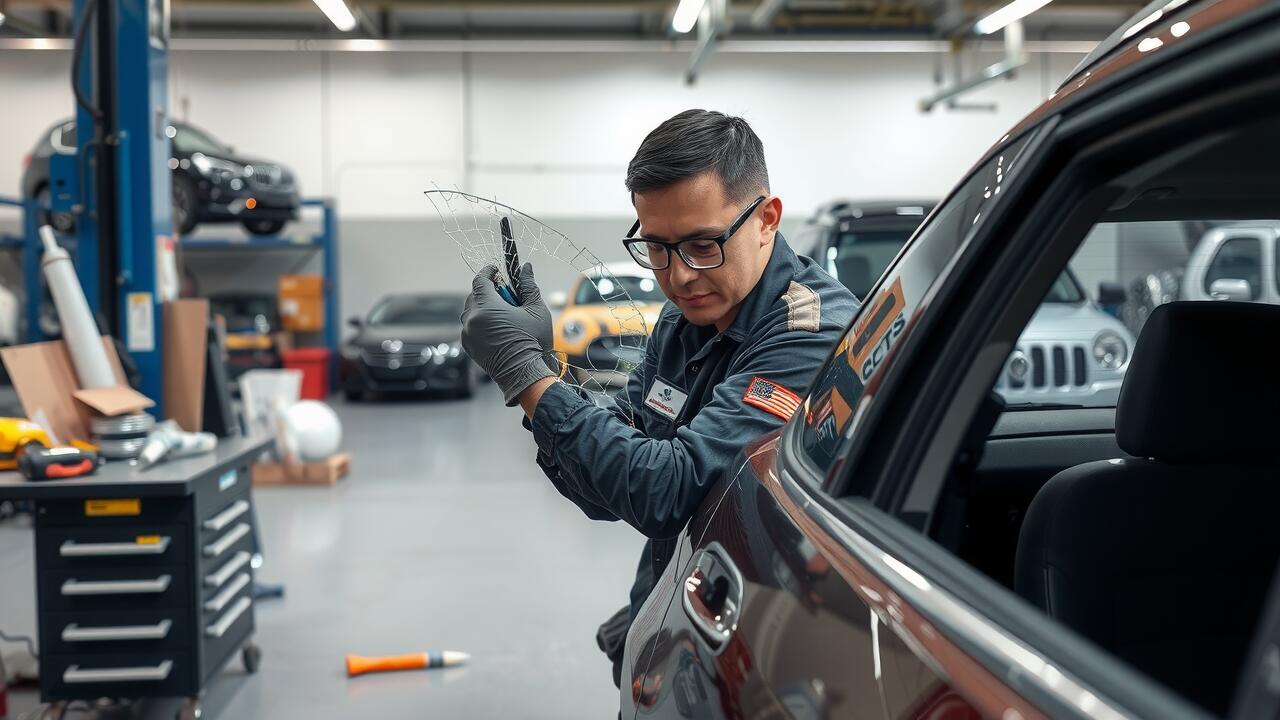
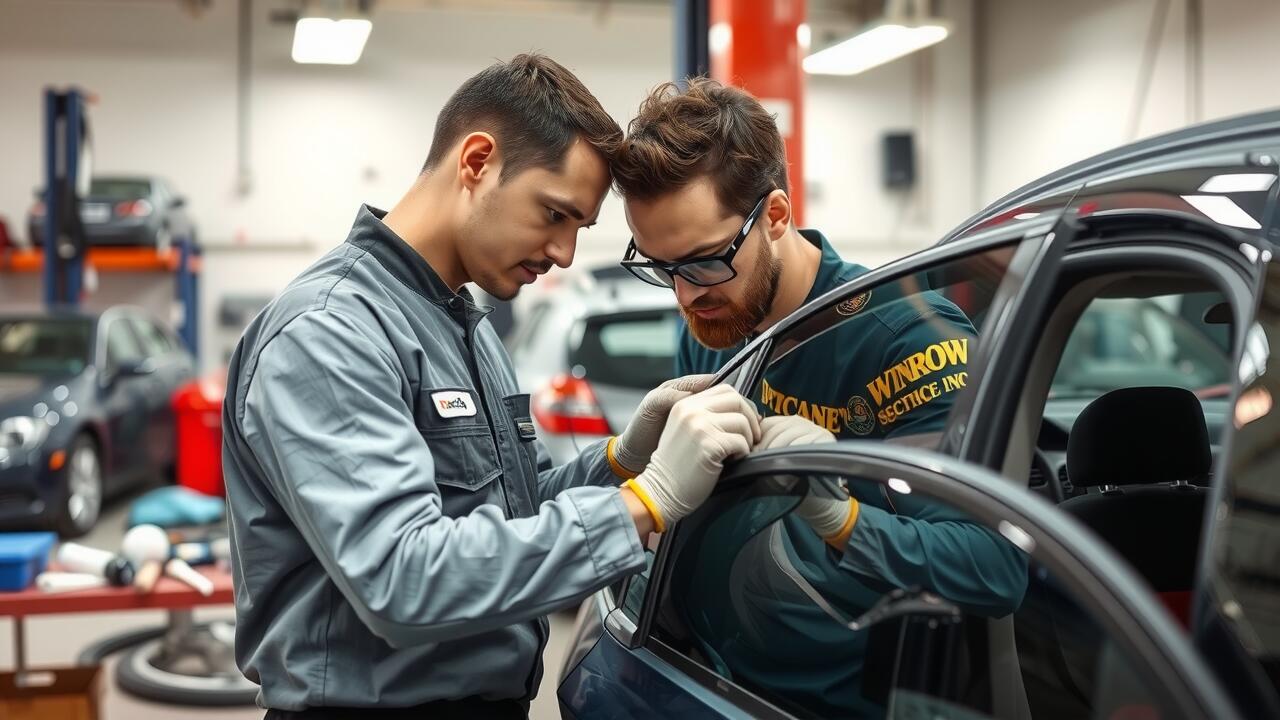
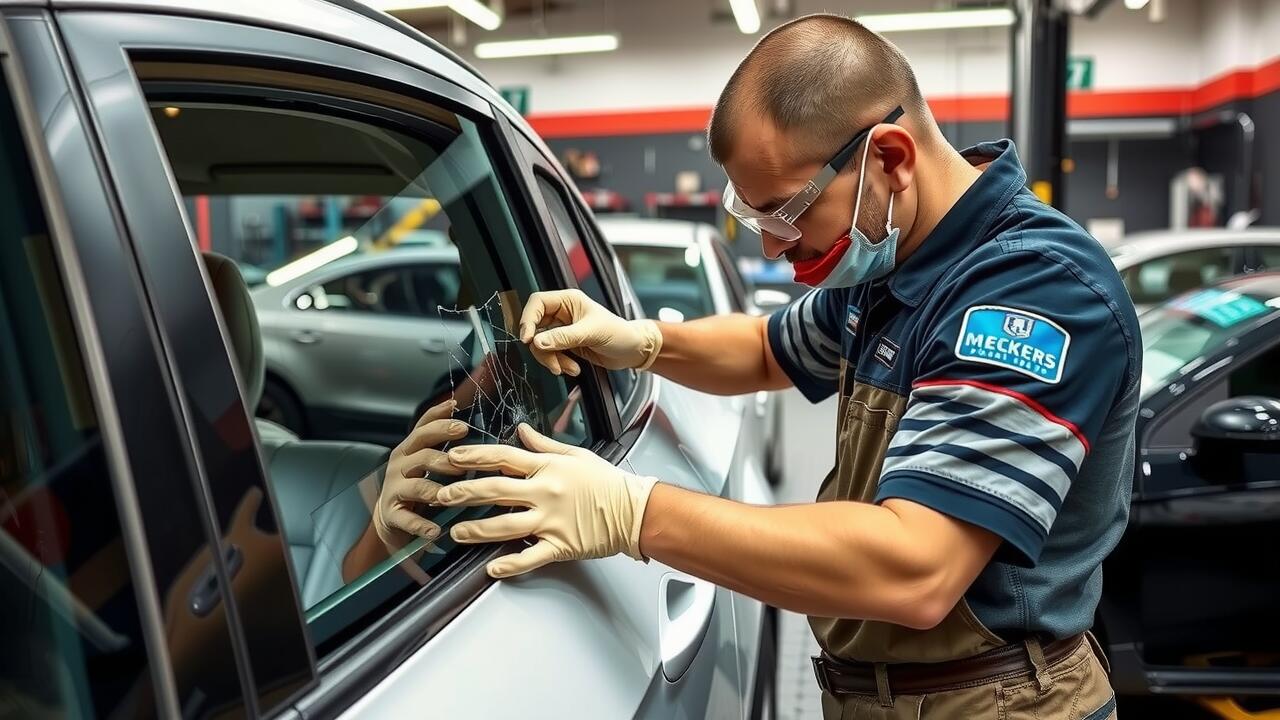
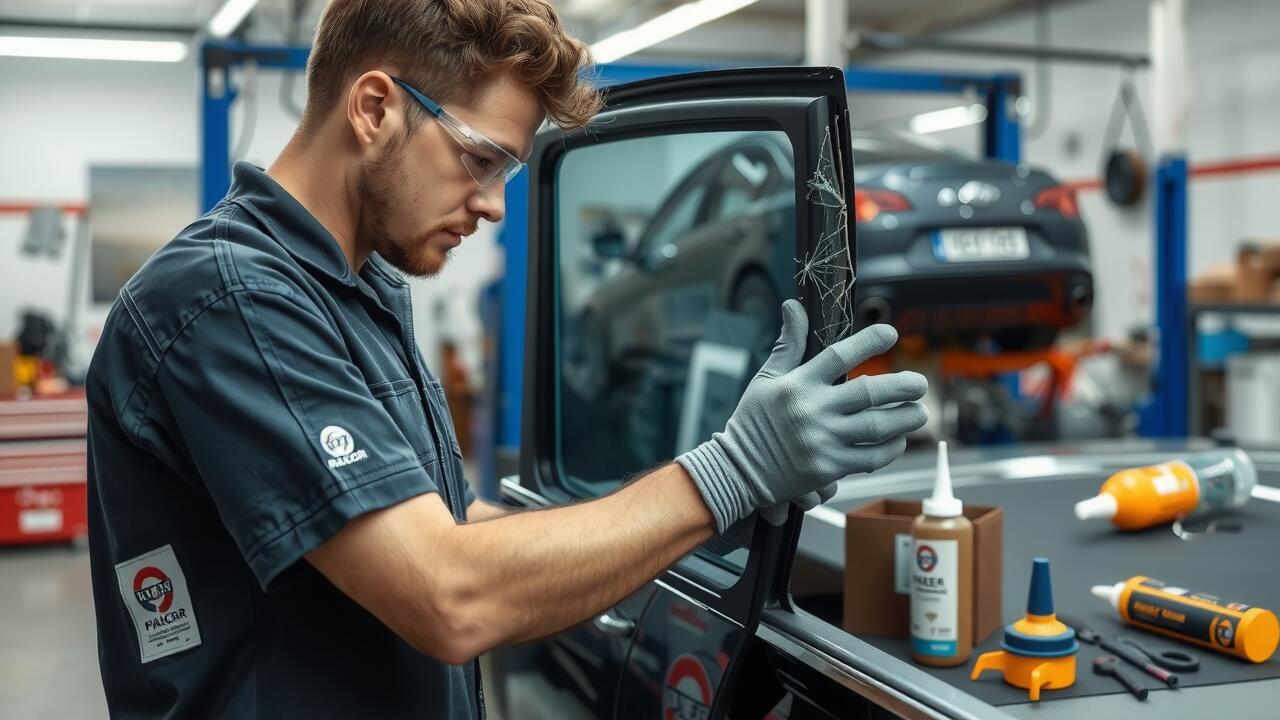
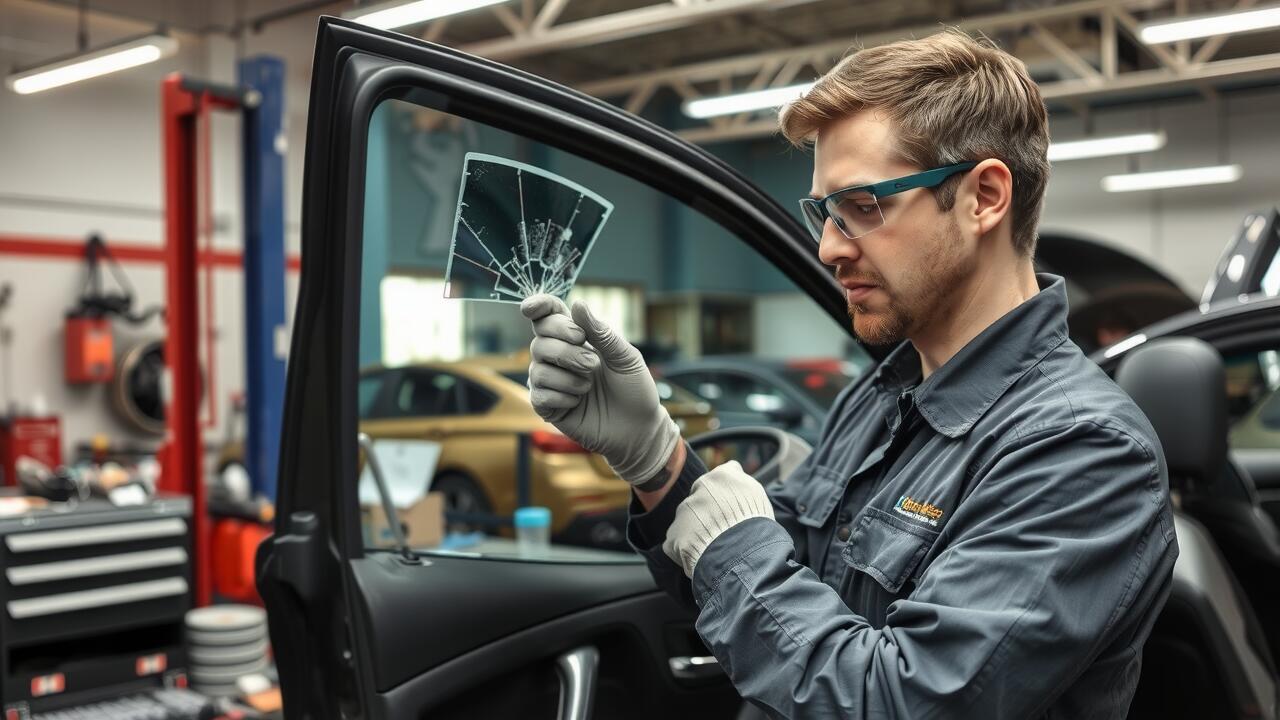
For a more in-depth examination, consider the wiring that connects the switch to the motor and regulator. Damaged or frayed wires can disrupt the electrical flow, resulting in a lack of movement. Performing a thorough inspection of the wiring harness and terminals will help identify any visible issues. If you suspect that the wiring may be at fault, it's essential to address it quickly, especially if you are looking to perform a Side Window Repair efficiently.
Checking Wiring and Switch Functionality
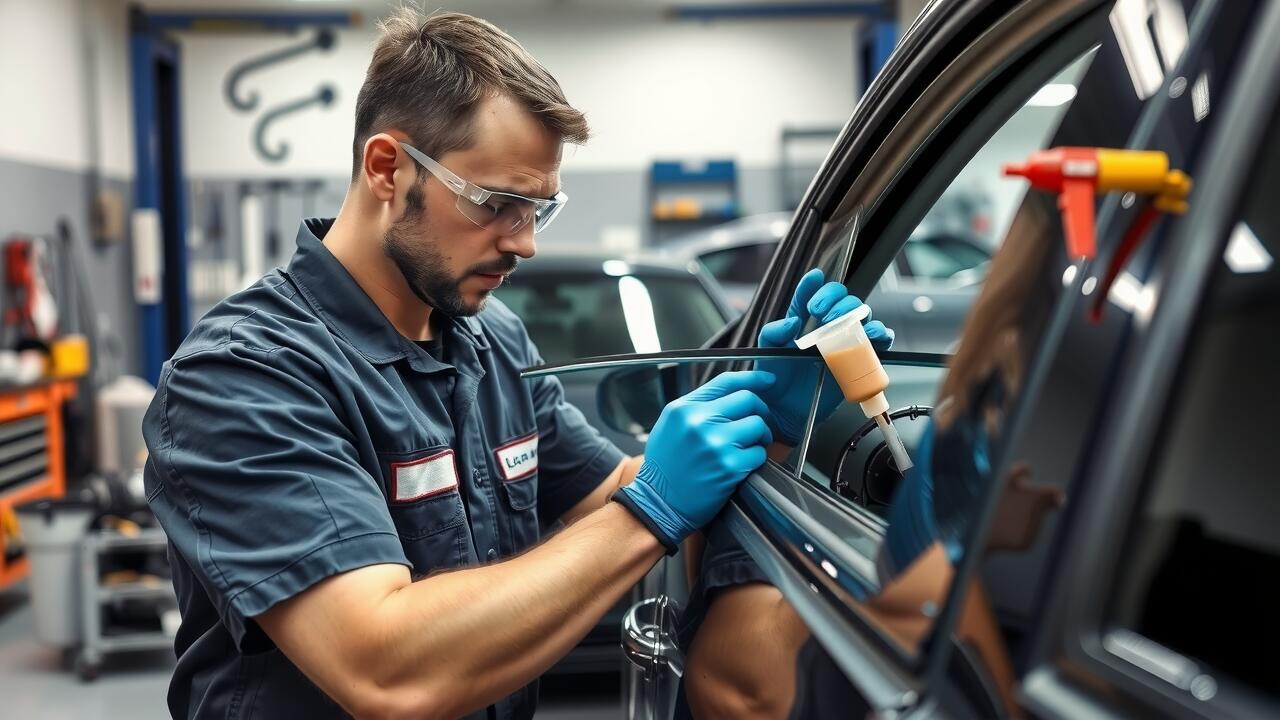
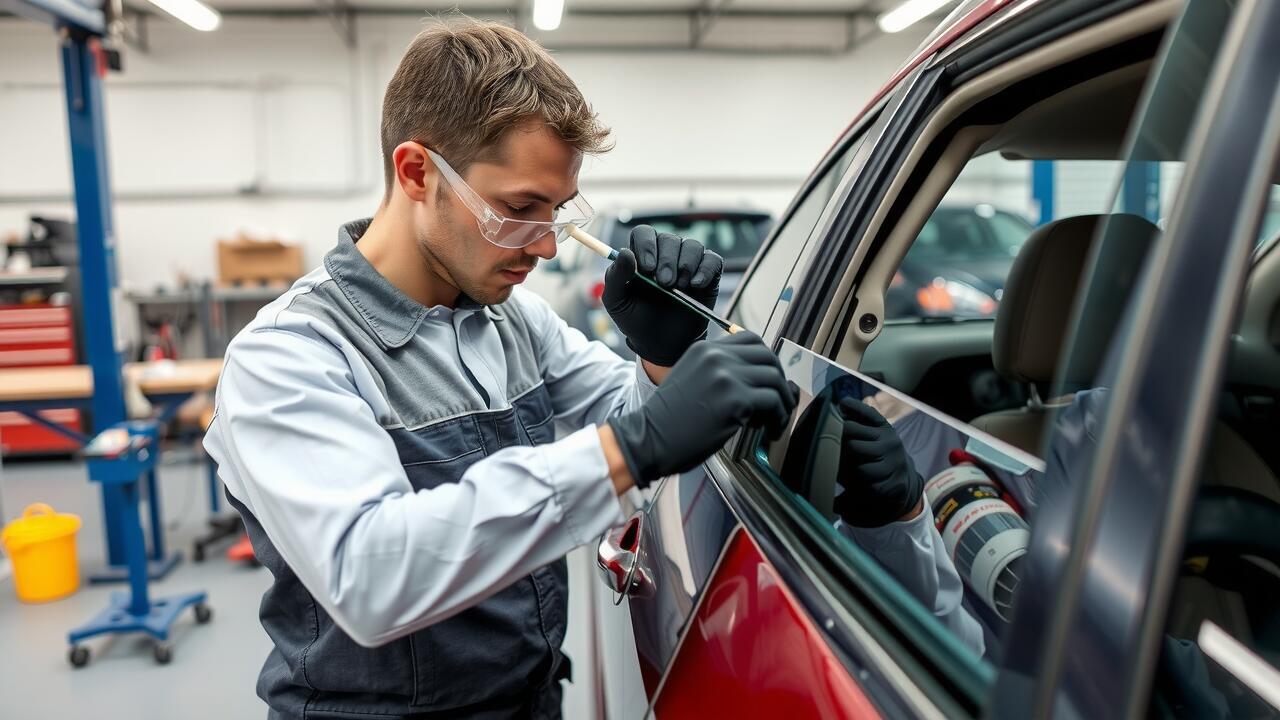
Inspecting the wiring and switch functionality is crucial for diagnosing power window issues. Start by disconnecting the vehicle's battery to ensure safety while working. Check the window switch for proper operation by using a multimeter. If the switch doesn’t show continuity when pressed, it may need replacing. Additionally, look for loose or damaged wiring leading to the switch and motor. Any faults in the wiring can affect the power distribution to the window.
Next, move on to the connections at the window motor. Ensure all wires are securely attached and free from corrosion. Damaged wires can cause intermittent issues and may lead to a complete window failure. If you uncover any problems, repair or replace the faulty wiring to restore functionality. Taking these steps can simplify your Side Window Repair and potentially save you the hassle of a more extensive repair later on.
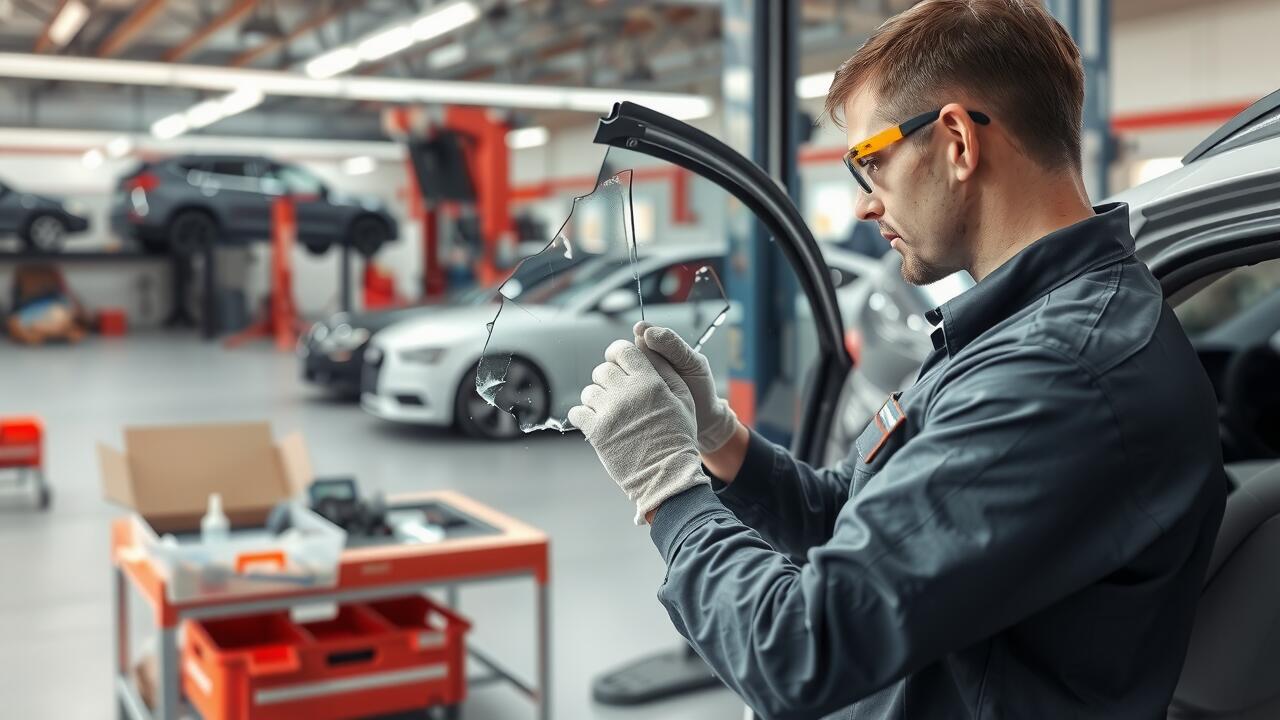
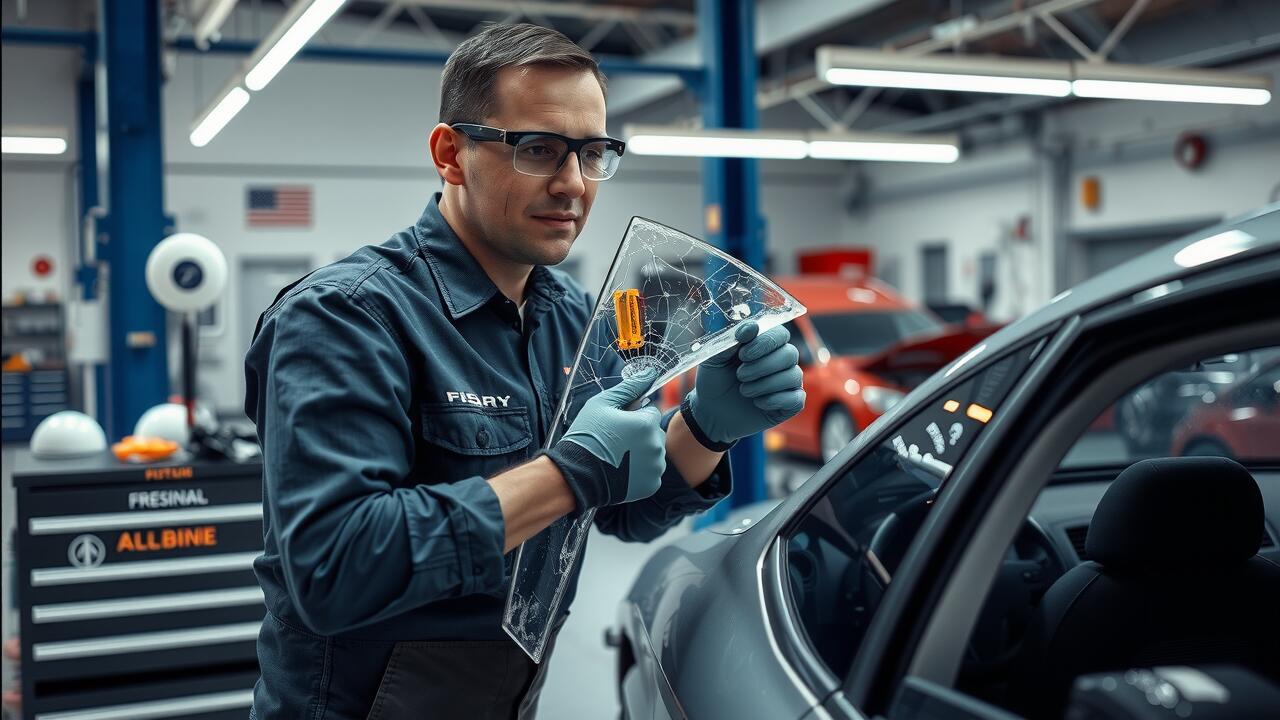
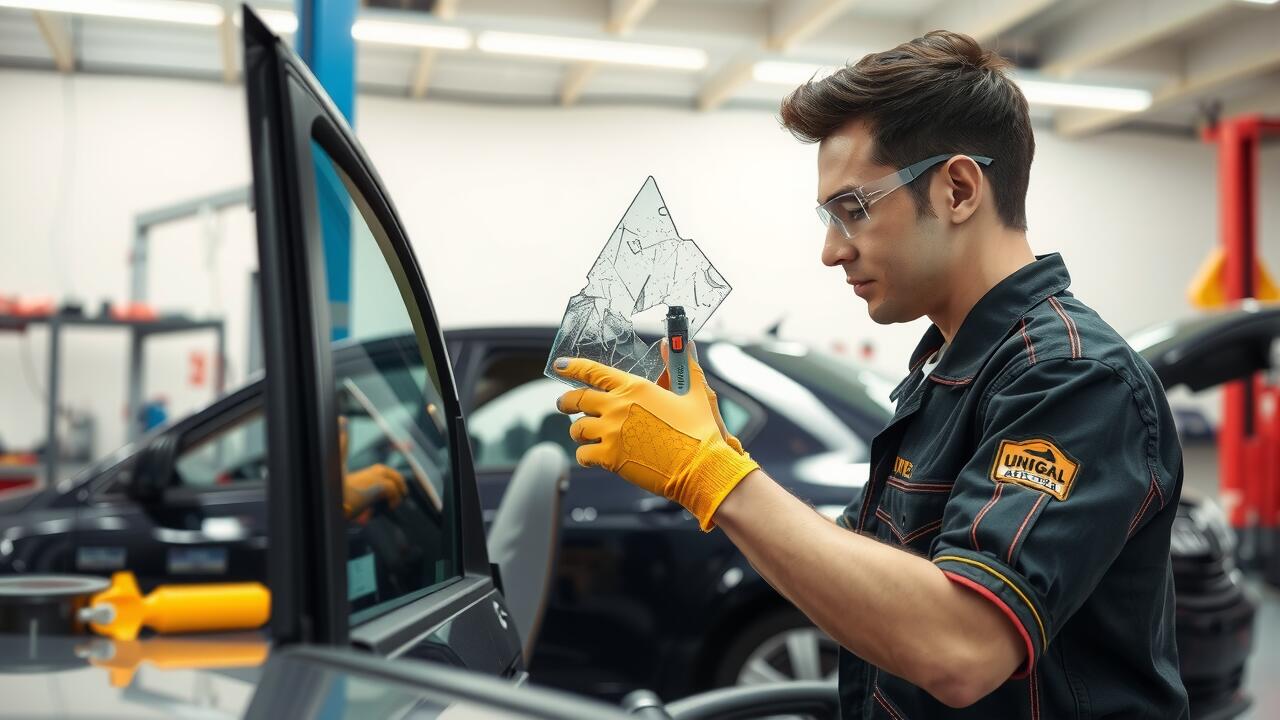
Replacing the Window Regulator
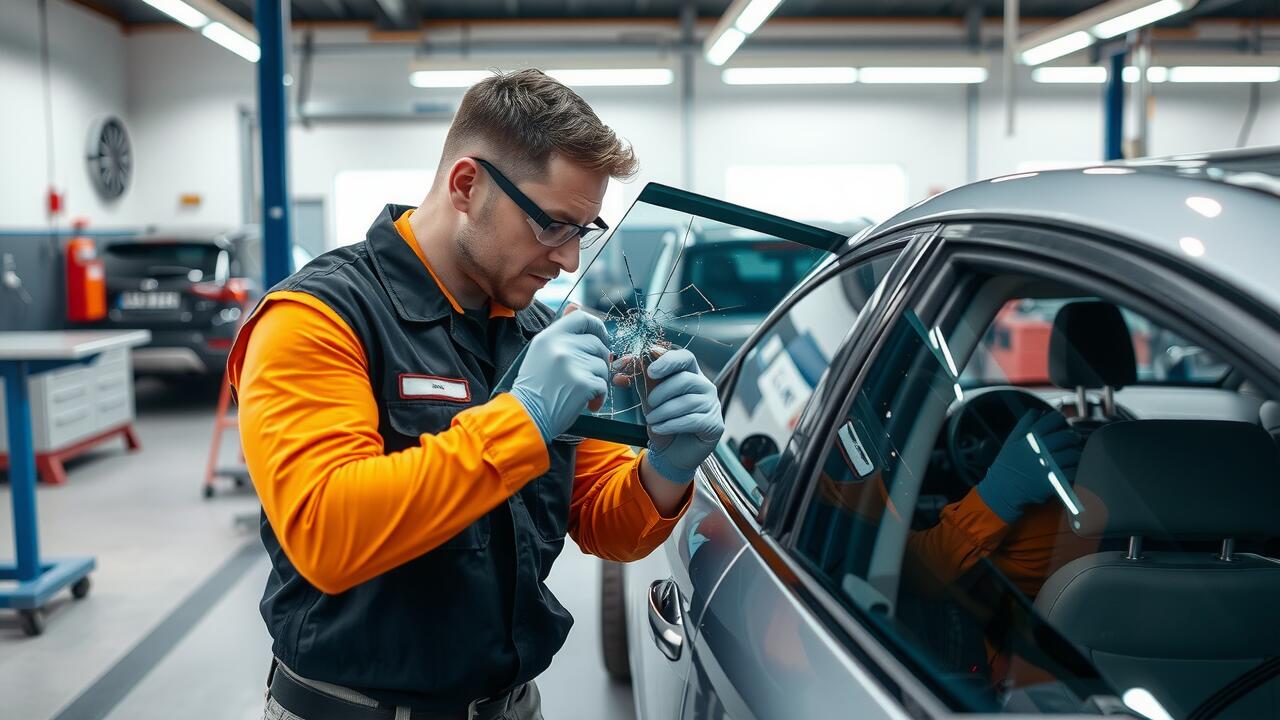
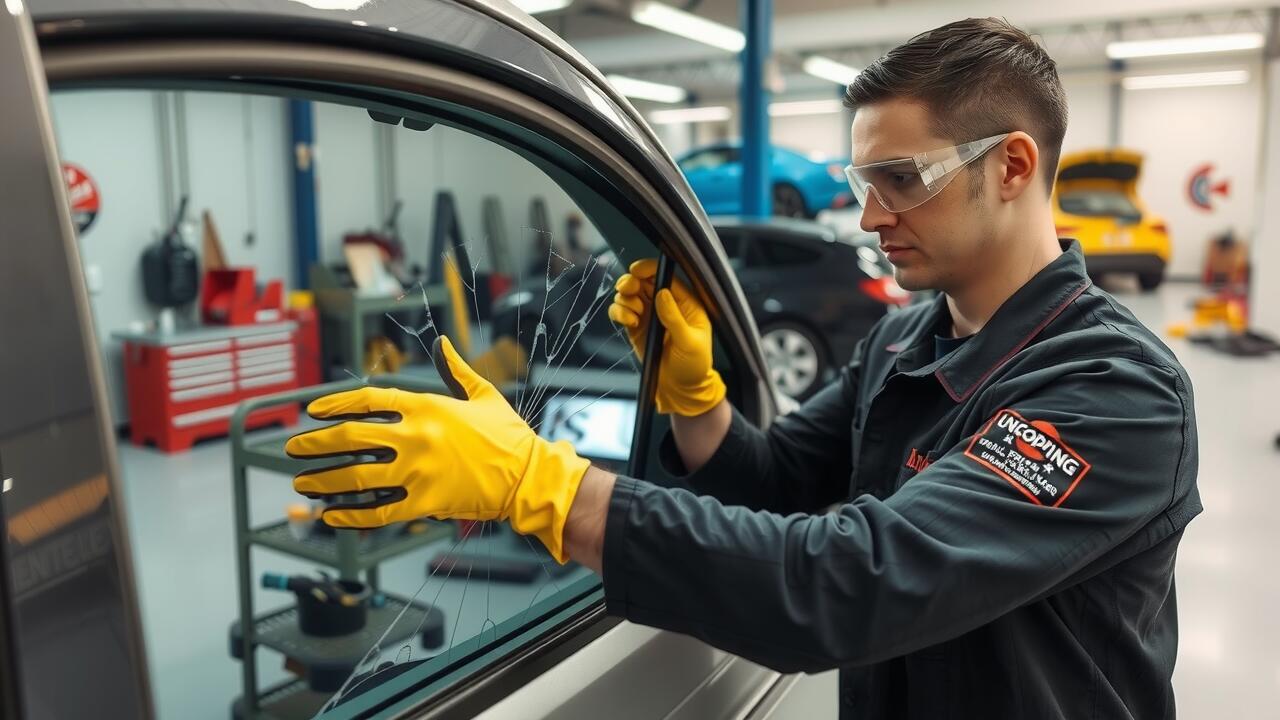
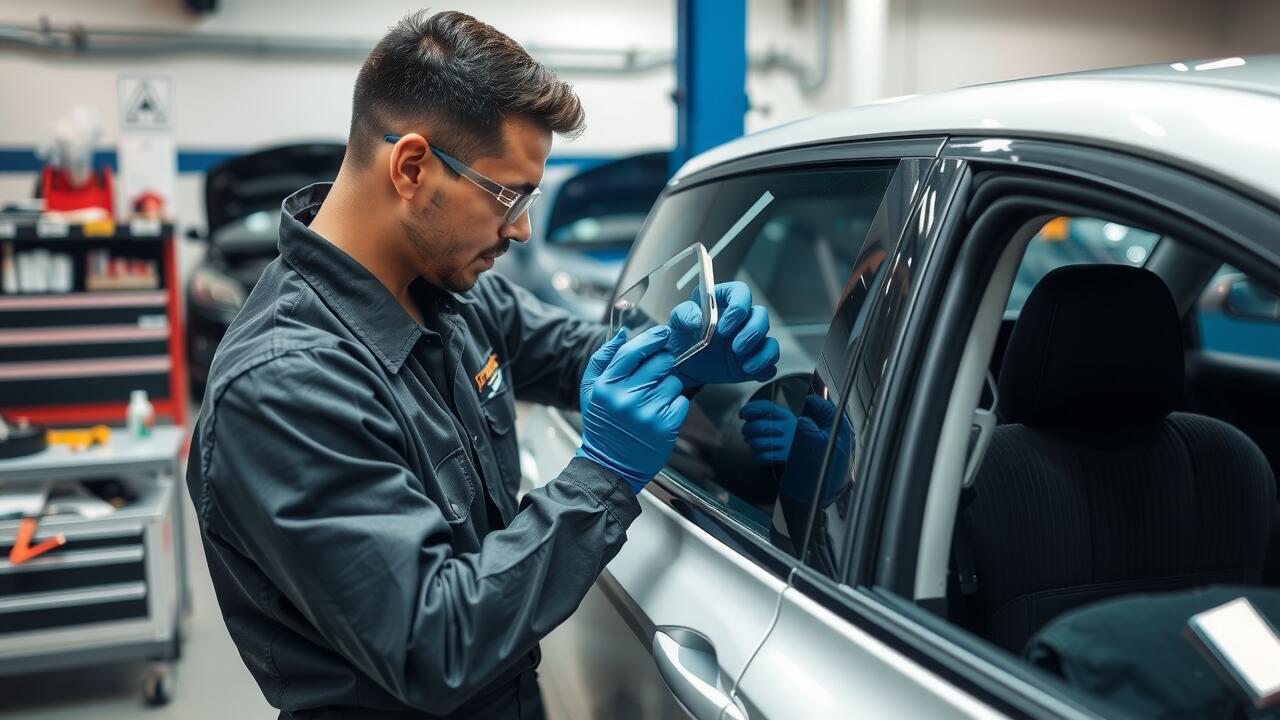
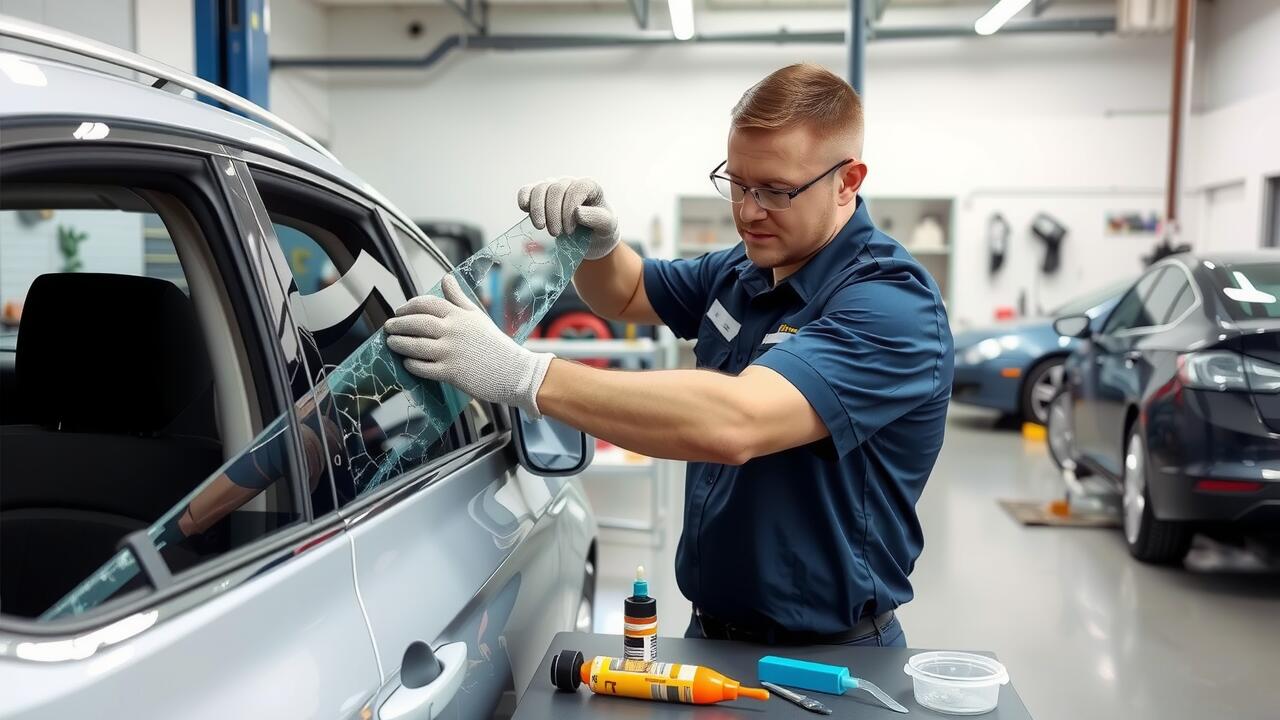
Replacing the window regulator can be a pivotal step in restoring functionality to your power windows. A faulty regulator often leads to issues like the window becoming stuck or not operating altogether. To commence the replacement, you will need to gather the necessary tools which typically include a screwdriver, a socket set, and a trim removal tool. Make sure to disconnect the car battery first to avoid any electrical mishaps during the process. Carefully remove the interior door panel, as accessing the regulator usually requires you to detach several components.
Once the door panel is off, locate the window regulator. Take note of how it is connected and the positioning of the cables. Detach the regulator from its mounting points, which may require unbolting or unclipping certain fastenings. After removing the old regulator, install the new one by following the reverse process. Ensure all connections are secure and test the window function before reassembling the door panel. This practice often falls under the category of side window repair, which can save both time and money compared to professional services.
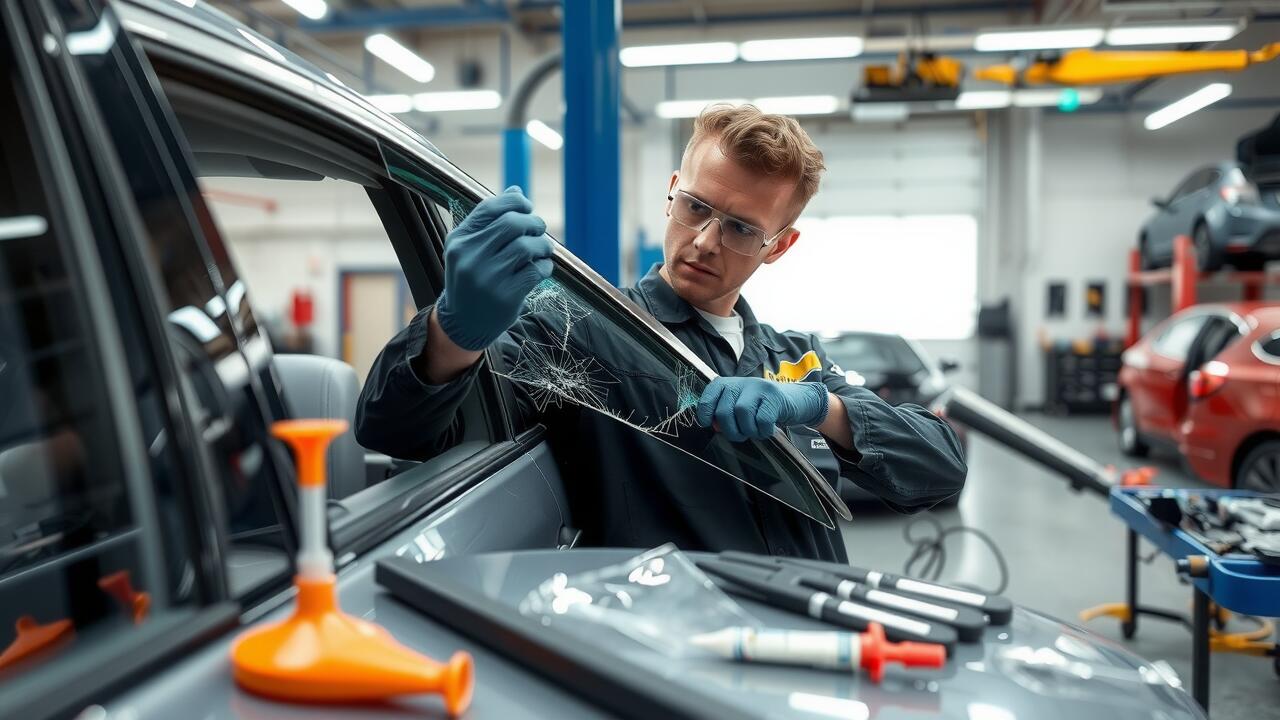
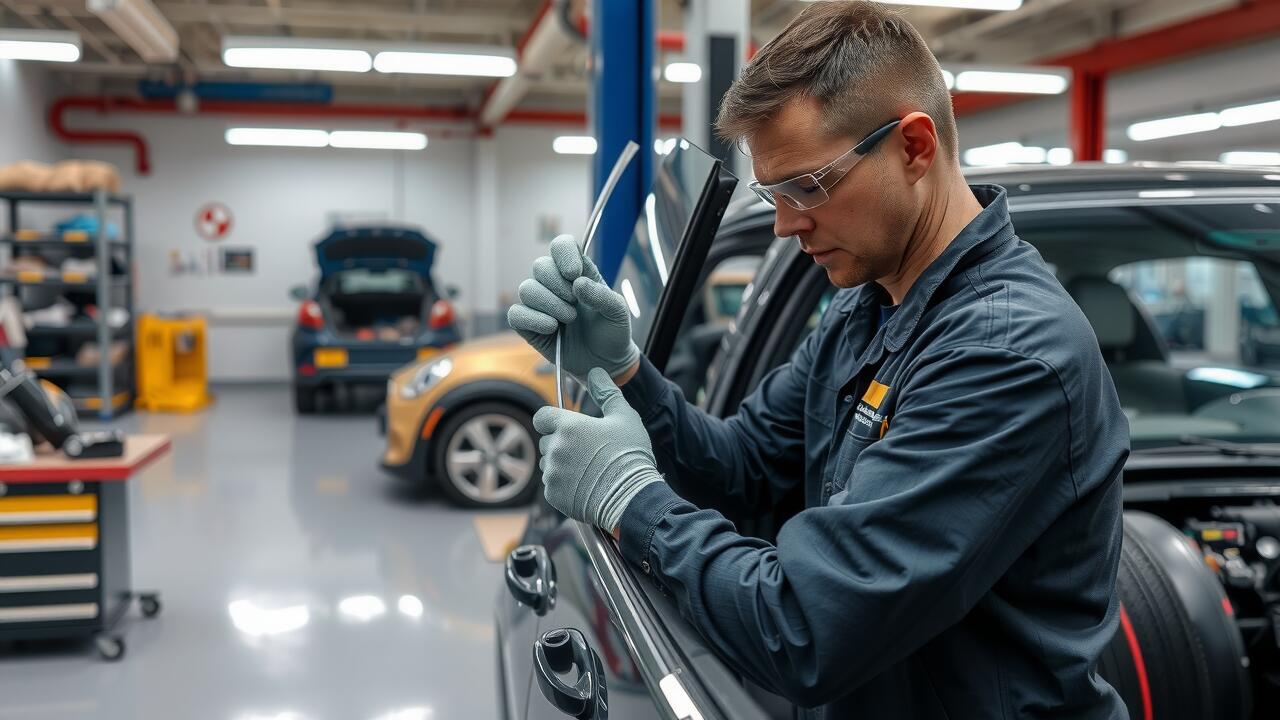
Instructions for Changing the Regulator
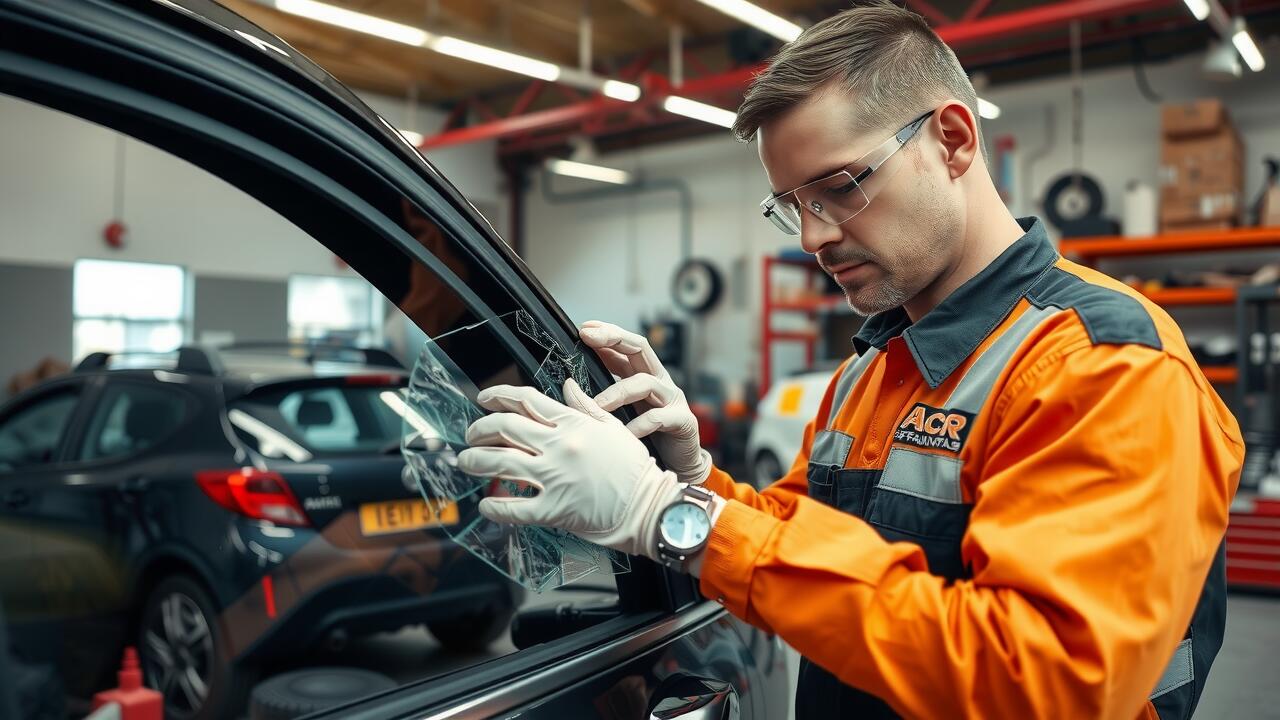
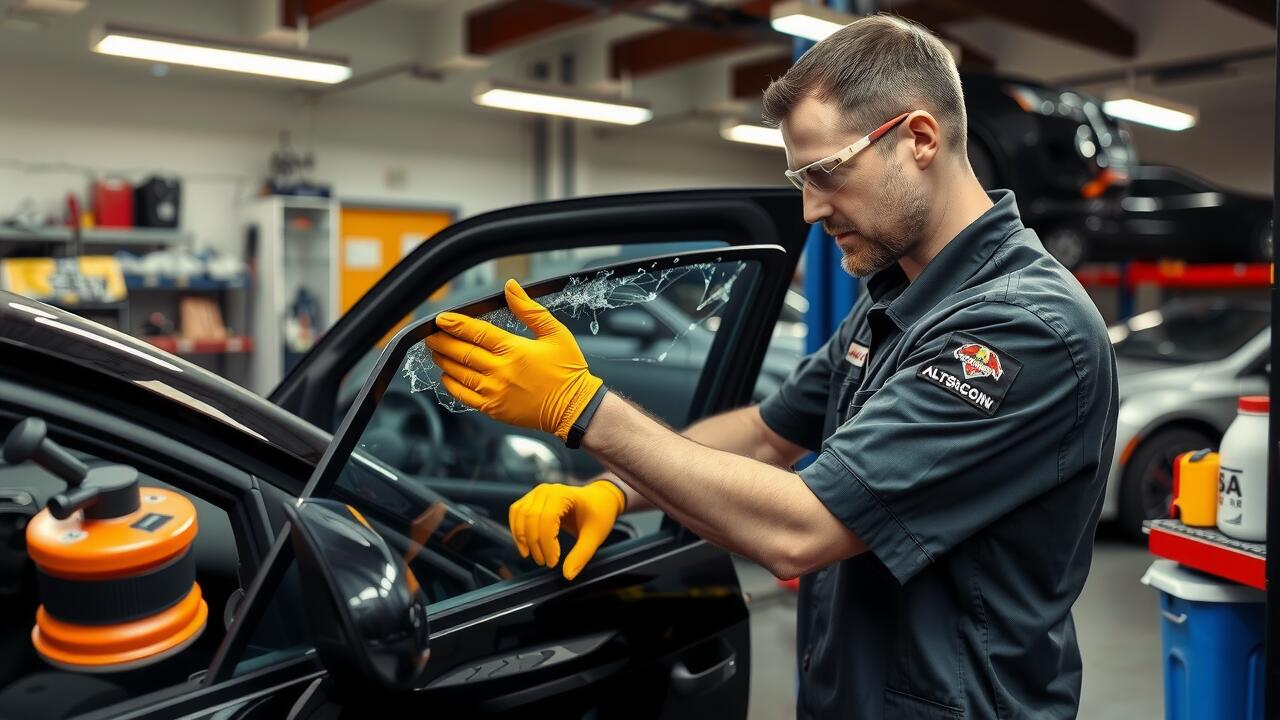
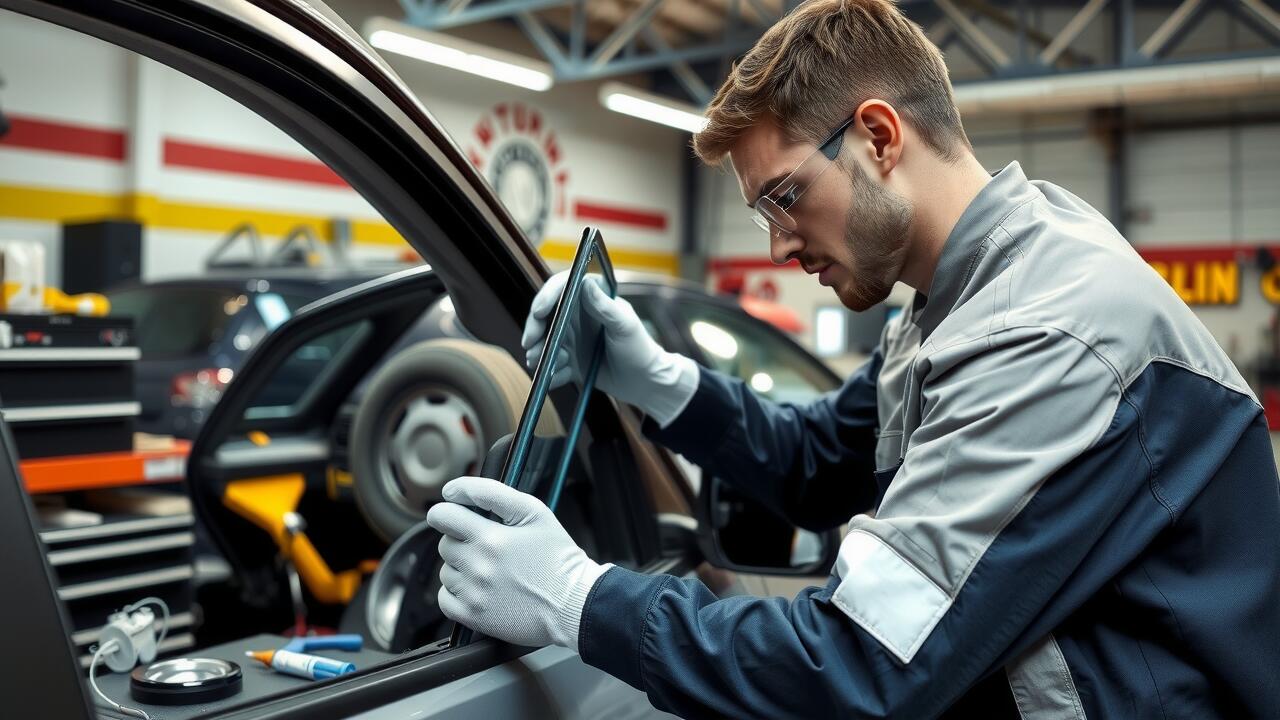
Begin by ensuring you have the necessary tools for the task. You will need a screwdriver, socket set, and possibly a trim removal tool. Start by disconnecting the car battery to prevent any electrical mishaps. Carefully remove the door panel, taking care not to damage the clips or fasteners. Once the panel is off, inspect the area surrounding the window regulator. Make note of how the regulator is secured, as you will need to replicate this during reinstallation.
After accessing the regulator, unscrew any bolts or fasteners holding it in place. Carefully detach it from the window, ensuring not to apply too much pressure that might break any components. Once removed, replace it with the new regulator, reversing the steps taken during removal. Check for proper alignment and secure it back into place. Reassemble the door panel, reconnect the battery, and test the window's functionality. This DIY approach can often save time and money while empowering you to manage your own Side Window Repair effectively.
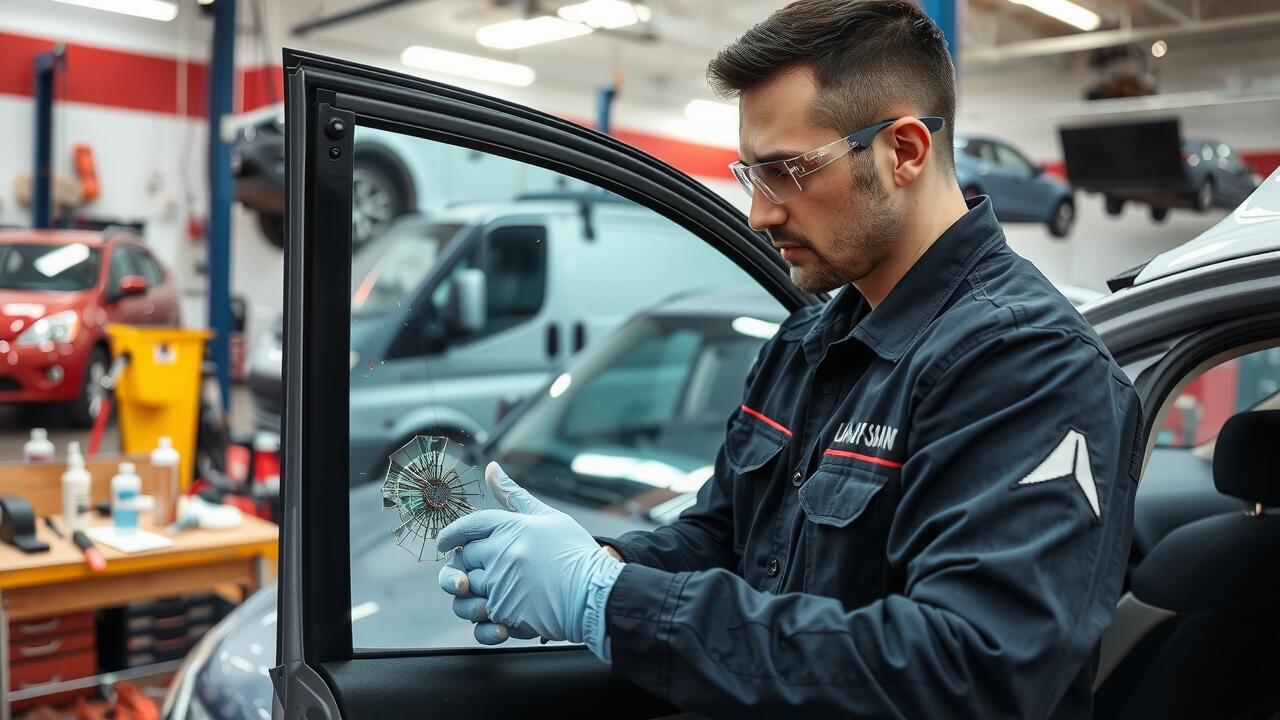
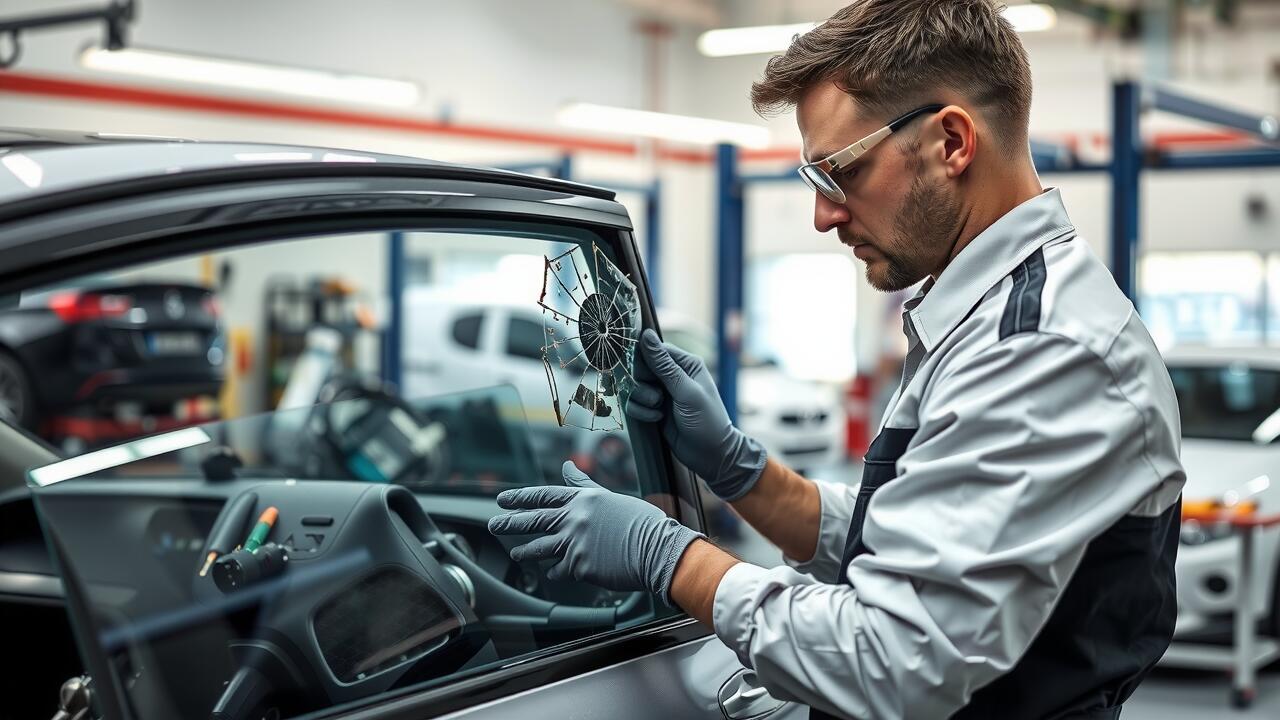
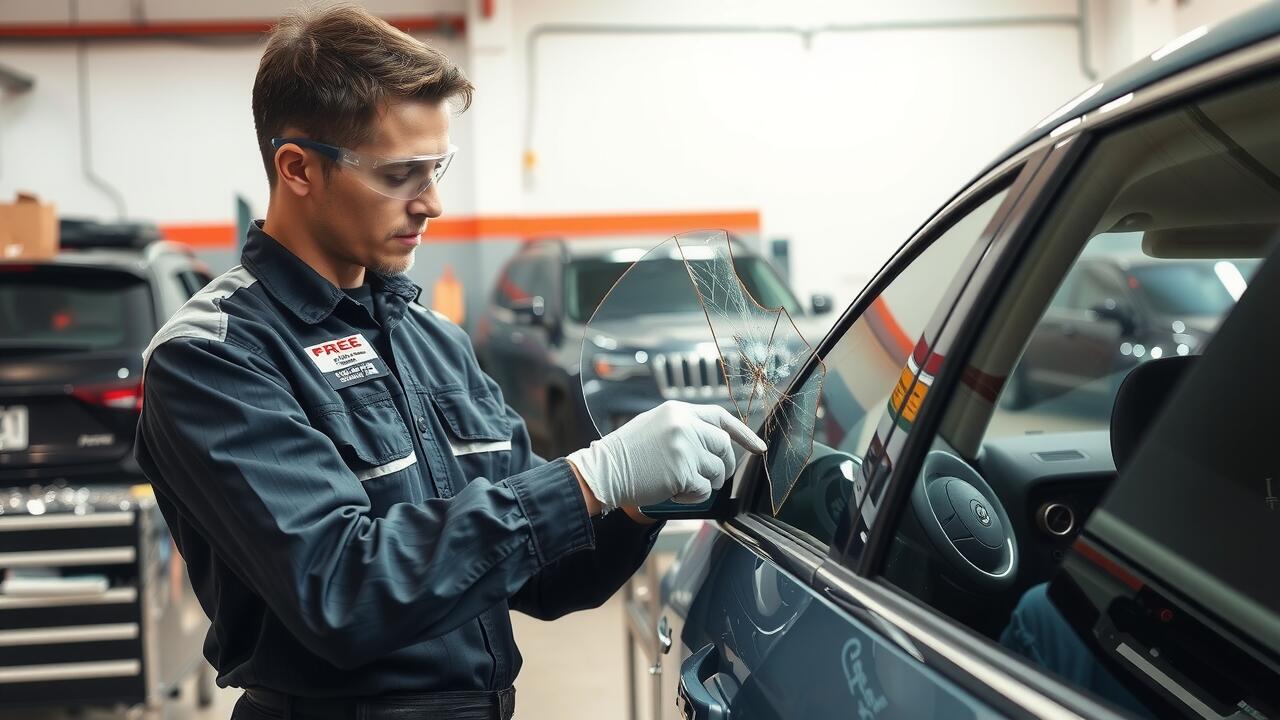
Repairing or Replacing the Motor
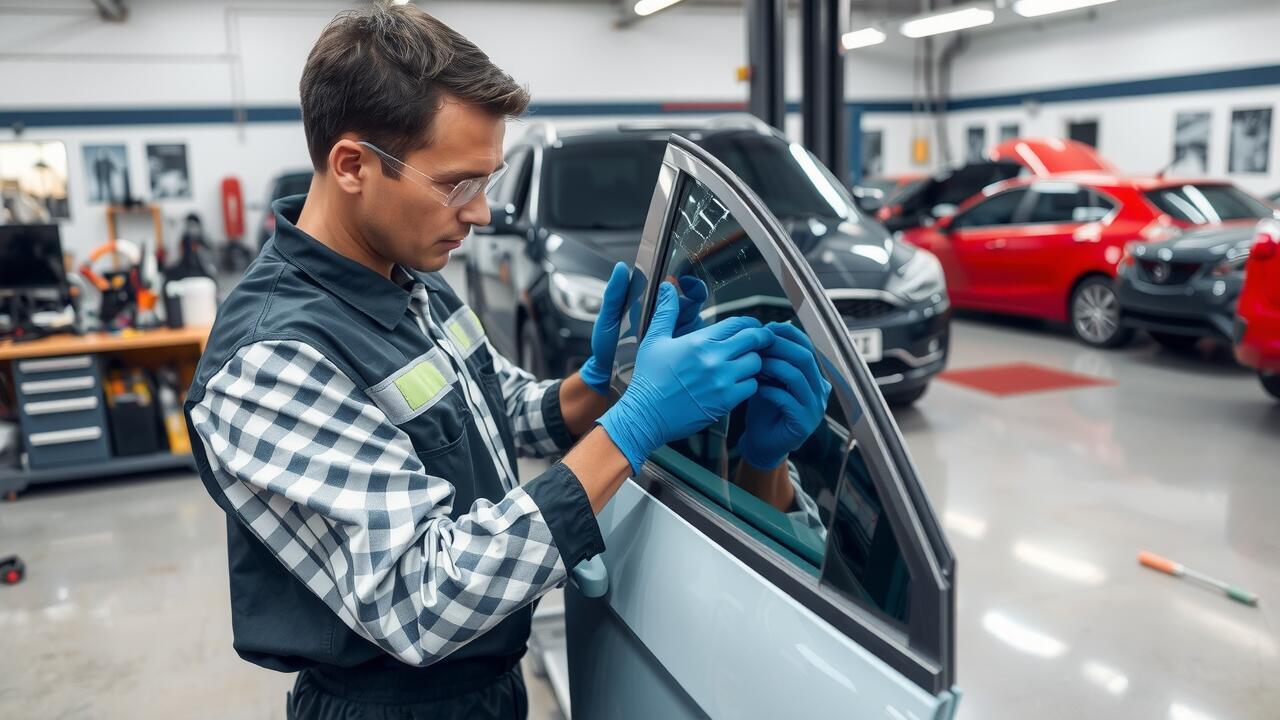
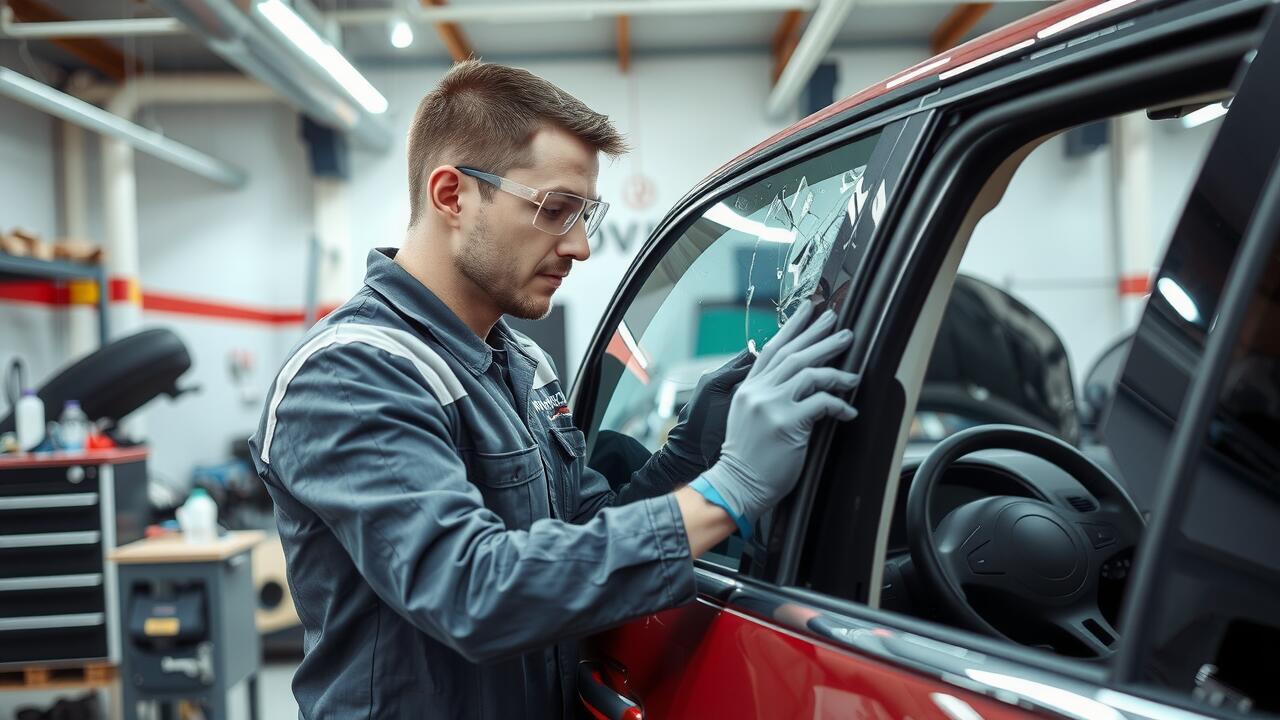
When dealing with a faulty power window motor, it's important to determine whether a repair or a complete replacement is necessary. If the motor is making unusual noises or doesn't respond at all, this can indicate failure. In some cases, the issue may be as simple as a loose connection or corroded wires. Conducting a thorough investigation and performing basic checks can sometimes resolve minor issues without replacing the motor entirely. If Side Window Repair is required, understanding the specific symptoms will aid in diagnosing the problem effectively.
If repairs are not viable, replacing the motor becomes essential. This process typically involves removing the interior door panel, disconnecting the faulty motor, and installing the new unit. Always remember to align the new motor correctly with the window regulator to ensure smooth operation. After the installation, test the window's functionality several times to confirm that it operates without any hindrance. Following these procedures will help restore proper function to your power window and enhance overall vehicle comfort.
How to Address Motor Failure
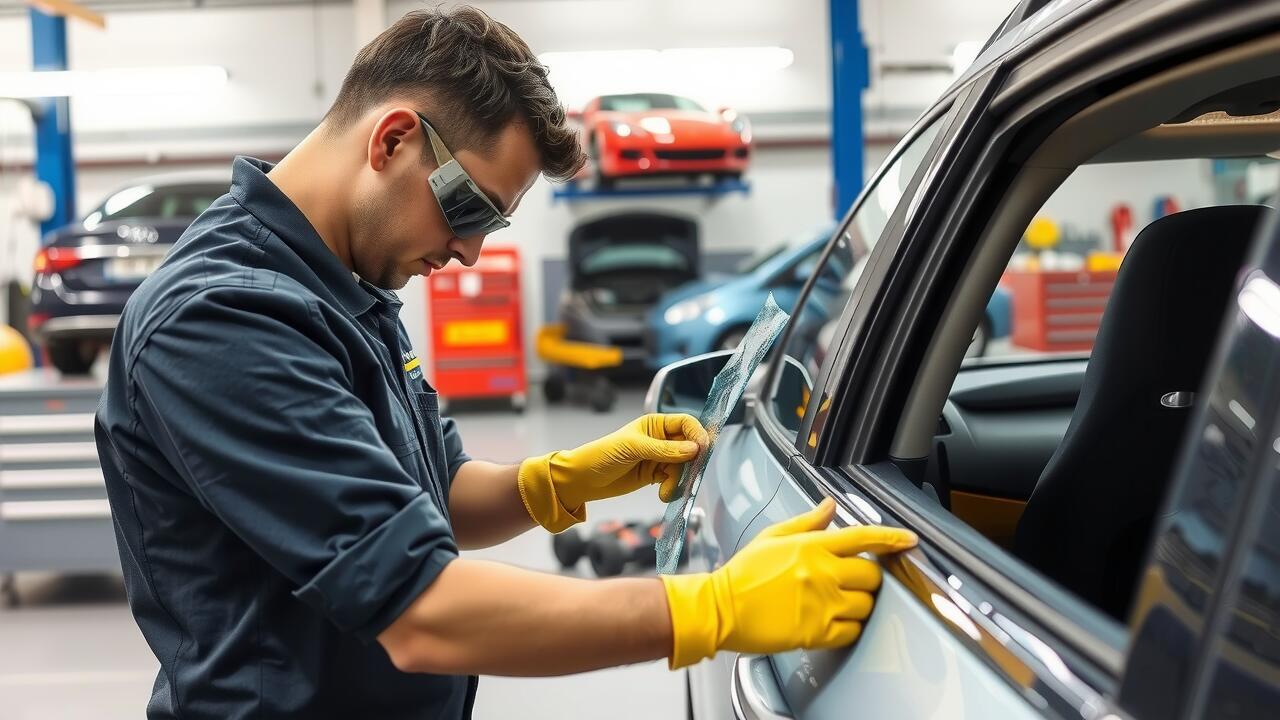
Motor failure can be a common issue with power windows, often stemming from wear and tear or electrical problems. Before assuming the motor is completely non-functional, perform a thorough inspection. Check for any blown fuses or relays that might be interfering with the motor’s operation. A multimeter can help test the motor for continuity. If power reaches the motor but it doesn't respond, it's likely time for replacement.
In many cases, addressing motor failure directly involves deciding between repair and replacement. If the motor is still under warranty, consider reaching out to the manufacturer or dealer for assistance. For those opting for self-service, the process requires removing the door panel, disconnecting the old motor, and installing a new one. This task can be challenging but is manageable for those with basic mechanical skills. Having the right tools on hand and following a guide for Side Window Repair can simplify the process significantly.
FAQS
What are the common issues that cause power windows to stop working?
Common issues include blown fuses, faulty switches, broken wiring, a malfunctioning window regulator, or a failed motor.
Do I need special tools to fix my power window?
While you may need some basic hand tools like screwdrivers and pliers, certain repairs may require specific tools such as a multimeter for electrical testing or a window regulator removal tool.
How can I tell if the problem is with the window motor or the switch?
If the window makes a clicking sound when you press the switch, it’s likely the motor is working, and the issue may be with the switch or wiring. Conversely, if there’s no sound at all, the motor may be the culprit.
Is it safe to attempt fixing a power window myself?
Yes, it can be safe if you follow proper safety protocols, work in a well-lit area, and refer to your vehicle’s manual for guidance. However, if you’re unsure or uncomfortable, it’s best to consult a professional.
How much can I save by fixing the power window myself?
The savings can vary significantly based on the issue. DIY repairs can often save you the cost of labour, potentially ranging from $100 to $300 or more, depending on the complexity of the repair.