Table Of Contents
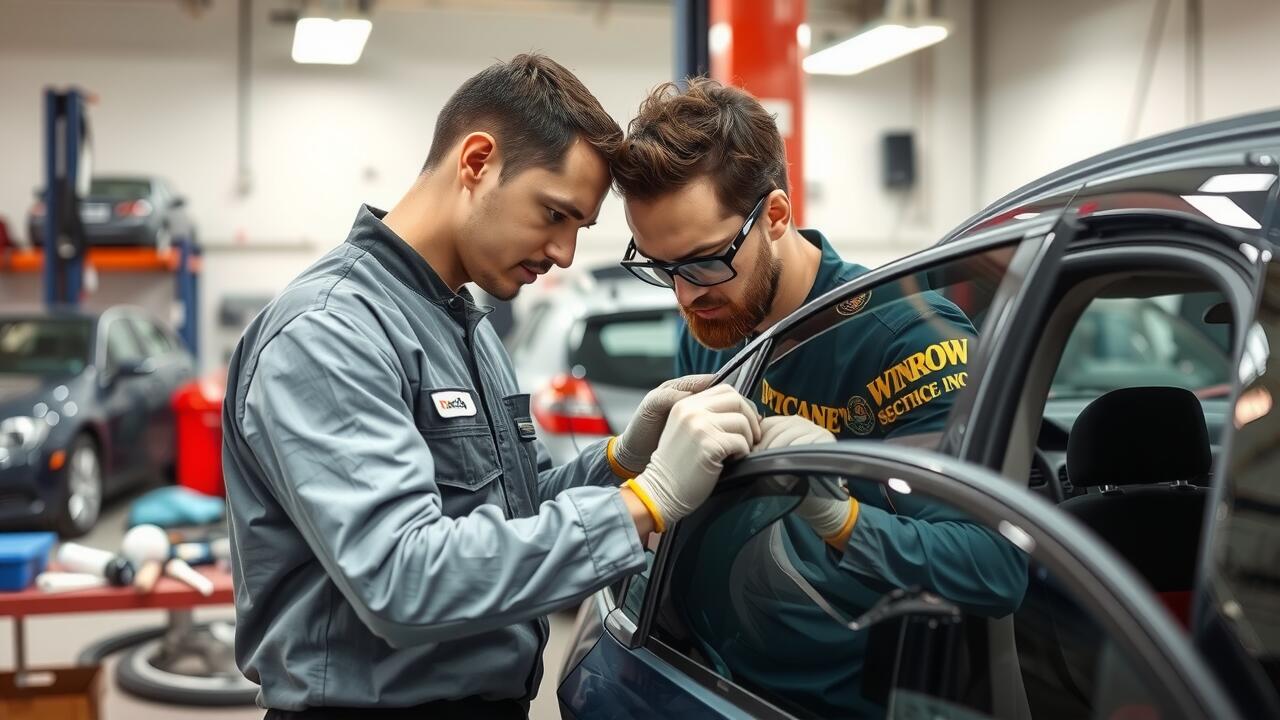
Taking Out the Broken Window
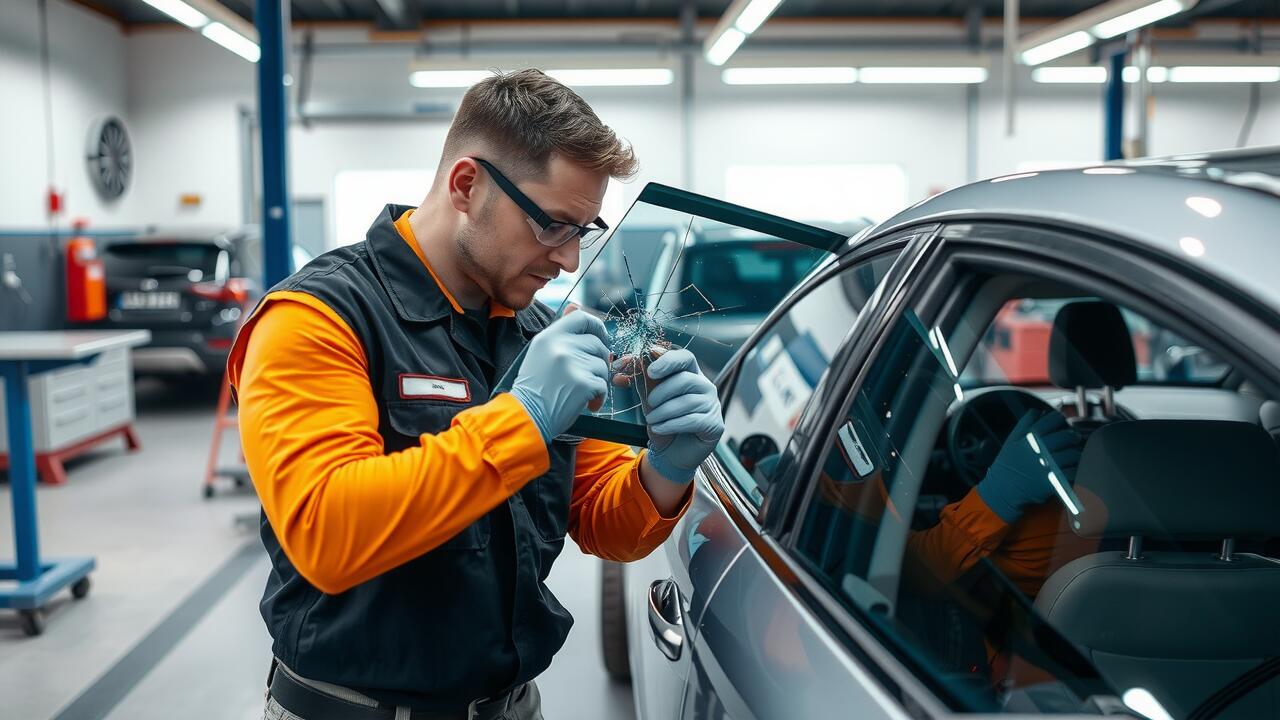
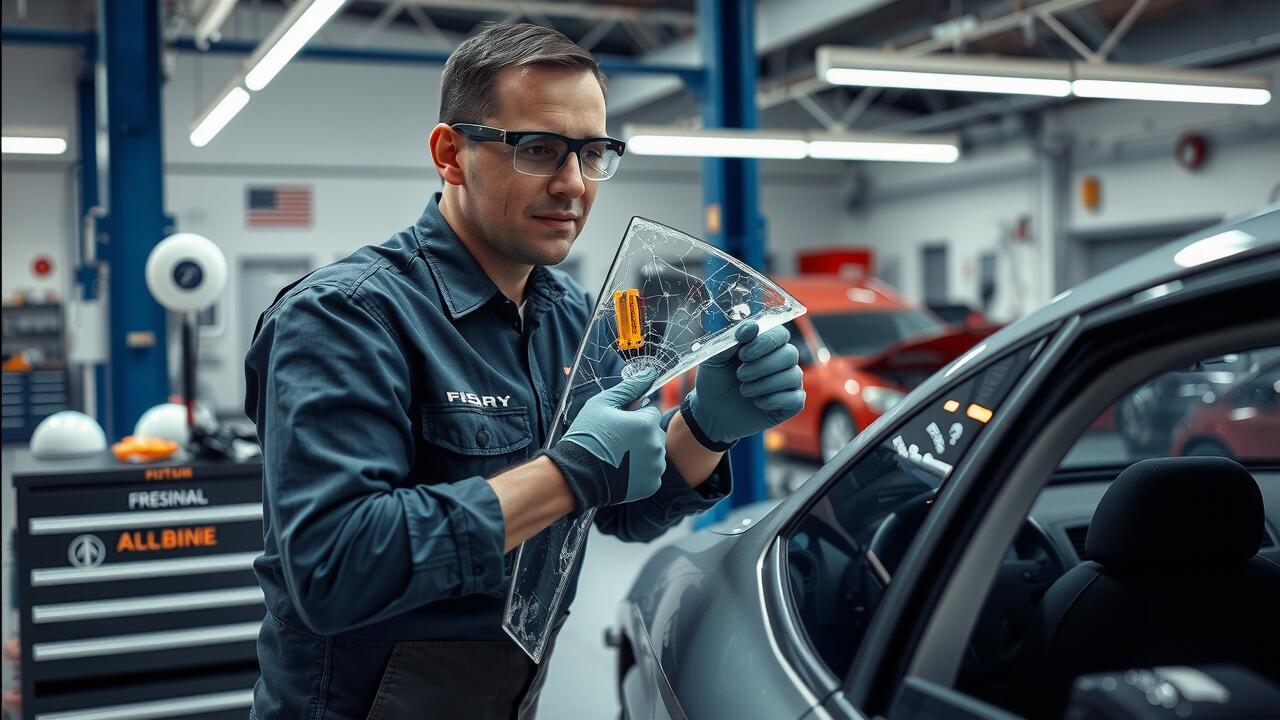
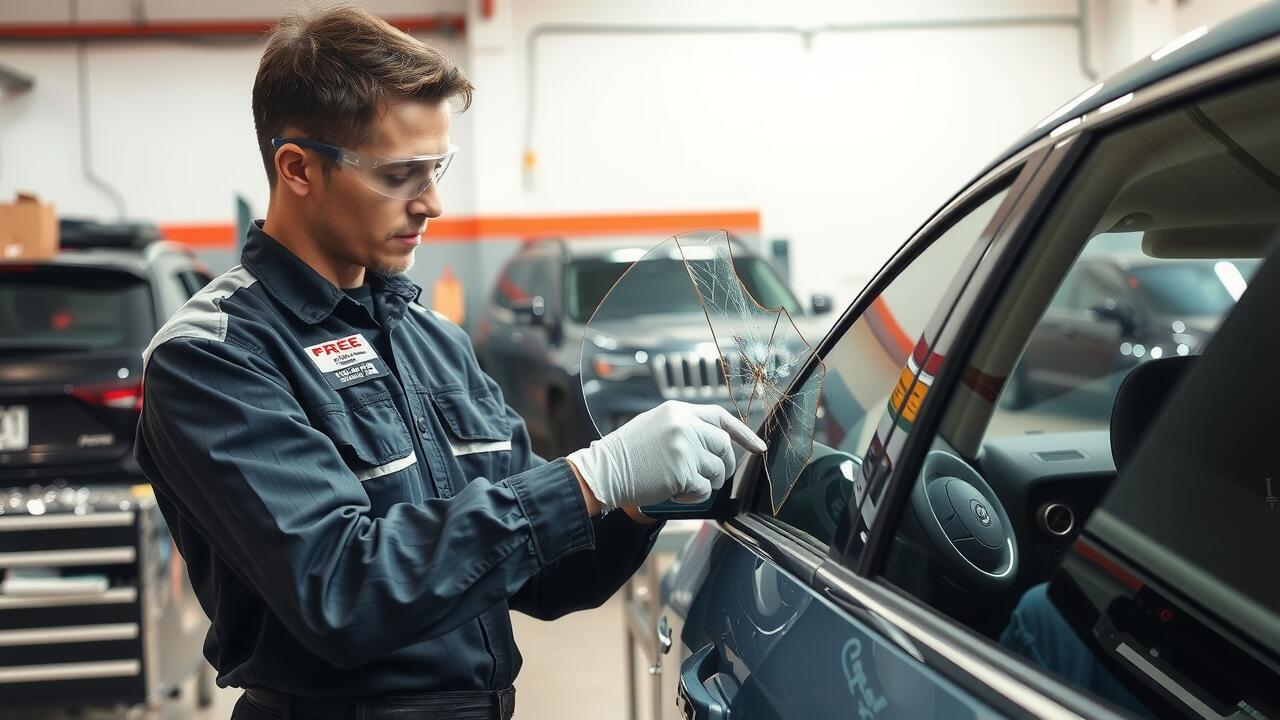
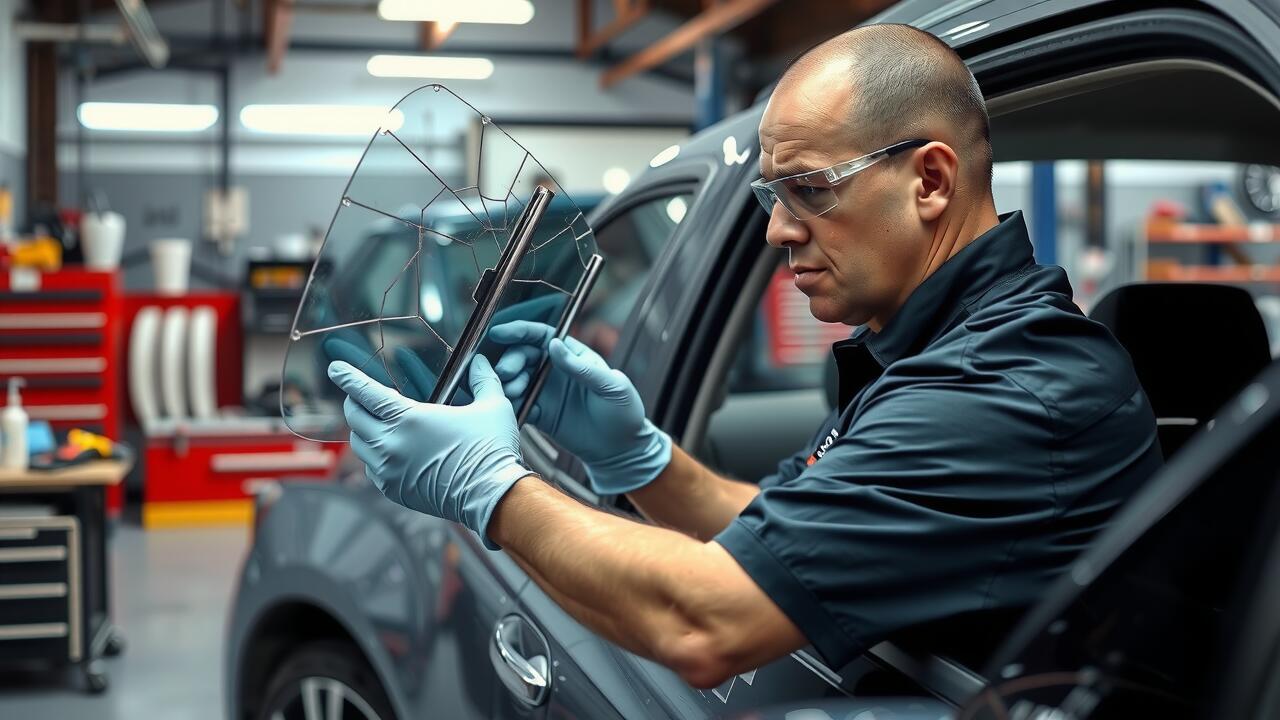
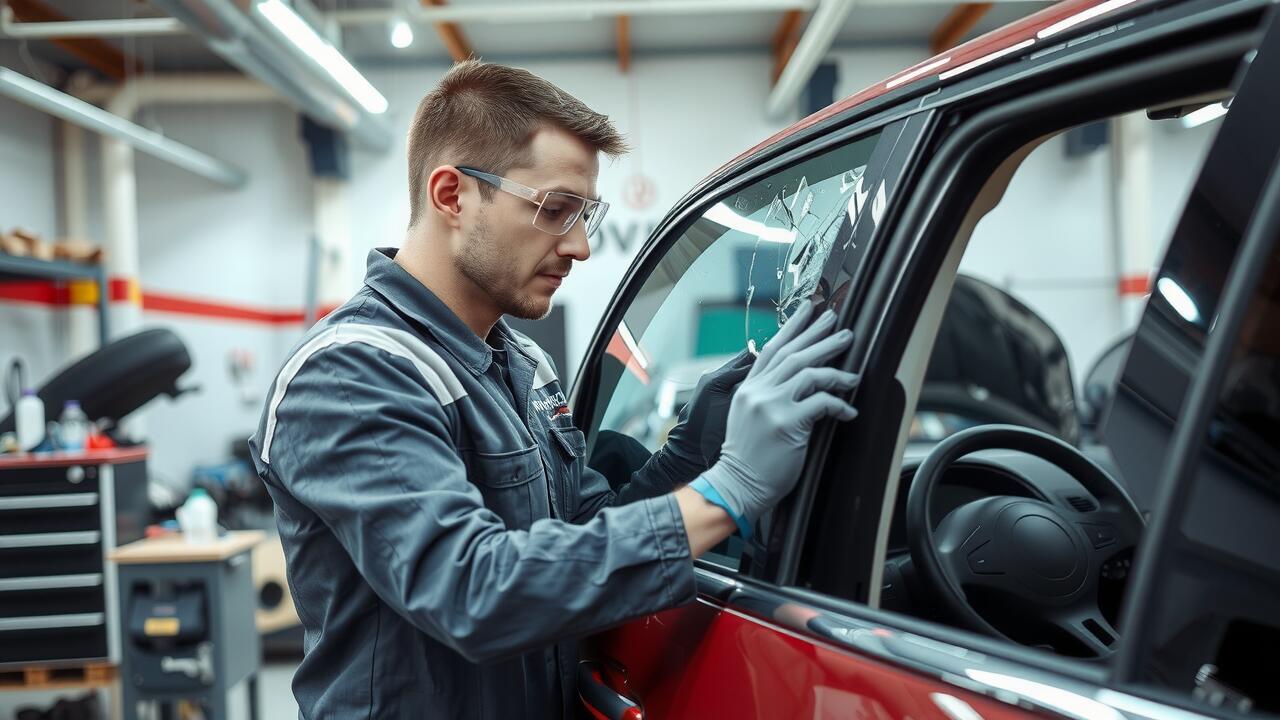
To start the process of replacing a broken driver side window, you'll need to assess the damage and prepare your tools. Ensure you have safety gloves and goggles on to protect yourself from any sharp glass edges. Using a screwdriver or similar tool, carefully pry off the door panel to gain access to the glass and window mechanisms. This initial step is essential for a successful side window repair. Be cautious as you navigate the edges of the broken glass to avoid injury.
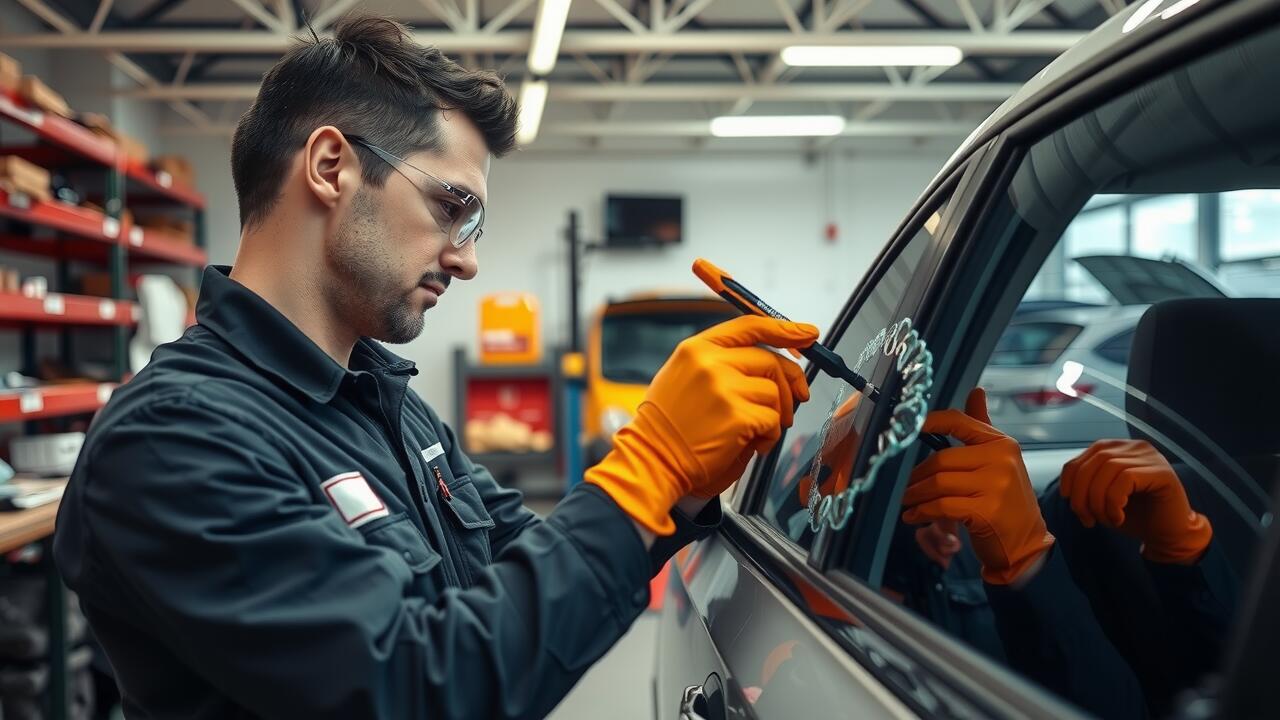
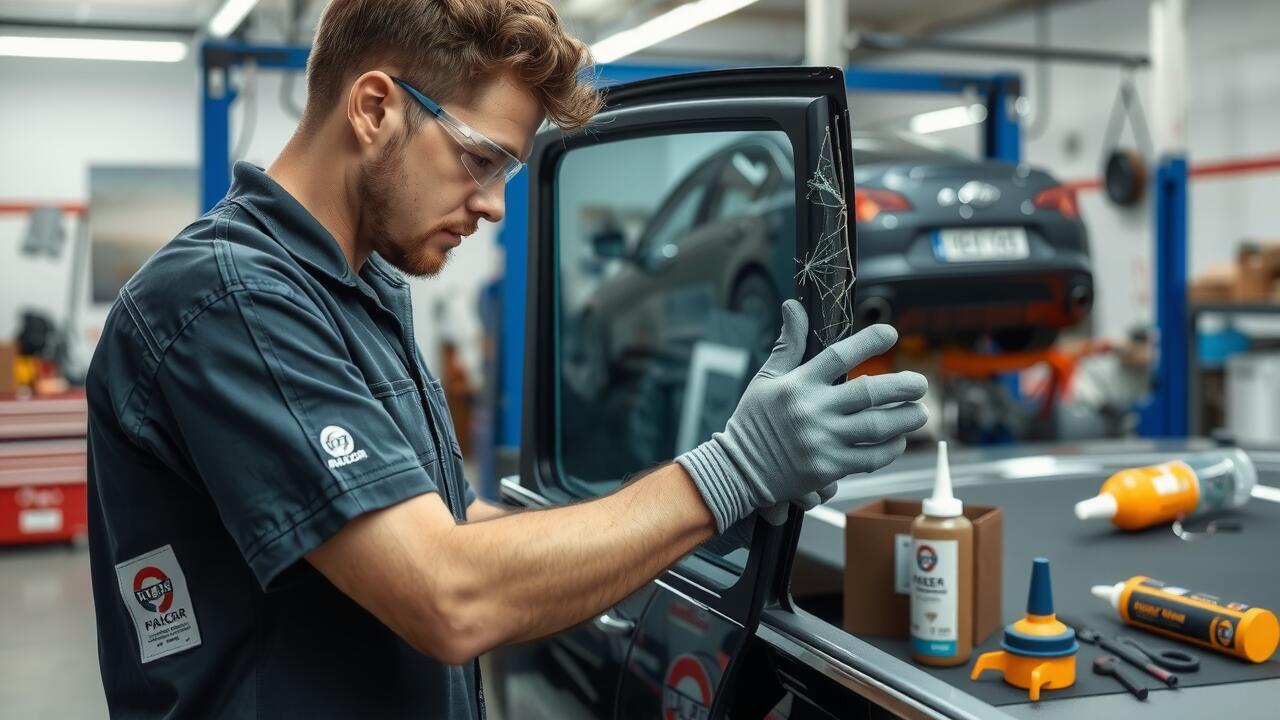
After removing the door panel, focus on carefully extracting any remaining shards of glass from the window frame. Use a vacuum cleaner or a small brush to ensure no fragments are left that could interfere with the installation of the new window. If you encounter stubborn pieces, ply them out gently with pliers. Your attention to detail during this stage will significantly impact the overall quality of the side window repair, leading to a seamless installation later in the process.
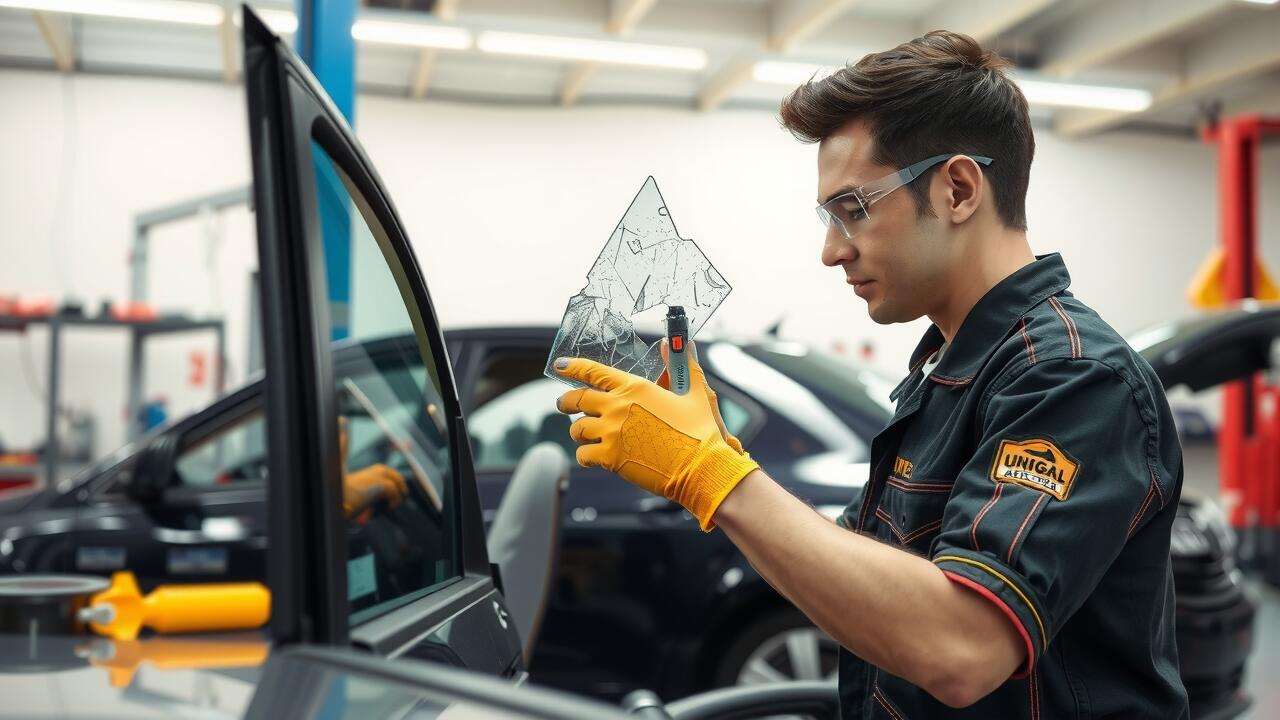
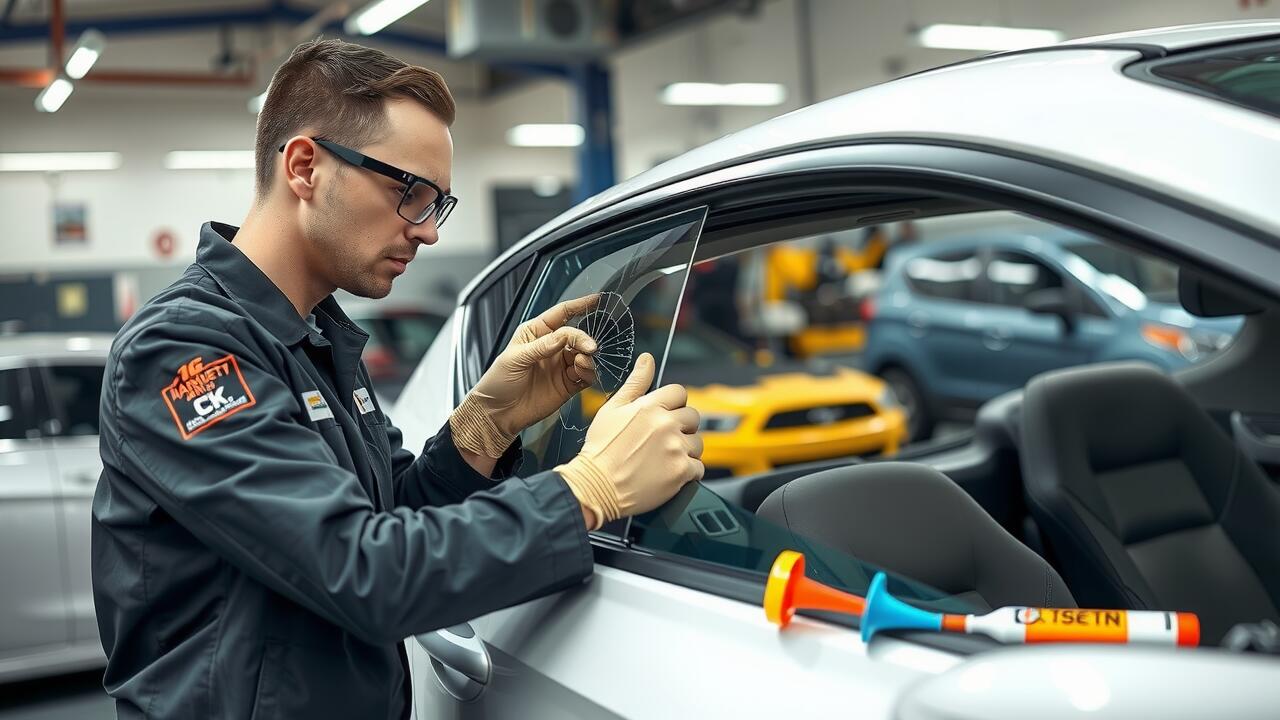
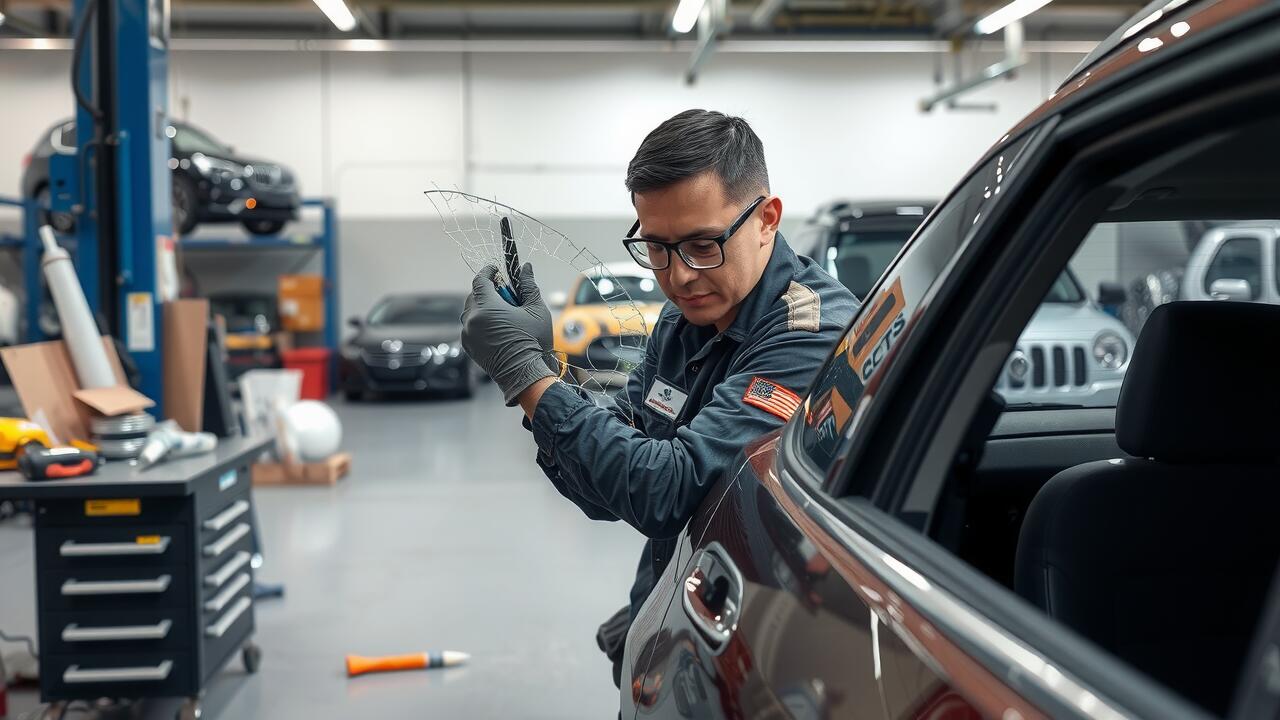
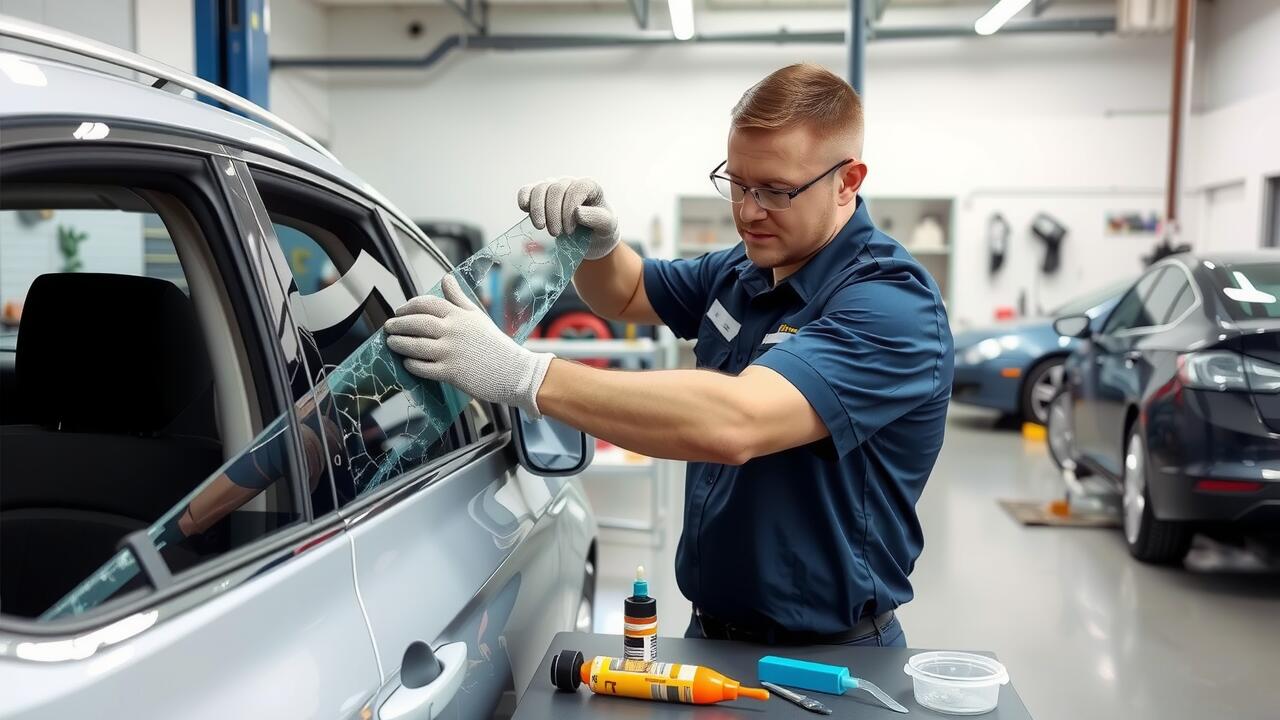
Carefully Removing Glass Fragments
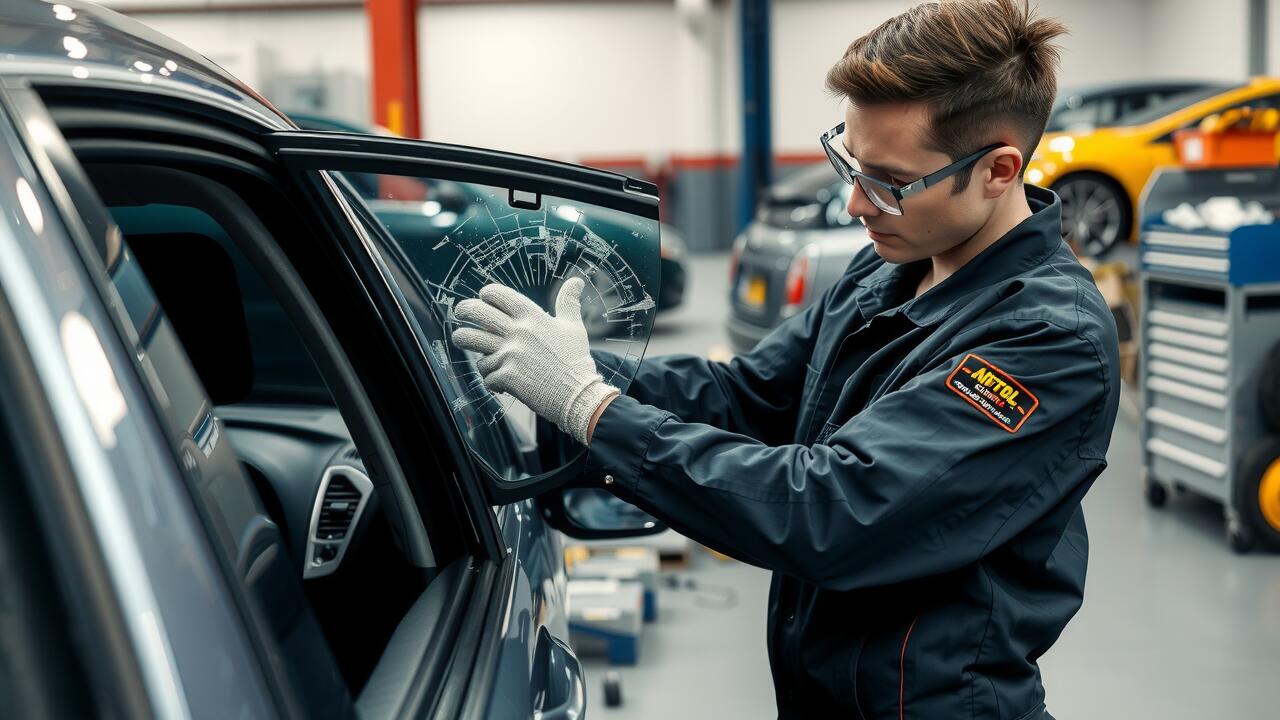
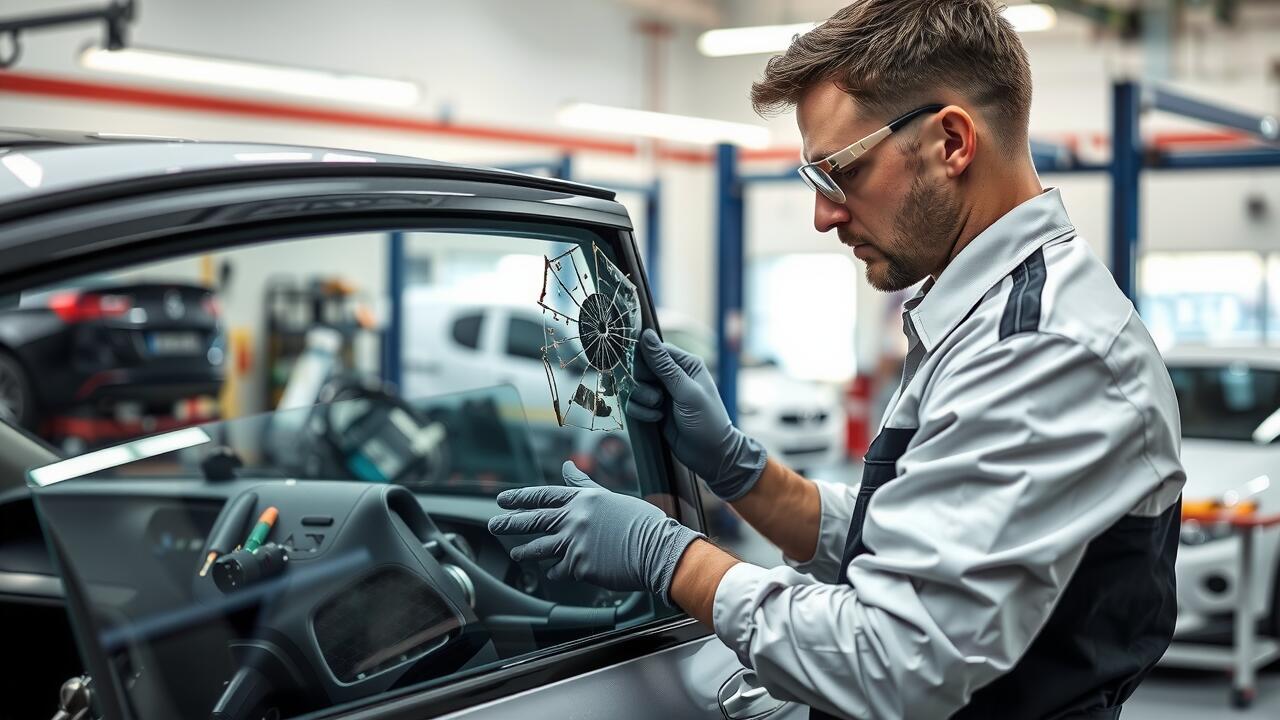
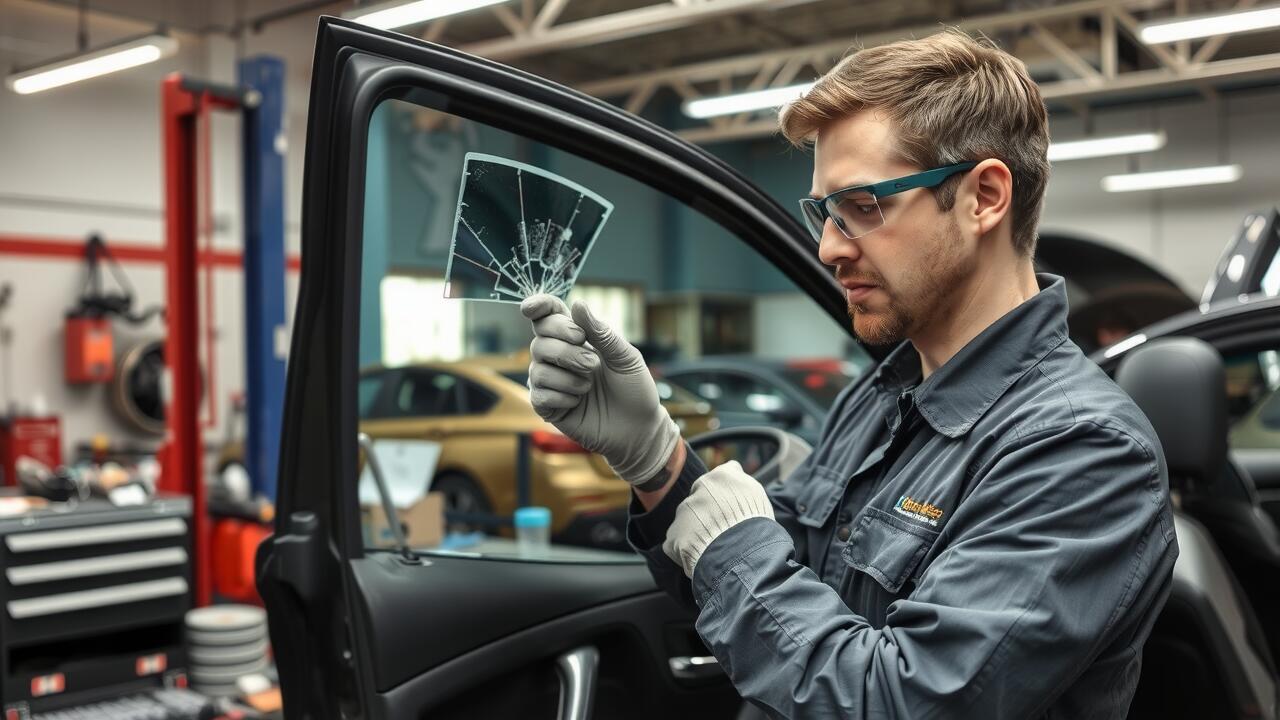
When replacing a broken driver side window, the first step is to ensure a thorough removal of glass fragments. Use a pair of gloves to protect your hands from sharp edges. Begin by picking up larger pieces, carefully ensuring you do not press down on any remaining glass shards. A vacuum cleaner can be particularly helpful in clearing out smaller fragments that may be difficult to see. Safety is paramount during this process; securing the area around you will prevent accidents.
Once the larger pieces have been cleared, it is essential to conduct a more detailed inspection for any stubborn shards. Pay close attention to the edges of the window frame, as these often hide remnants of broken glass. Using a soft brush can aid in gathering tiny fragments safely from tight spaces. Properly removing all glass is crucial for a successful side window repair. Ensuring no debris is left behind will prevent potential complications when installing the new window.
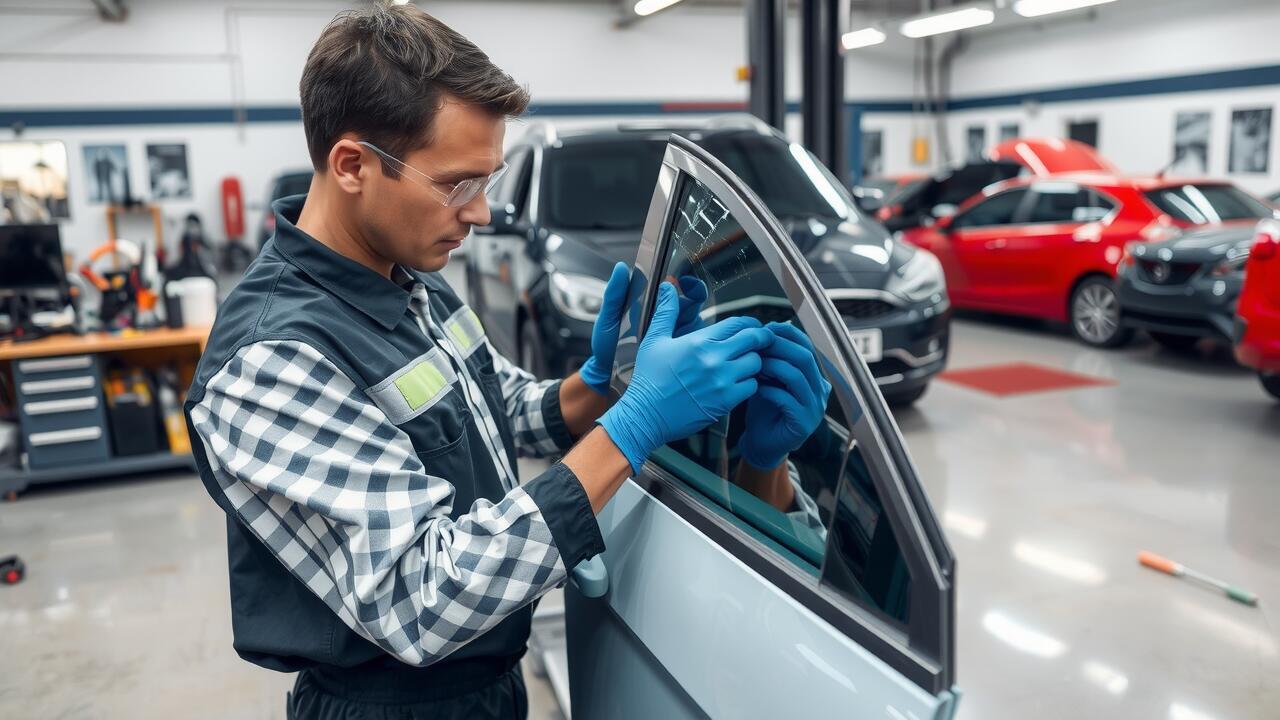
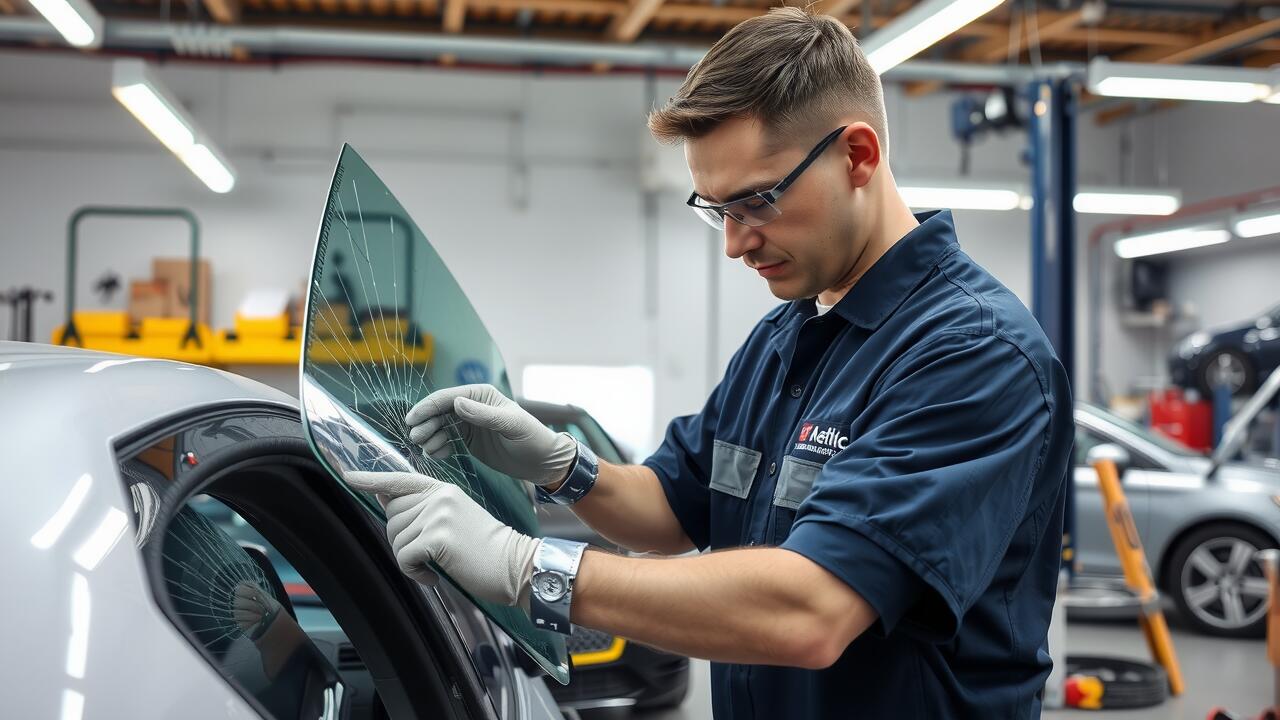
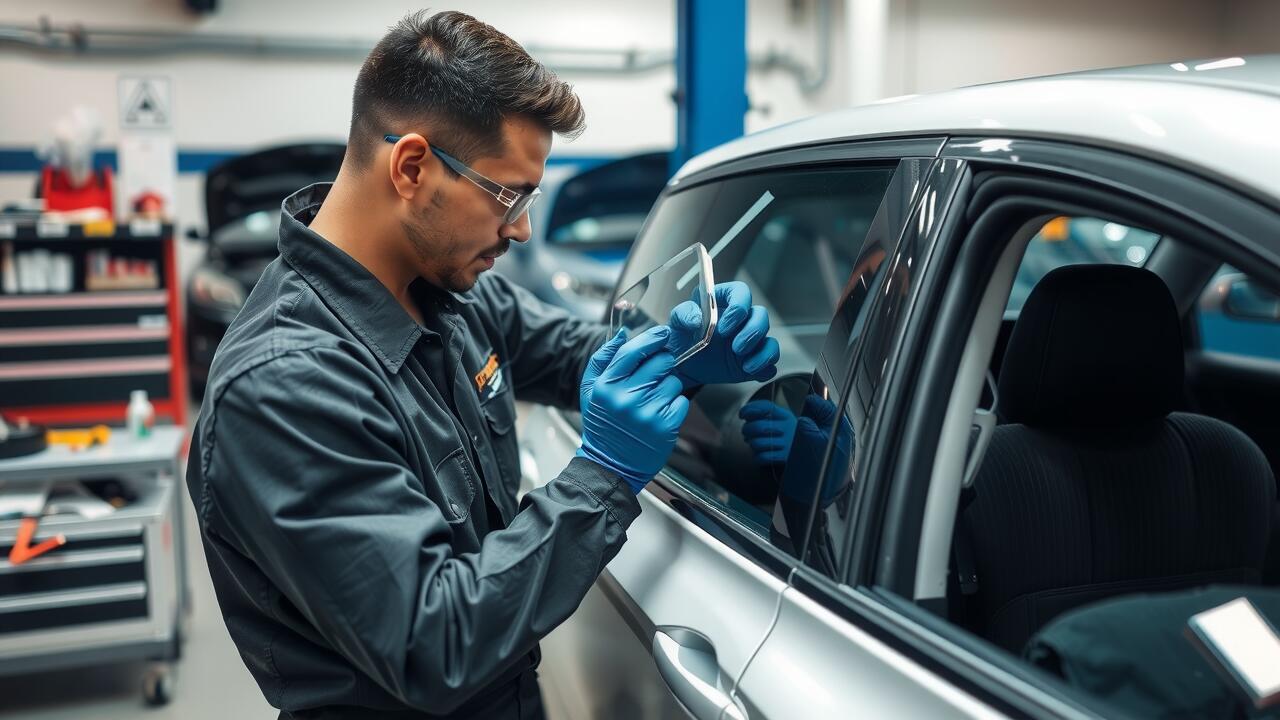
Installing the New Window
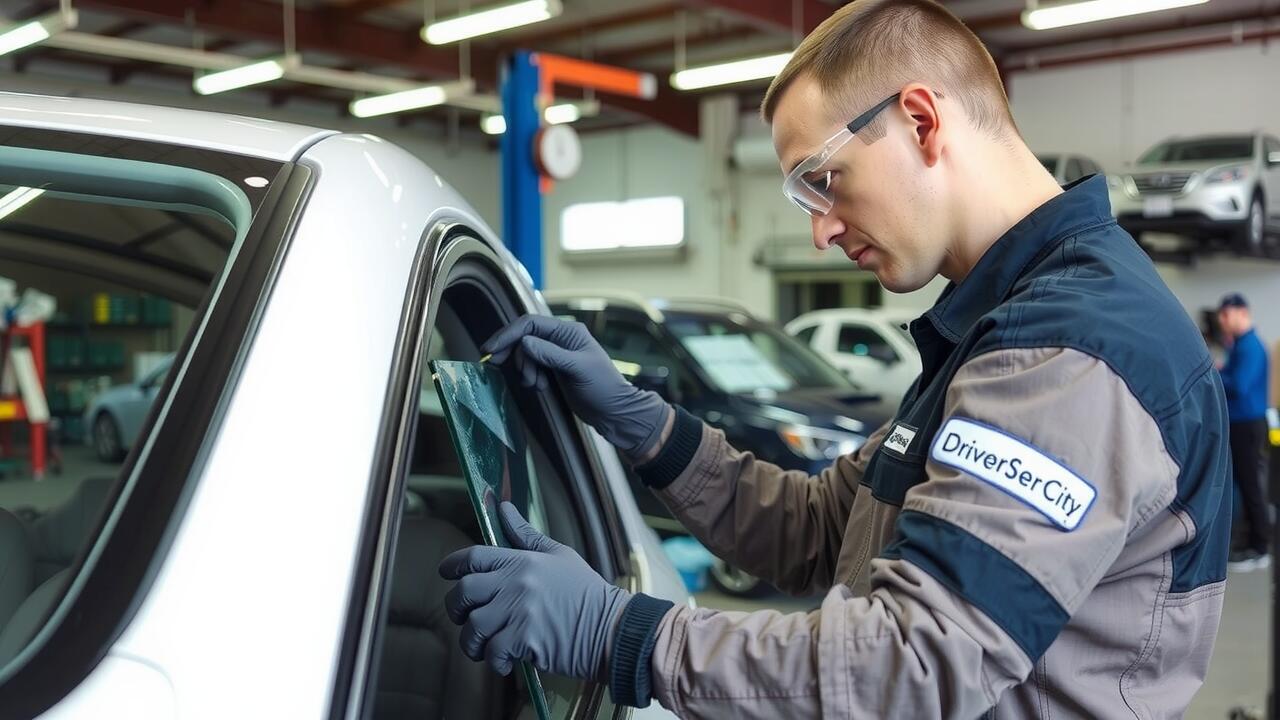
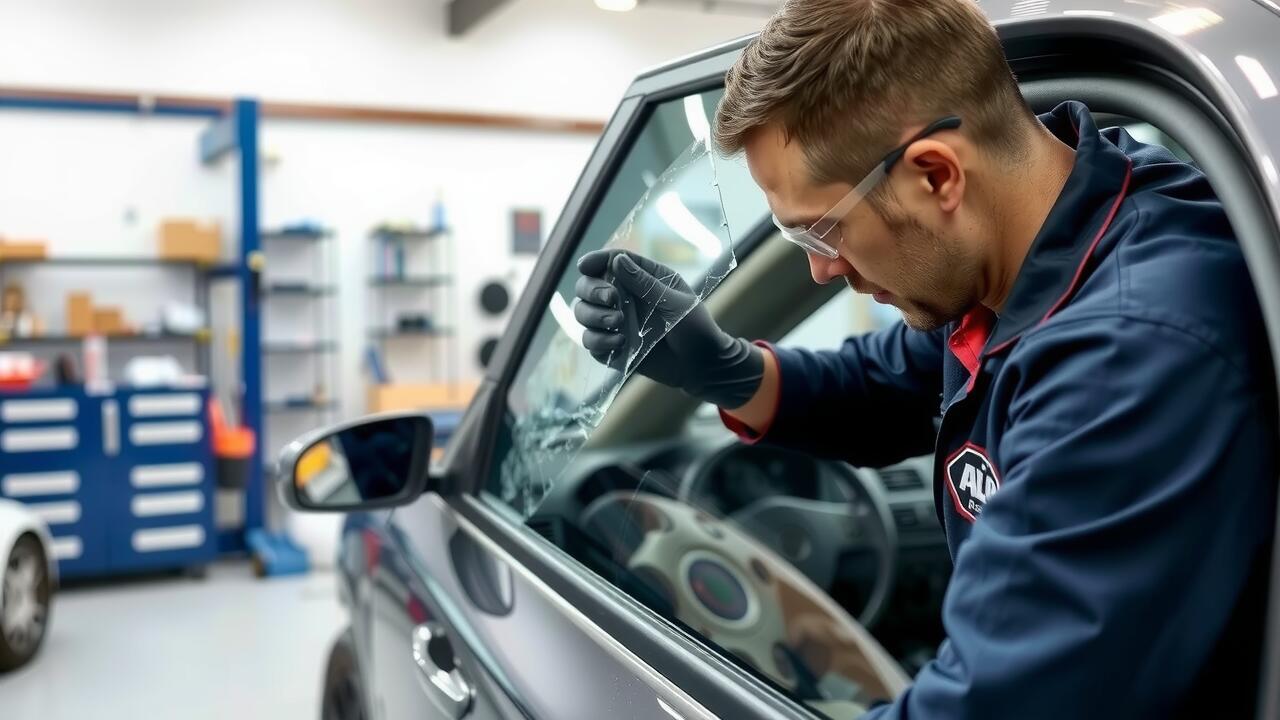
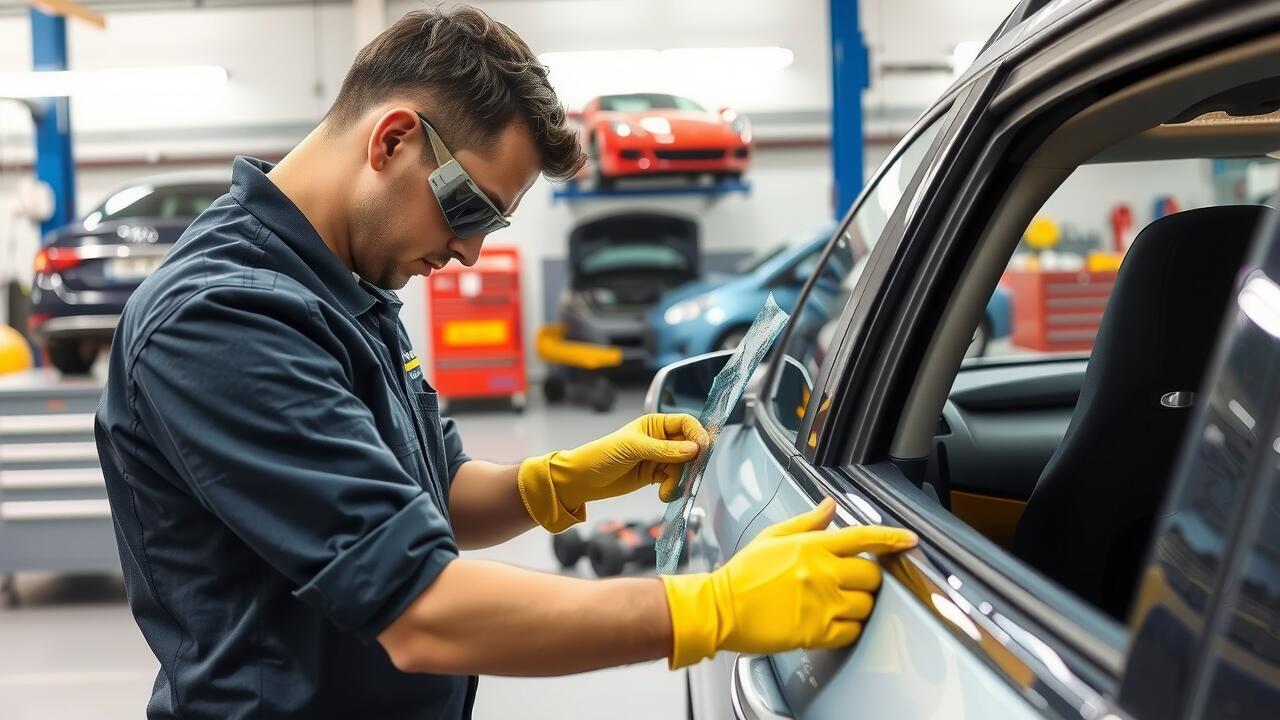
When installing the new window, first ensure that the replacement glass matches the specifications of the original part. Carefully slide the new window into the frame, making sure it sits evenly within the tracks. Use protective gloves to avoid fingerprints on the glass. Once in place, secure the window using any necessary clips or screws, depending on your vehicle's design. This step is crucial to ensure that the window operates smoothly once reinstalled.
Next, focus on achieving proper alignment for the window. This will prevent any issues with opening or closing operations later on. Adjust the glass as needed to ensure it fits snugly against the weather stripping. If you notice gaps or misalignment, take a moment to re-adjust the glass until it sits correctly. Proper installation is key to a successful side window repair, ensuring both aesthetic appeal and functionality for the long term.
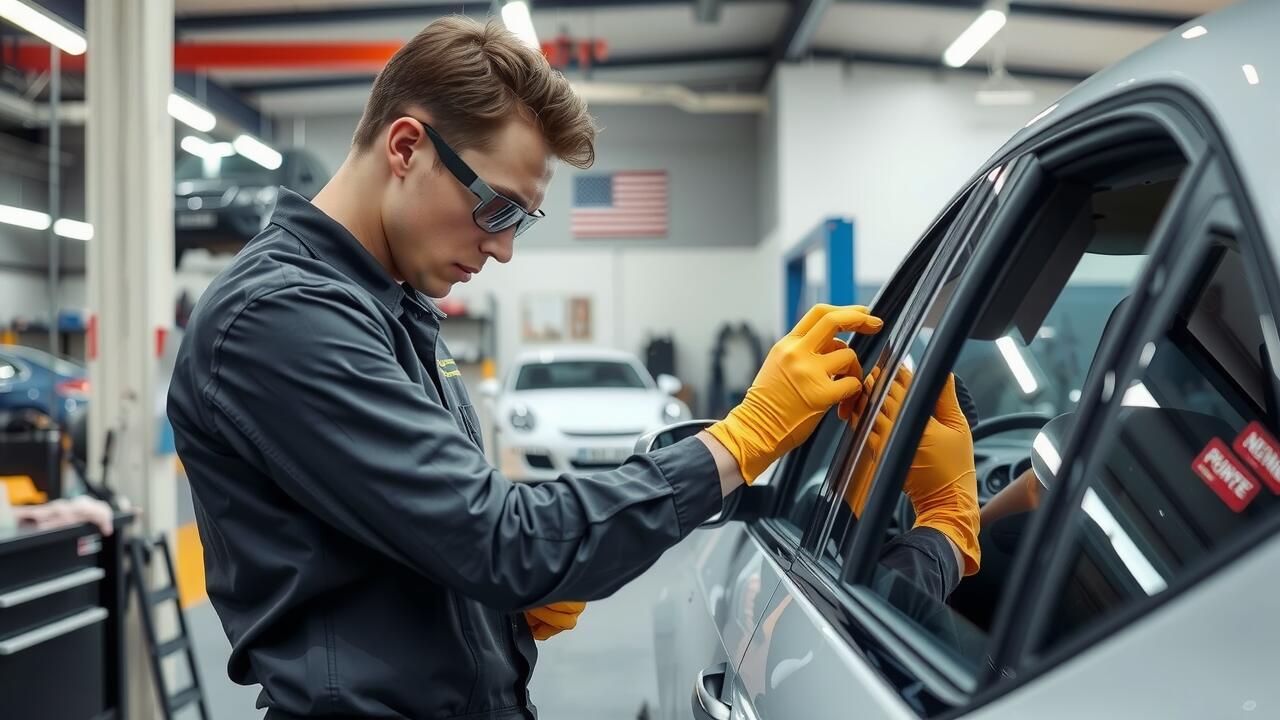
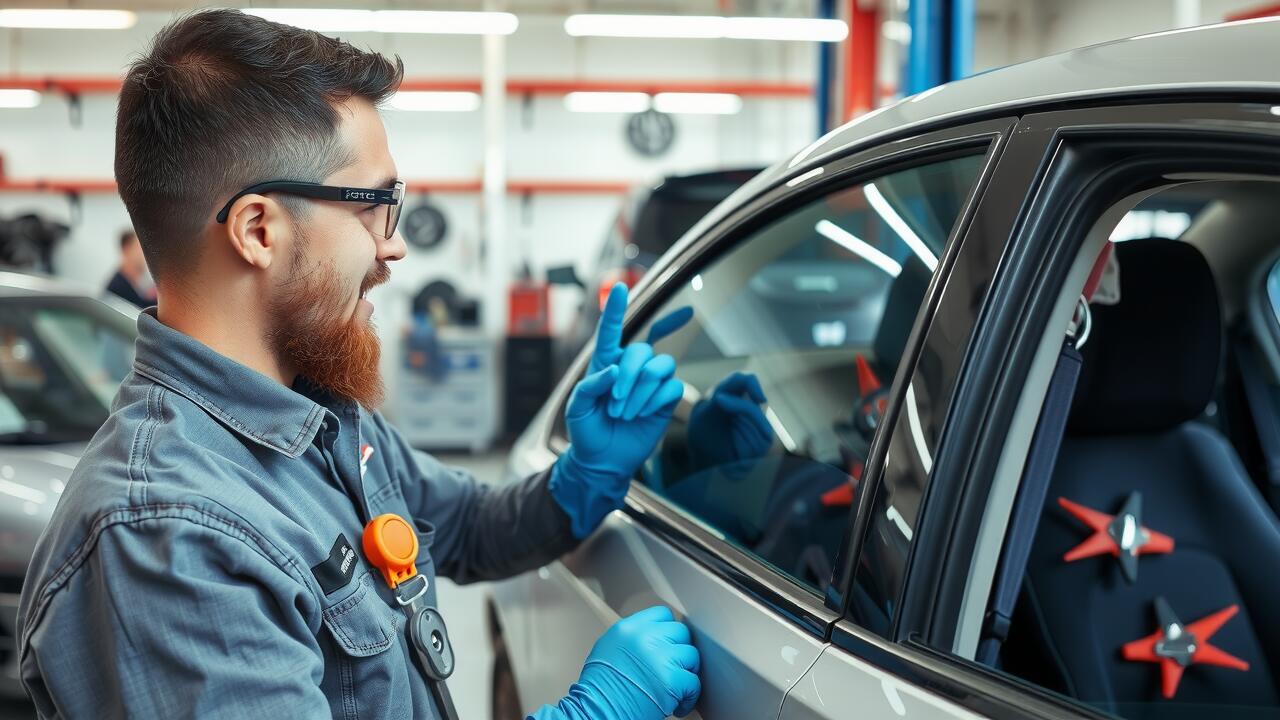
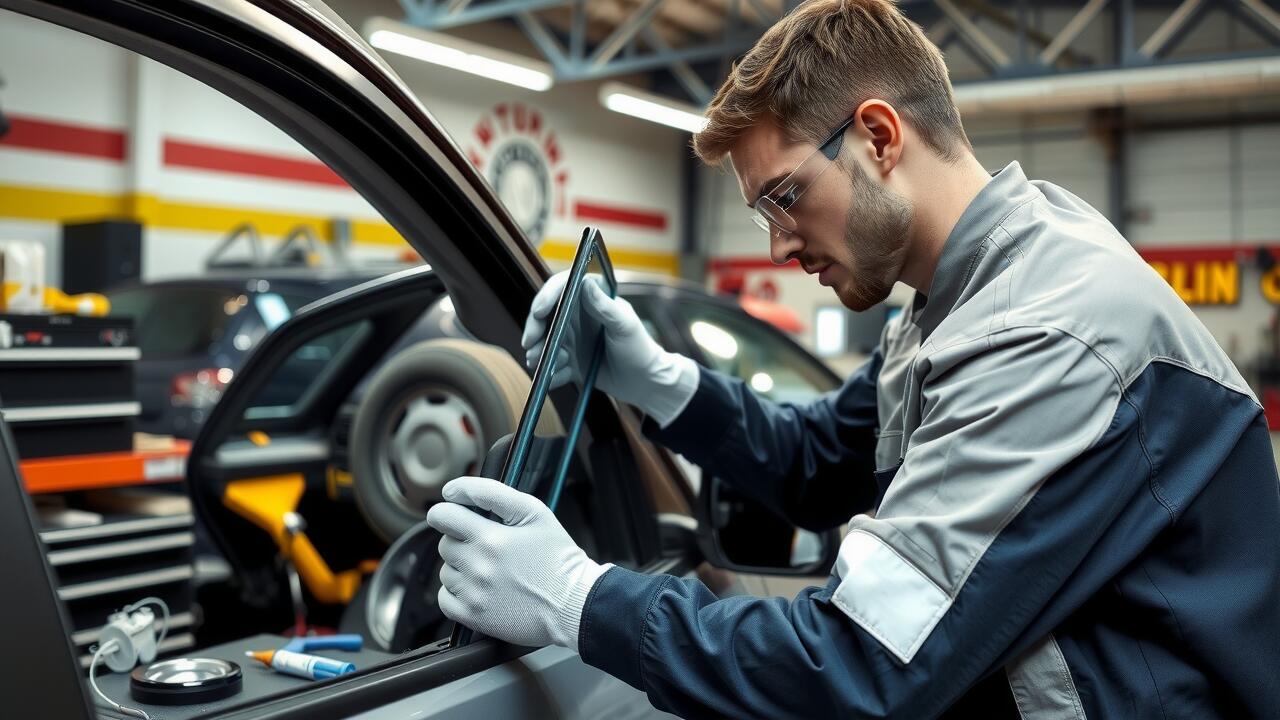
Ensuring Proper Alignment and Fit
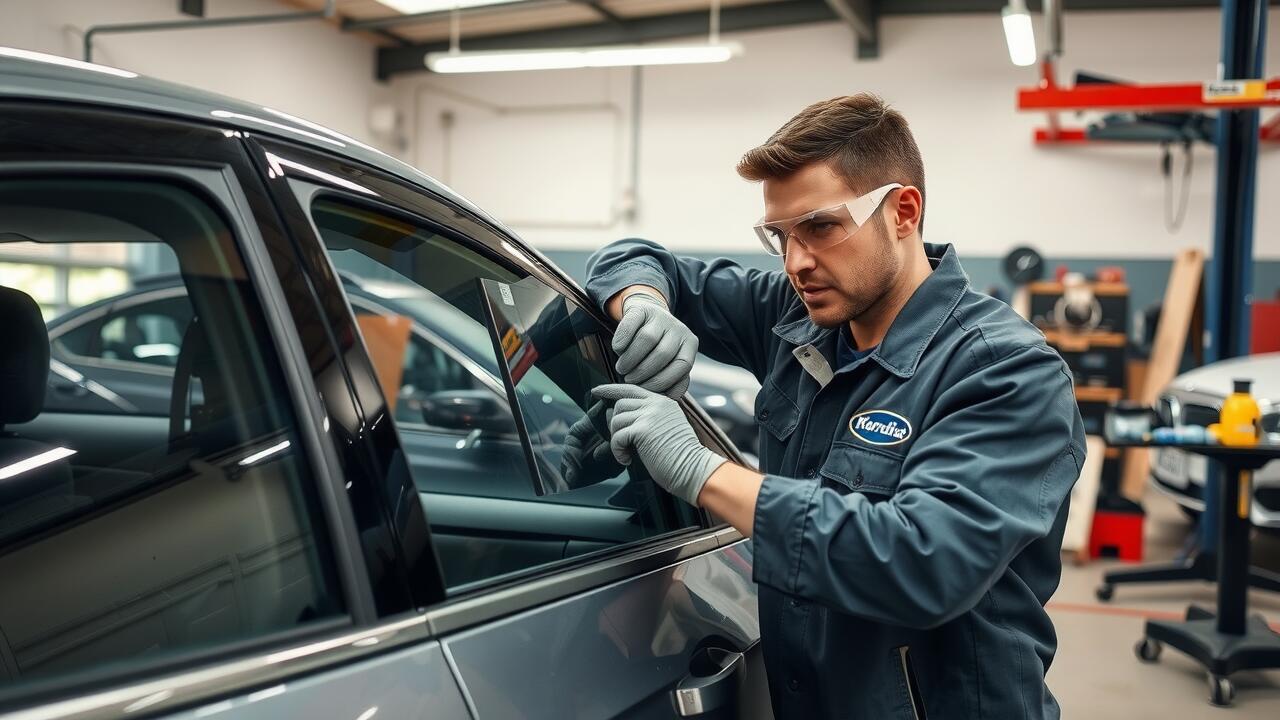
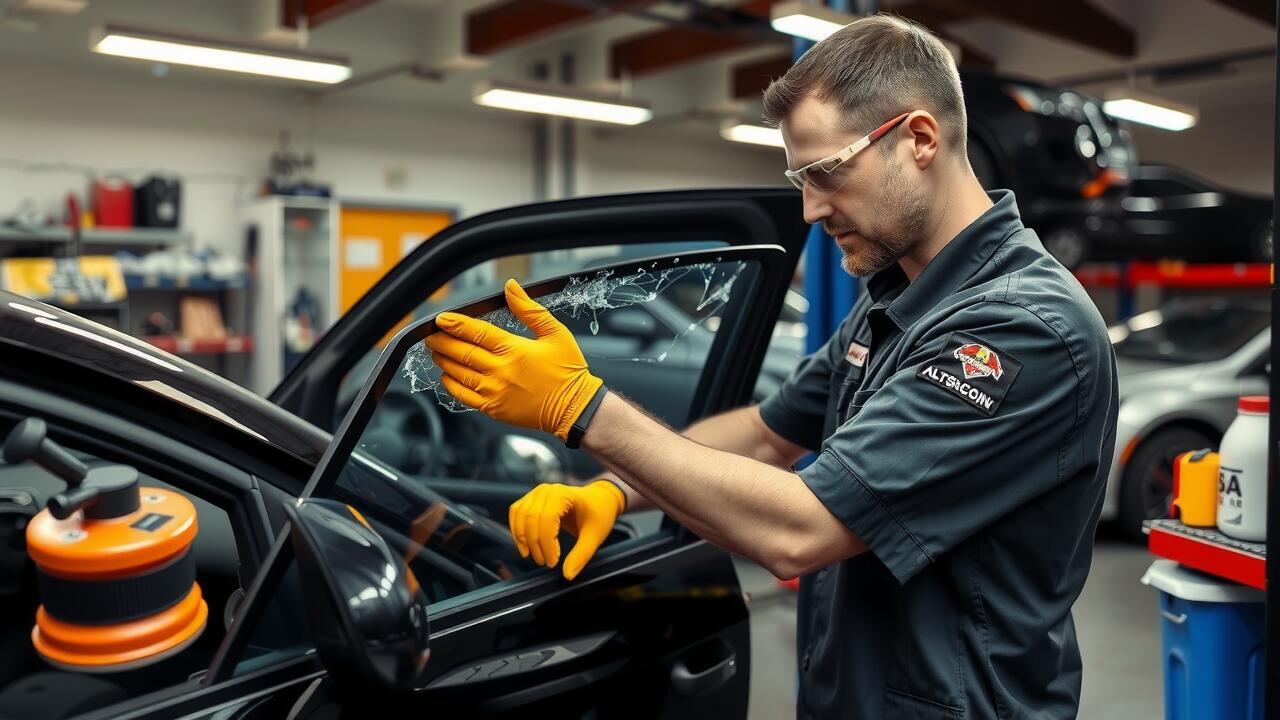
Achieving the correct alignment and fit for your new driver side window is crucial in ensuring a seamless operation. Start by positioning the window into the channel of the door frame, making sure it sits evenly. Carefully check that the window slides smoothly without any obstructions. Adjustments may be necessary to achieve an optimal fit, so take your time to ensure it sits securely in place before moving on to the next stage of the installation process. Side Window Repair can often involve fine-tuning this aspect to prevent future operational issues.
Once the window is in position, it’s important to verify that the weather stripping aligns properly. This ensures a good seal against the elements and helps with insulation. Pay close attention to any gaps or misalignments that might compromise the window's efficiency. A well-fitted window will not only enhance the aesthetic of the vehicle but will also contribute to its overall performance. Securing a perfect alignment is often where many DIY enthusiasts find success in their Side Window Repair tasks.
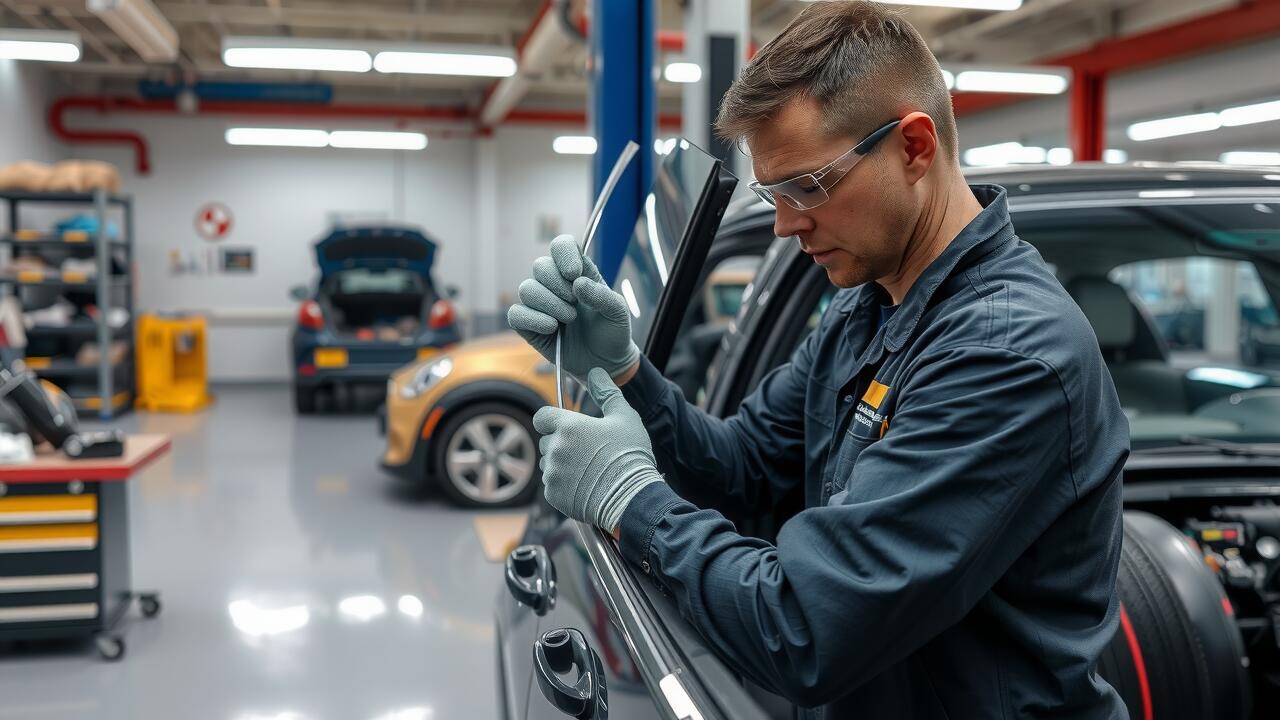
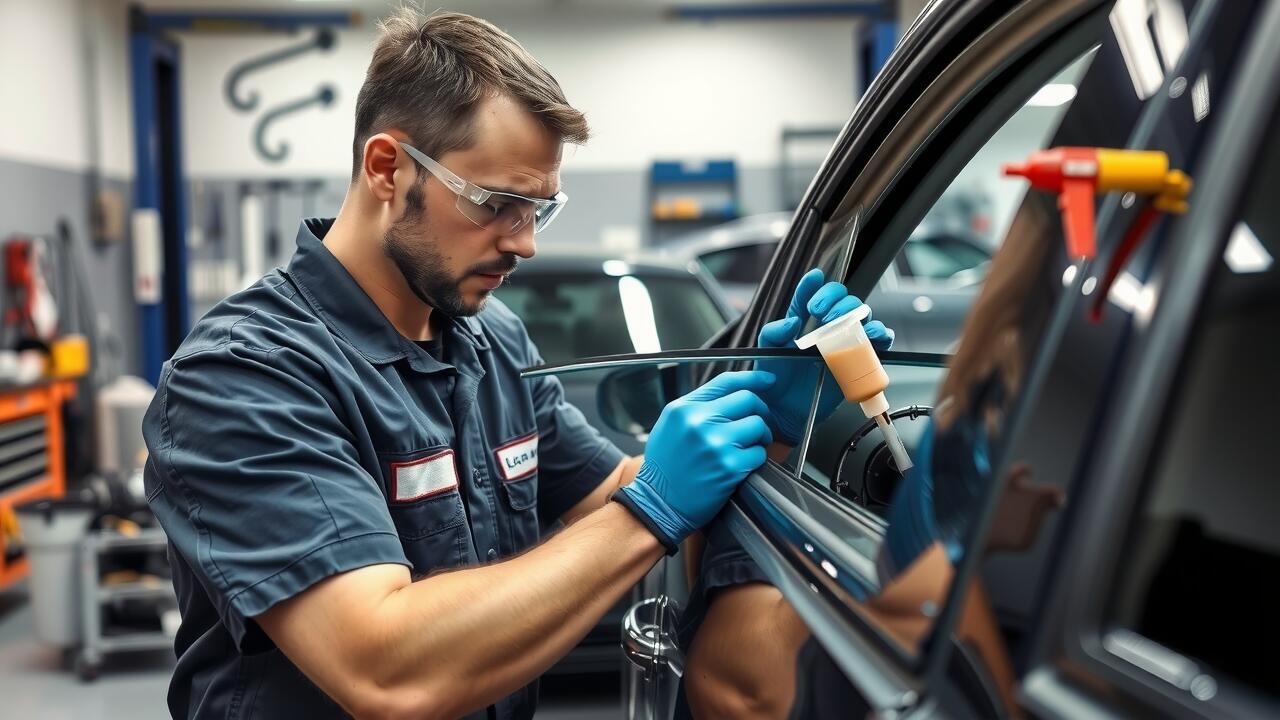
Reconnecting the Window Regulator
Reconnecting the window regulator involves a careful approach to ensure functionality and safety. Start by aligning the regulator with the designated mounting points in the door frame. It’s essential to support the regulator properly as you connect it to avoid any strain on the components. Use the designated bolts to secure the regulator in place, ensuring everything is tight to prevent any future issues. This step is crucial for a successful side window repair, as a loose regulator can lead to window misalignment or malfunction.
After securing the regulator, check the connections for the motor. Ensure that the electrical plug is securely attached, making contact with the regulator motor. This will allow the window to operate smoothly when you test it. Before proceeding to the final assembly of the door, it's wise to manually raise and lower the window a few times. This step will confirm that the window operates correctly and that the regulator functions as intended. Paying attention to these details during your side window repair can save you from additional hassle later on.
Techniques for Secure Reconnection
Reconnecting the window regulator involves a careful approach to ensure functionality and safety. Begin by aligning the regulator with the mounting points in the door frame. Securely fasten each bolt to the correct torque specifications, as specified in your vehicle’s manual. It is important to avoid overtightening, which can lead to damage or misalignment. After securing the regulator, test the movement of the mechanism by manually raising and lowering it a few times. This step will help confirm that everything is operating smoothly before placing the door panel back into position.
Next, integrate the electrical connections if your vehicle features power windows. Locate the wiring harness and ensure that all connections are clean and properly established. A good connection is essential for the window’s optimal operation. If you've implemented a Side Window Repair, it’s particularly vital to check the functionality after reconnection. After making these connections, you can perform a final test by using the window switch to ensure that the window operates smoothly in both directions. This thorough check will help avoid future issues and ensure that your new window functions as intended.
FAQS
What tools do I need to replace the driver side window?
To replace the driver side window, you'll typically need a flathead screwdriver, Phillips screwdriver, a socket wrench set, safety goggles, gloves, and possibly a glass cleaner for finishing touches.
How do I safely remove broken glass from the window?
Carefully remove any larger shards by hand, wearing gloves to protect your hands. Use a flathead screwdriver to pry out any remaining fragments from the window frame, and vacuum up smaller pieces to ensure the area is safe.
Can I install the new window myself, or should I hire a professional?
If you have basic DIY skills and follow the proper steps, you can install the new window yourself. However, if you're unsure or uncomfortable with the process, it's best to hire a professional to avoid potential damage or safety issues.
How do I ensure the new window is properly aligned?
To ensure proper alignment, place the new window into the frame without fully securing it first. Test the movement of the window by sliding it up and down. Adjust its position as necessary before tightening the screws or clips.
What should I do if the window won't go up or down after installation?
If the window isn't functioning properly after installation, check the connection to the window regulator to ensure it's secure. Also, inspect the alignment of the window and make sure there are no obstructions in the window track. If issues persist, consult a professional for assistance.