Table Of Contents
Tools Required for Replacement
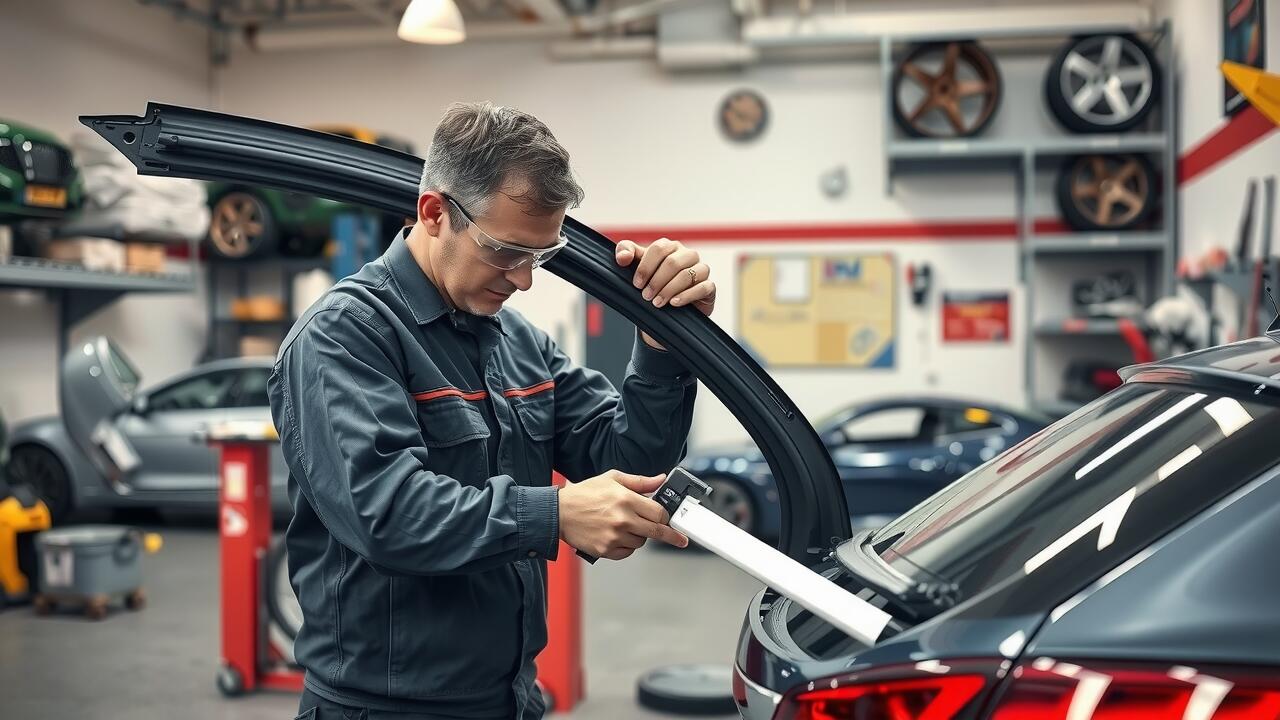
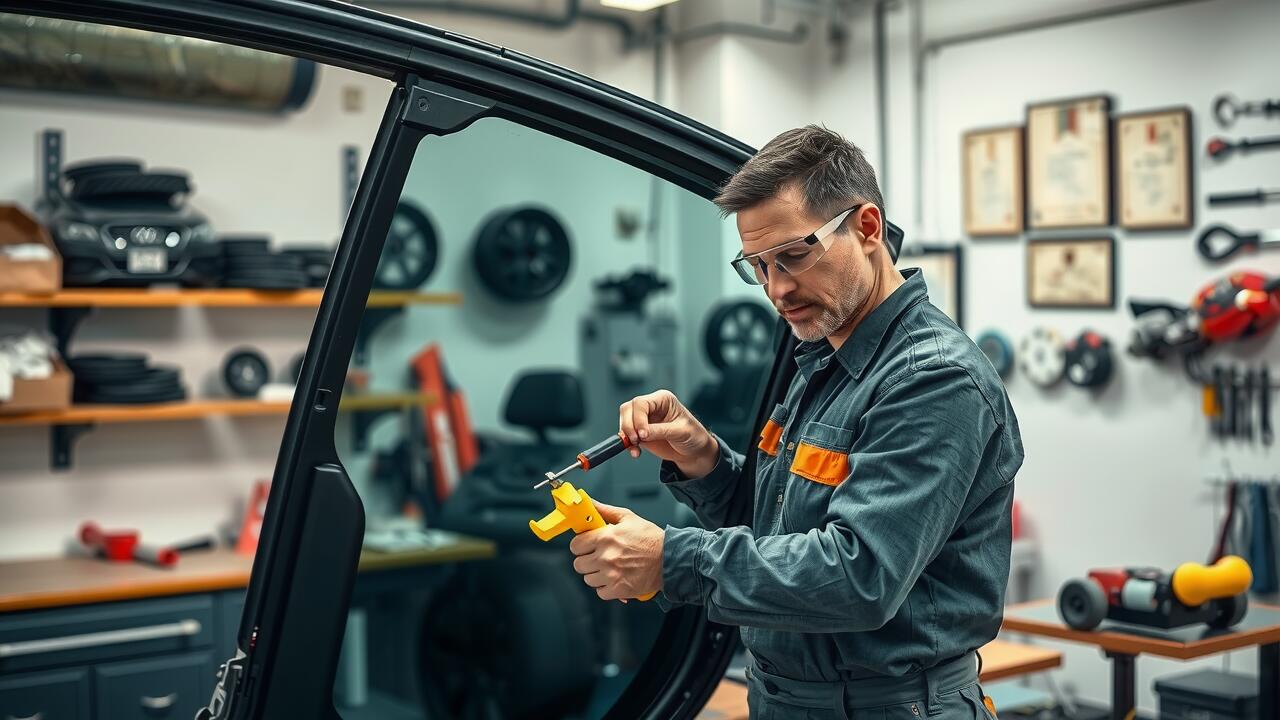
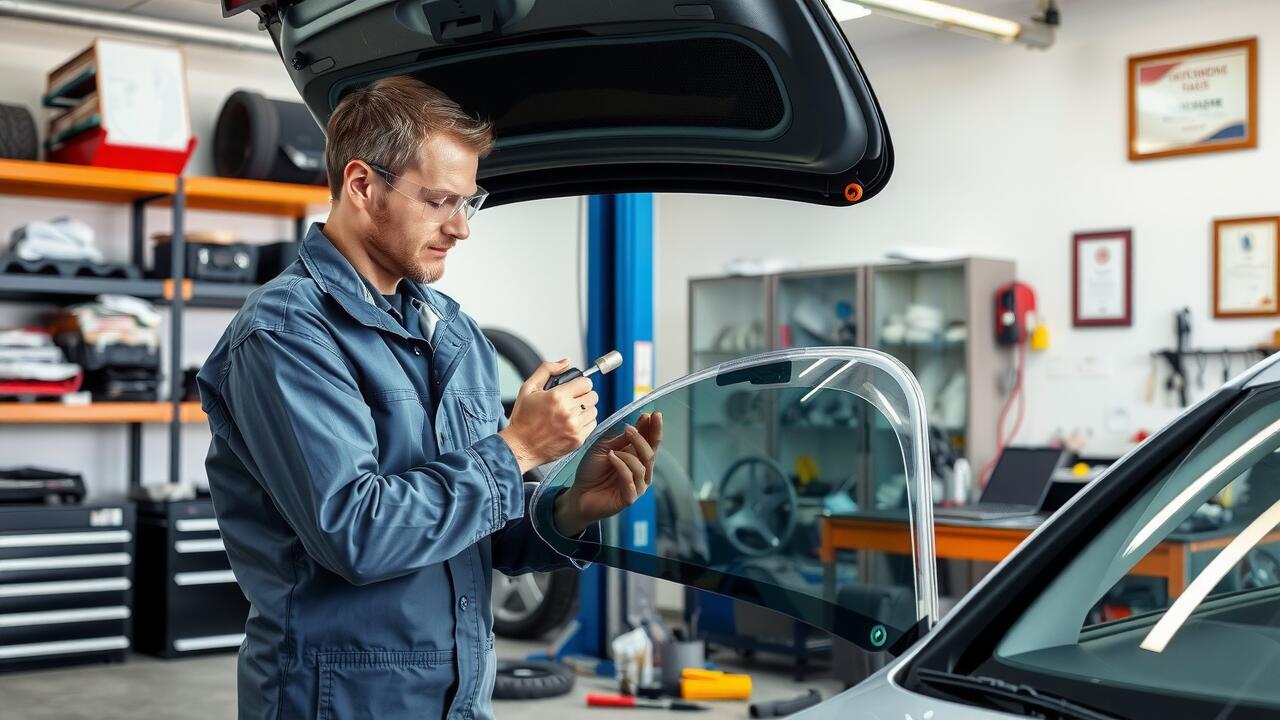
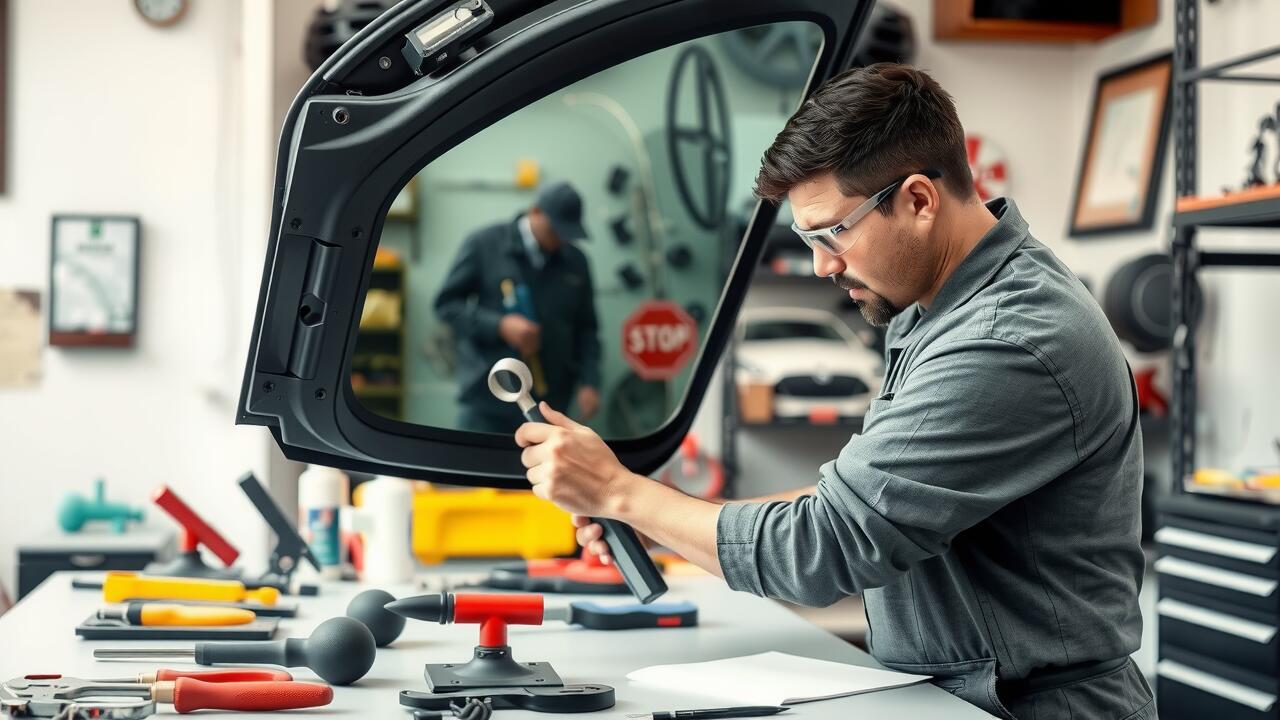
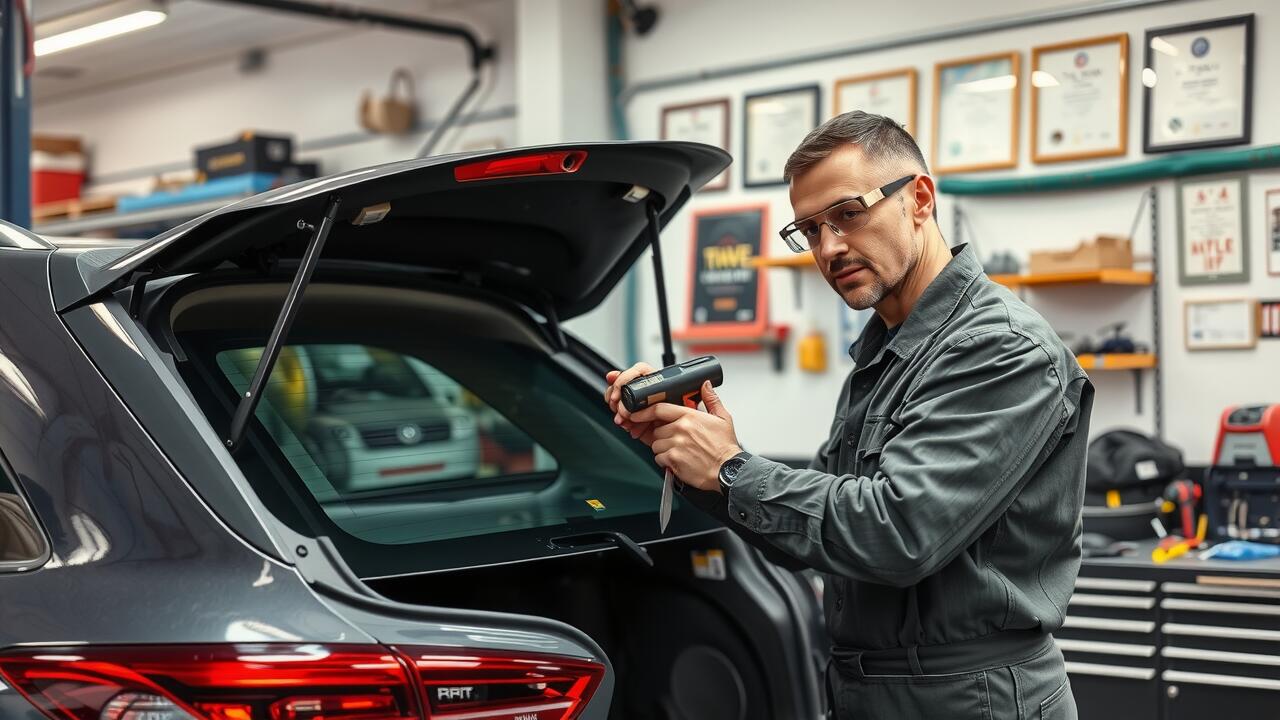
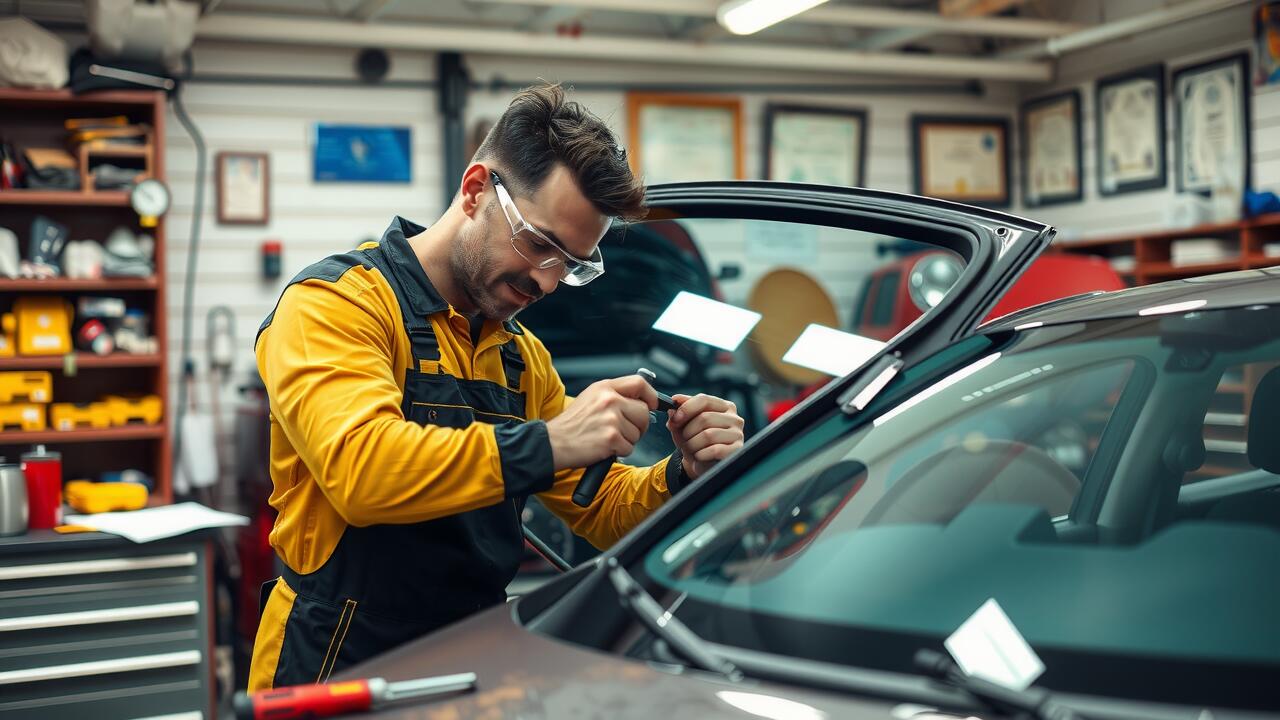
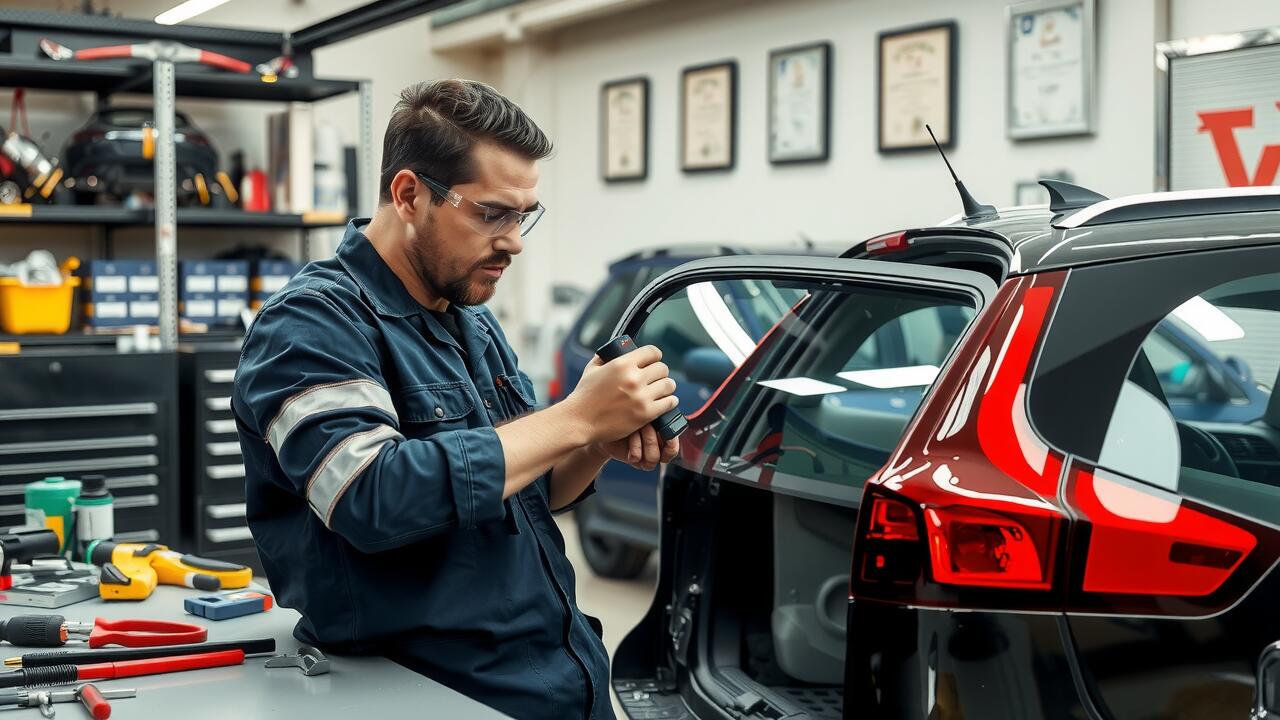
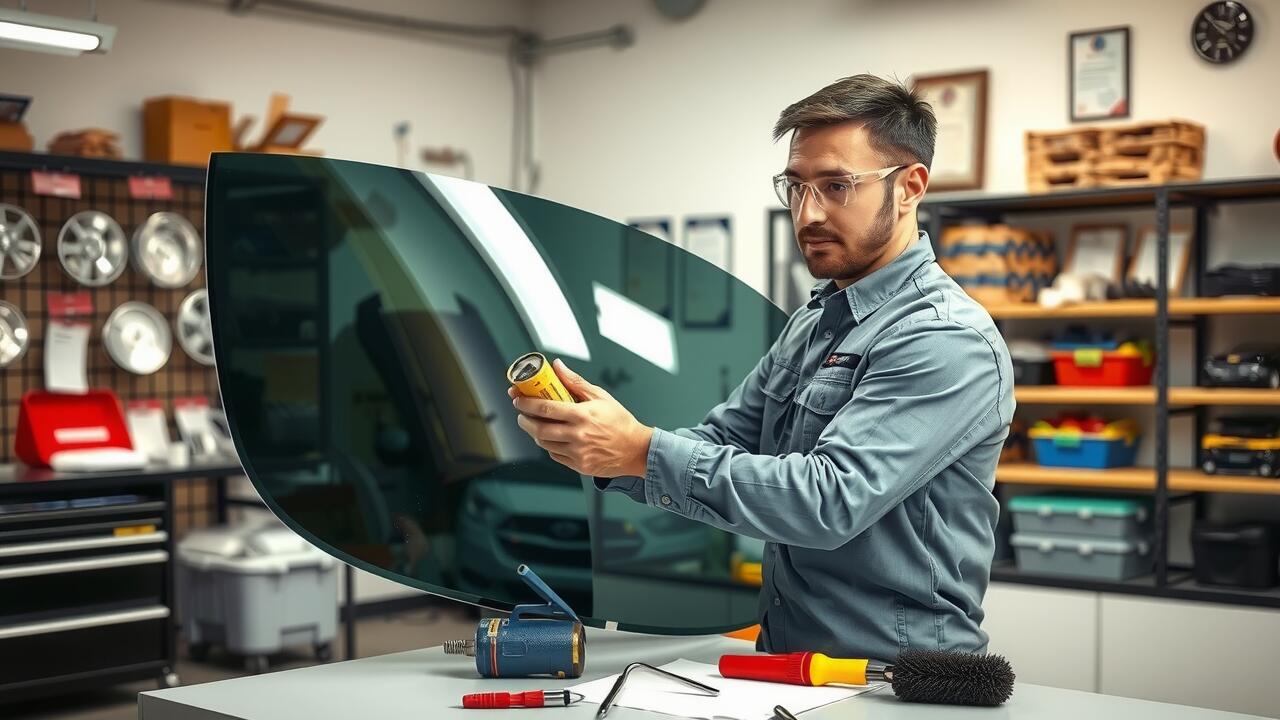
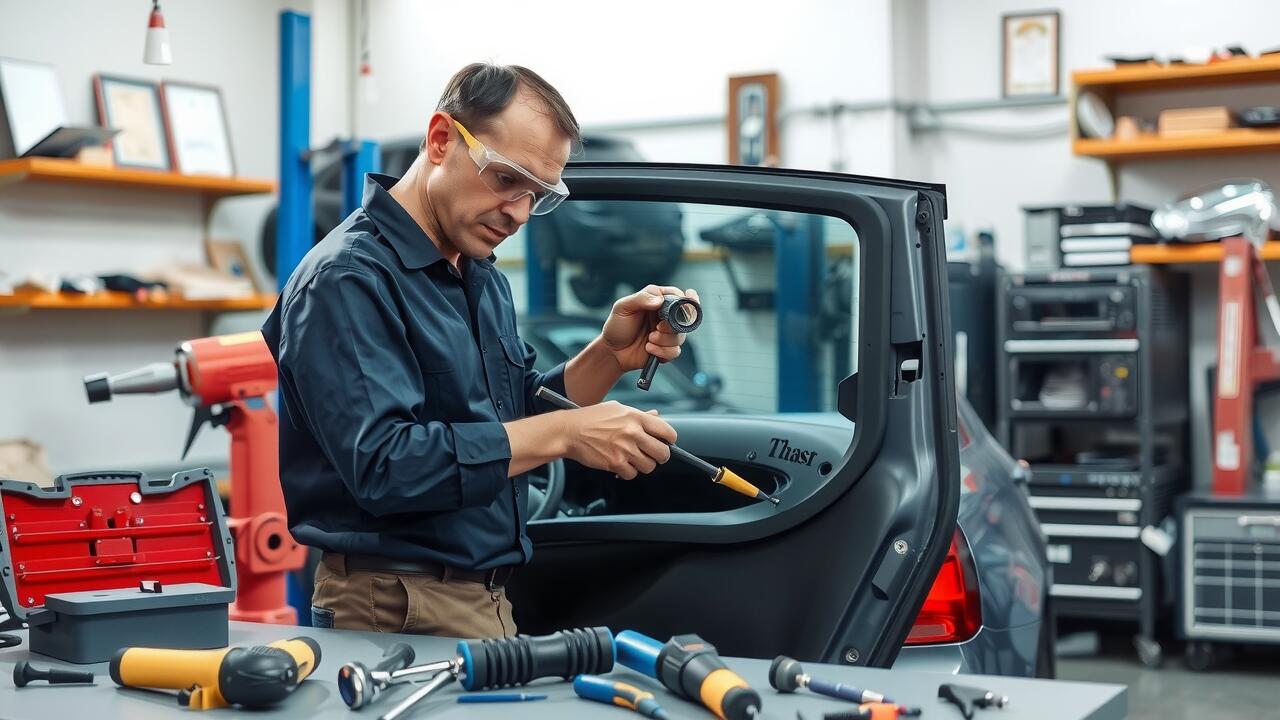
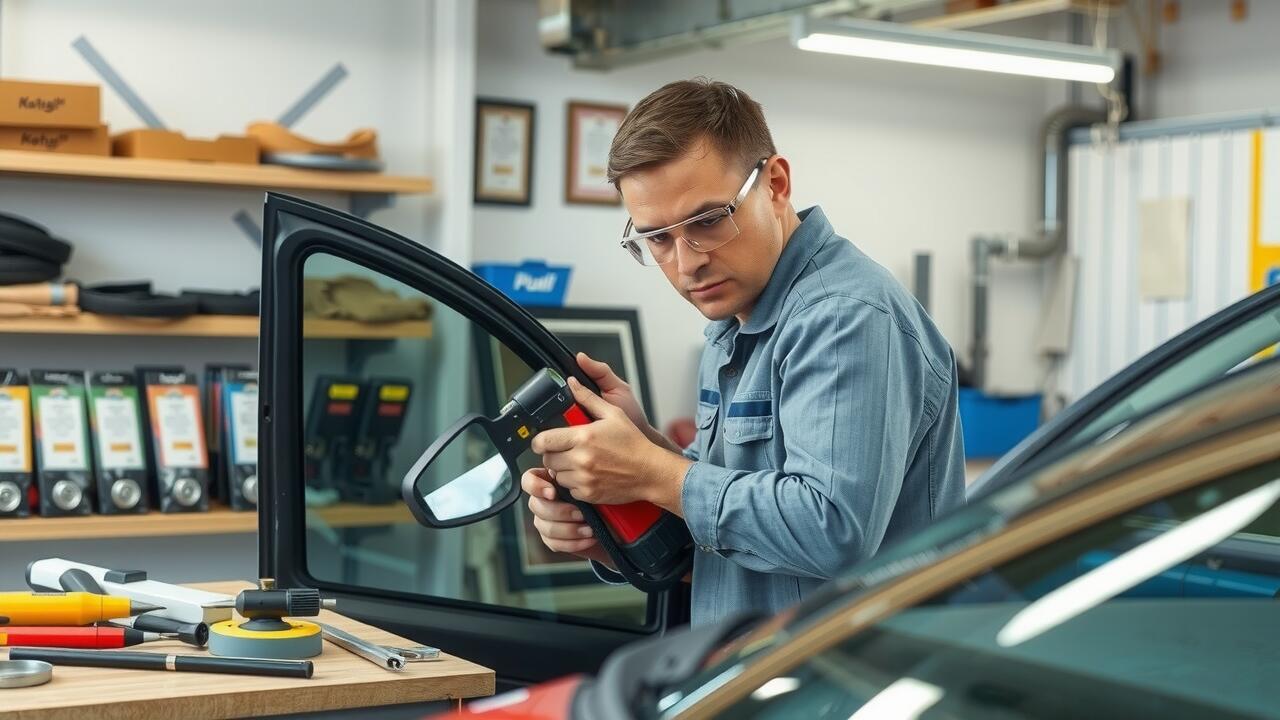
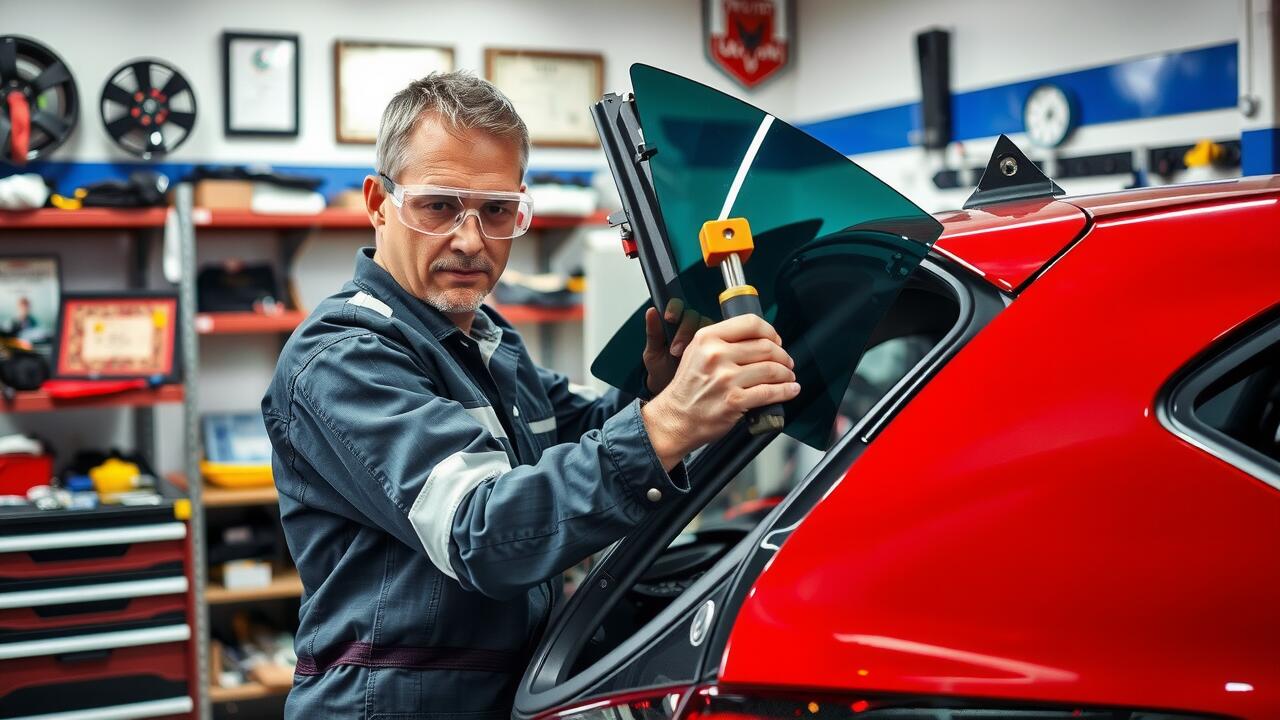
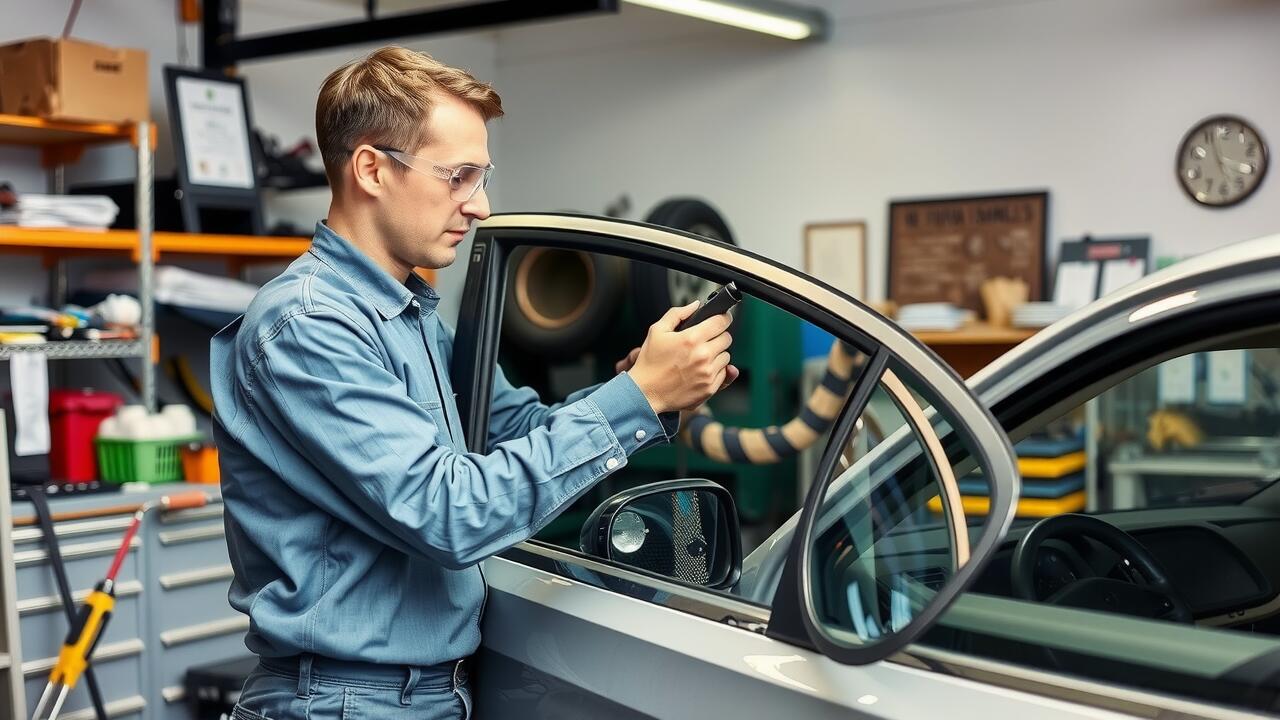
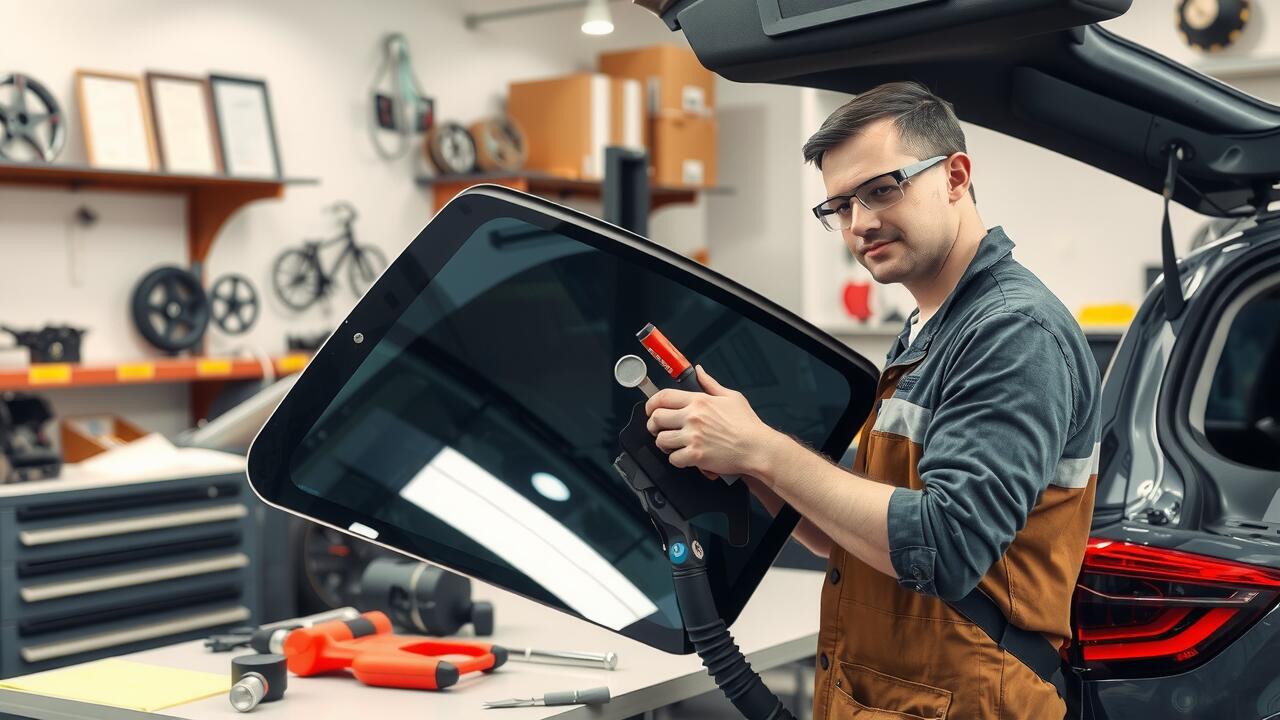
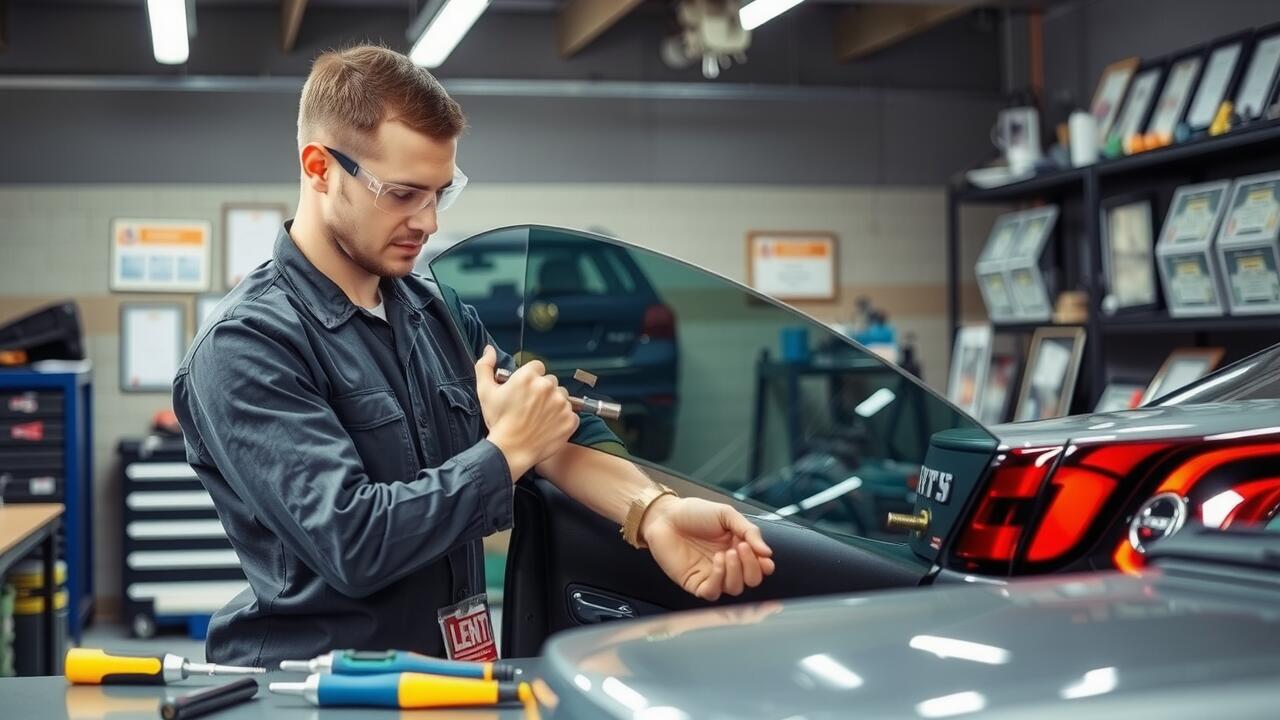
When preparing to replace a back window, having the right tools is essential to ensure a smooth process. A standard toolset typically includes a putty knife, a flathead screwdriver, and a utility knife. You'll also need specialised tools like a glass suction cup and a trim removal tool, which help in safely handling and removing the shattered glass. Having a torque wrench on hand ensures that any screws are tightened to the appropriate specifications, which is particularly vital during Rear Window Repairs.
In addition to the aforementioned tools, investing in safety gear is crucial for any glass replacement project. A sturdy pair of work gloves will protect your hands from sharp edges while handling glass shards. Safety goggles are also recommended to shield your eyes from debris during the removal and installation processes. By ensuring you have all the necessary tools and protective equipment, you can tackle the job with confidence and reduce the risk of accidents.
Essential Equipment List
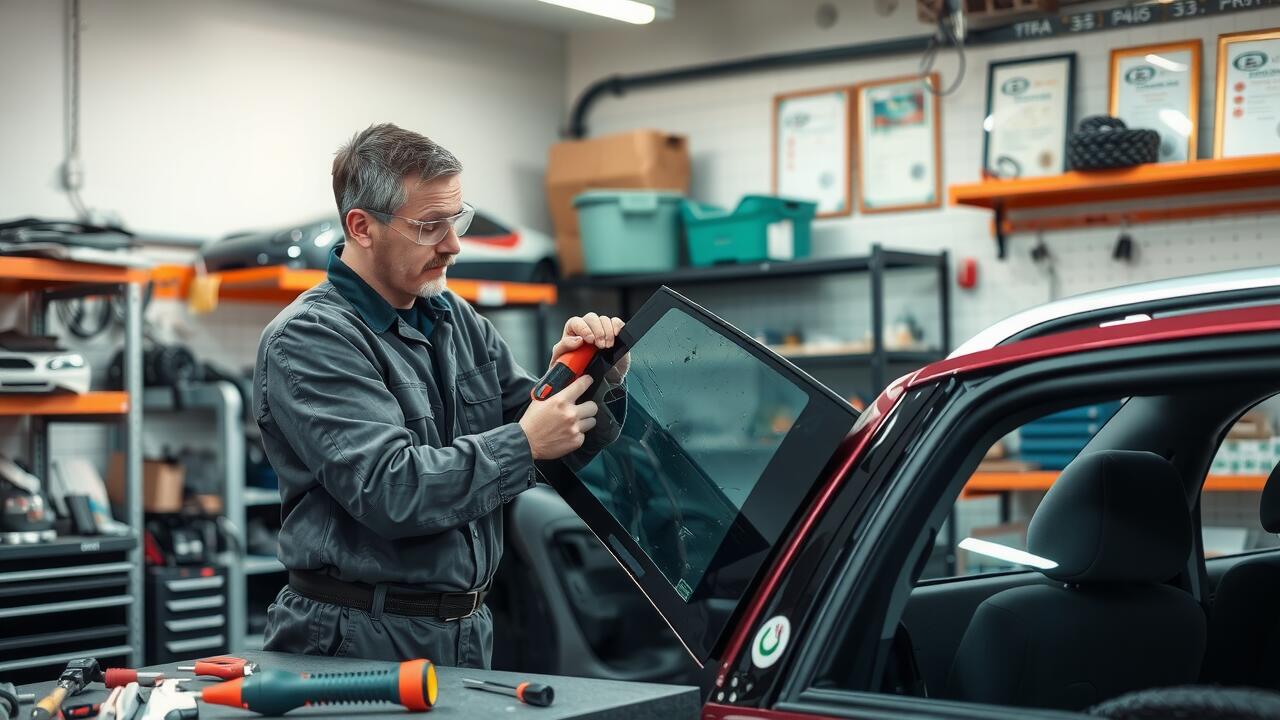
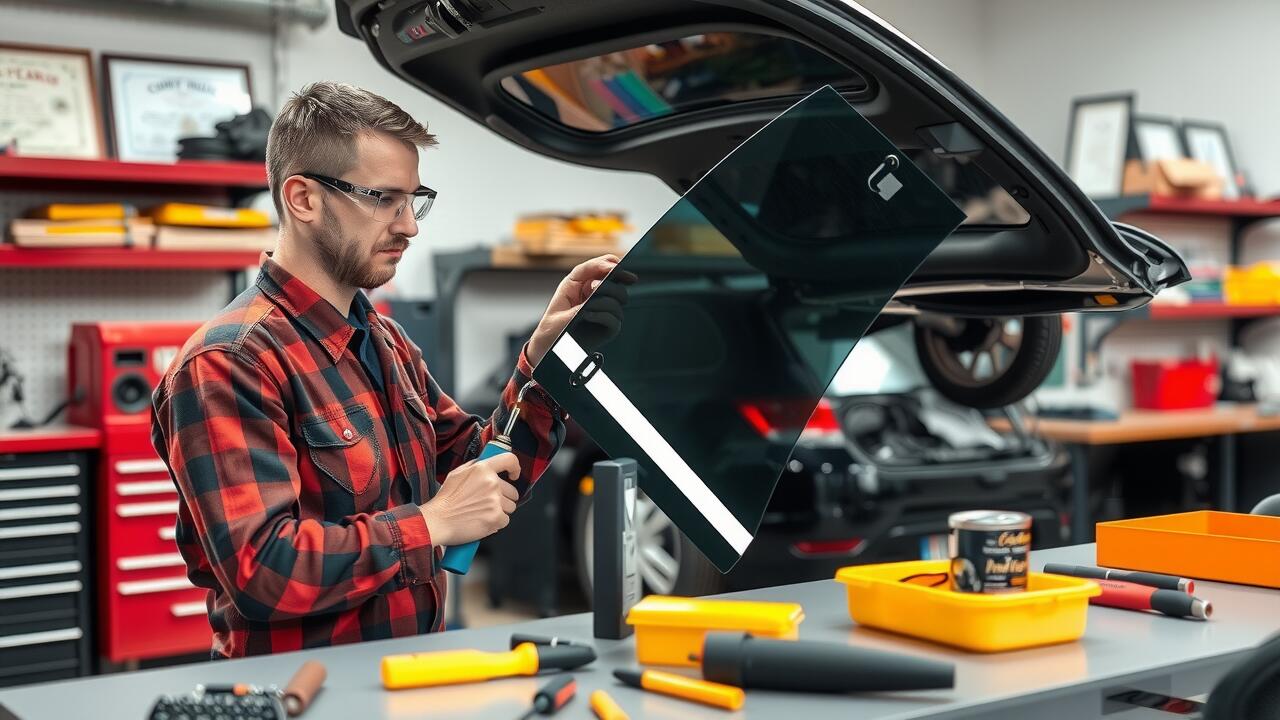
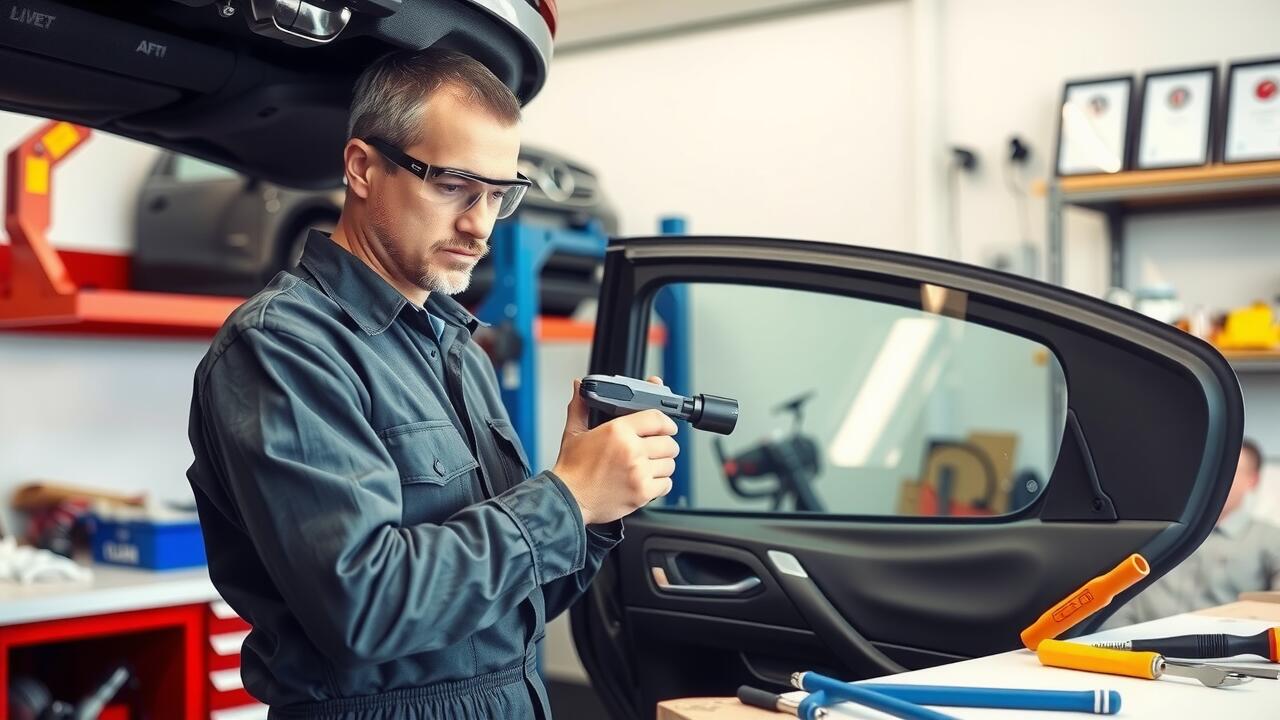
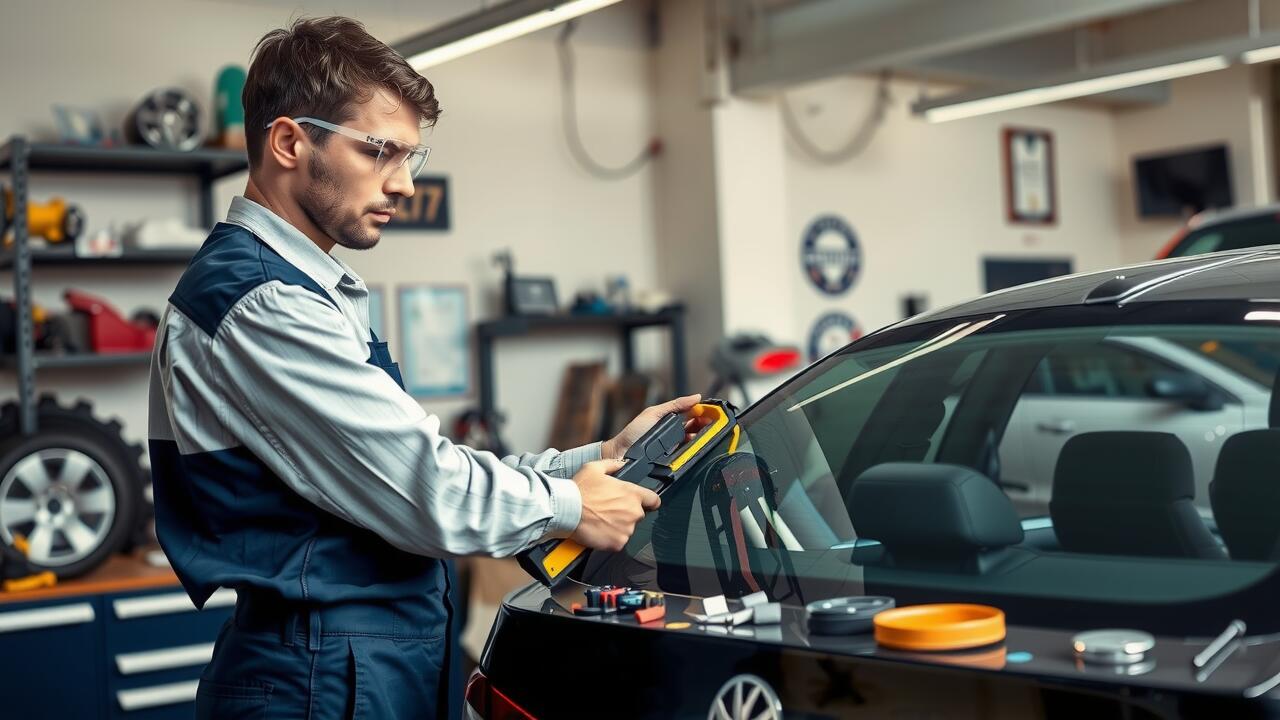
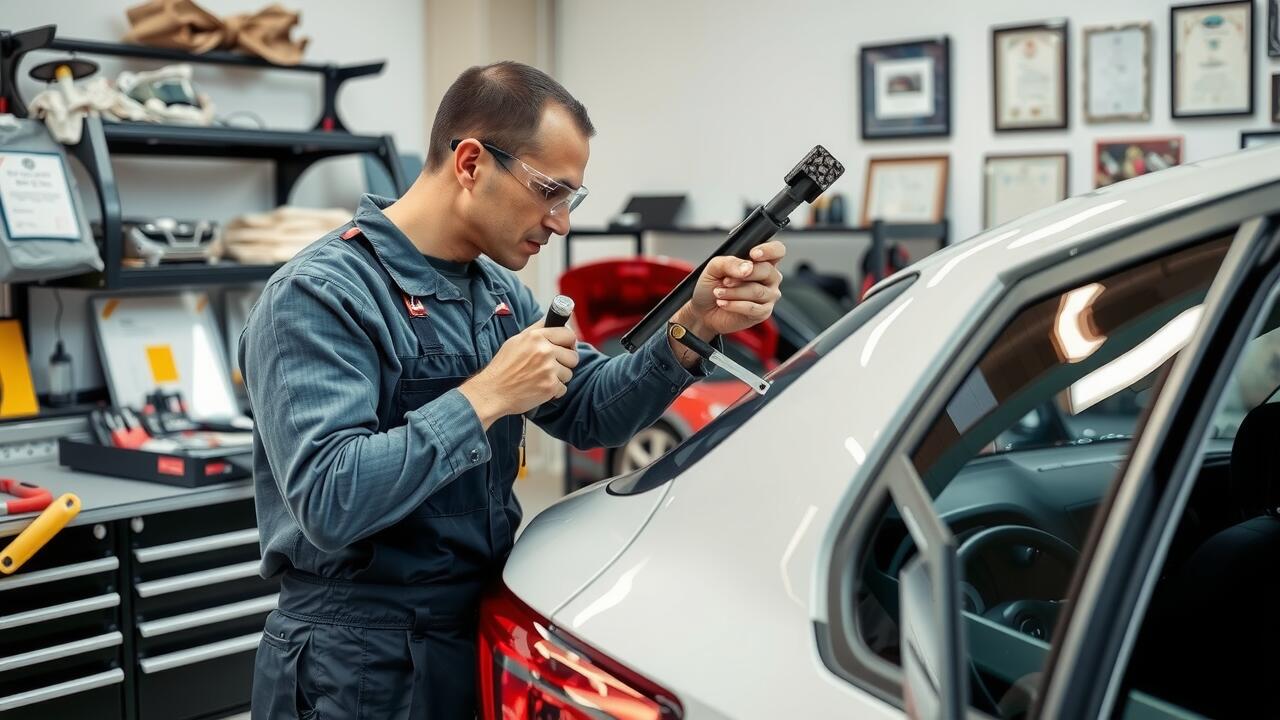
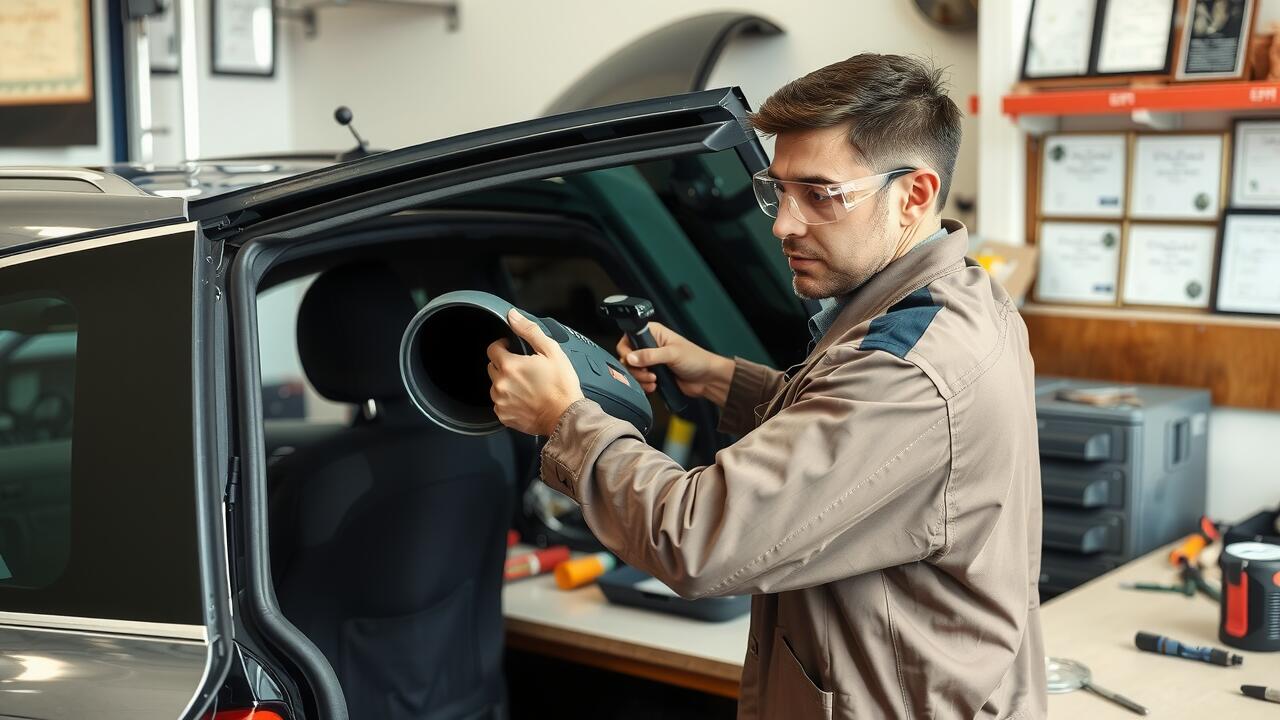
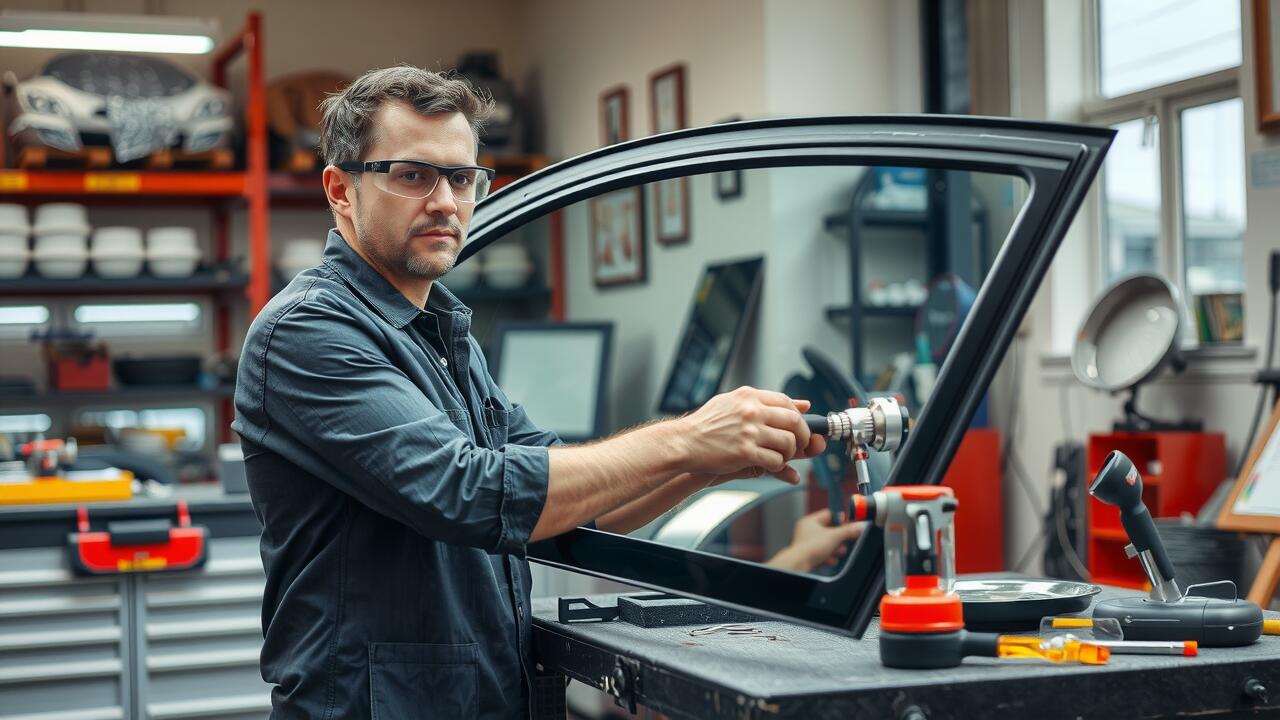
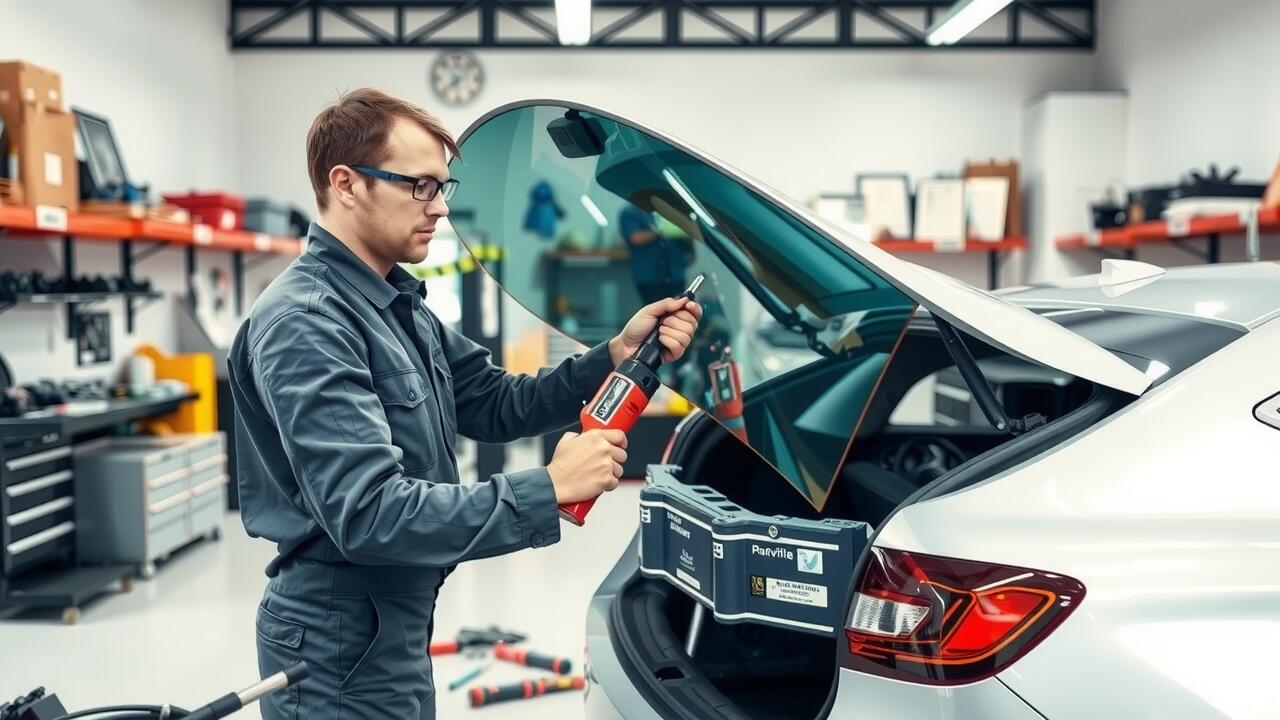
When planning to tackle rear window repairs, having the right tools on hand can greatly simplify the process. Essential equipment typically includes a flat-head screwdriver, a suction cup for lifting the glass, and a utility knife for trimming any adhesive. A heat gun may also be necessary for softening old adhesive, making removal easier. In addition, having a set of gloves ensures that your hands are protected throughout the task.
It's also wise to have measuring tape and masking tape ready. Measuring tape is crucial for ensuring that the new window fits perfectly in place while masking tape can help you track where the adhesive should be applied. A soft cloth can be handy for cleaning the surfaces before installation, ensuring a secure bond. These tools not only enhance efficiency but also contribute to a successful rear window repairs process.
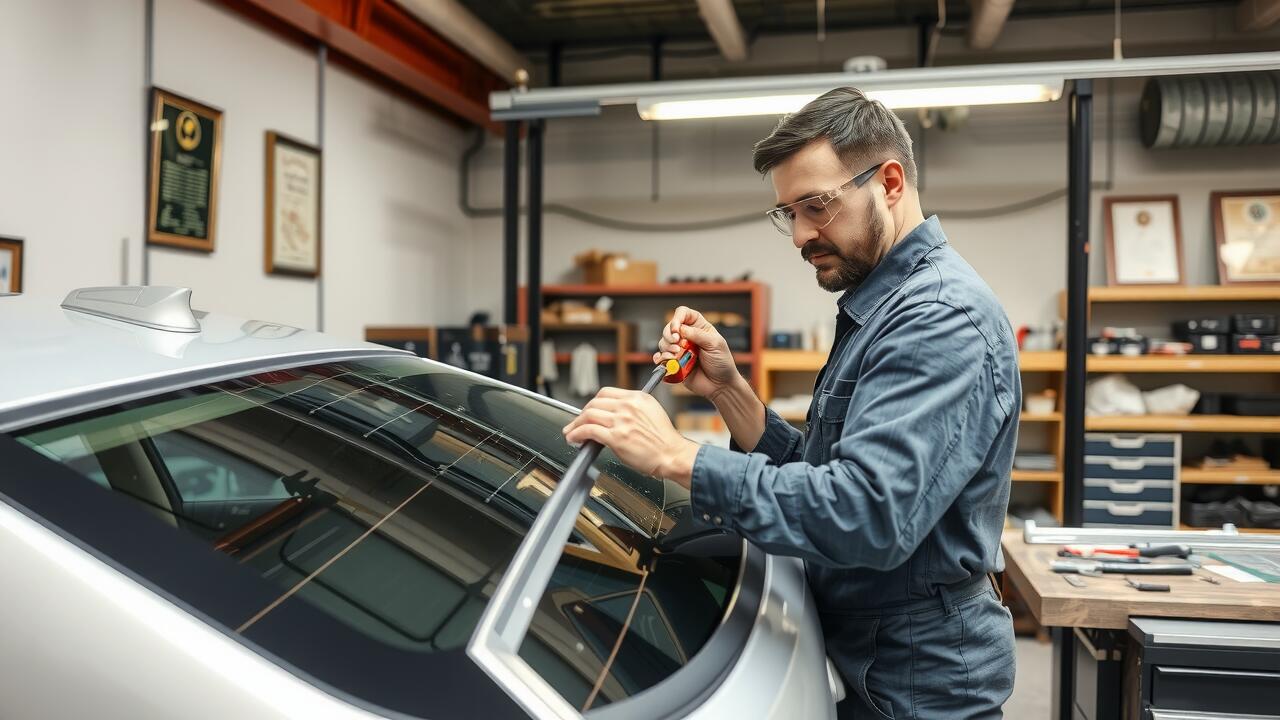
Preparing Your Vehicle for Replacement
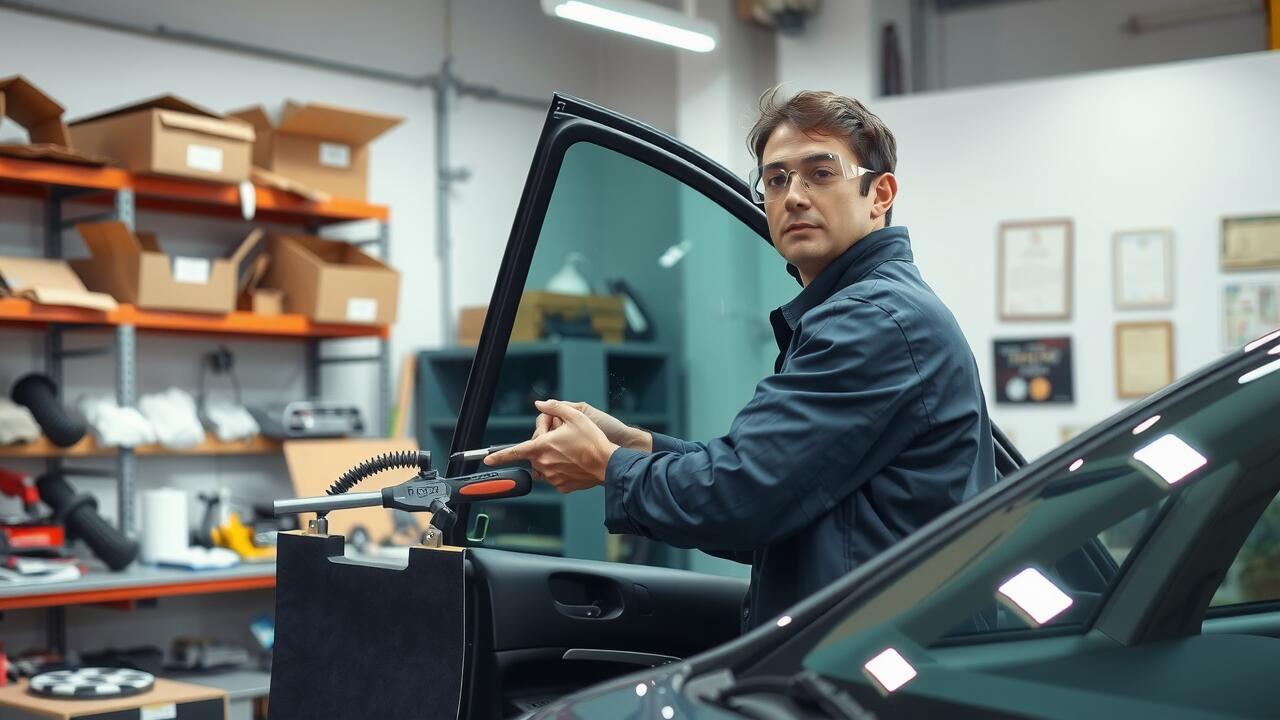
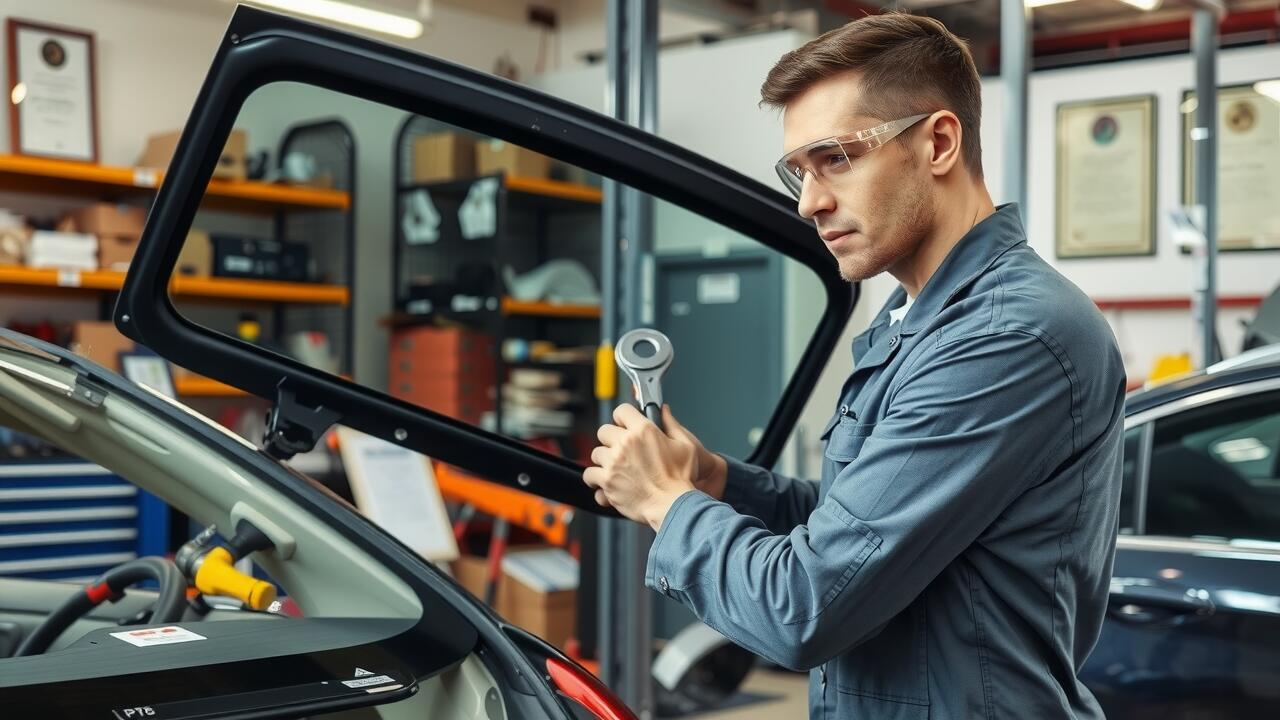
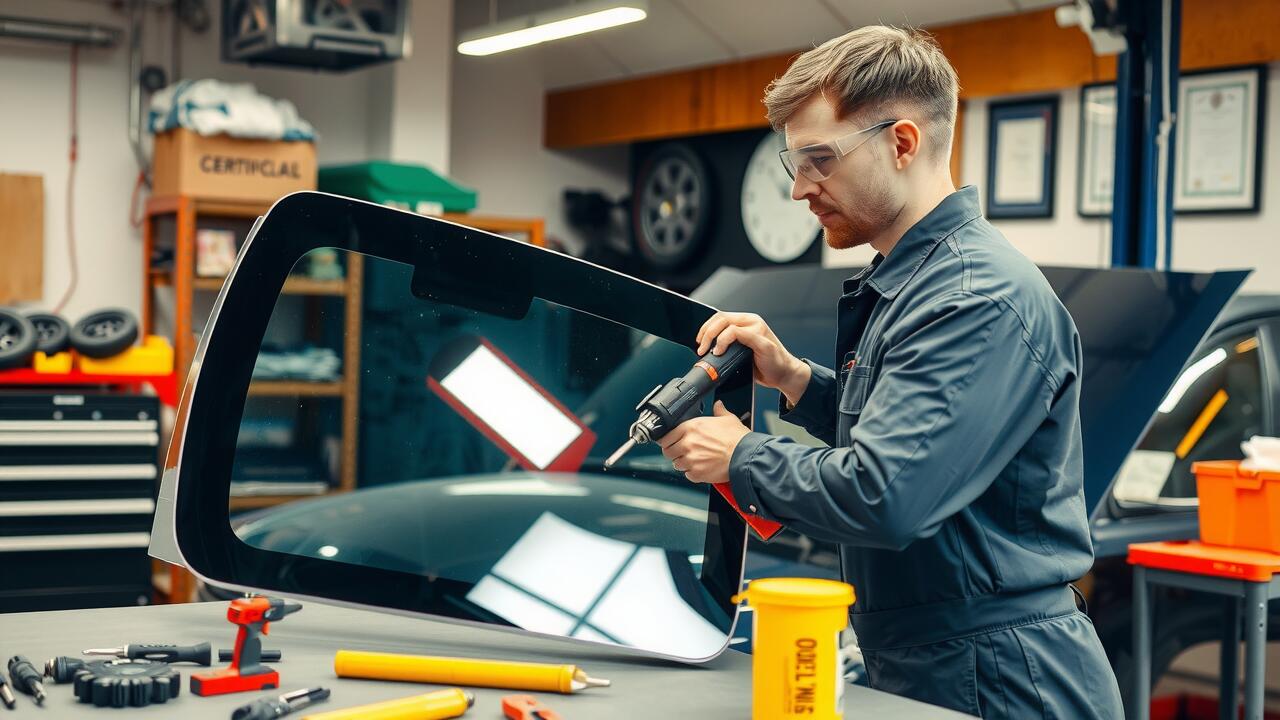
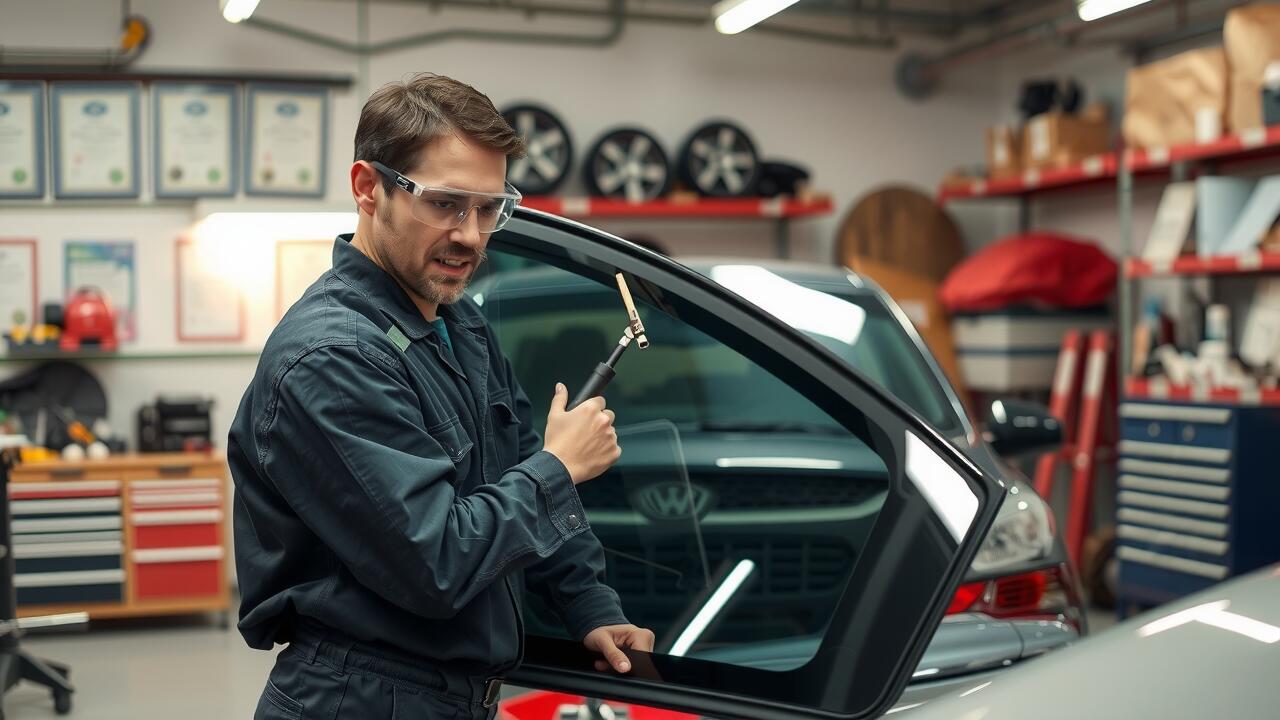
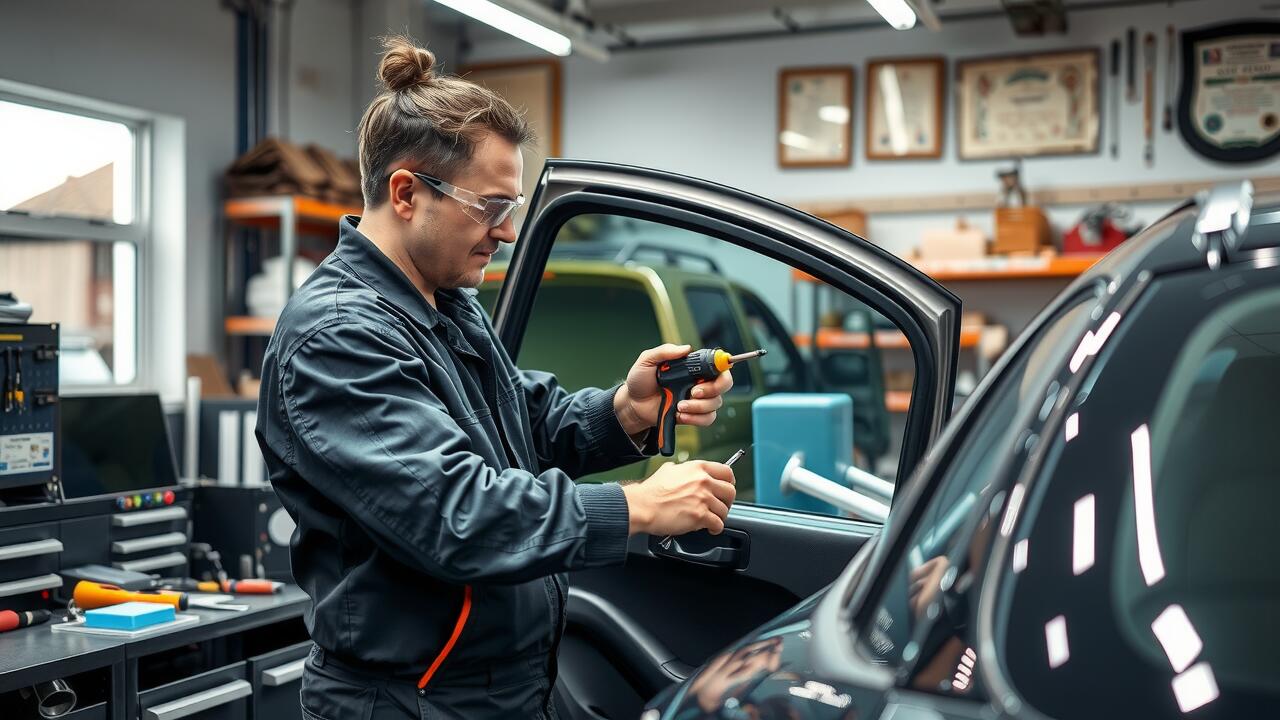
Preparing your vehicle for back window replacement is crucial for a successful repair. Start by parking the vehicle in a shaded area if possible, as direct sunlight can make adhesive materials more challenging to work with. Ensure the car is level, which allows for precise installation. Cover the seats and any interior parts susceptible to damage with protective cloths or plastic to avoid adhesive spills and debris during the process.
Before beginning the replacement, it’s essential to gather all necessary tools and materials. Familiarise yourself with the specific procedures for rear window repairs for your vehicle model. Take a moment to inspect the surrounding area for any obstructions or hazards. Ensure that the rear window frame is clean and free from old adhesive, which can impact the effectiveness of the new window installation.
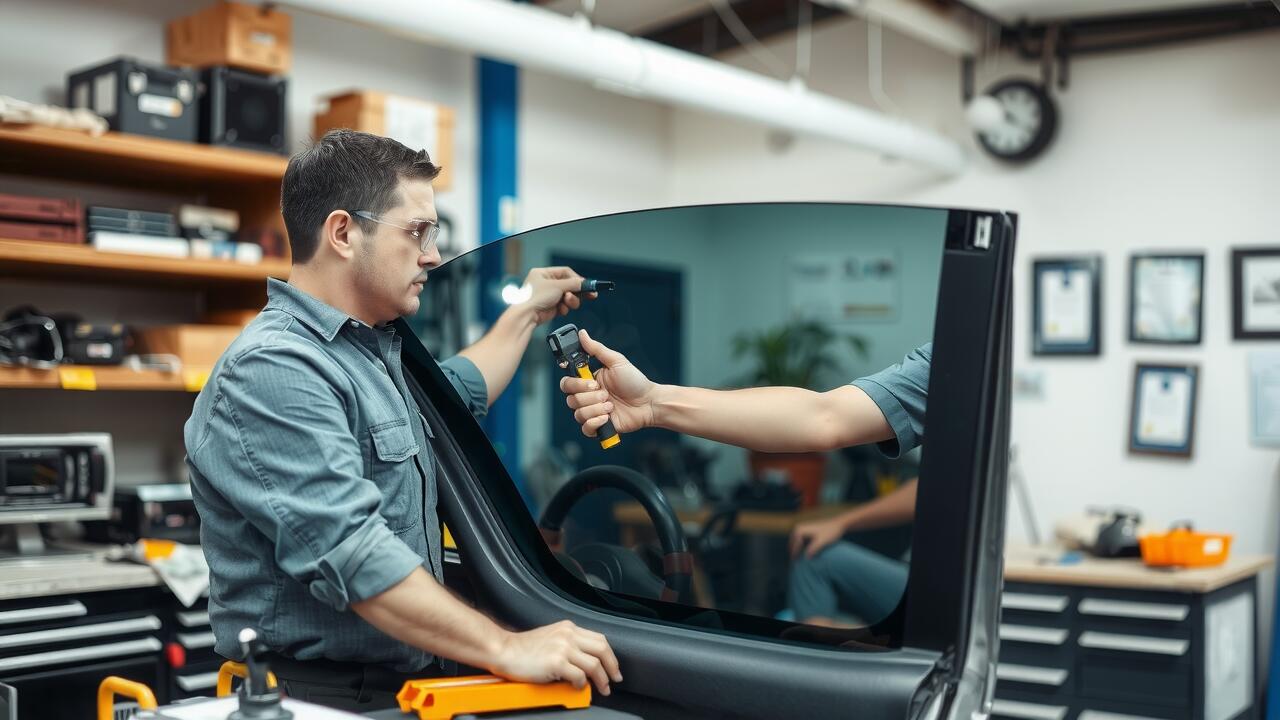
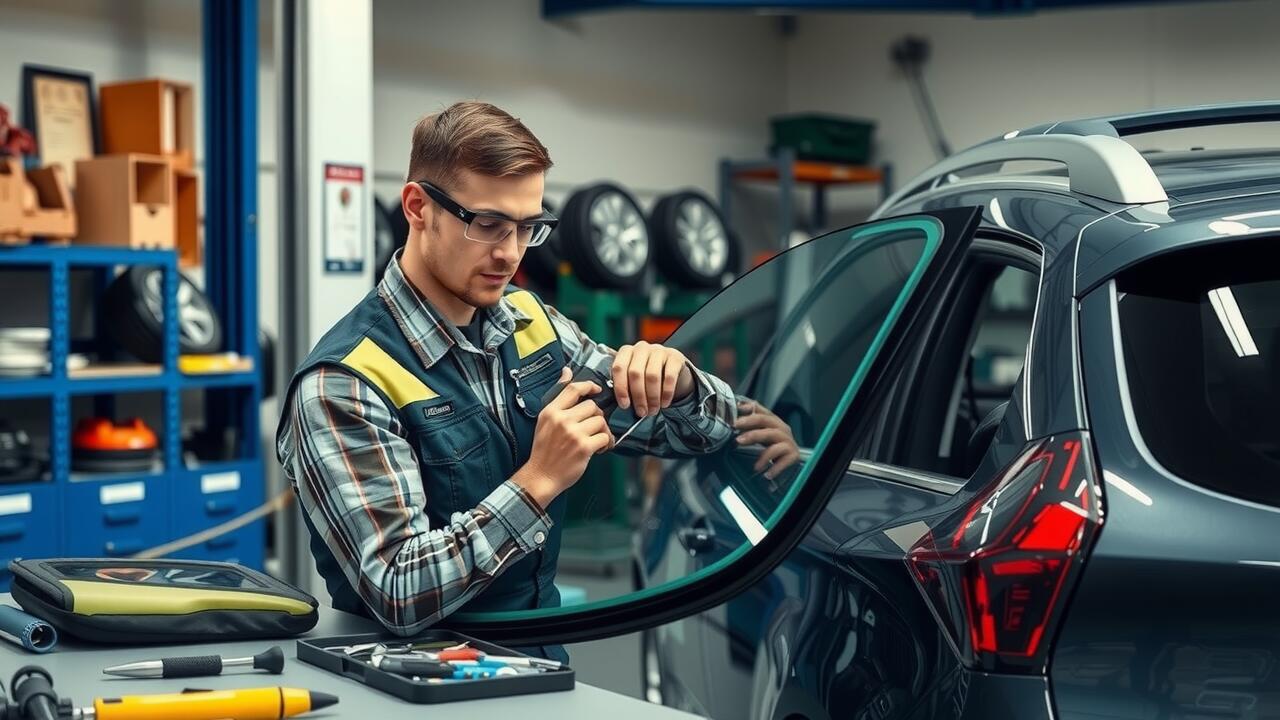
Steps to Ensure Safety
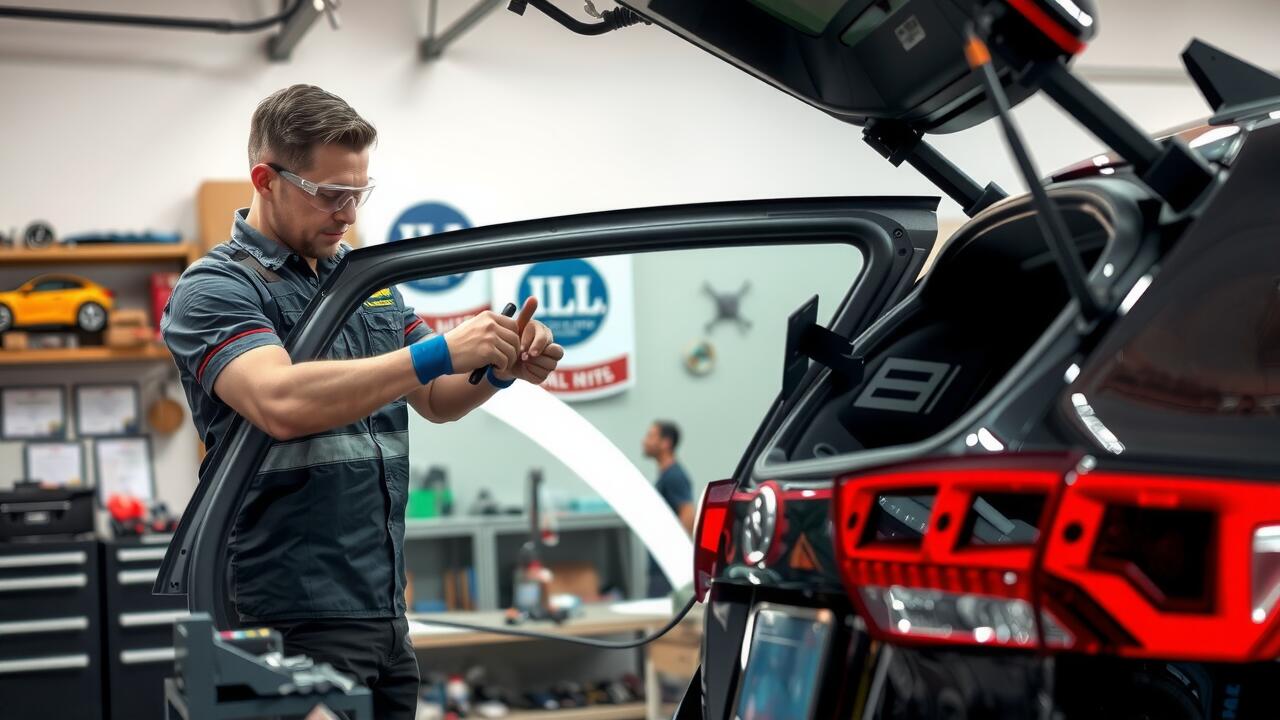
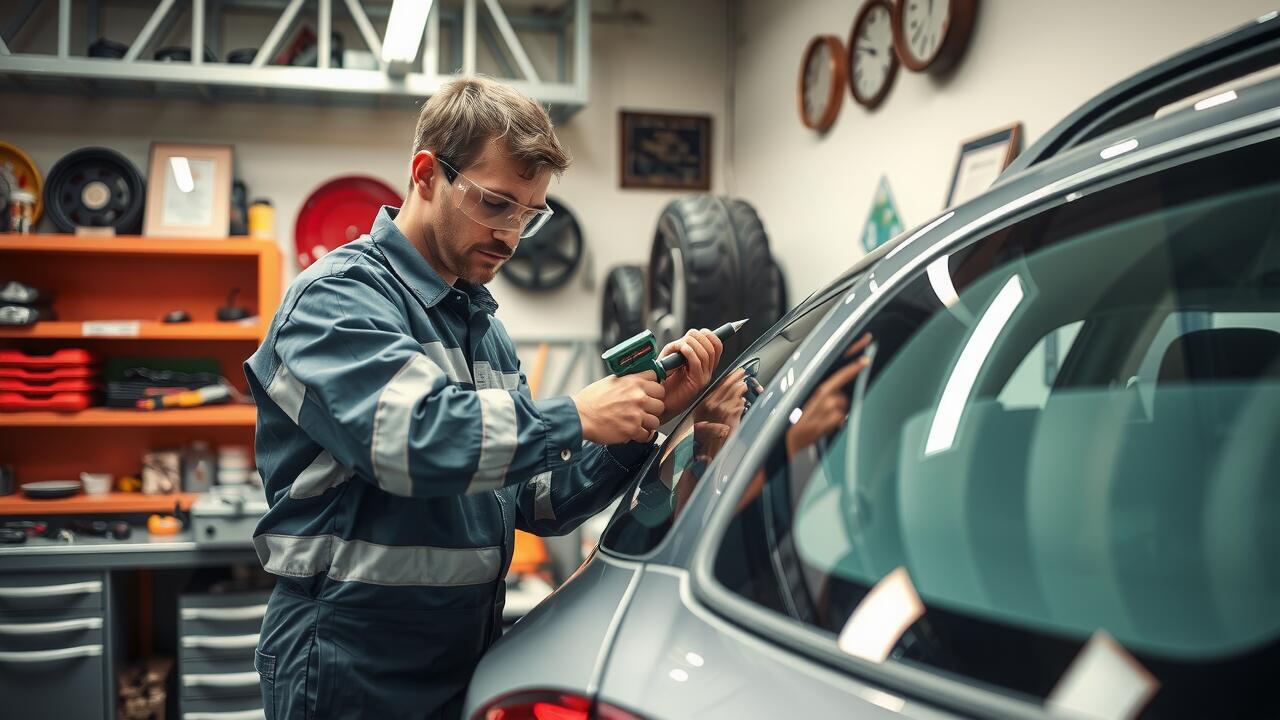
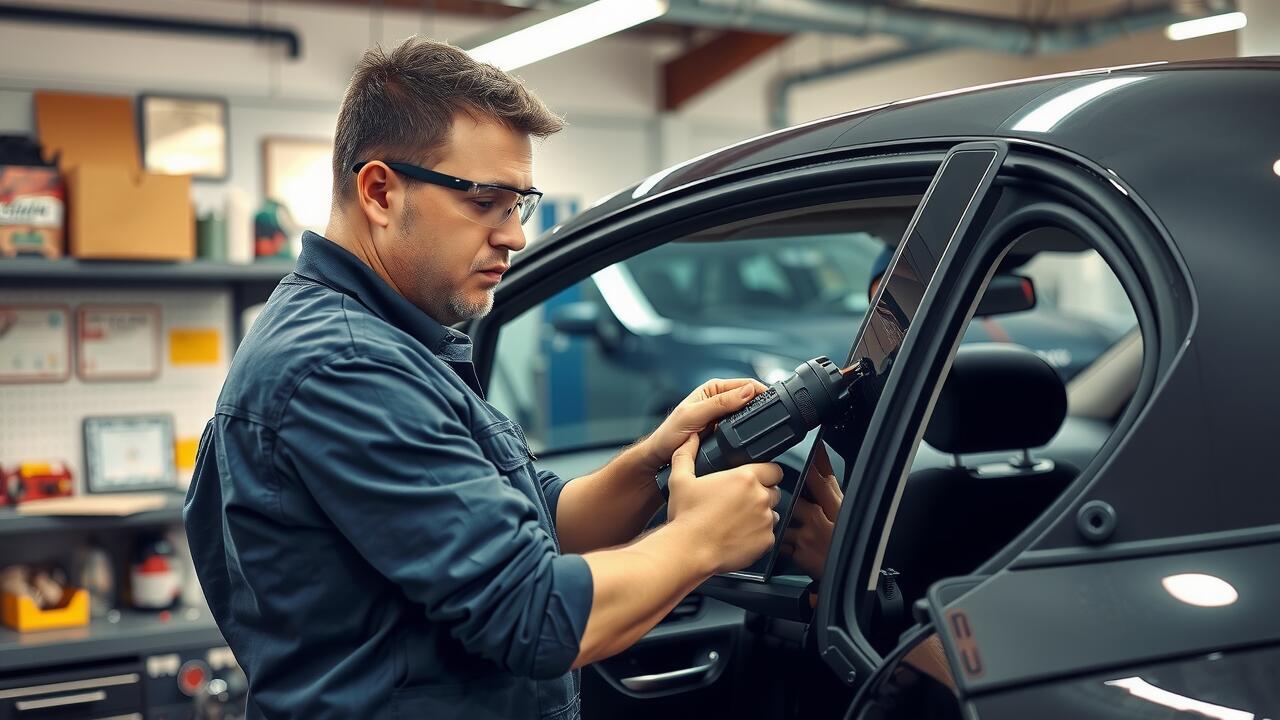
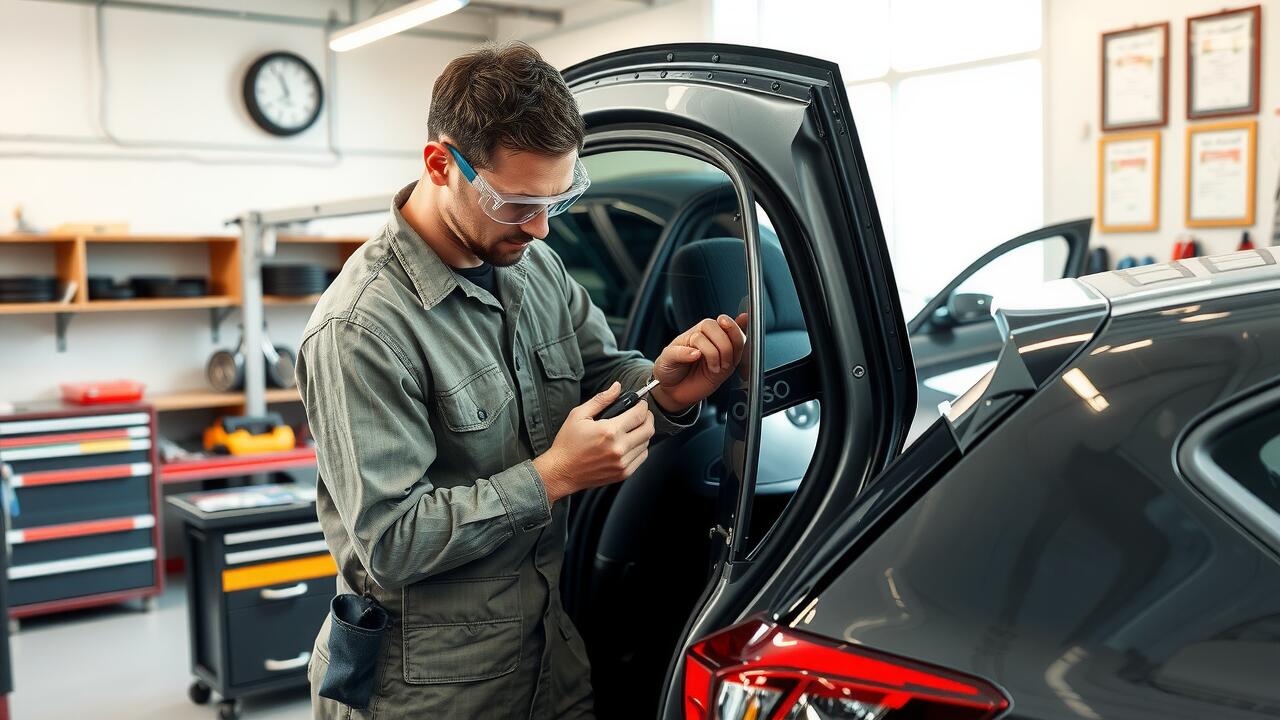
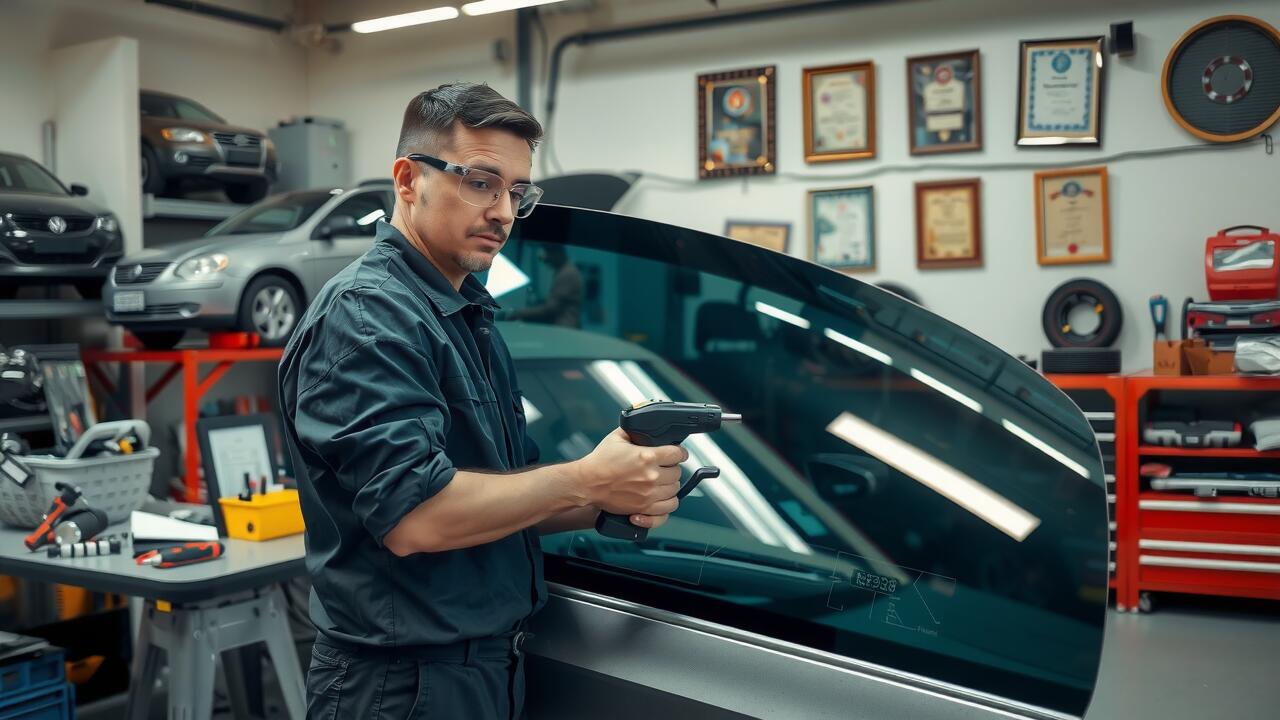
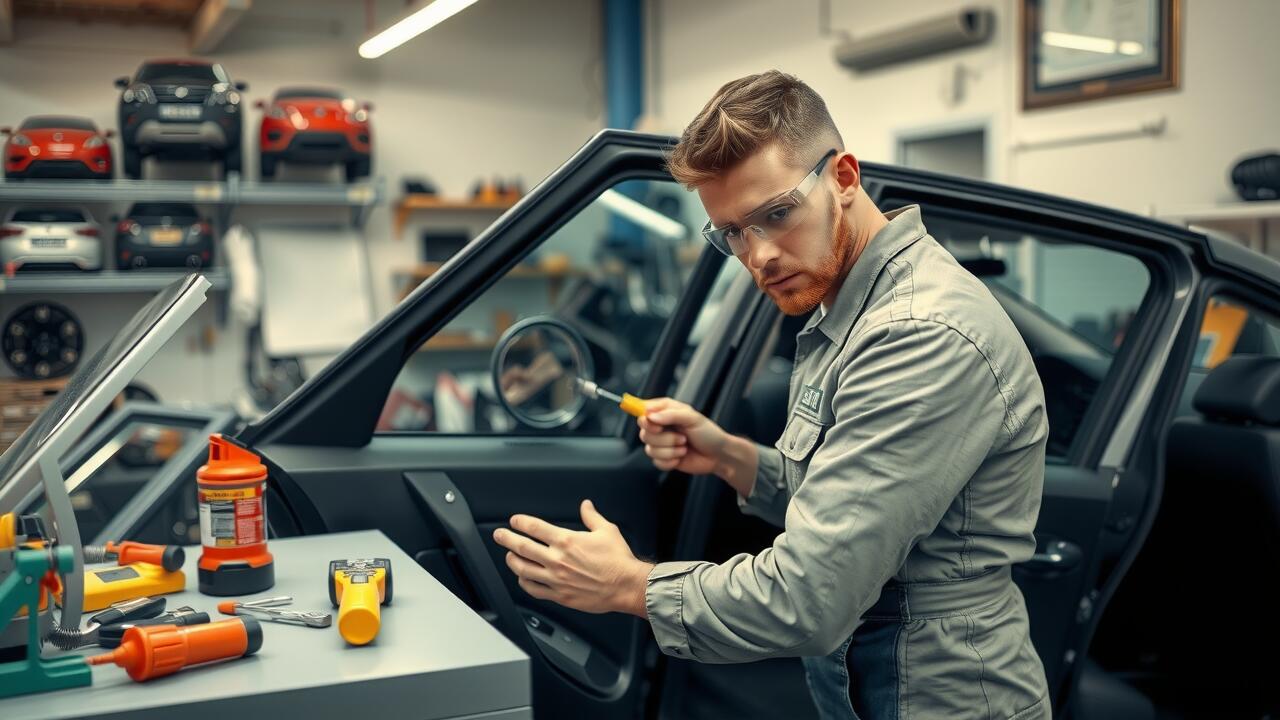
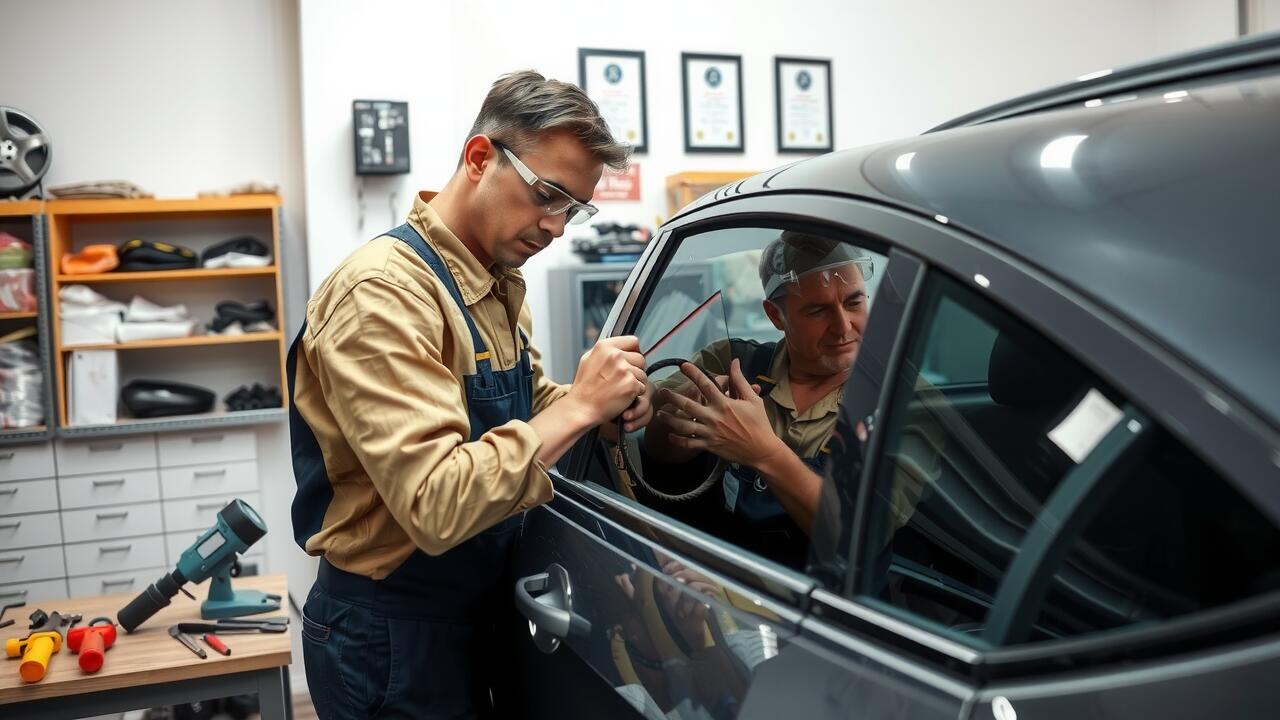
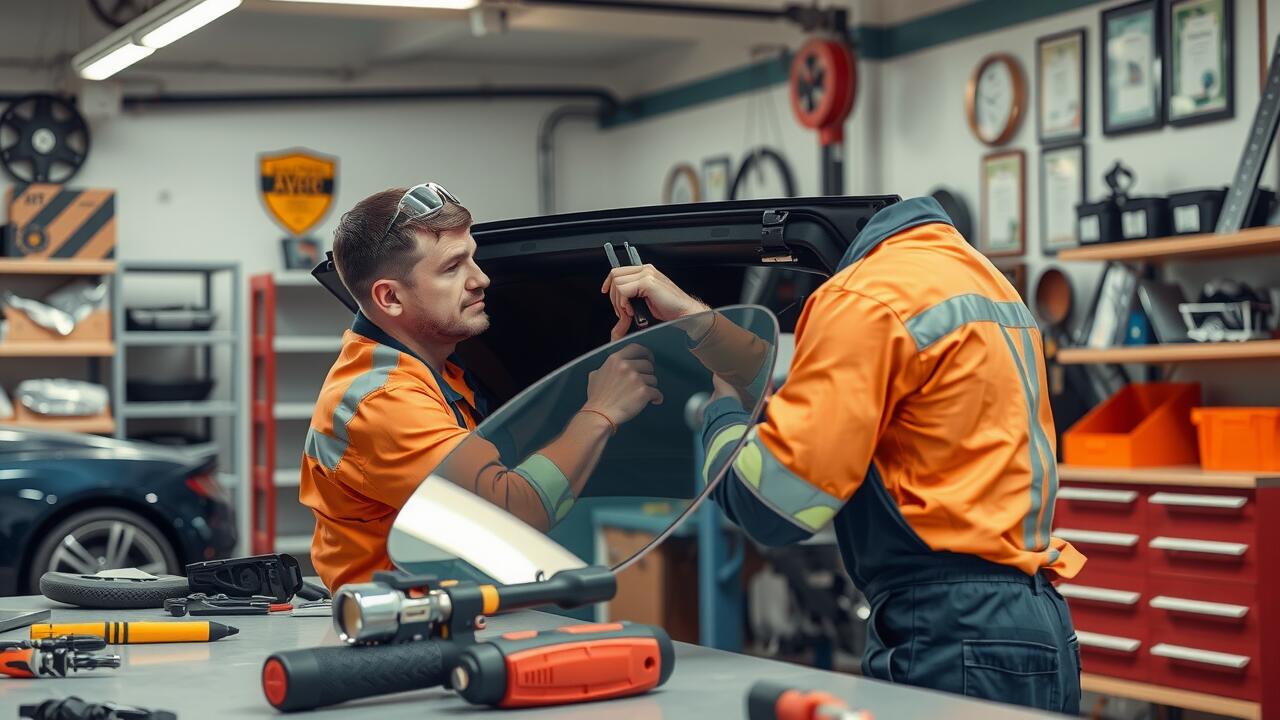
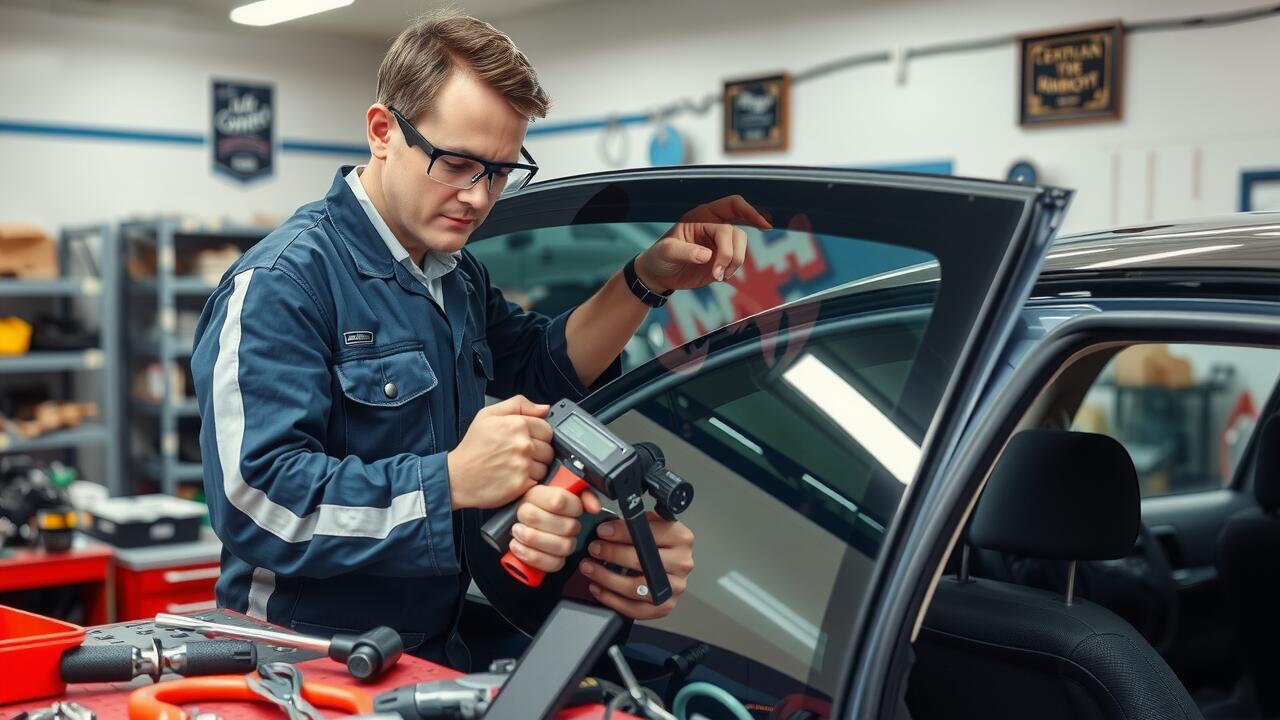
Before starting the replacement process, it is crucial to ensure that you have a safe working environment. Park the vehicle on a flat, stable surface away from traffic. Engage the handbrake and place wheel chocks behind the wheels to prevent any movement. If possible, work in a shaded area to avoid direct sunlight, which can cause adhesives to set too quickly. Wearing gloves during the process will protect your hands from sharp edges and glass shards.
During the removal of the old glass and installation of the new rear window, handle all tools and materials with care. For rear window repairs, avoid applying excessive force that could damage the frame. Ensure that you have safety goggles on to protect your eyes from any flying debris or glass splinters. Keep a first aid kit nearby in case of accidents. Following these safety precautions will help maintain a secure working environment while promoting a successful replacement process.
Post-Replacement Care
After replacing the back window, it is essential to ensure that the installation has cured properly. Allow the adhesive sufficient time to set before exposing the vehicle to extreme temperatures or heavy rain. A thorough inspection of the seal is advisable to confirm that there are no gaps or areas where water could potentially seep in. This step is crucial to avoid any leaks that could lead to further damage and may require Rear Window Repairs in the future.
Regular maintenance checks will help extend the life of the new back window. Keeping an eye out for any signs of wear, such as cracks or chips, is important. If any issues arise, addressing them promptly can prevent more costly repairs later on. Additionally, cleaning the new glass with appropriate cleaners will help maintain clarity and visibility, ensuring a safe driving experience.
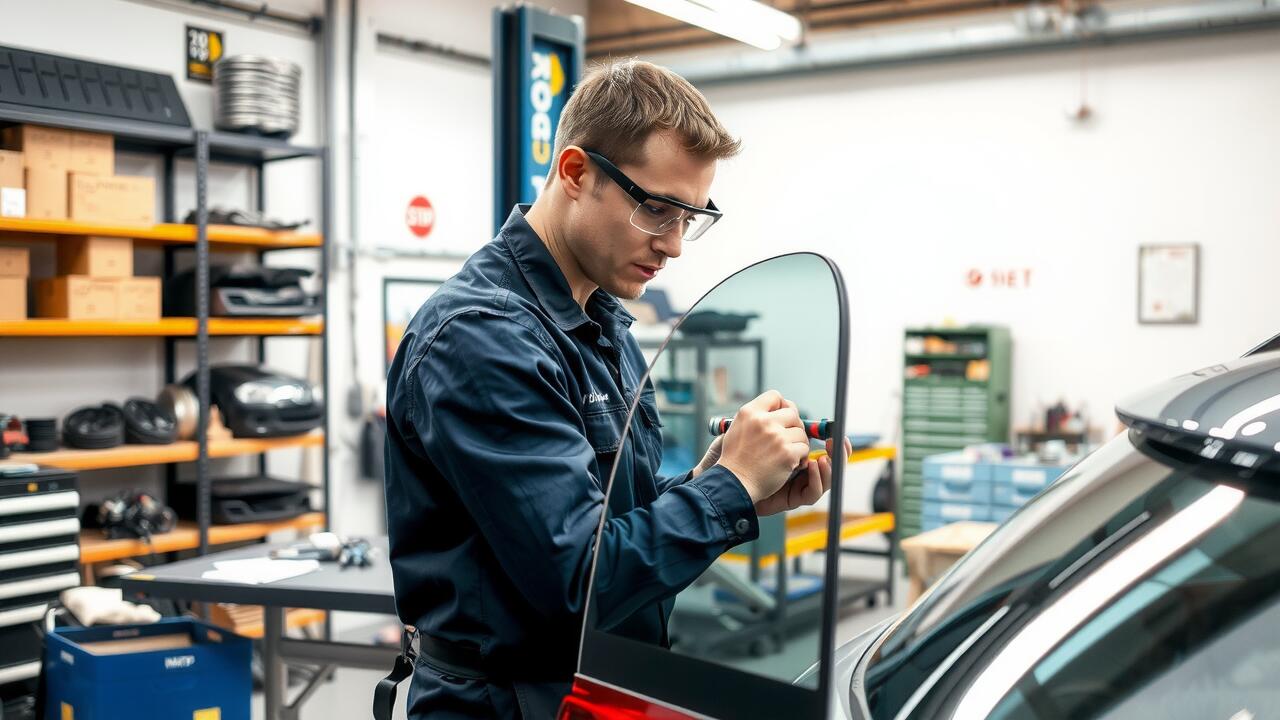
Recommended Practices
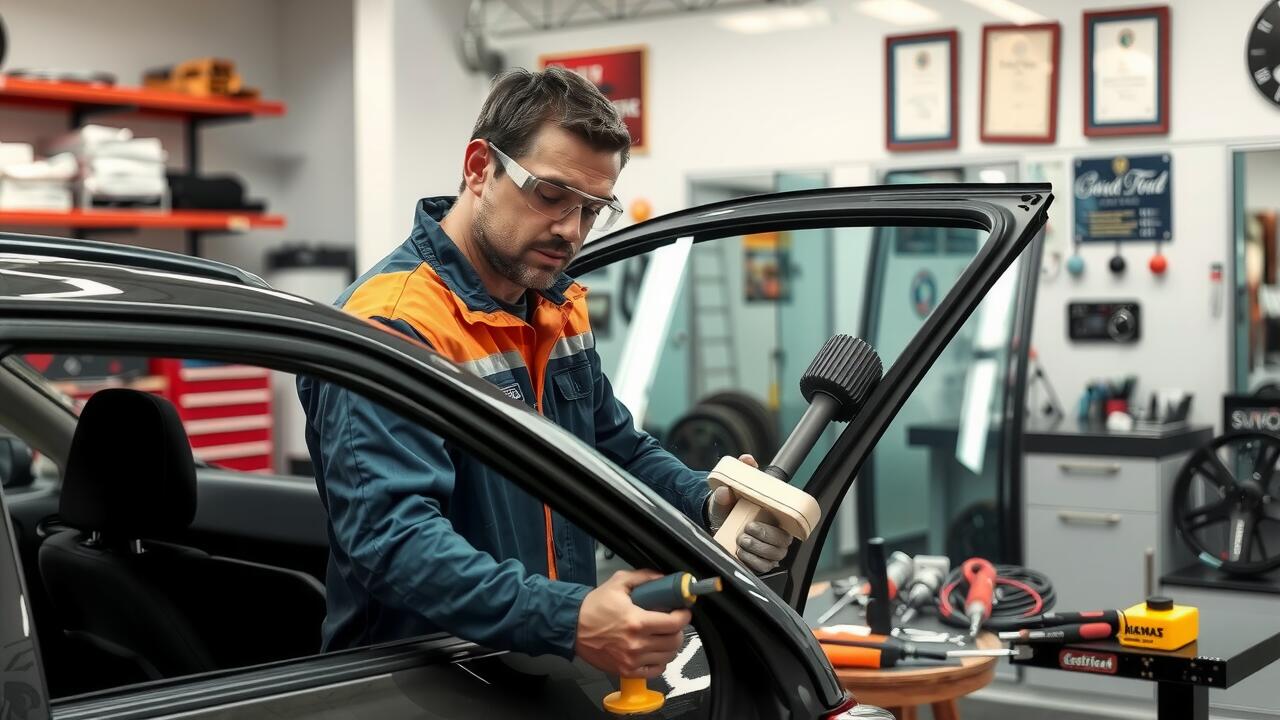
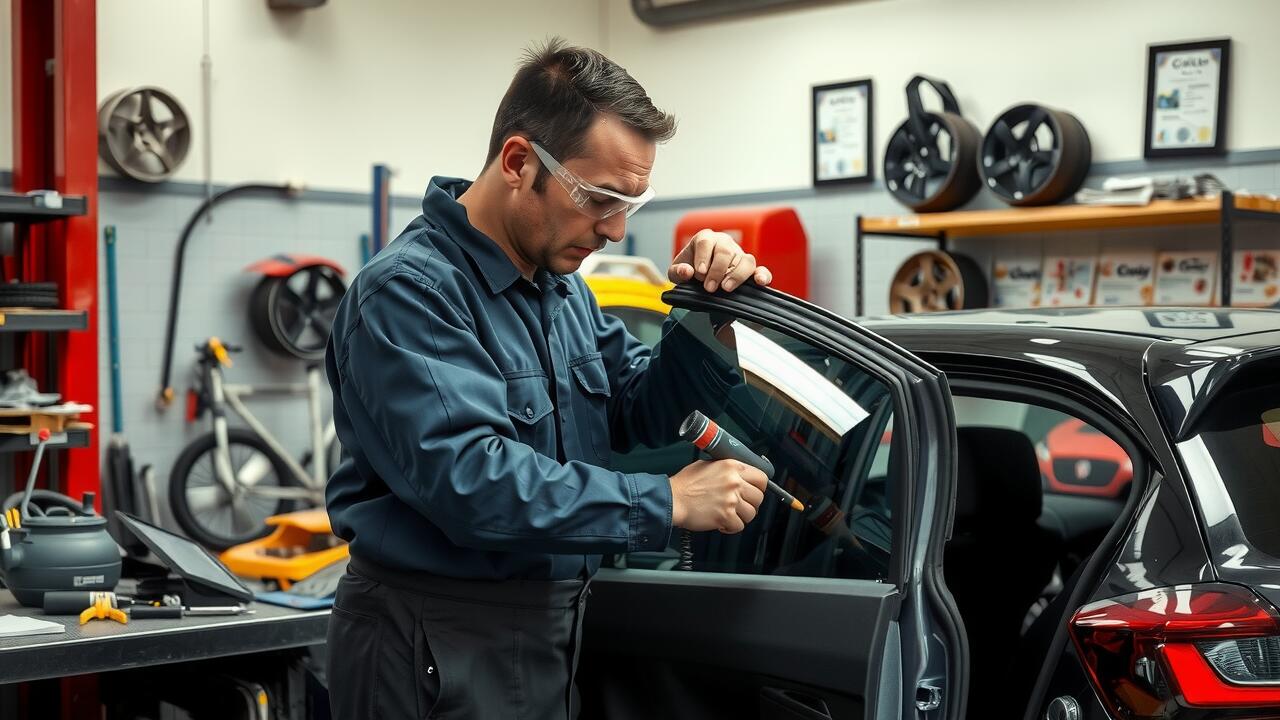
After completing the replacement of your back window, it is essential to inspect the seal and ensure there are no leaks. Over the next few days, keep an eye on the newly installed window for signs of moisture or air escaping. This vigilance will help in identifying any potential issues early, allowing for adjustments to be made before they worsen. Regular checks can also affirm that the installation was successful and the window is secure.
In addition to routine inspections, consider the conditions that might affect the longevity of your rear window. Avoid slamming doors and be cautious with car washes, especially in the first week following installation. Proper care can prevent unnecessary stress on the window and adhesive. For ongoing maintenance, consult with professionals specialised in Rear Window Repairs for advice tailored to your specific vehicle model.
FAQS
How long does it typically take to replace a back window?
Generally, replacing a back window can take anywhere from 1 to 3 hours, depending on the vehicle's make and model and the experience of the technician.
Can I replace a back window myself?
Yes, you can replace a back window yourself if you have the right tools and skills. However, it may take longer than having a professional do it, and proper safety measures must be followed.
What tools do I need to replace a back window?
Essential tools include a glass suction cup, a utility knife, a scraper, adhesive or sealant, and safety gloves. Refer to the "Essential Equipment List" section for a comprehensive overview.
What steps should I take to prepare my vehicle for window replacement?
To prepare your vehicle, park it in a safe area, remove any interior trim if necessary, and ensure that the surface where the new window will be placed is clean and free of debris.
What should I do for care after the back window replacement?
After installation, avoid rolling down the windows for at least 24 hours, refrain from washing your car for at least a week, and check the seal for any gaps or leaks during the first few days.