Table Of Contents
Application Techniques for Adhesives
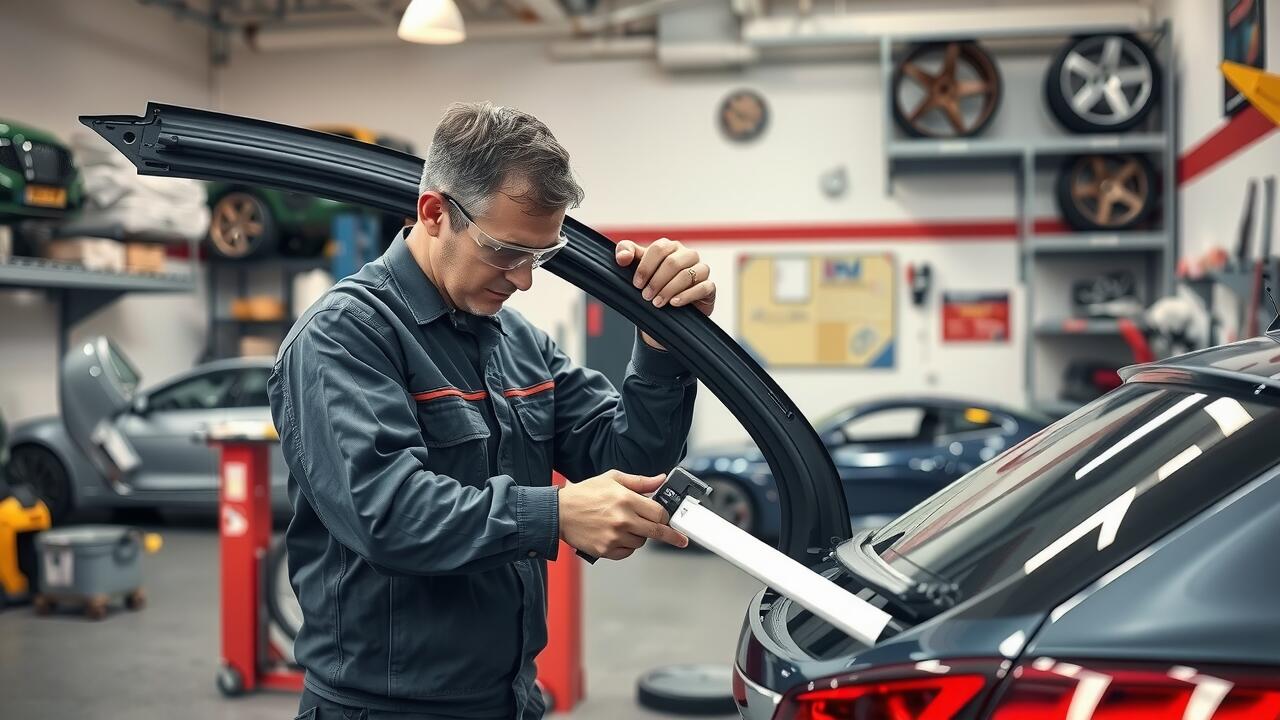
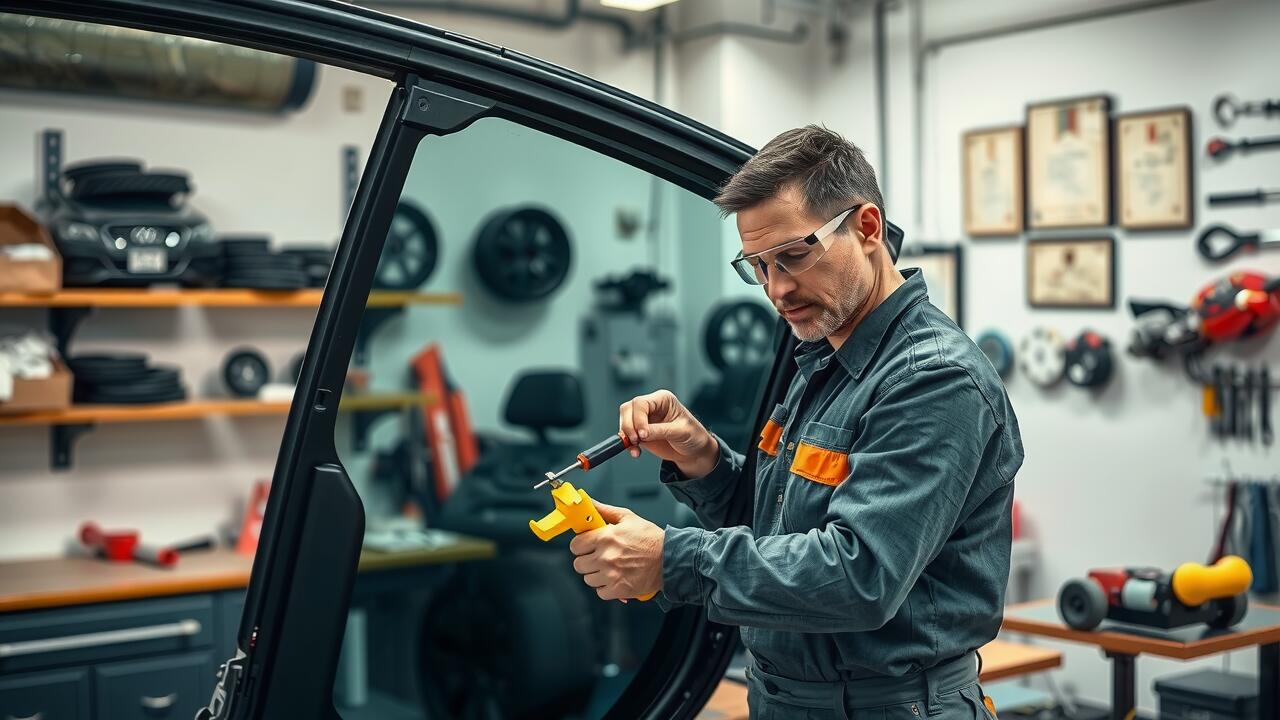
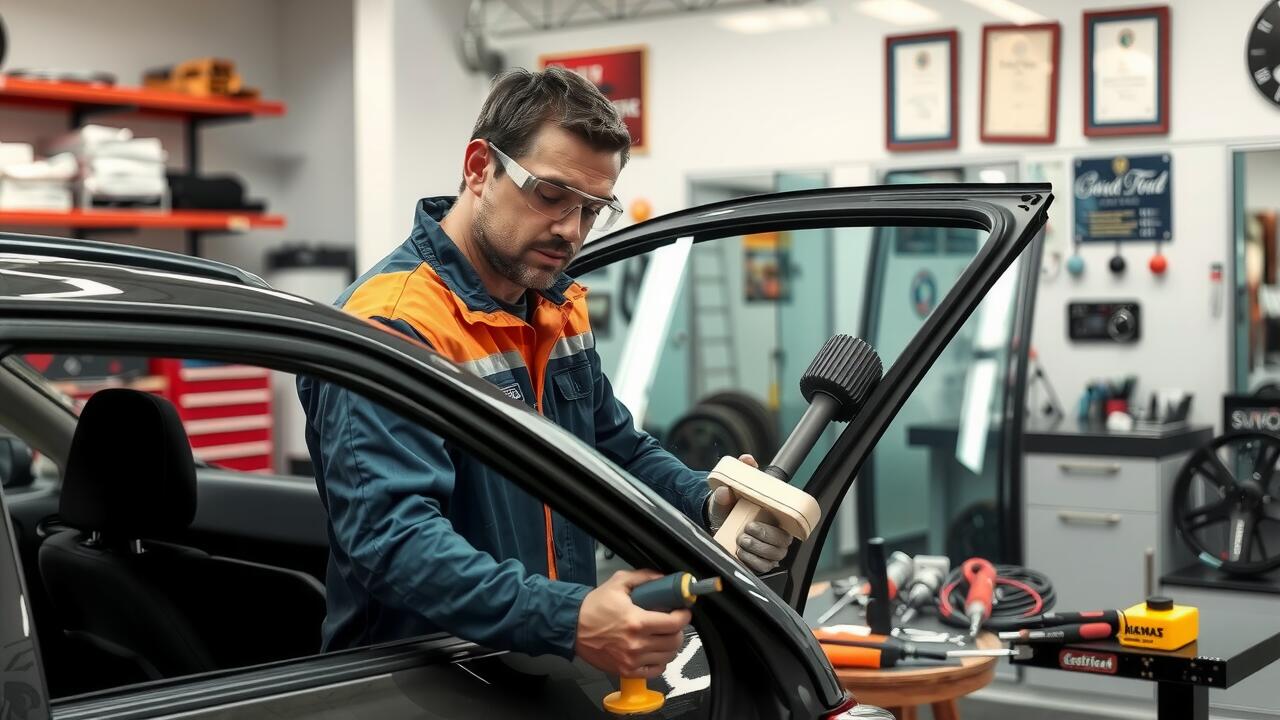
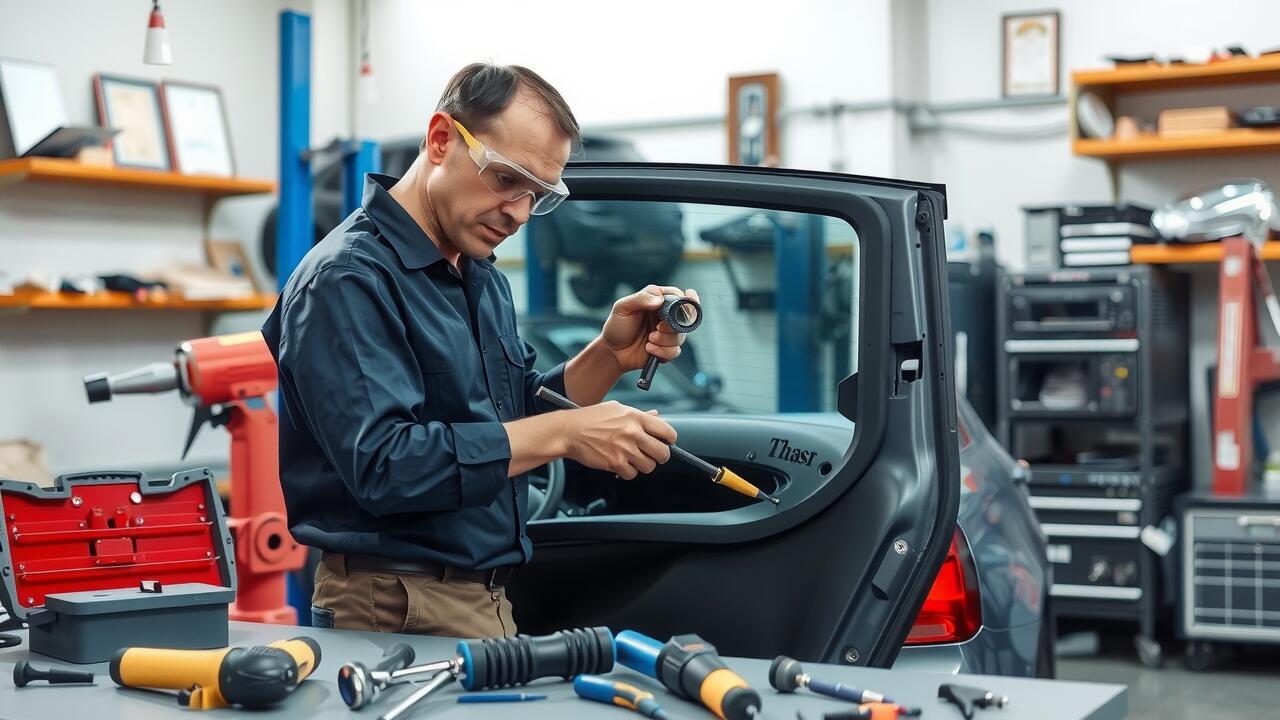
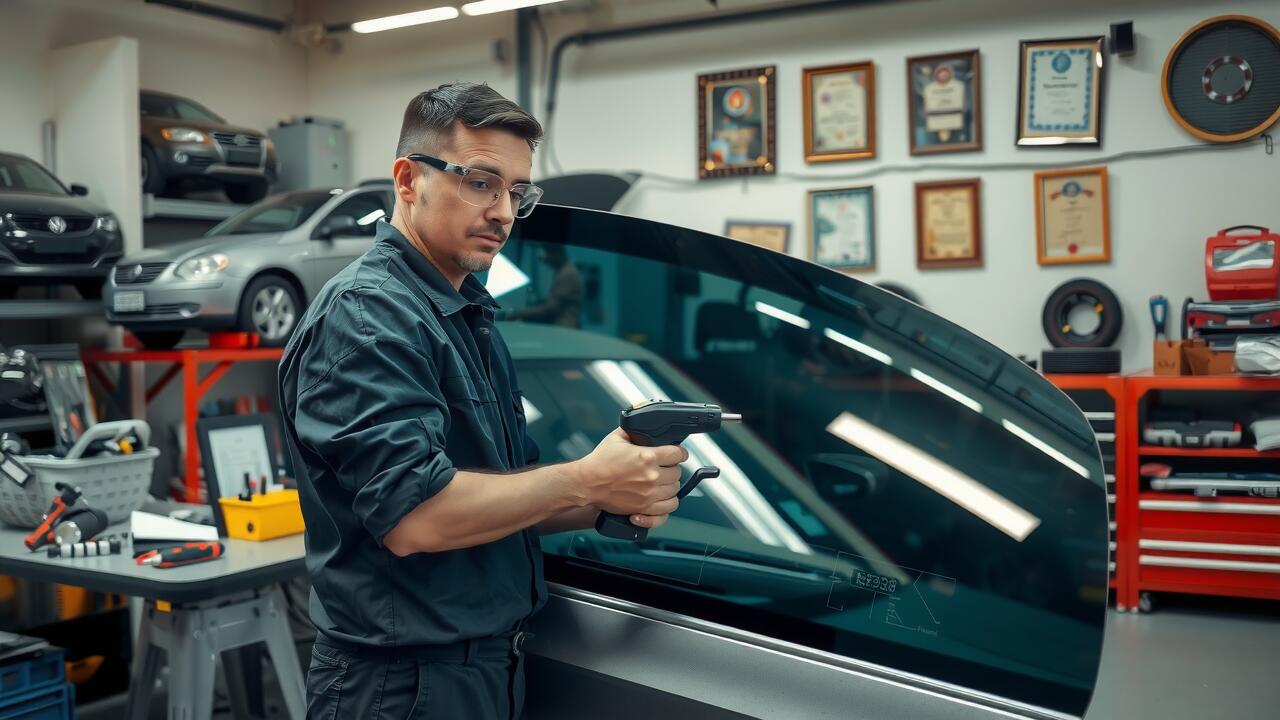
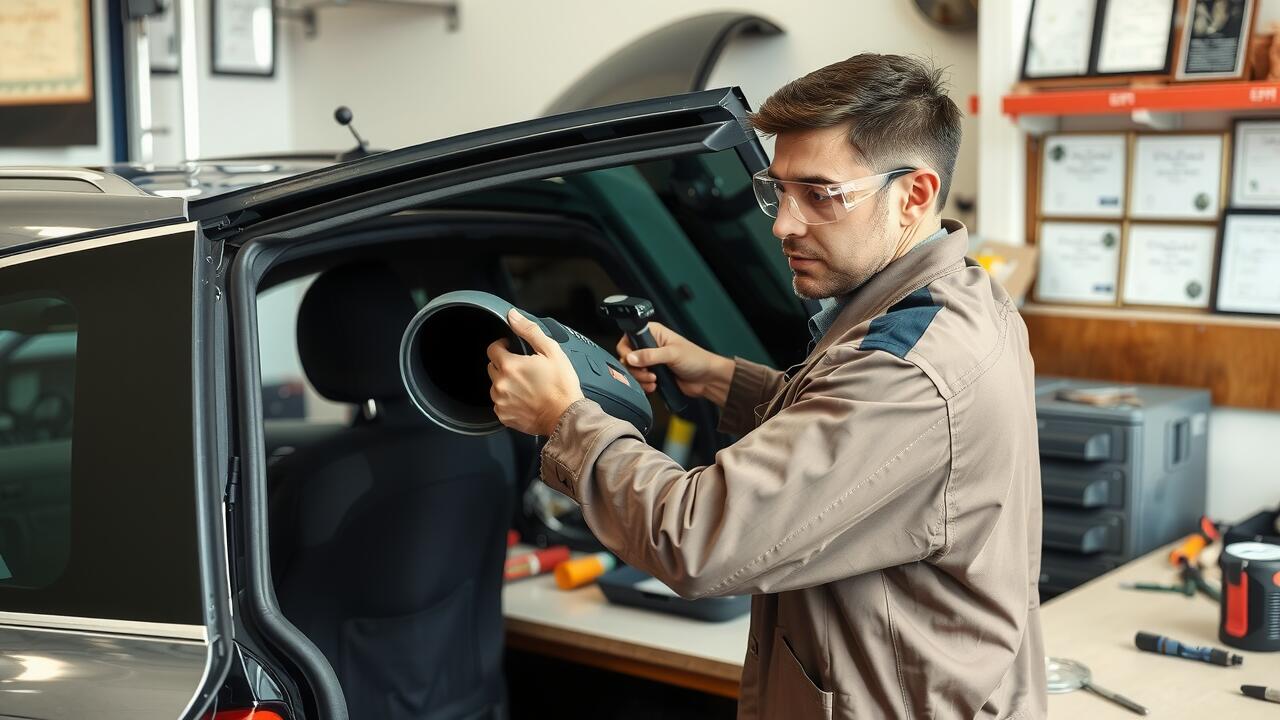
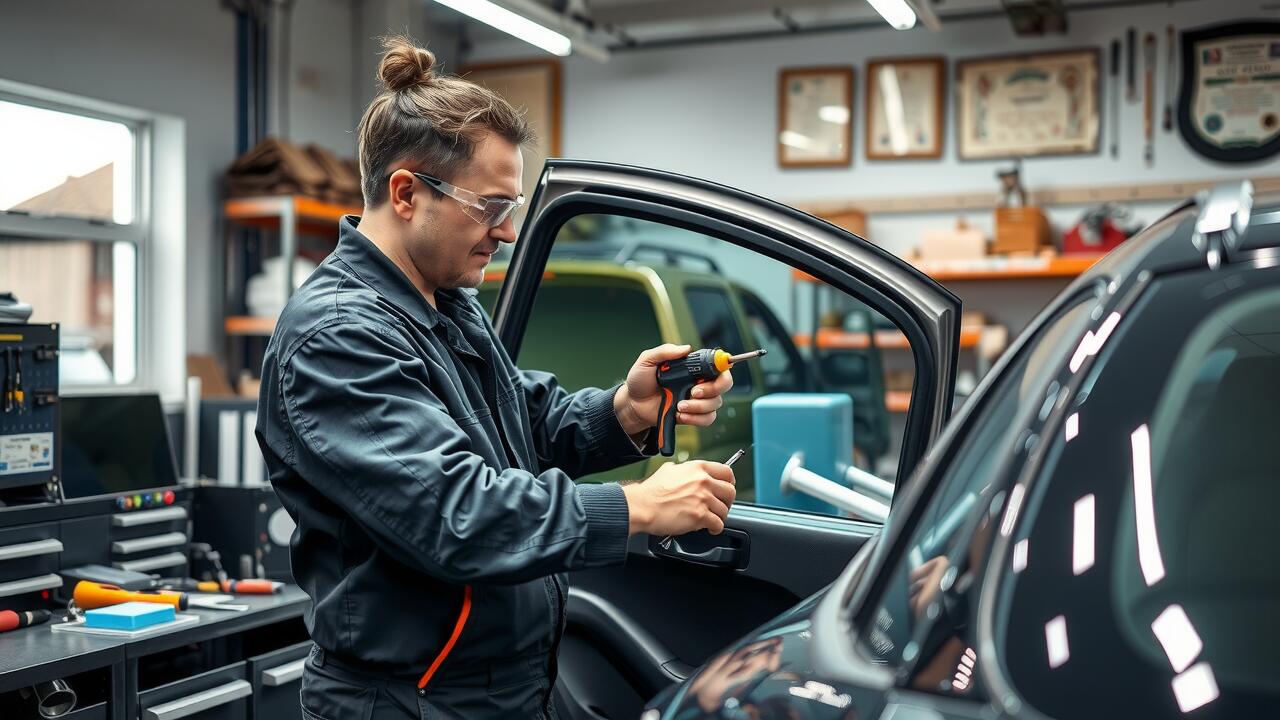
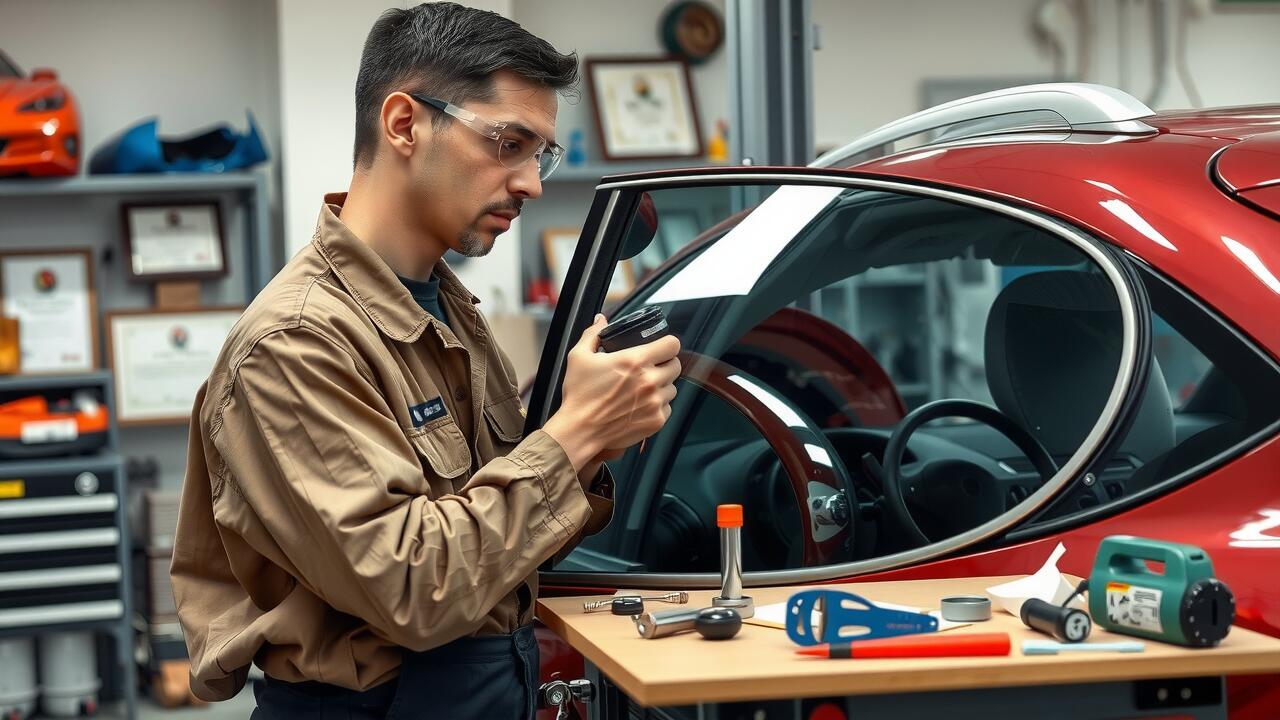
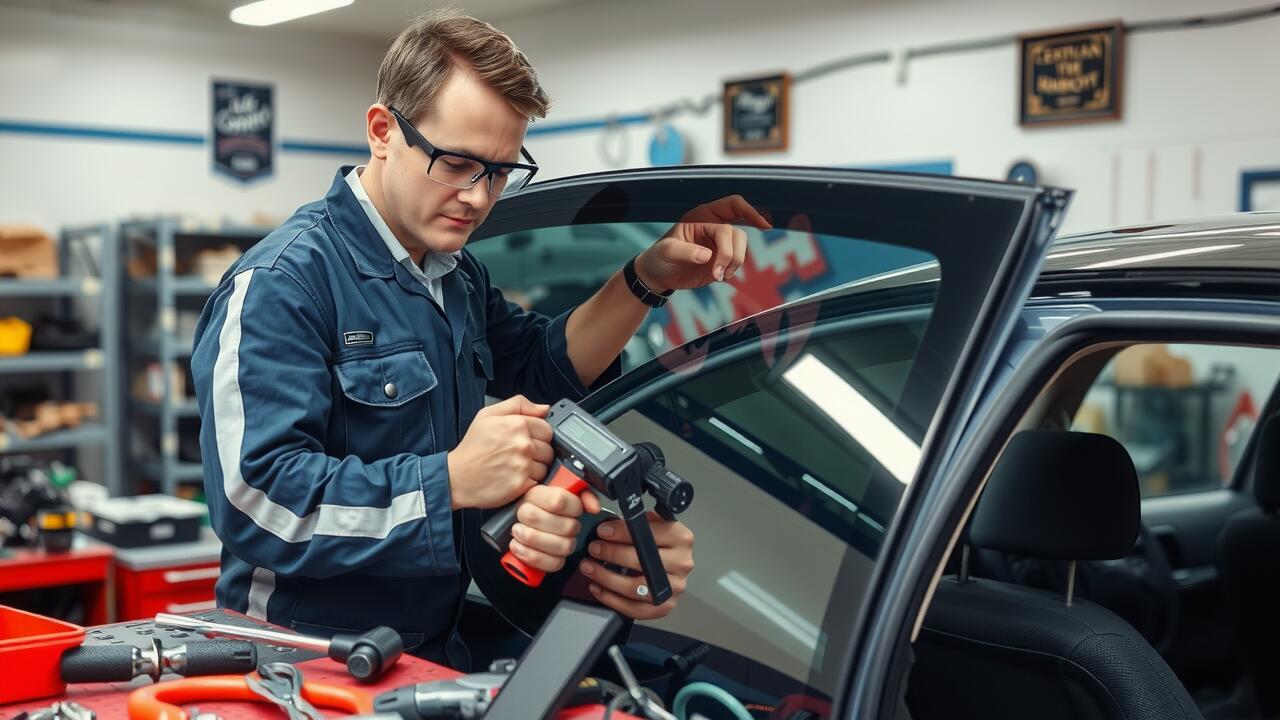
Applying adhesive for rear window replacement requires precision and attention to detail. The surface must be thoroughly cleaned and prepared to ensure optimal bonding. Using a high-quality adhesive suitable for automotive applications is essential. A steady hand is necessary when applying the adhesive, as it needs to be evenly distributed across the frame. It is often advisable to use a caulking gun for more controlled application. This technique not only reduces waste but also ensures that the adhesive reaches all necessary areas along the edge of the rear window.
Allowing the adhesive to set properly can significantly affect the longevity of the rear window replacement. It is important to follow the manufacturer's instructions regarding application thickness and bead size. Ensuring that there are no gaps where air or moisture can enter is crucial. After applying the adhesive, press the rear window into place with consistent pressure. Maintaining this pressure for the duration specified by the adhesive's curing guidelines helps achieve a secure bond. Proper techniques during the application will ultimately contribute to the quality and durability of the installation.
Step-by-Step Guide to Applying Adhesive Properly
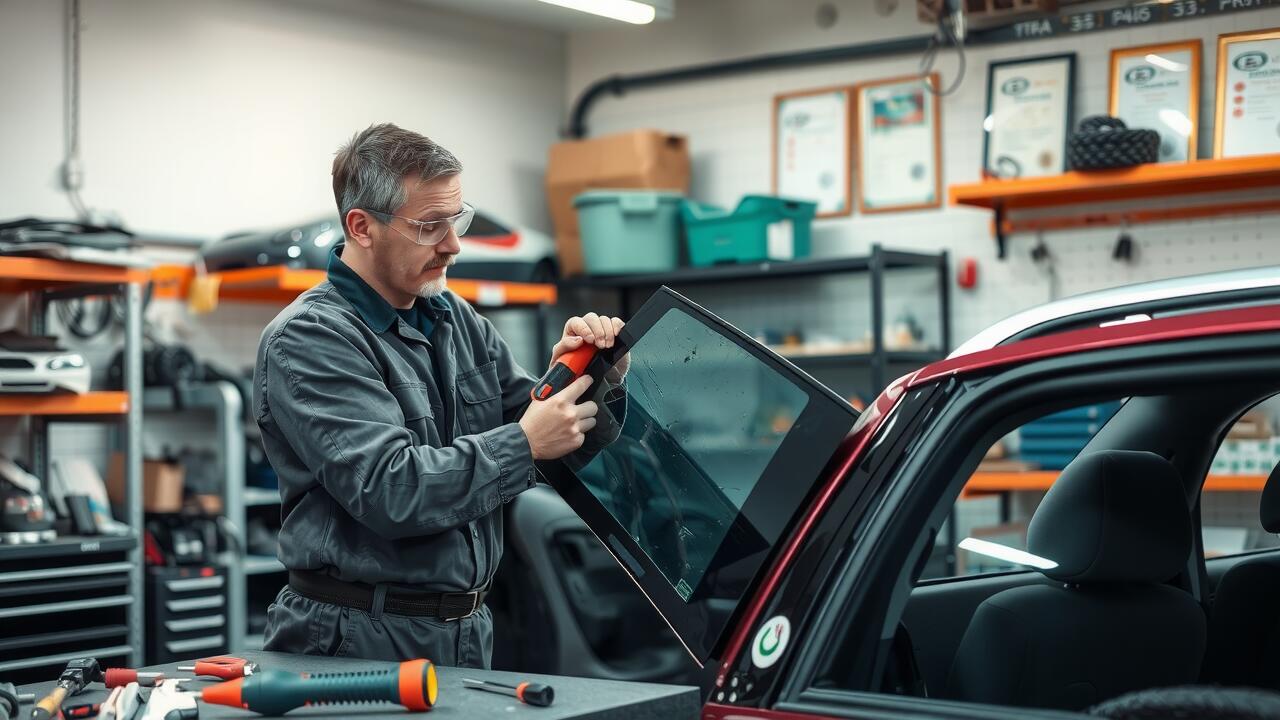
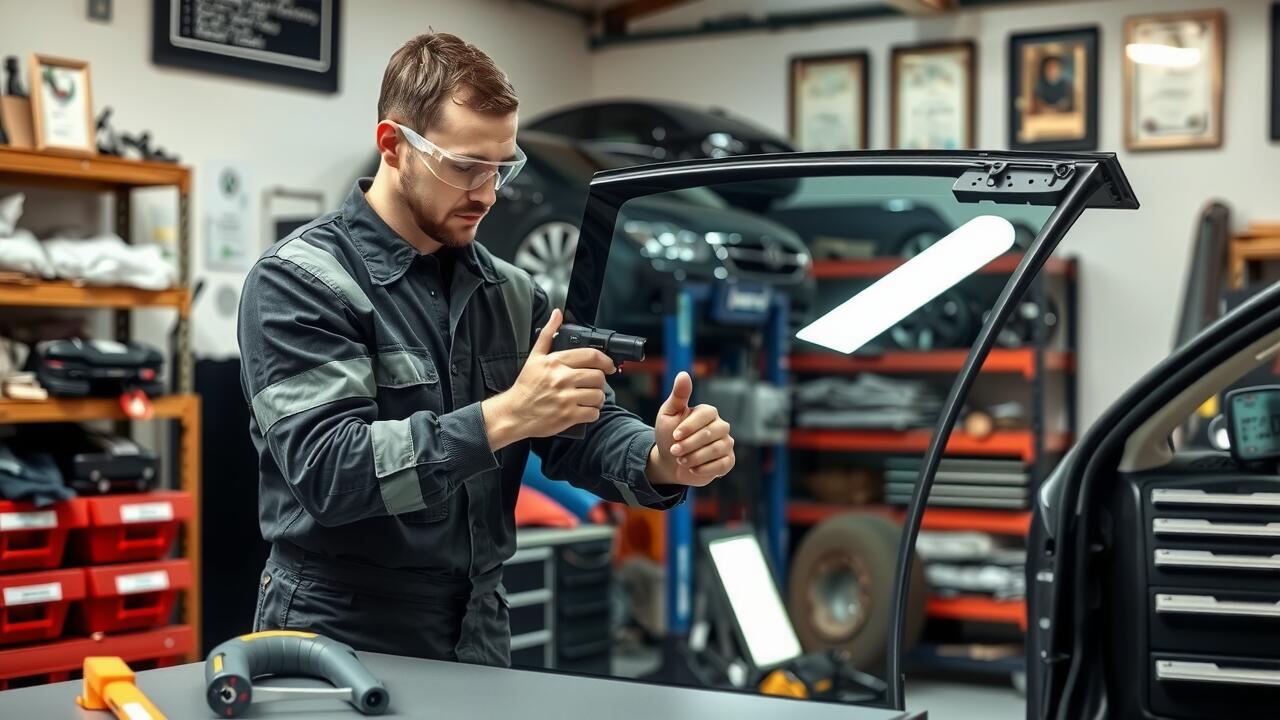
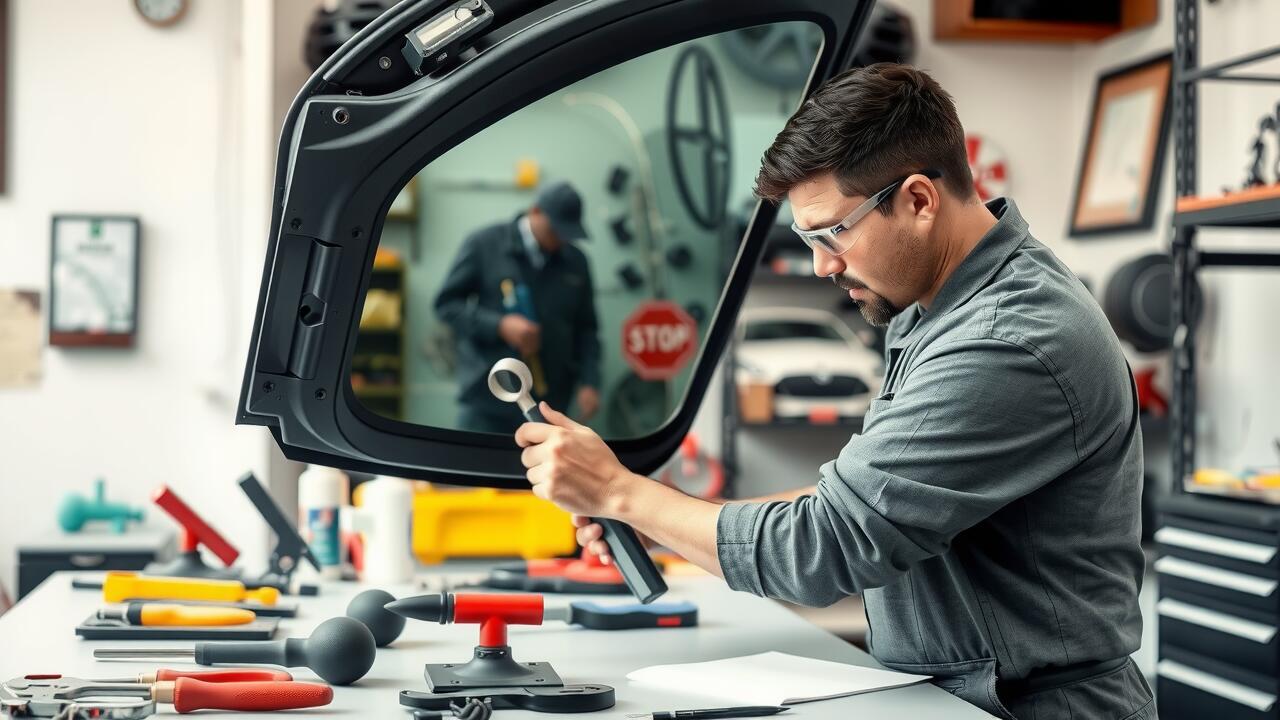
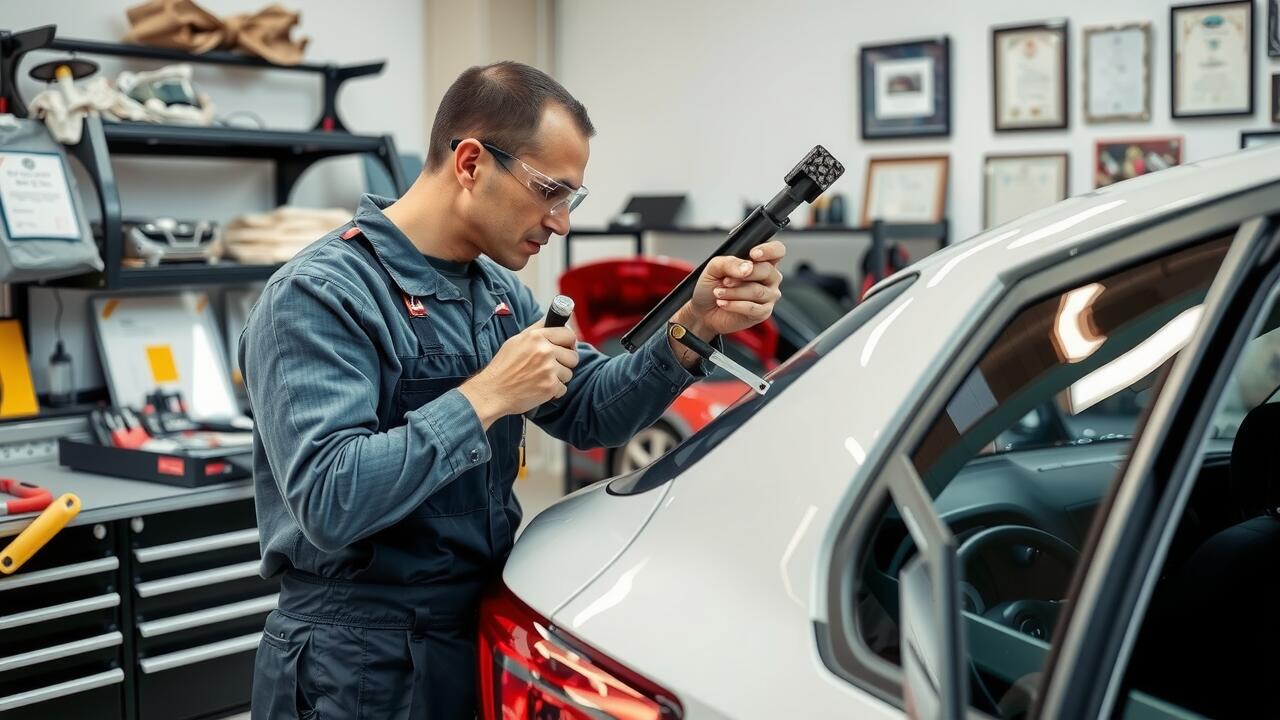
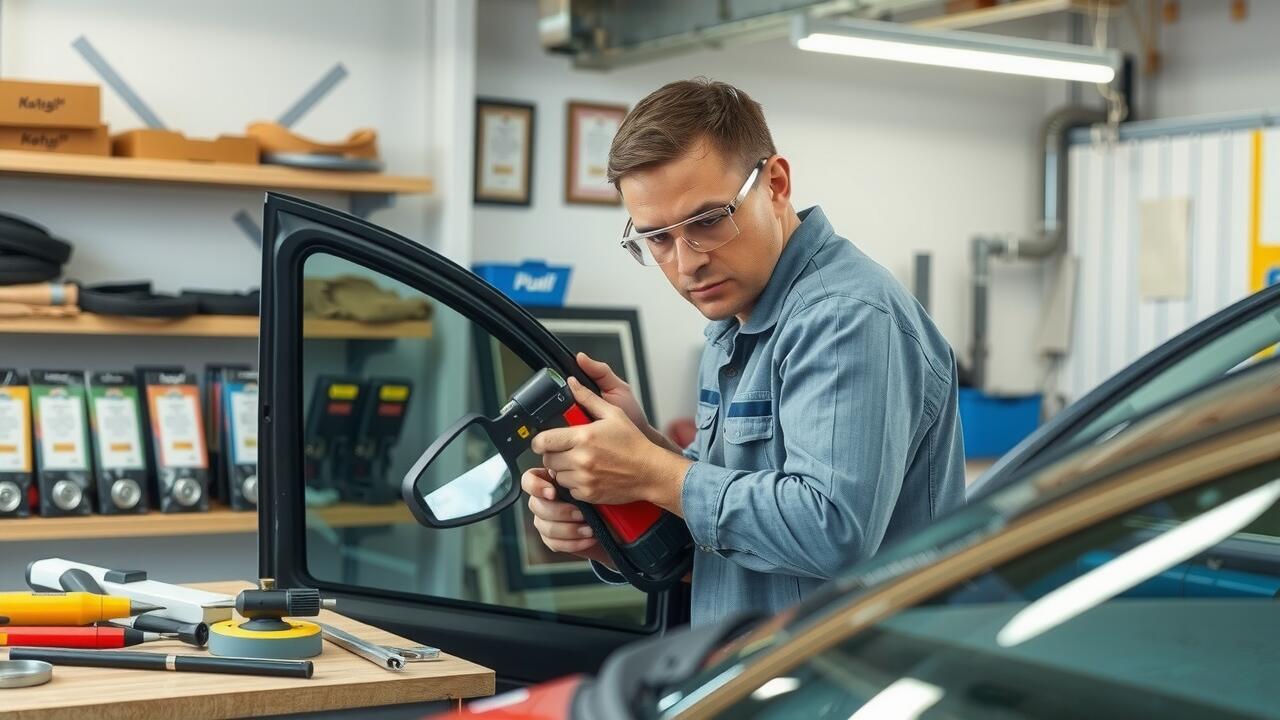
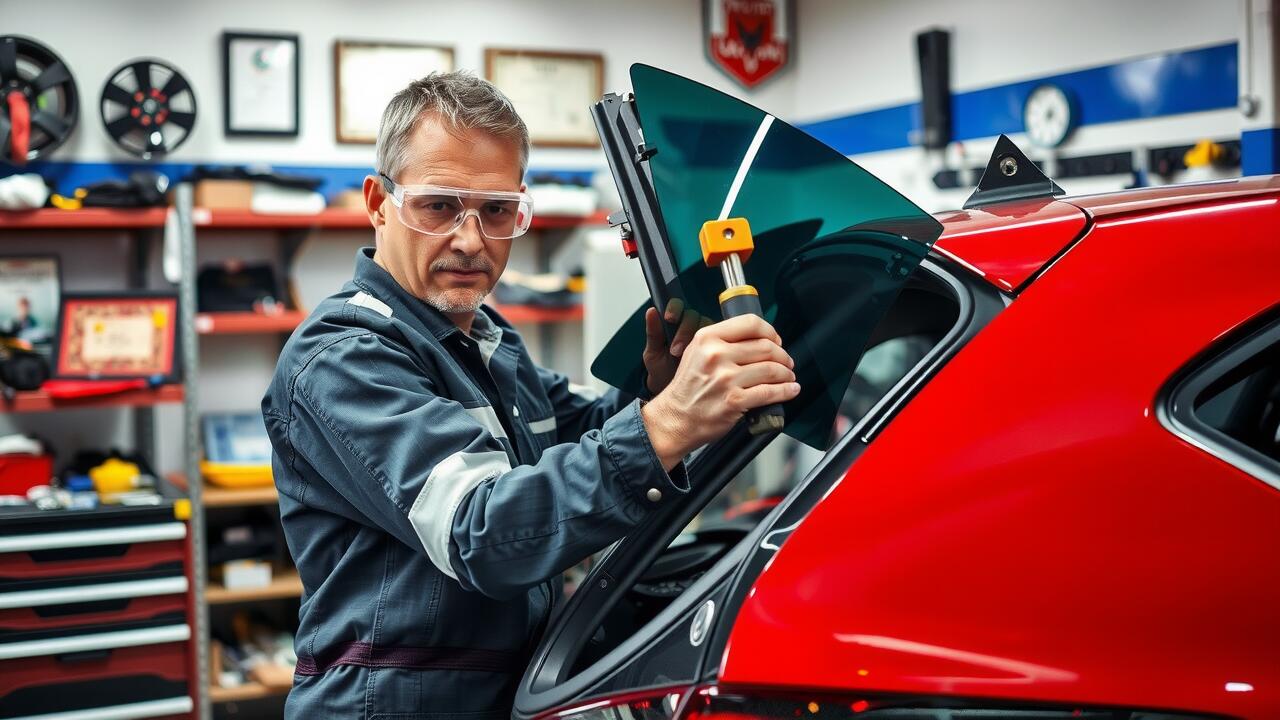
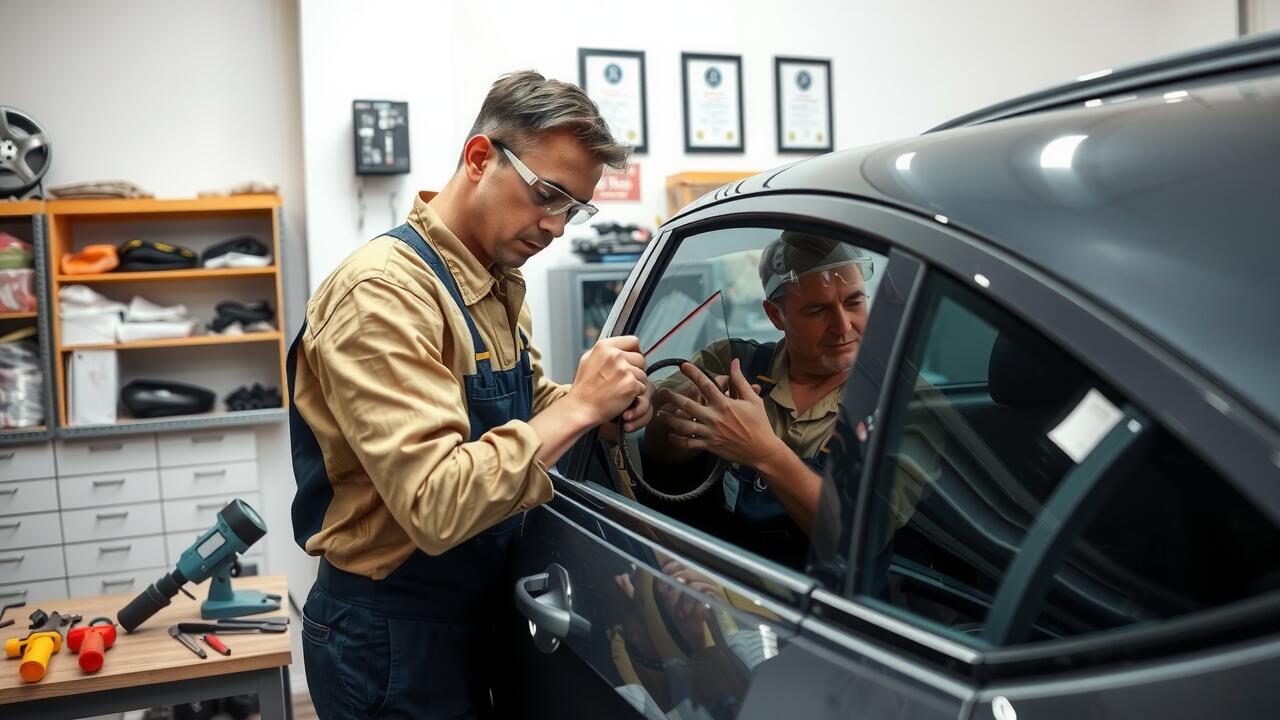
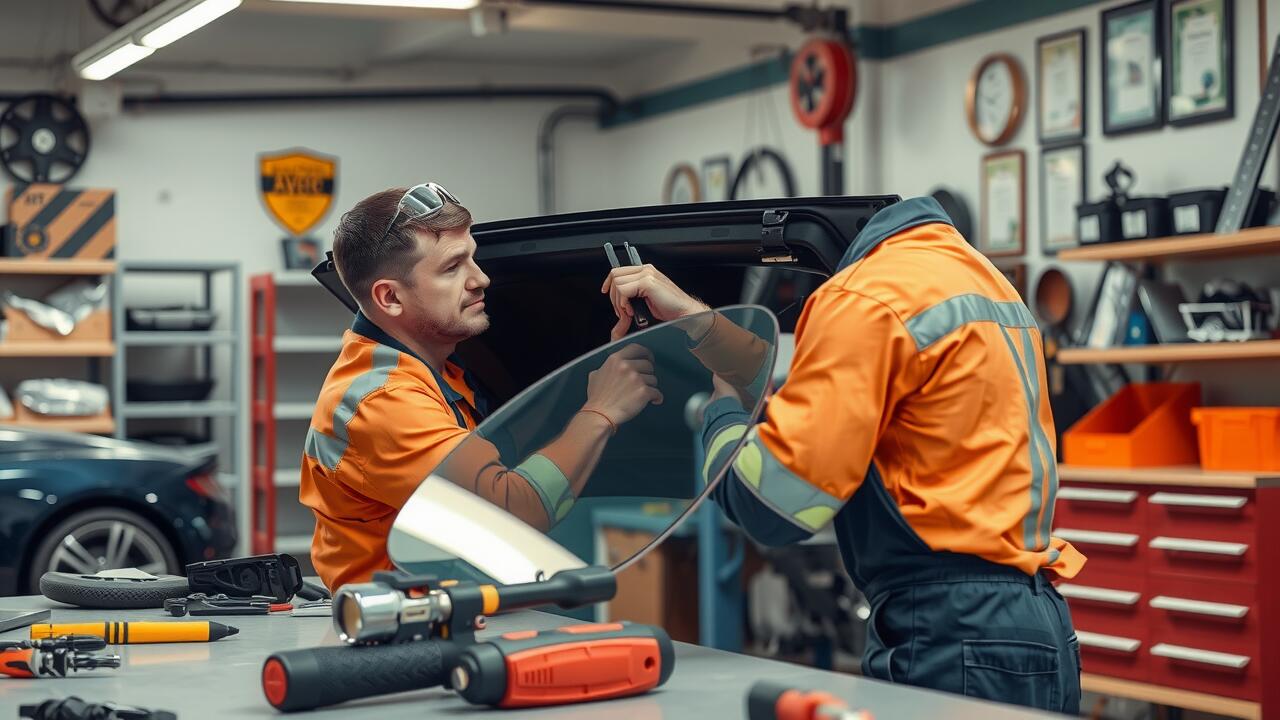
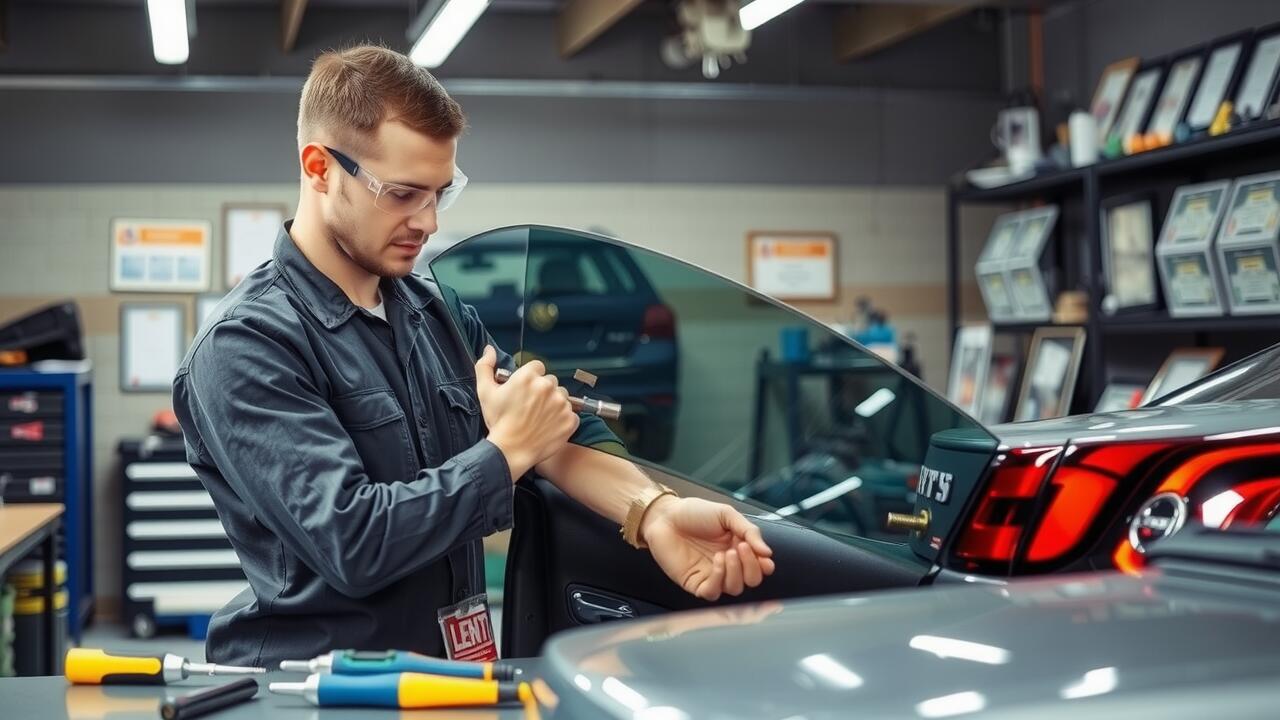
To begin the rear window replacement process, ensure that the surfaces are thoroughly cleaned. Use a suitable adhesive remover to eliminate old adhesive residues and dirt. After cleaning, dry the area completely with a lint-free cloth. This step is crucial as any contaminants can affect the adhesive's bond. Once the surfaces are prepared, apply a primer if recommended by the adhesive manufacturer. This can enhance the bonding strength.
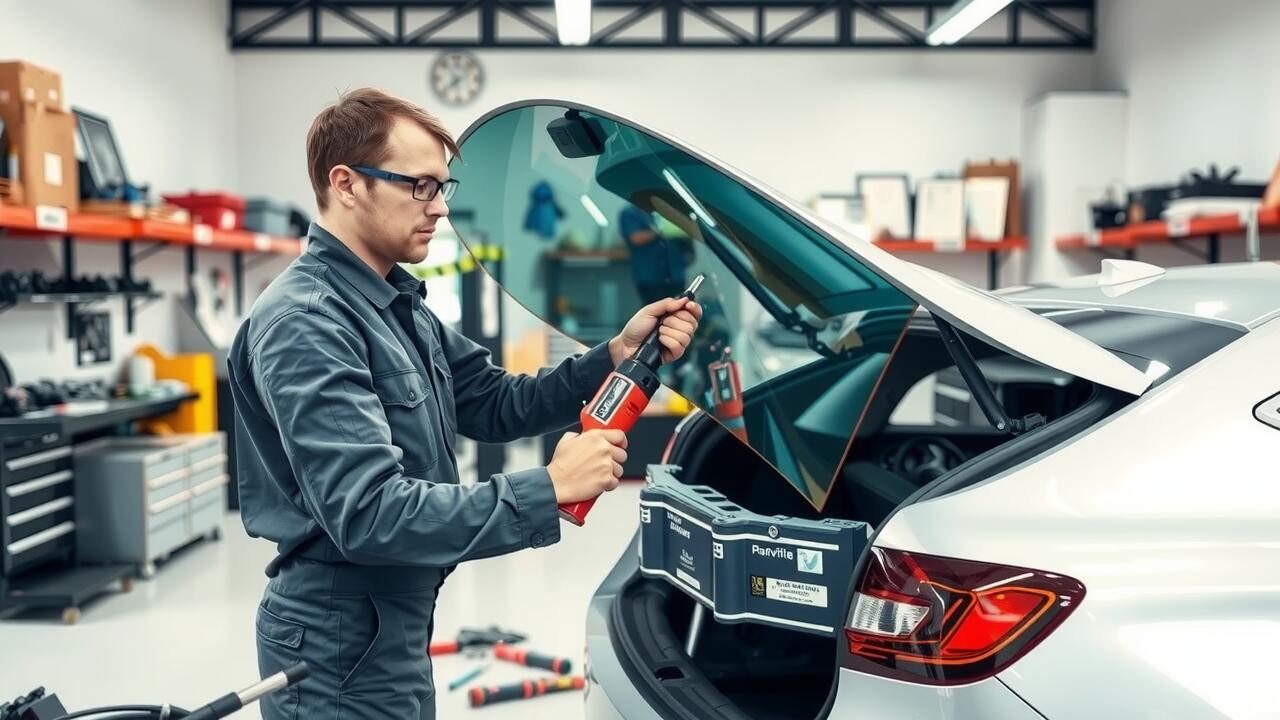
Next, apply the adhesive evenly along the designated area of the frame. A bead of adhesive should be consistent and ample, ensuring full contact with the rear window upon installation. Carefully place the window into position, making sure to align it accurately. Press firmly while ensuring that it maintains a uniform gap all around. Use glazing tape or spacers if necessary to secure it while the adhesive cures. Proper initial placement can prevent future leaks or wind noise.
Curing Times for Different Adhesive Types
Curing times for adhesive types vary significantly, impacting rear window replacement timelines. Silicone-based adhesives typically require around 24 hours to reach full strength, although some fast-curing variants can set in as little as one hour. Polyurethane adhesives offer another option, usually taking between 3 to 6 hours for handling and a full 24 hours for complete curing. The choice of adhesive should consider these timeframes to ensure the best results for the installation process.
Understanding the specific curing requirements of each adhesive is crucial for a successful rear window replacement. Temperature and humidity levels also play a role in how quickly an adhesive sets. Elevated temperatures can shorten curing times, while high humidity can either accelerate or hinder the process depending on the adhesive formulation. Proper planning around these variables guarantees a secure bond and ultimately enhances the longevity of the installation.
Understanding the Importance of Proper Curing
Proper curing of adhesive used in rear window installation is crucial for ensuring the durability and safety of the bond. The curing process allows the adhesive to reach its maximum strength, creating a secure attachment that can withstand various environmental factors. Without adequate curing time, the adhesive might not fully develop its properties, potentially leading to seal failure, water leaks, or structural weaknesses in the window itself.
Understanding the importance of proper curing also extends to adherence quality regarding vehicle safety standards. In rear window replacement, a compromised bond could result in the window detaching during high-speed driving or sudden impacts. Therefore, following the manufacturer's recommended curing times is essential, as this step significantly enhances the effectiveness of the installation and helps prevent future complications.
Common Mistakes to Avoid
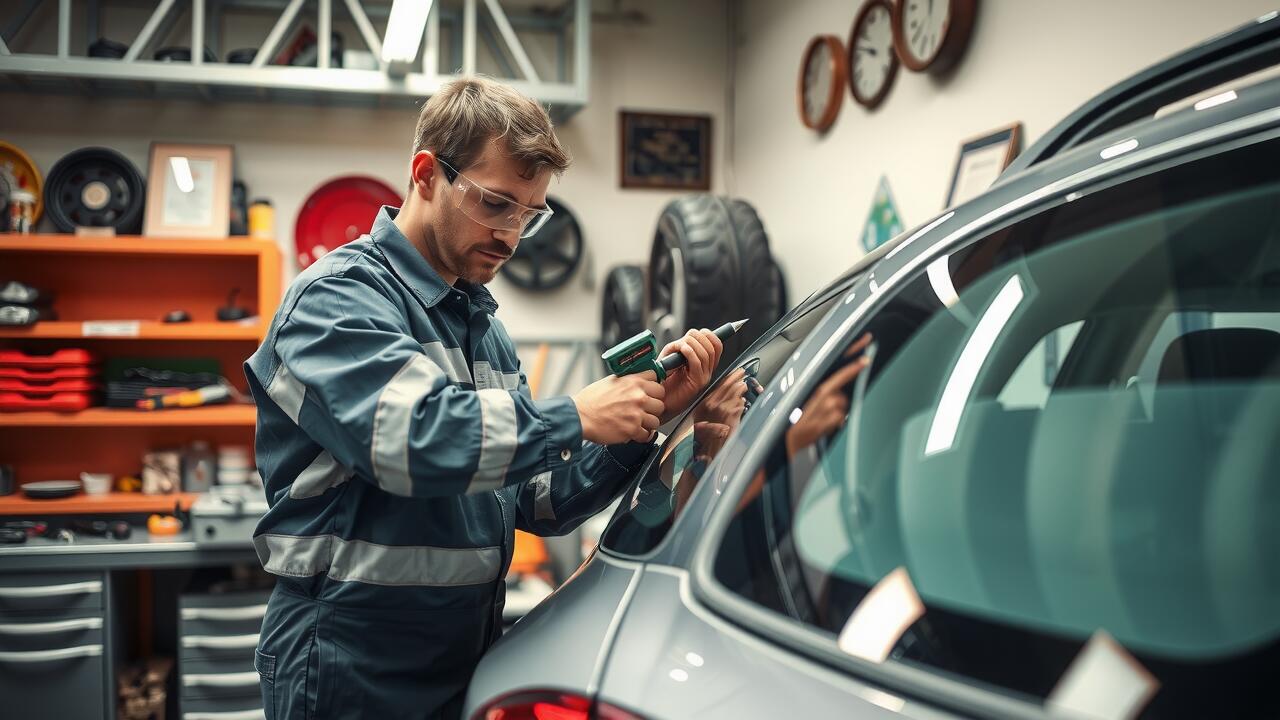
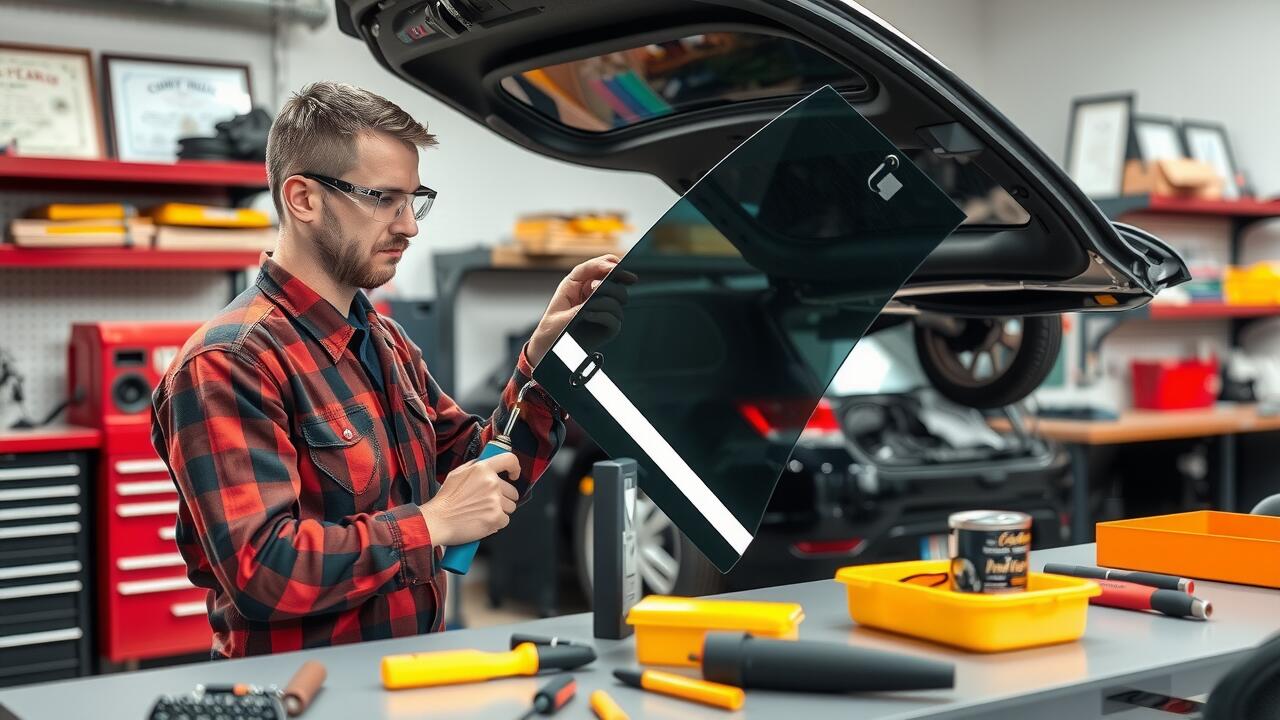
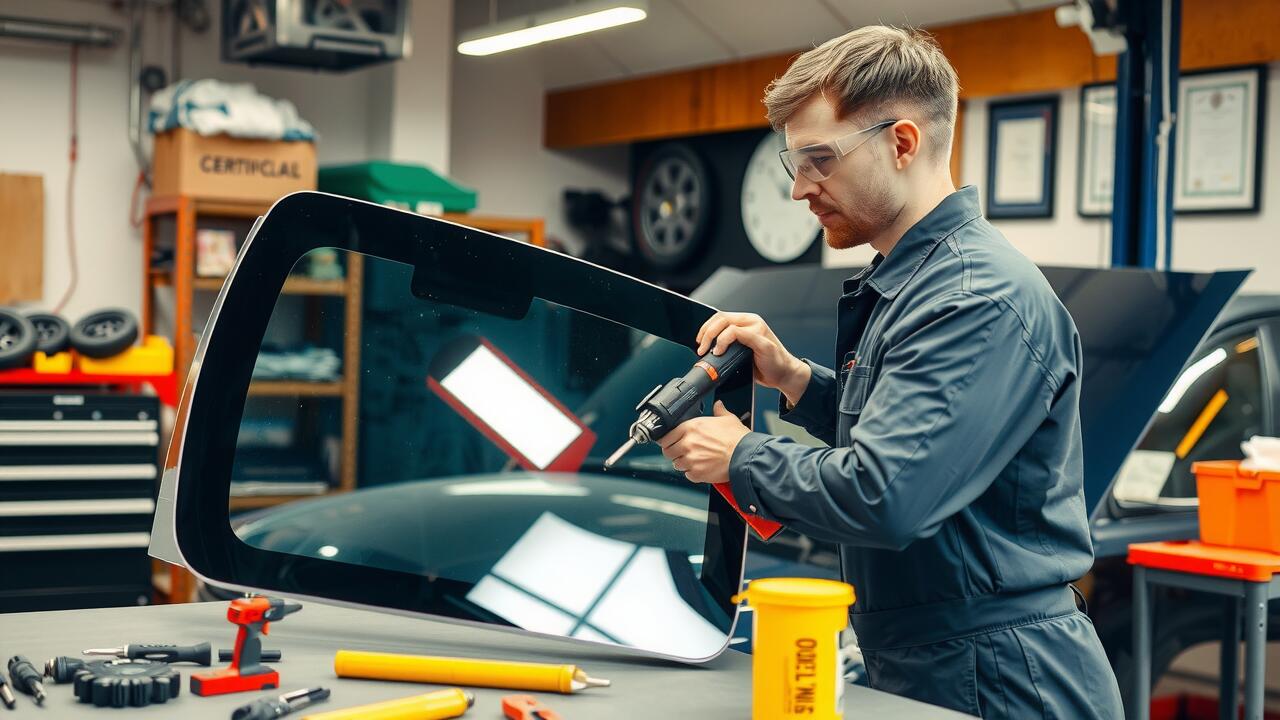
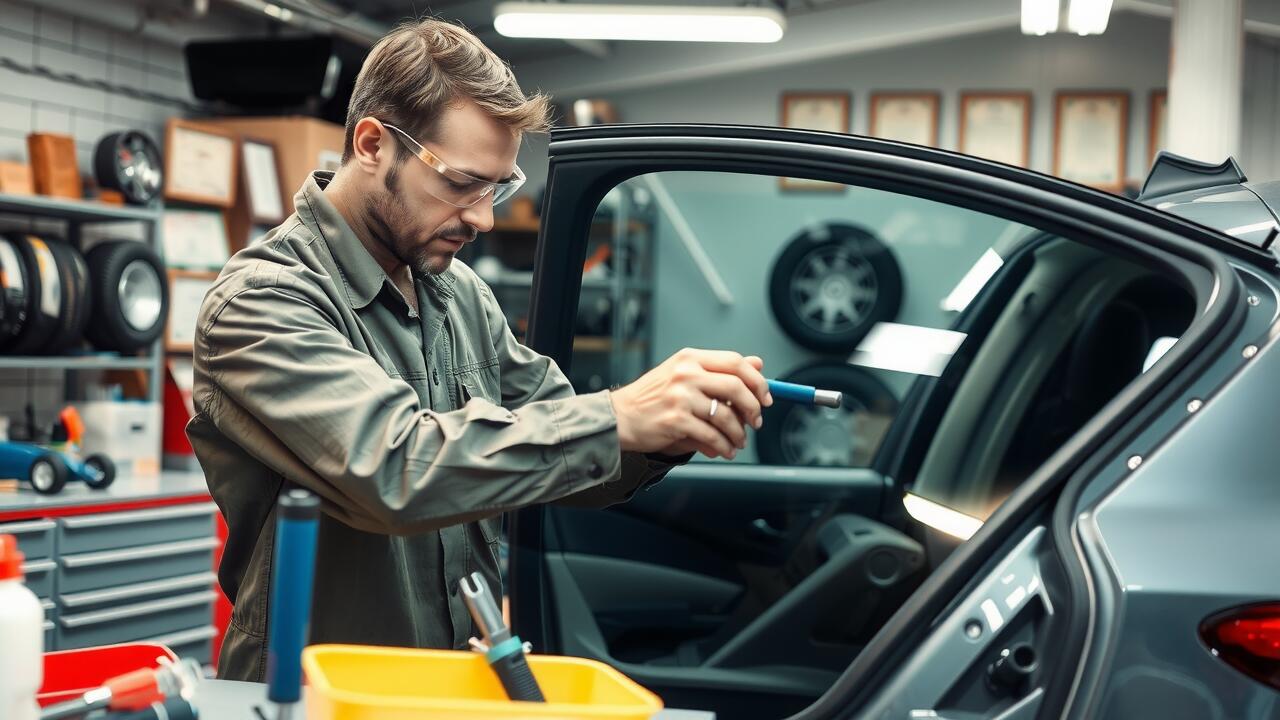
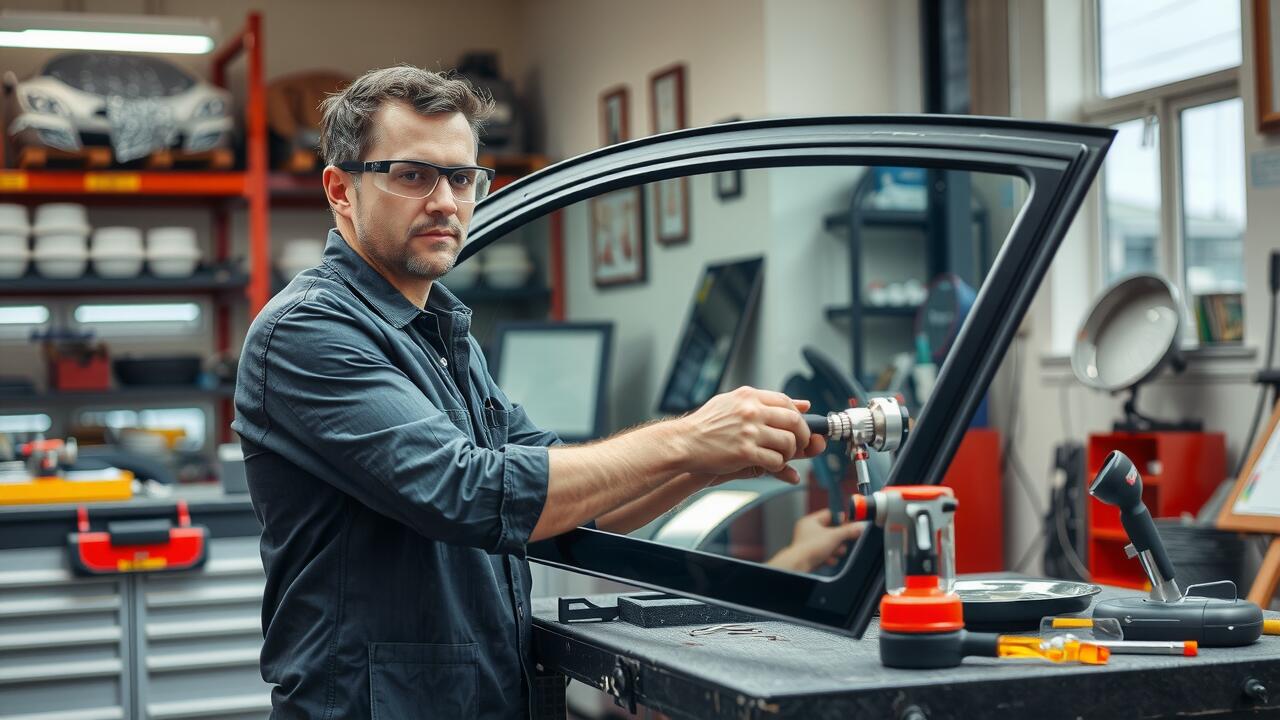
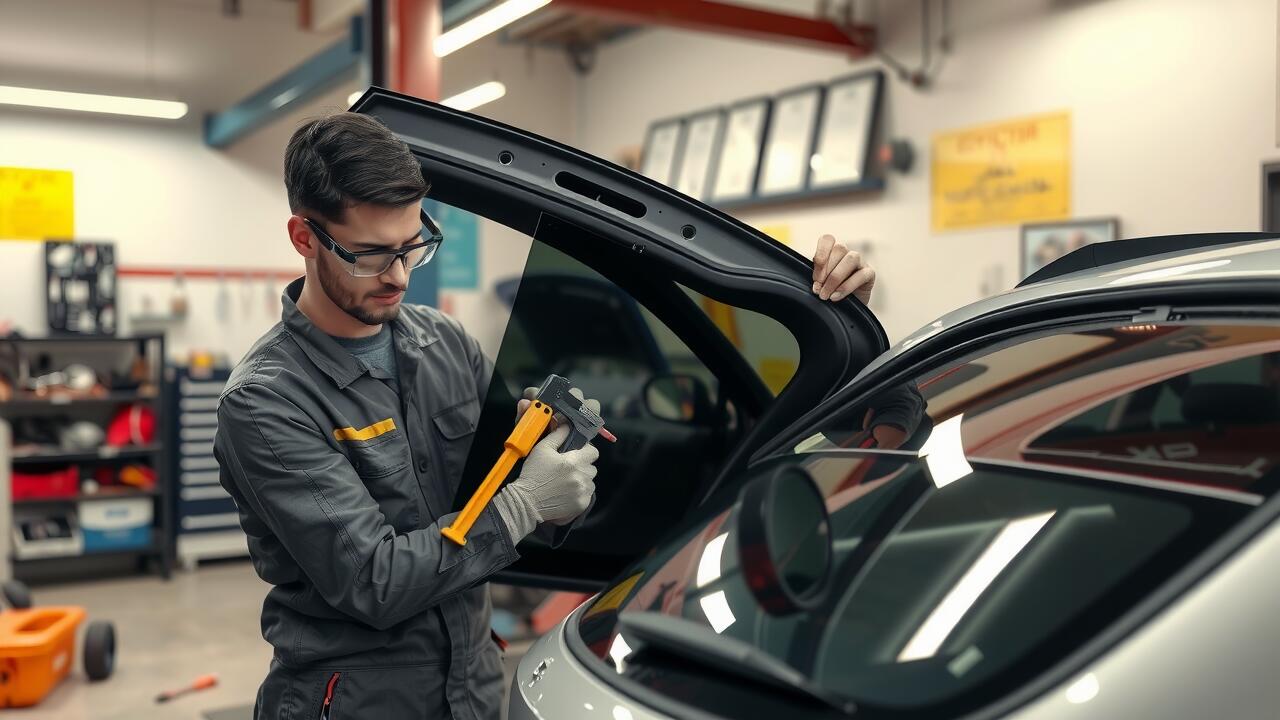
When engaging in a rear window replacement, one of the most common mistakes is failing to prepare the surface adequately. Neglecting to clean the window frame and the glass will affect how well the adhesive bonds. Dirt, dust, or residual materials can significantly diminish the effectiveness of the adhesive, leading to leaks or window detachment later on. Taking the time to ensure a clean and sound surface is essential for a long-lasting installation.
Another frequent error involves misjudging the amount of adhesive needed for the job. Over-applying adhesive can create a mess and might lead to improper sealing, while under-applying can result in a weak bond. It is crucial to follow manufacturer guidelines regarding application thickness and coverage. Using the right tool for application also plays a significant role in achieving an even distribution of the adhesive. Attention to these details can ensure a more successful rear window replacement.
Pitfalls in Rear Window Adhesive Application
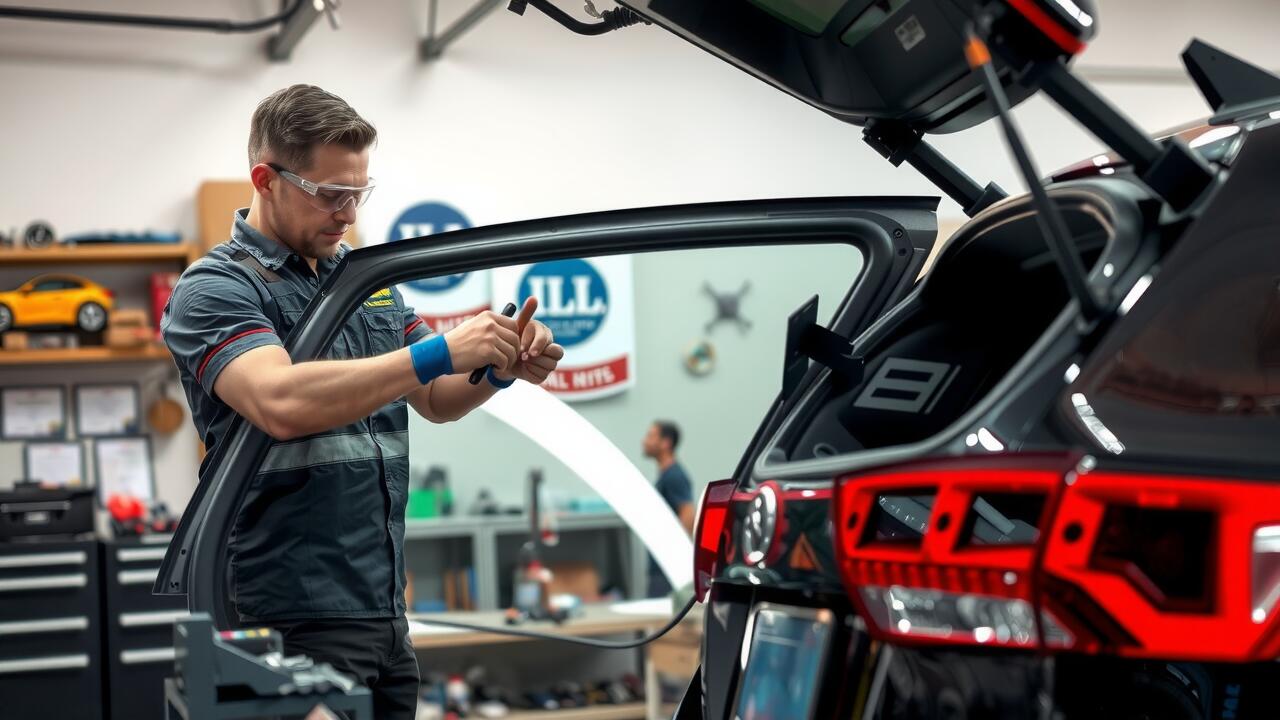
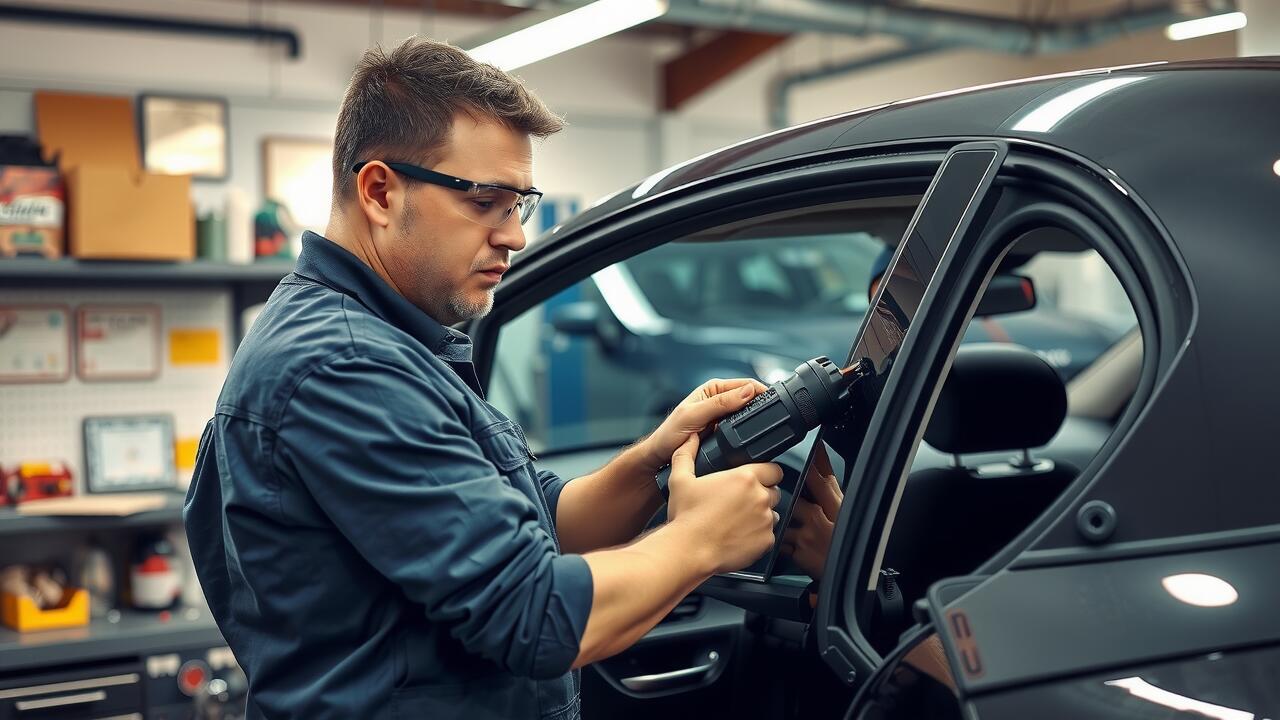
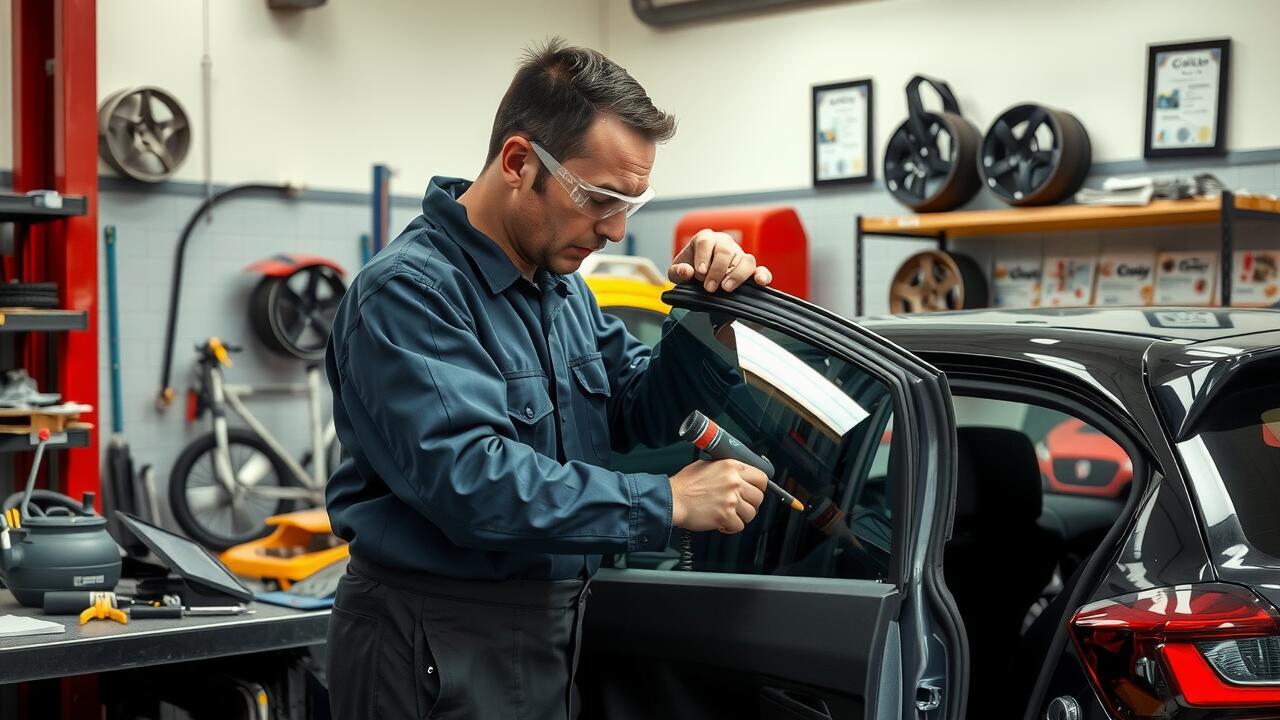
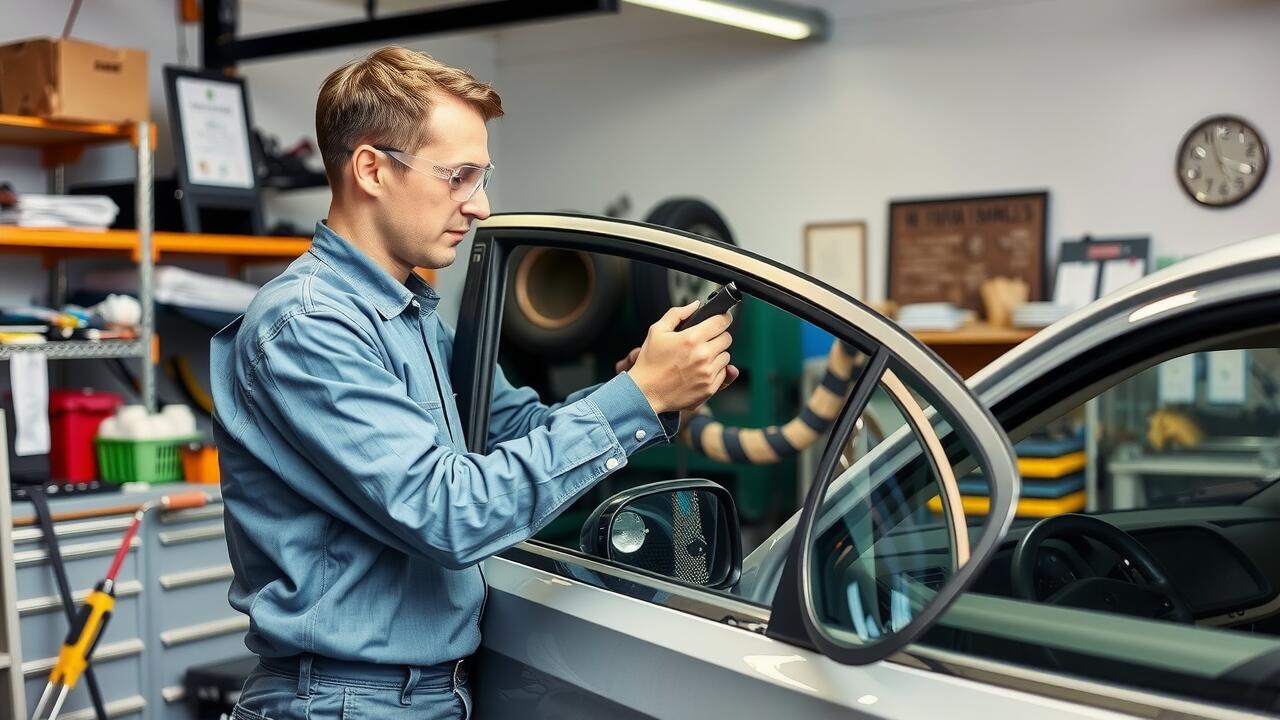
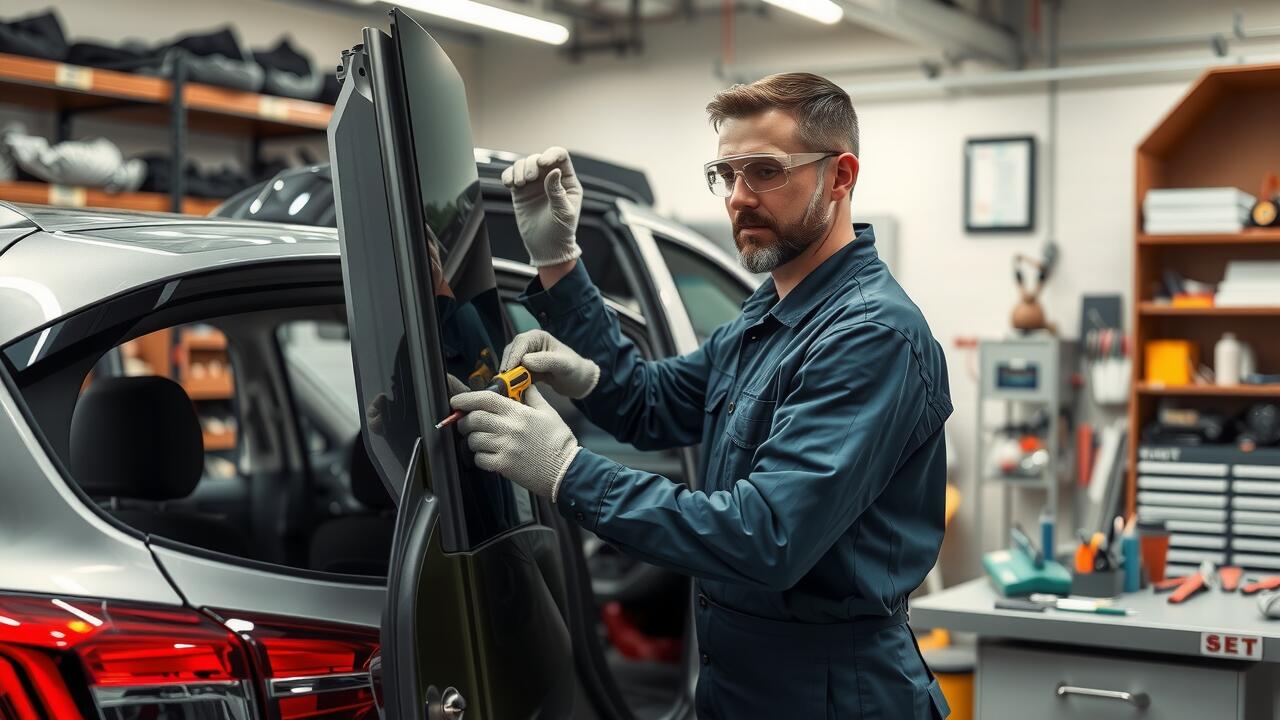
Applying adhesive for rear window replacement can present several pitfalls that may compromise the integrity of the installation. One common mistake is neglecting surface preparation. The glass and vehicle frame need to be thoroughly cleaned to remove any dirt, dust, or old adhesive residue. Insufficient cleaning may lead to poor adhesion, resulting in leaks or, worse, the rear window detaching while driving.
Another issue arises from incorrect application of the adhesive. It is vital to apply the adhesive uniformly and at the manufacturer's recommended thickness. Over-applying can cause the adhesive to squeeze out, leading to unsightly excess and potential bonding failure. Under-applying may not provide enough support, putting stress on the glass. Ensuring a precise application is crucial for a successful rear window replacement.
FAQS
What are the best adhesive options for rear window installation?
Some of the best adhesive options for rear window installation include polyurethane adhesives, silicone sealants, and epoxy resins. Each type offers unique benefits, so it's important to choose one based on your specific needs and the conditions of the installation.
How do I properly apply adhesive for rear window installation?
To properly apply adhesive, start by cleaning the surfaces thoroughly to remove any old adhesive or debris. Follow the step-by-step guide provided in the article, which includes using the right amount of adhesive, applying it evenly, and ensuring a tight seal.
What are the curing times for different adhesive types used in rear window installation?
Curing times can vary significantly between adhesive types. For example, polyurethane adhesives may cure in 24 hours, while silicone sealants can take longer, sometimes up to 72 hours. It's essential to check the manufacturer's instructions for specific curing times.
Why is proper curing important in adhesive applications?
Proper curing is crucial because it ensures that the adhesive reaches its maximum strength and forms a durable bond. Inadequate curing can lead to failures, leaks, or even the rear window detaching from the vehicle, which can be dangerous.
What common mistakes should I avoid when applying adhesive for rear window installation?
Common mistakes include not cleaning the surface properly, applying too much or too little adhesive, and failing to follow curing instructions. It's also important to avoid working in extreme temperatures, as this can affect the adhesive's performance.