Table Of Contents
Cleaning and Preparing the Window Frame
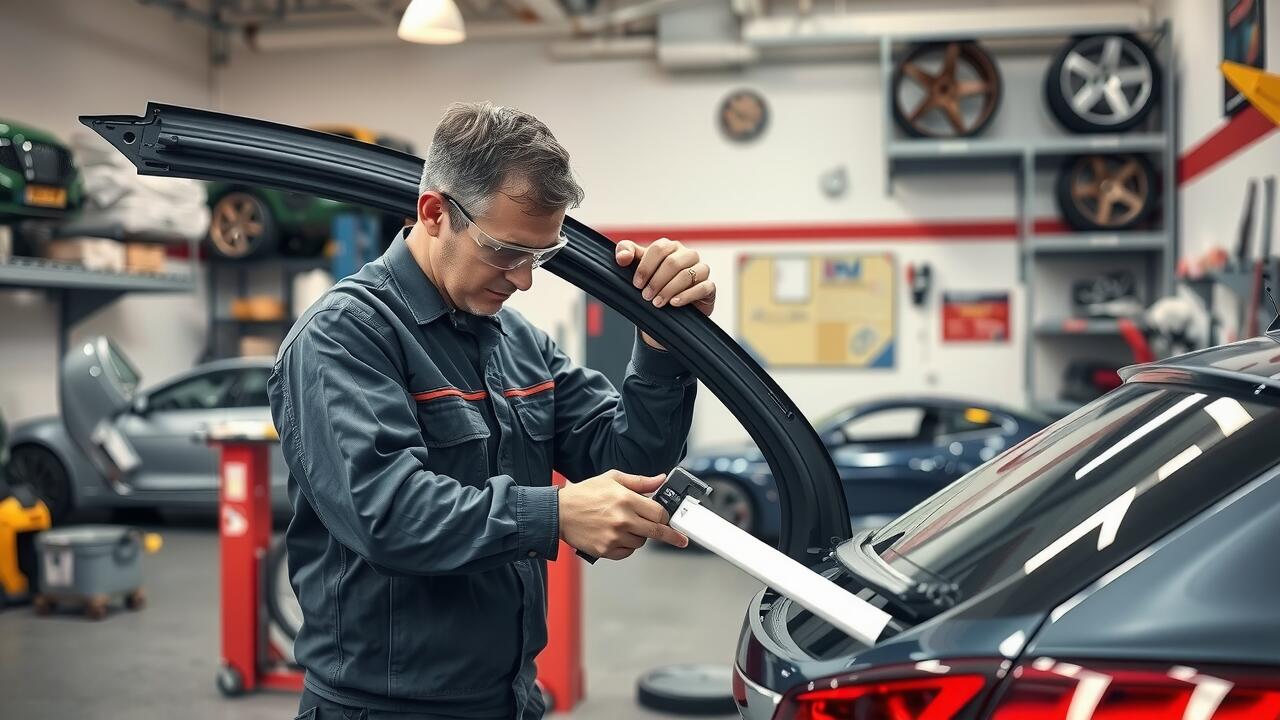
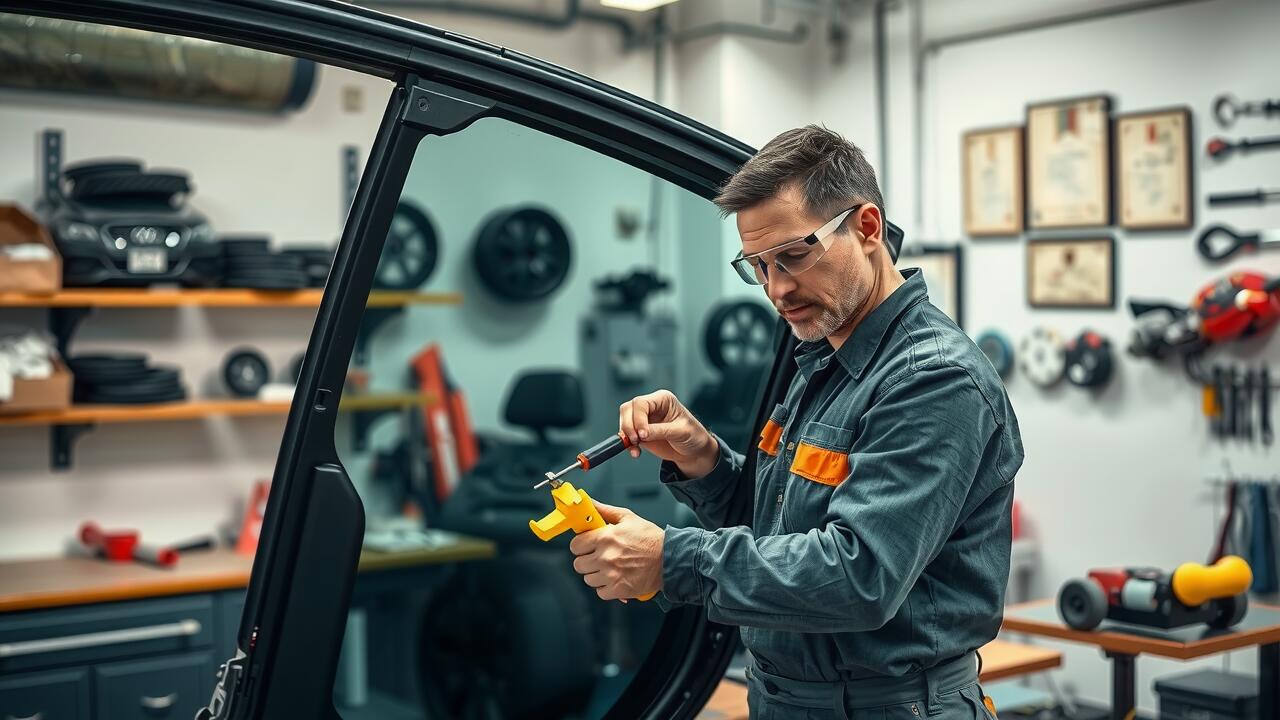
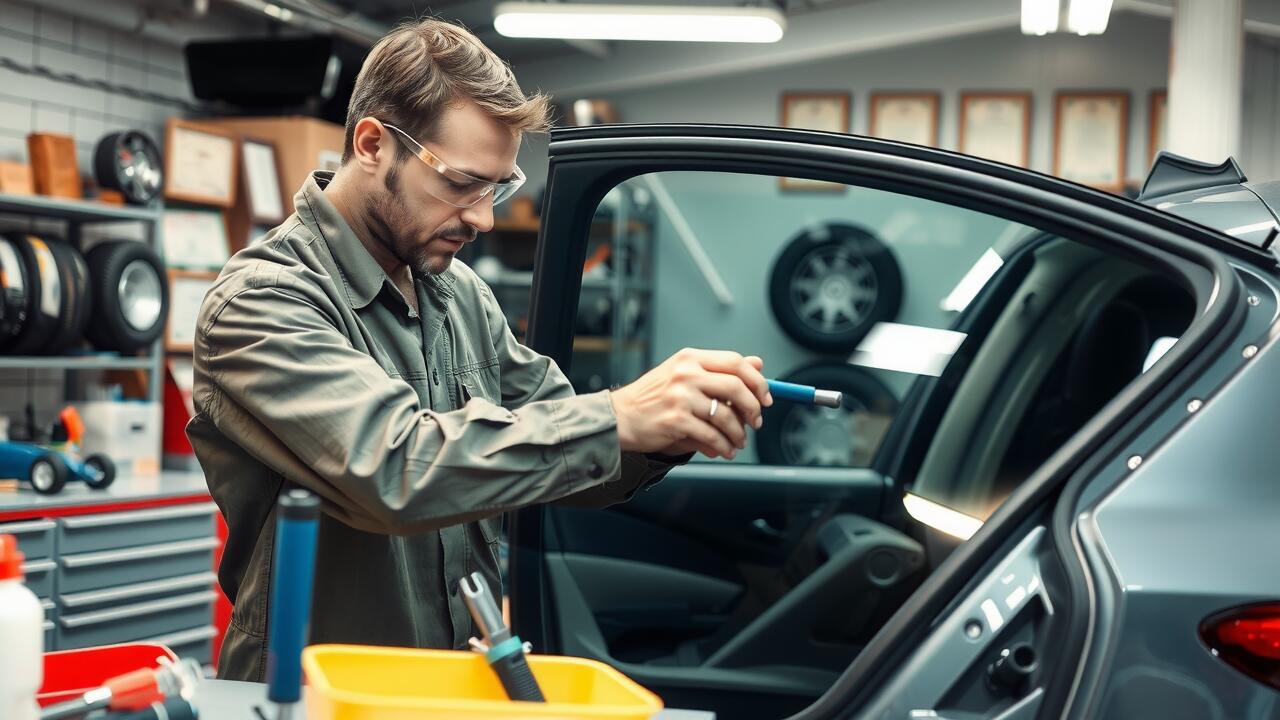
A clean and well-prepared window frame is essential for the success of any rear window repairs. Start by removing any old adhesive, trim, or weather stripping from the frame. This process may involve using a razor blade or scraper to ensure a smooth surface. Inspect the area for rust or damage, as any imperfections can compromise the new installation. Applying a rust inhibitor can help protect the metal and extend its life.
Next, thoroughly clean the window frame using a degreaser or a suitable cleaning solution to remove dirt and grease. Ensure the surface is completely dry before proceeding with the installation. If your vehicle has any rubber moulding, check its condition and replace it if necessary to ensure an optimal seal. Proper preparation of the window frame will significantly enhance the effectiveness of the new rear window installation.
Ensuring a Proper Seal for Installation
To ensure a proper seal during the installation of your new rear window, it's essential to pay close attention to the adhesive used. Manufacturers often recommend specific types of adhesives for different vehicle makes and models. Using the right product not only enhances the bond but also guards against leaks. Carefully read the instructions on the adhesive packaging. Remove any dried adhesive from the frame, as leftover residue can interfere with the bonding process.
Proper surface preparation helps facilitate an effective seal. Clean the window frame thoroughly, making sure to eliminate dirt and old adhesive remnants. Before applying the new adhesive, ensure that the surface is dry and free from contaminants. An effective seal is crucial, particularly for rear window repairs, as any gaps can lead to moisture intrusion. Taking these steps will contribute significantly to the longevity and integrity of the installation, affording your vehicle enhanced protection against the elements.
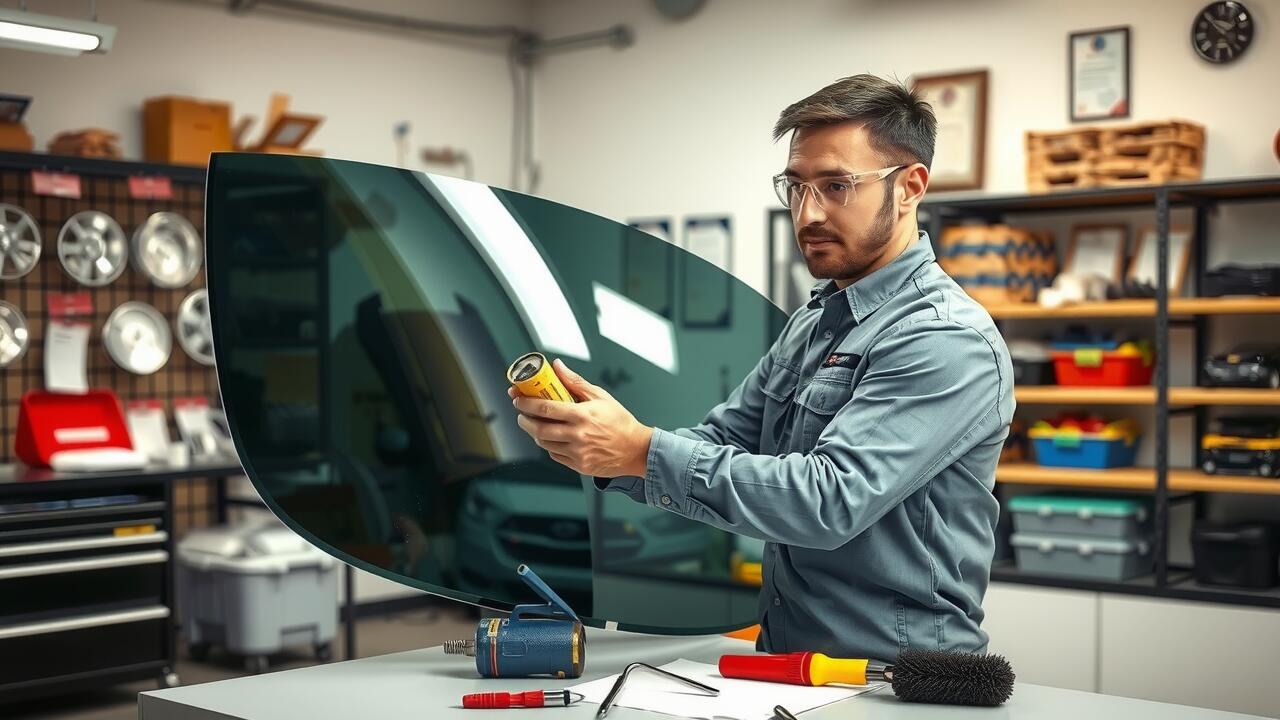
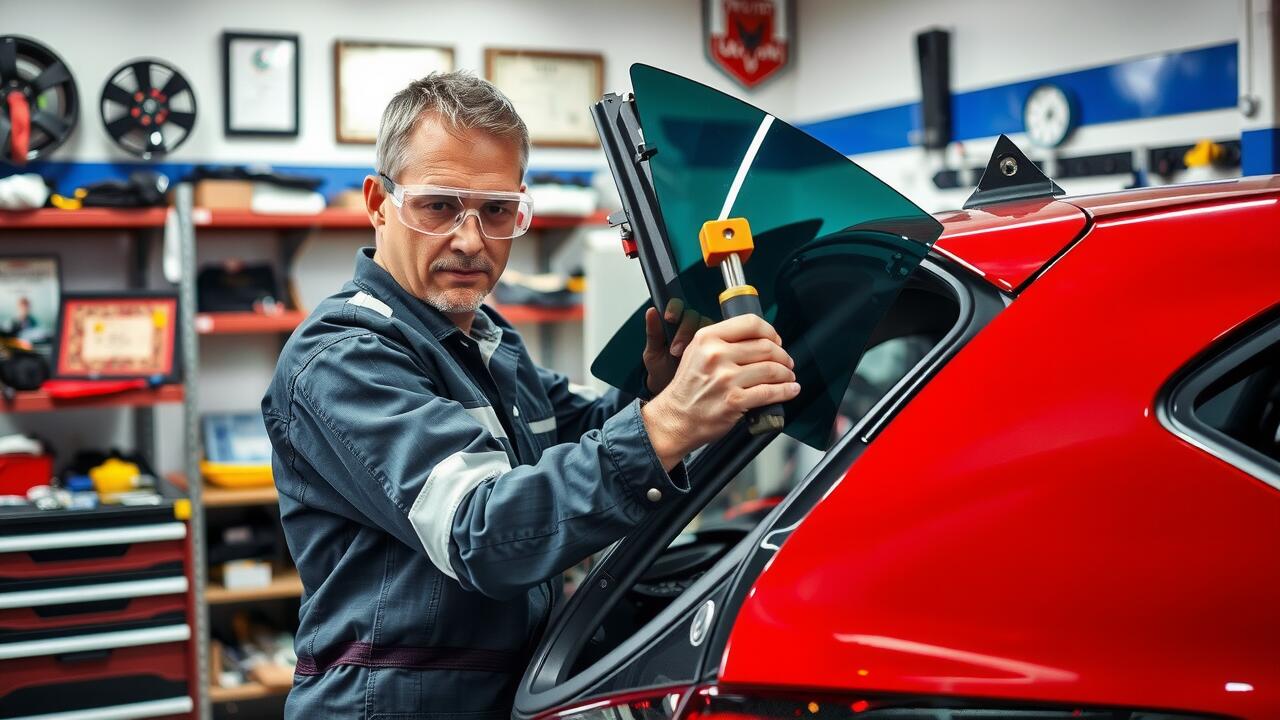
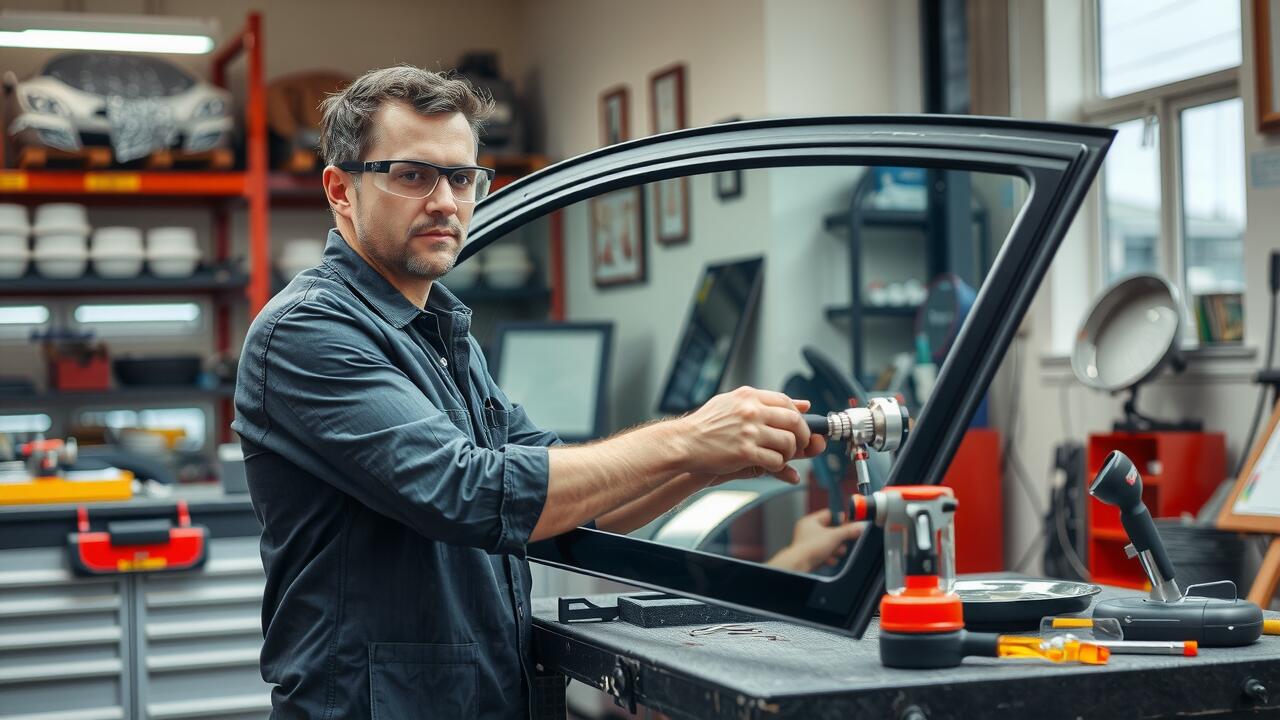
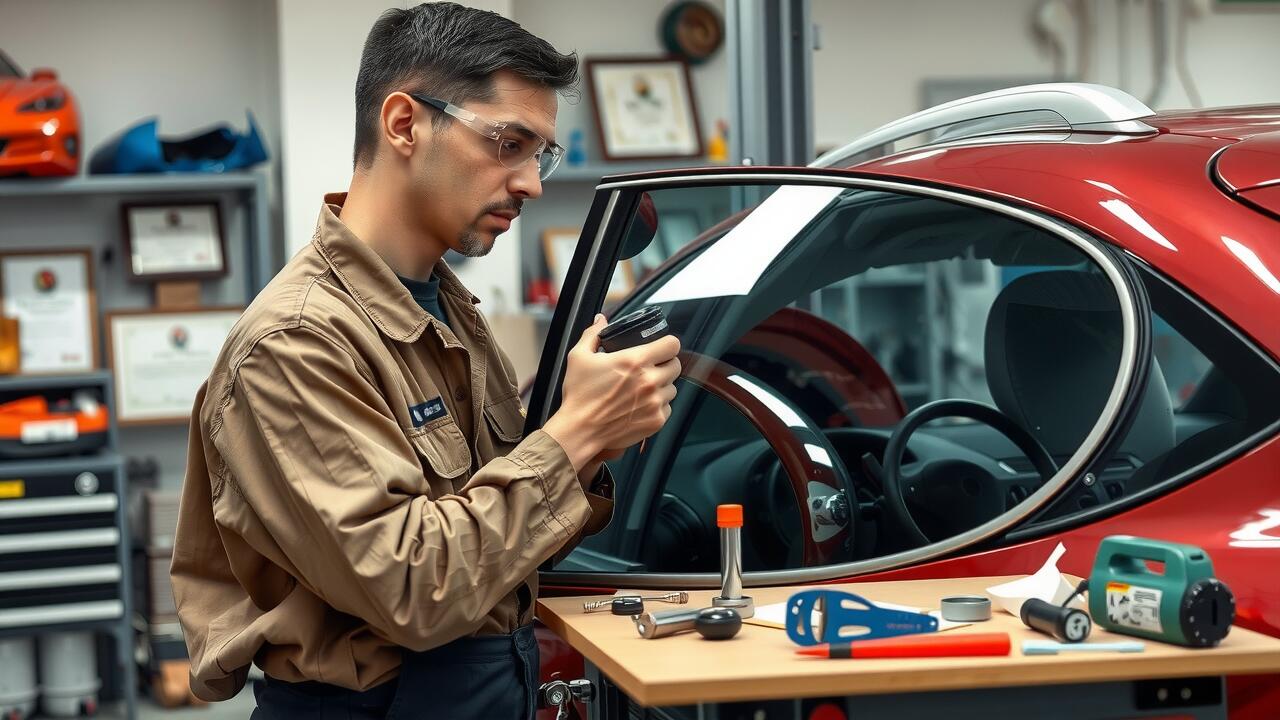
Installing the New Rear Window
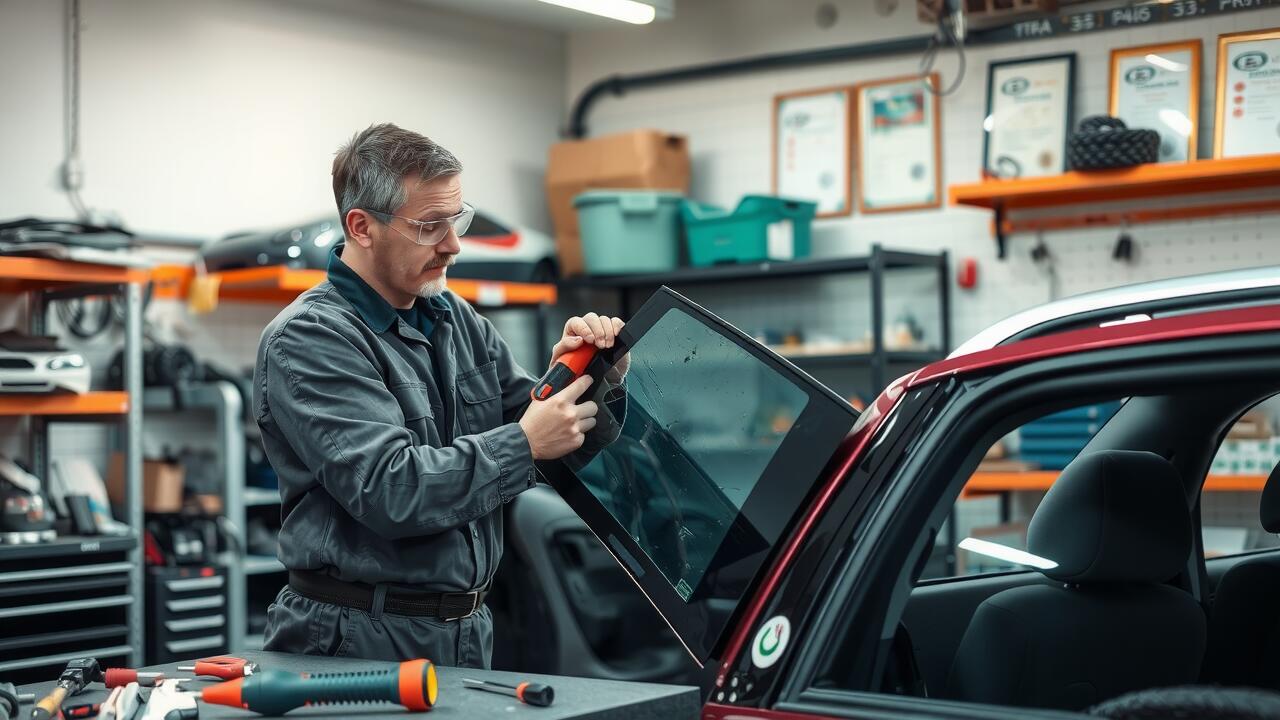
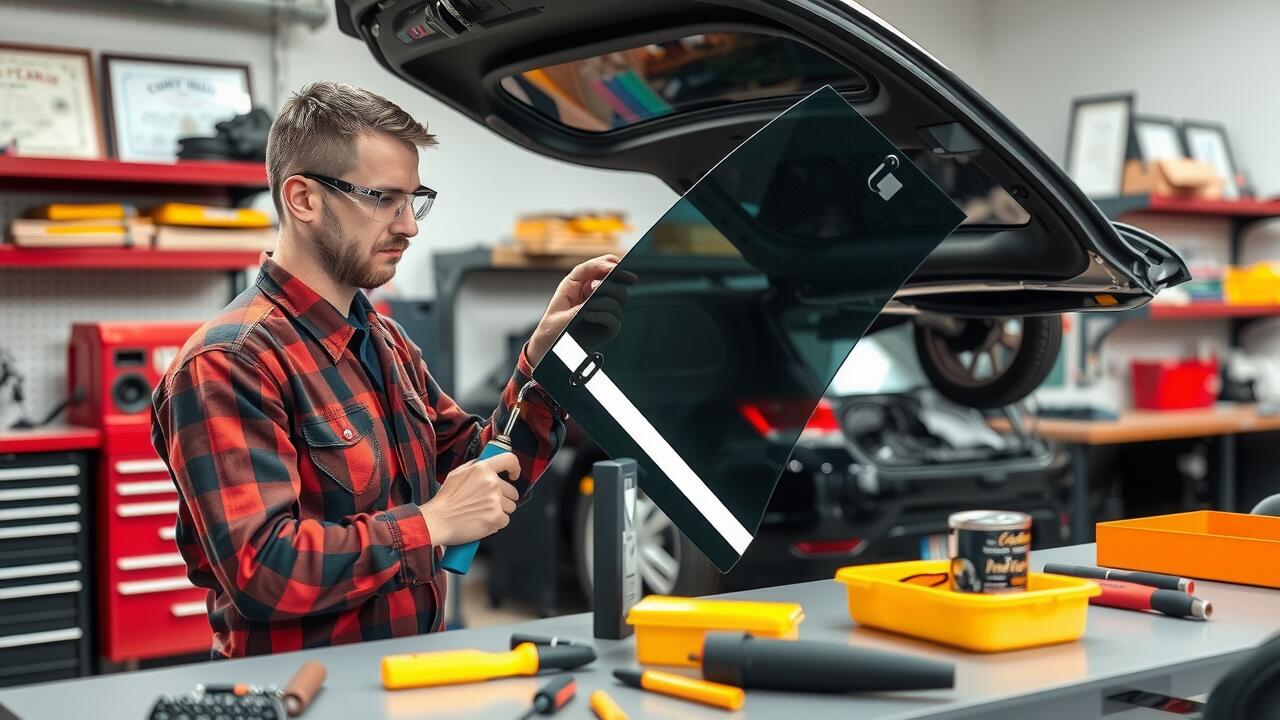
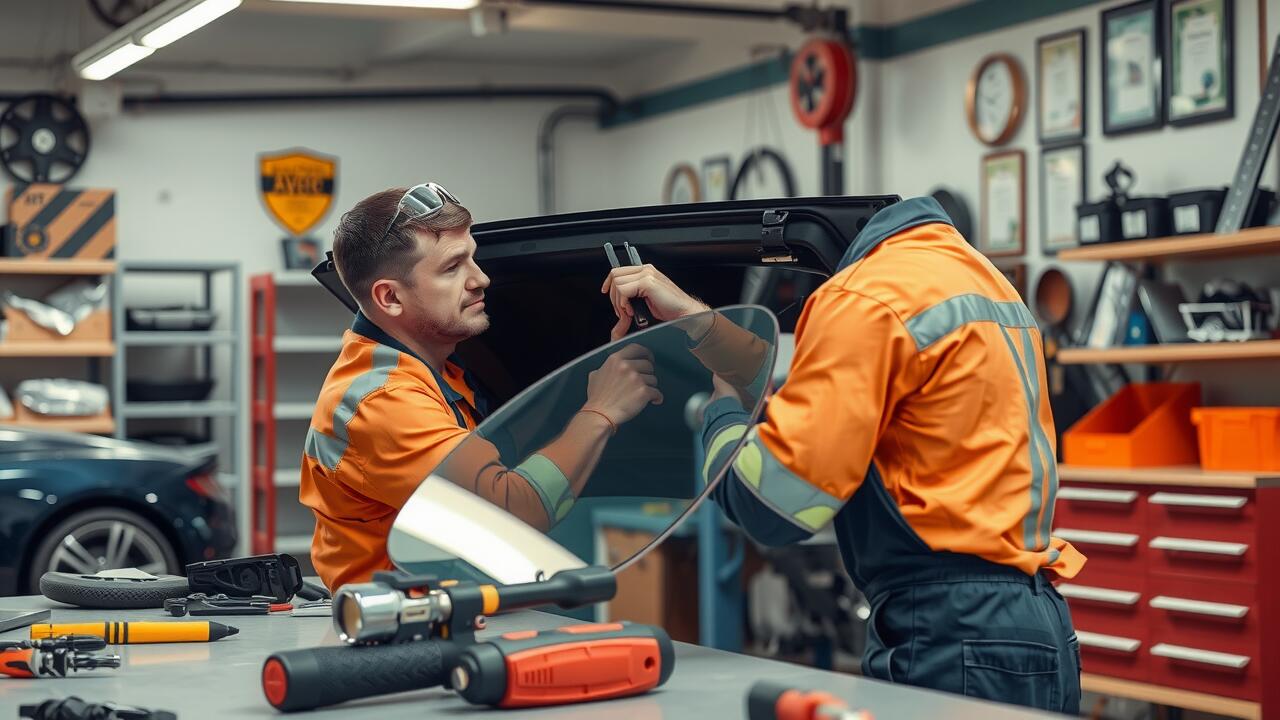
Positioning the new rear window correctly is crucial for preventing leaks and ensuring it is secure. Start by carefully aligning the glass with the frame, making sure the spacers or shims are in place to maintain an even gap around the edges. It's important to avoid applying excessive pressure at this stage. Once the window is positioned, gently press it into place, ensuring that it seats correctly within the adhesive. Rear window repairs often require a good amount of patience, as making small adjustments can guarantee a better fit.
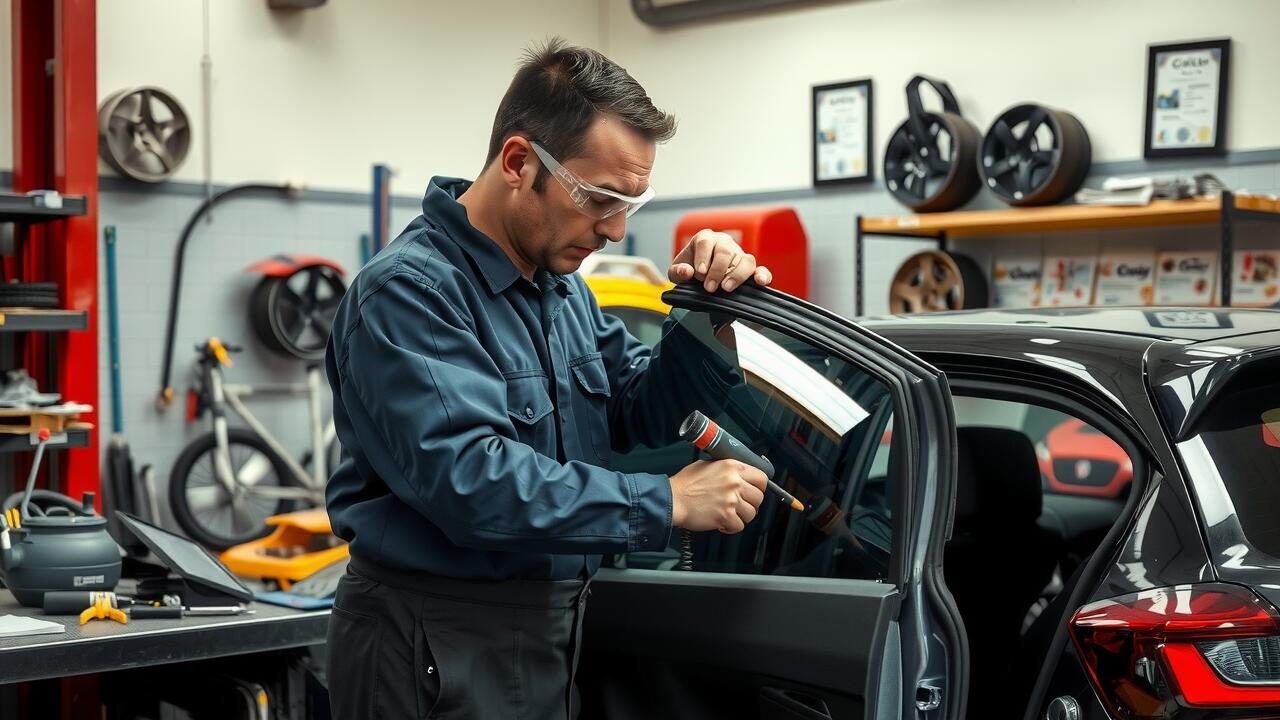
After the glass is securely in position, it's time to apply the appropriate adhesive. Follow the manufacturer's instructions for curing times and application methods. While the adhesive is still wet, check the alignment one final time and adjust as necessary to achieve a perfect fit. Once the adhesive has set, remove any excess from the edges to tidy up the installation. Proper weather sealing around the edges aids in protecting against the elements, making your rear window repairs more effective in the long term.
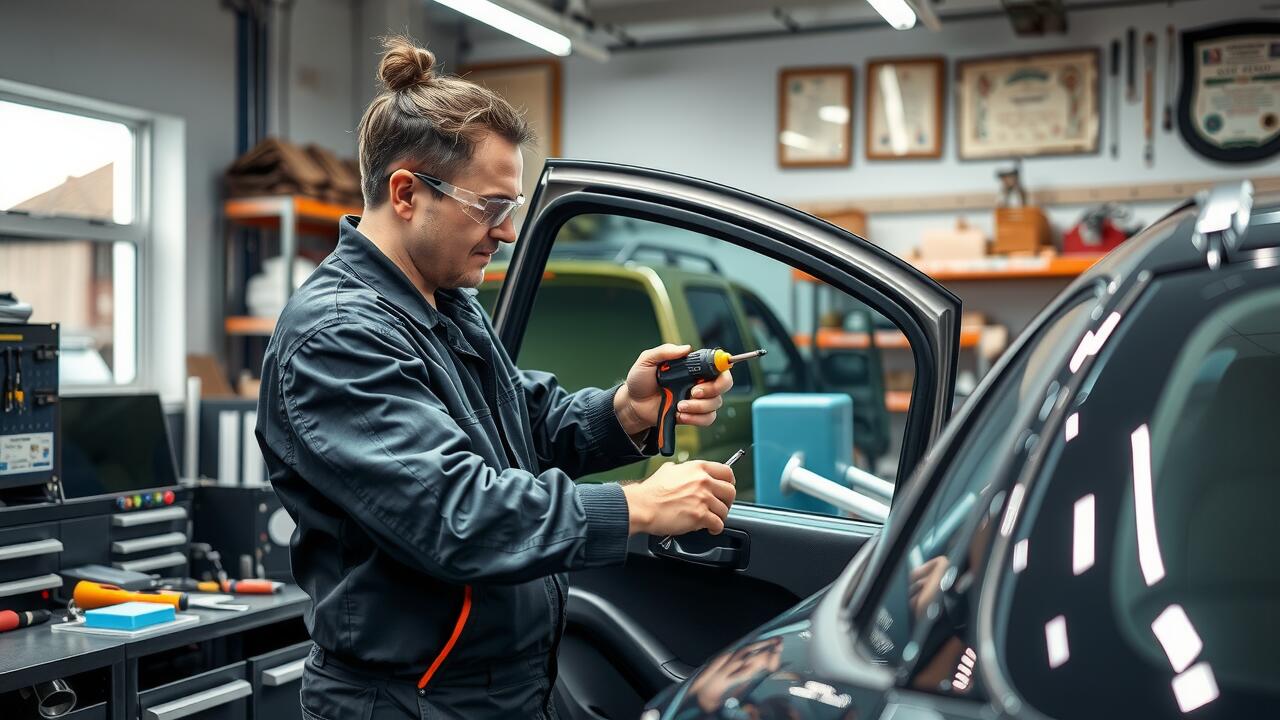
Techniques for a Successful Installation
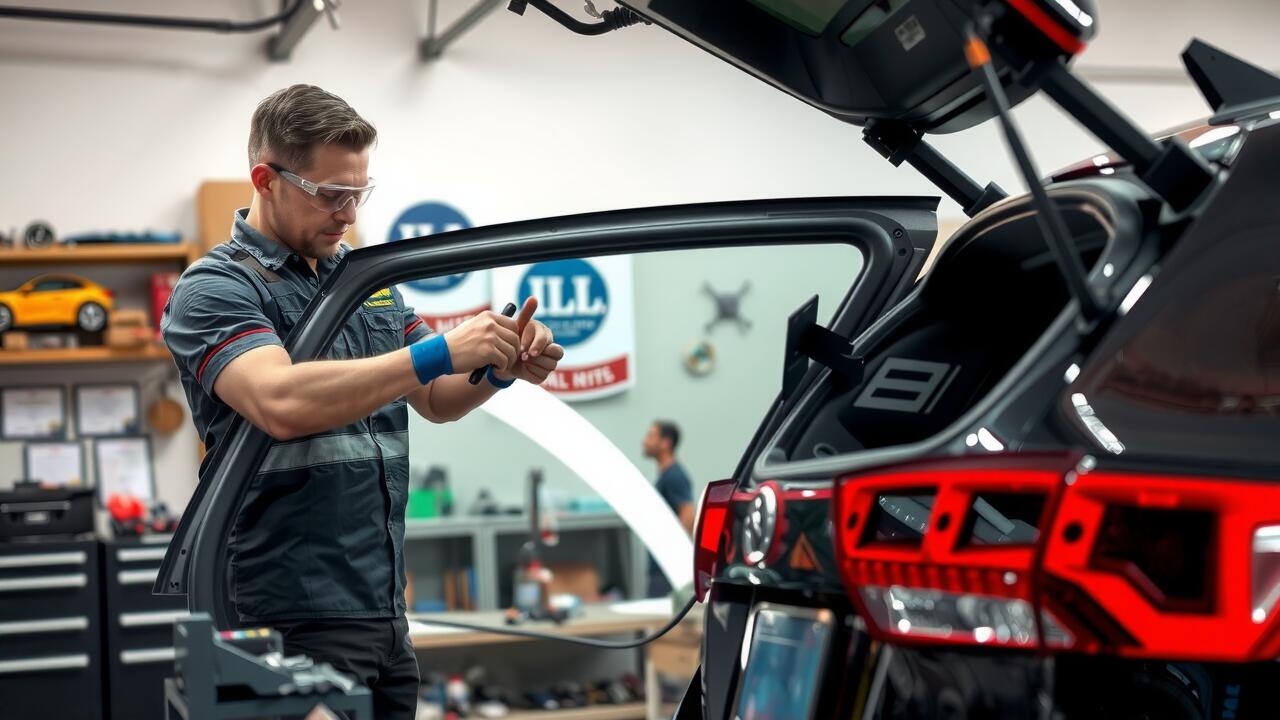
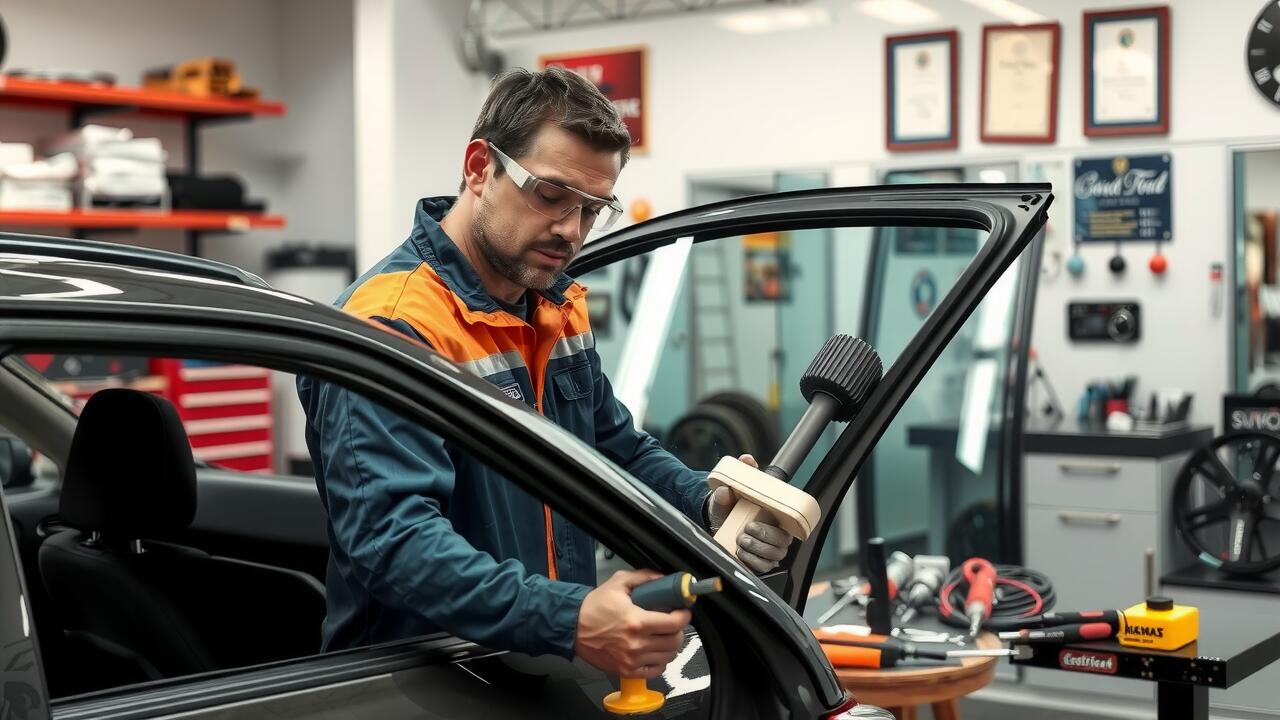
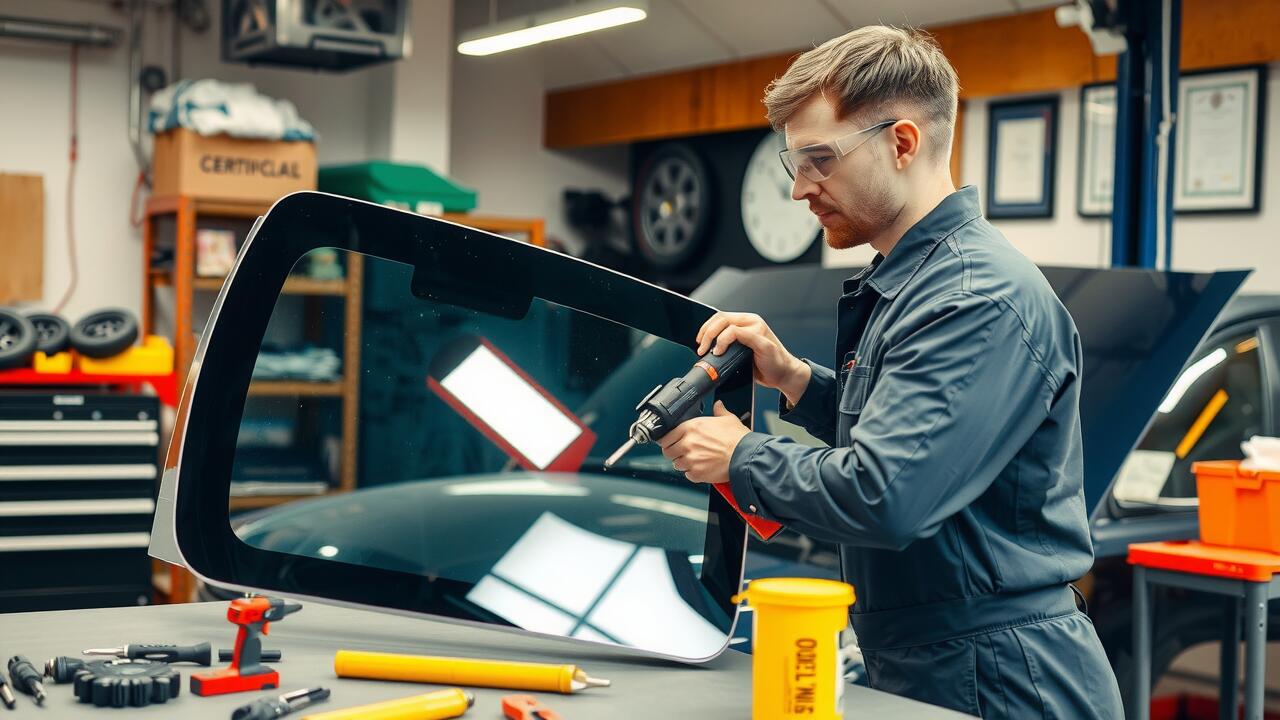
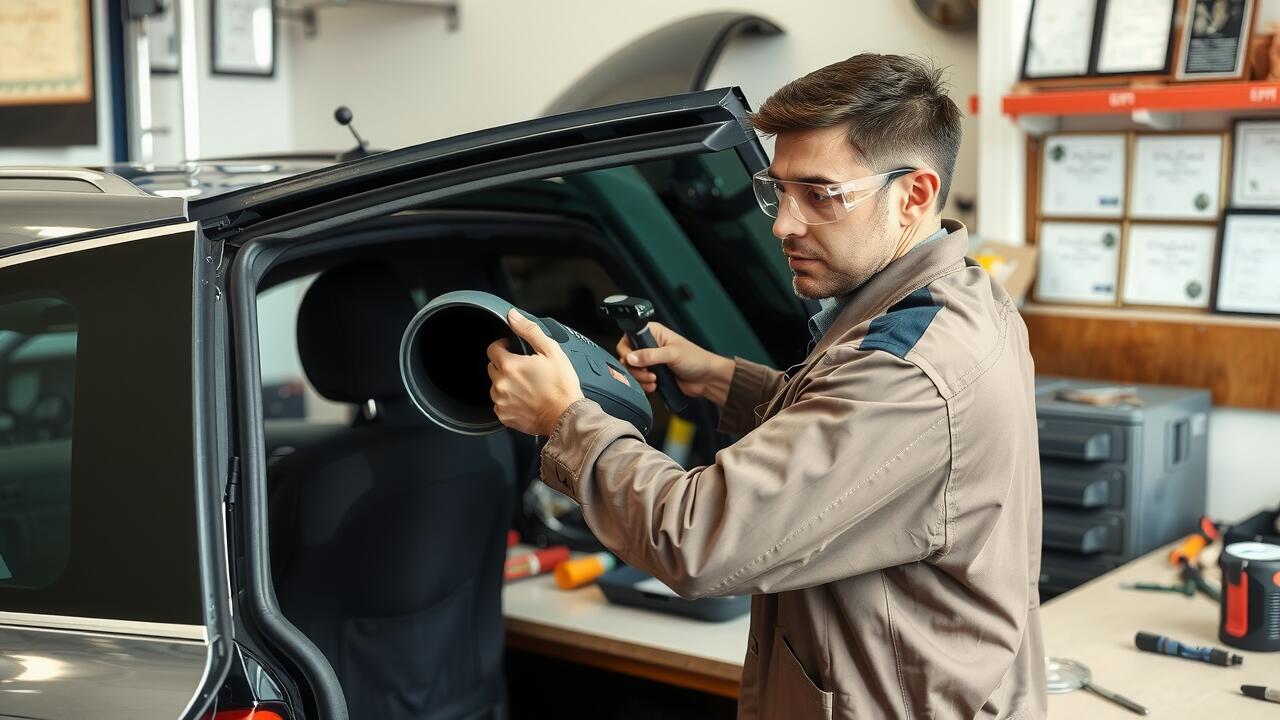
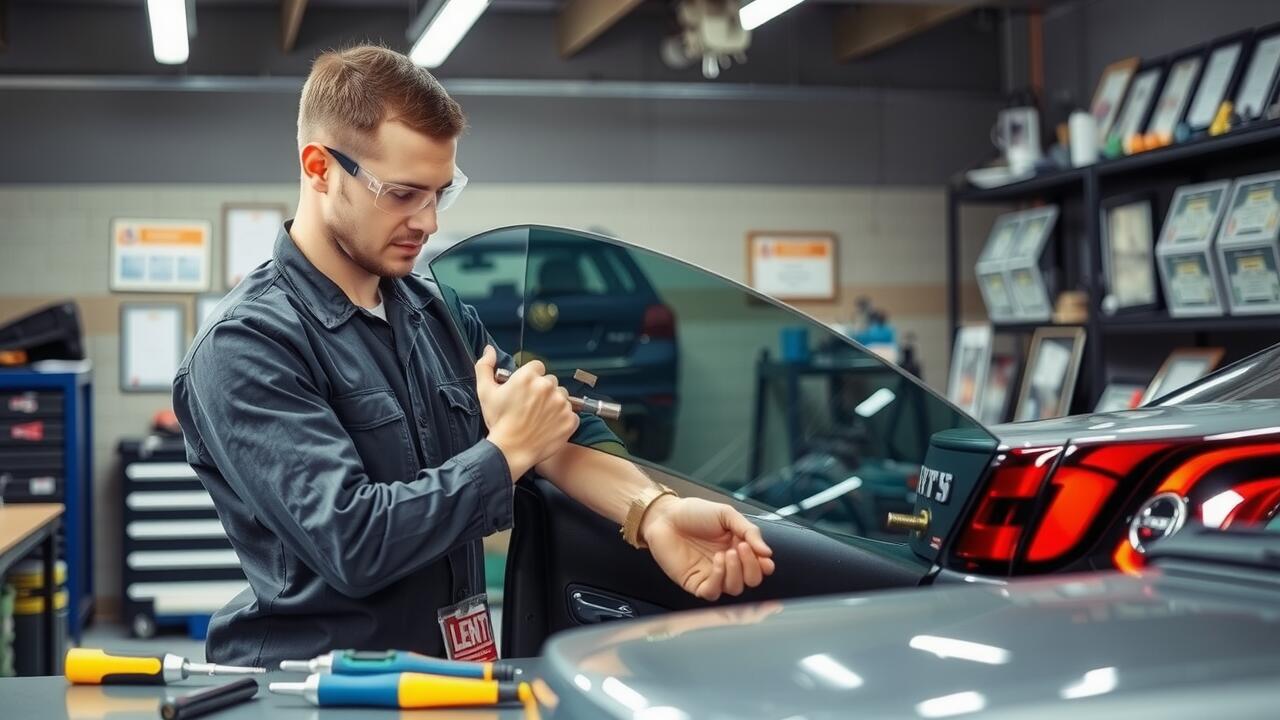
When performing rear window repairs, it is essential to have the right tools and materials at hand. A trim tool, a caulking gun, and weather-resistant adhesive play crucial roles in the installation process. First, carefully remove any old adhesive from the frame using a scraper or utility knife. This preparation step ensures a clean surface for better adhesion. Prior to placing the new window, conduct a dry fit to check alignment. This practice allows for adjustments before the adhesive sets.
Once the new window is positioned, apply the adhesive evenly around the edges of the frame. Avoid overuse of adhesive, as it can ooze out and create a messy appearance. Press the window firmly into place and maintain consistent pressure for a few moments. It's important to allow adequate time for the adhesive to cure as specified by the manufacturer. Following these techniques will help secure the new window effectively and ultimately contribute to the longevity of your repairs.
Sealing and Finishing Touches
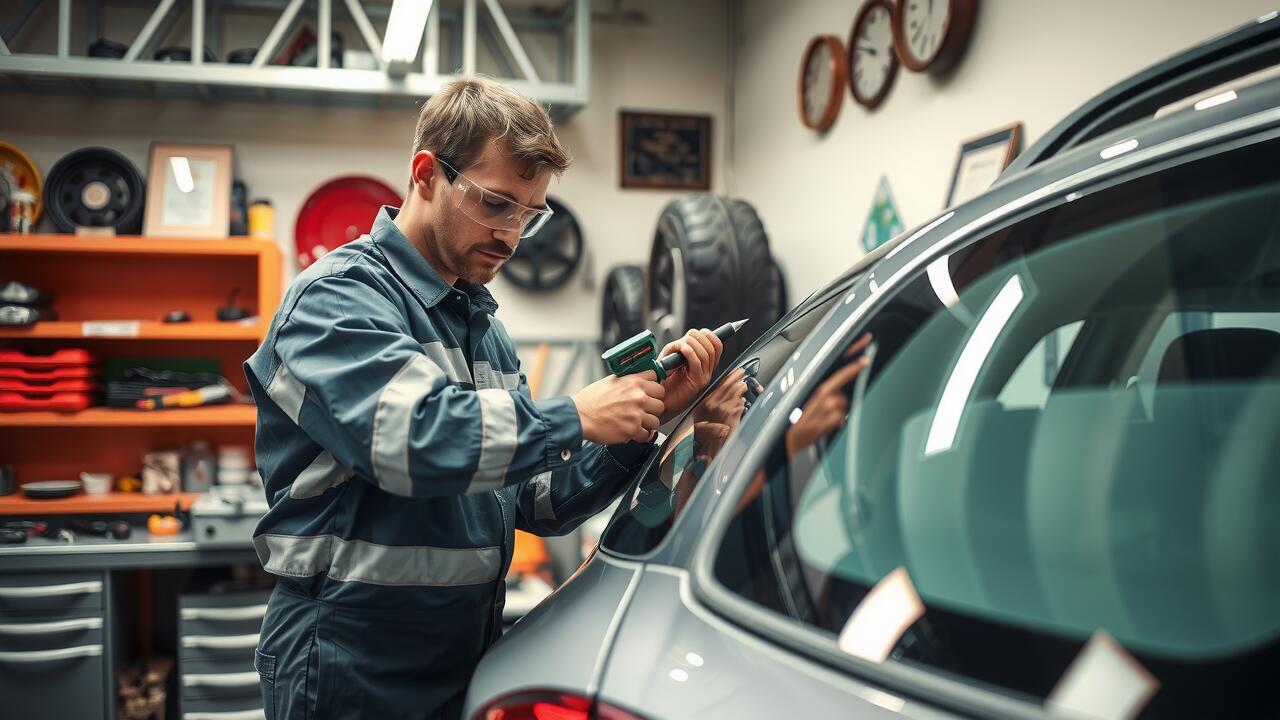
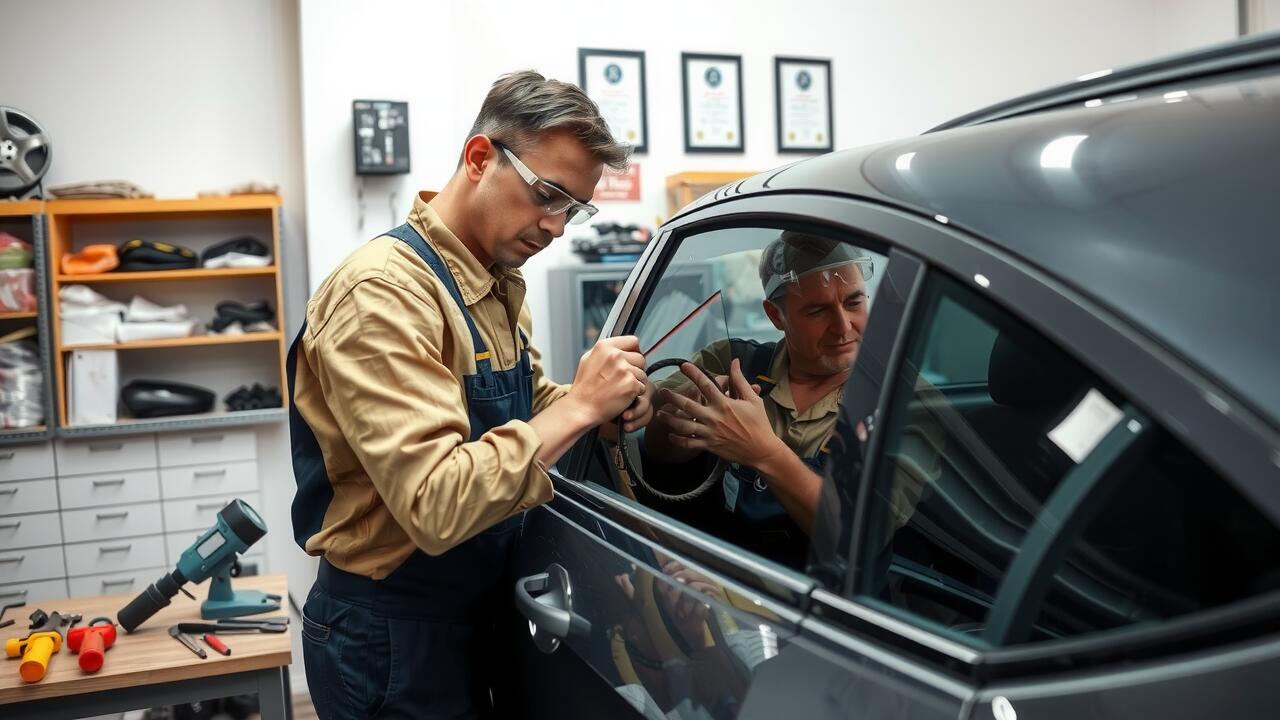
After the new rear window is fitted, attention must shift to sealing and finishing touches that ensure longevity and reliability. Start by applying a high-quality sealant around the edges of the glass where it meets the frame. This sealant is crucial in preventing water intrusion and protecting the interior of the vehicle from moisture damage. It’s recommended to choose products specifically designed for automotive use, as they provide better adherence and longevity under varying weather conditions.
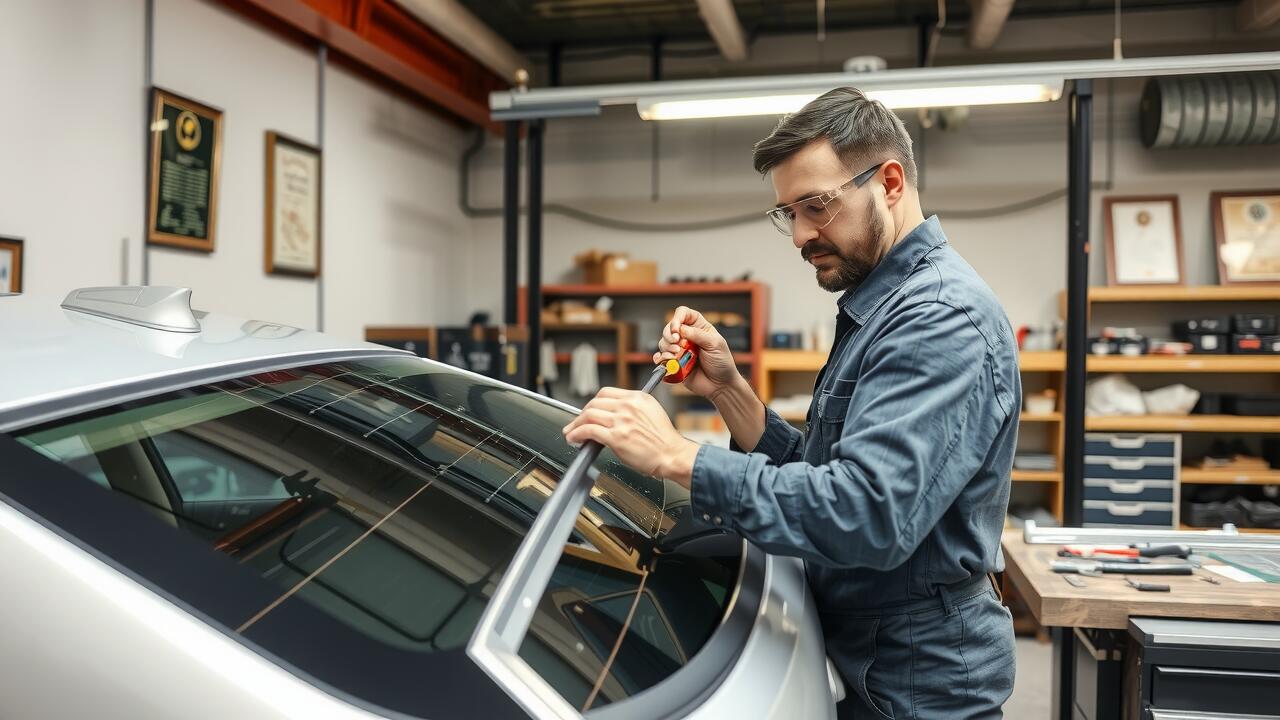
Once the sealant is applied, take a moment to clean any excess adhesive that may have squished out during the installation. This not only improves the aesthetic but also ensures a smooth surface for any additional trims or mouldings to be reattached. After thorough inspection, allow the sealant to cure according to the manufacturer's instructions before exposing the vehicle to harsh elements. This attention to detail is vital for successful rear window repairs, enhancing the overall durability of your vehicle's rear glass.
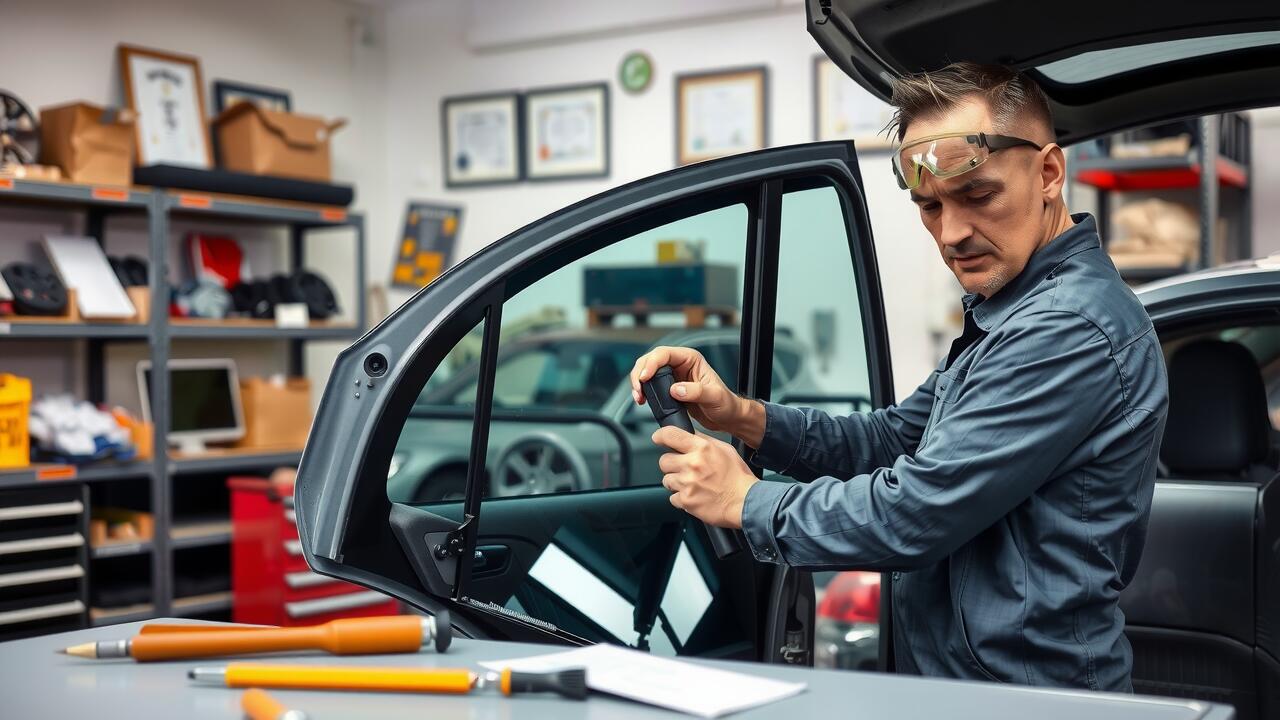
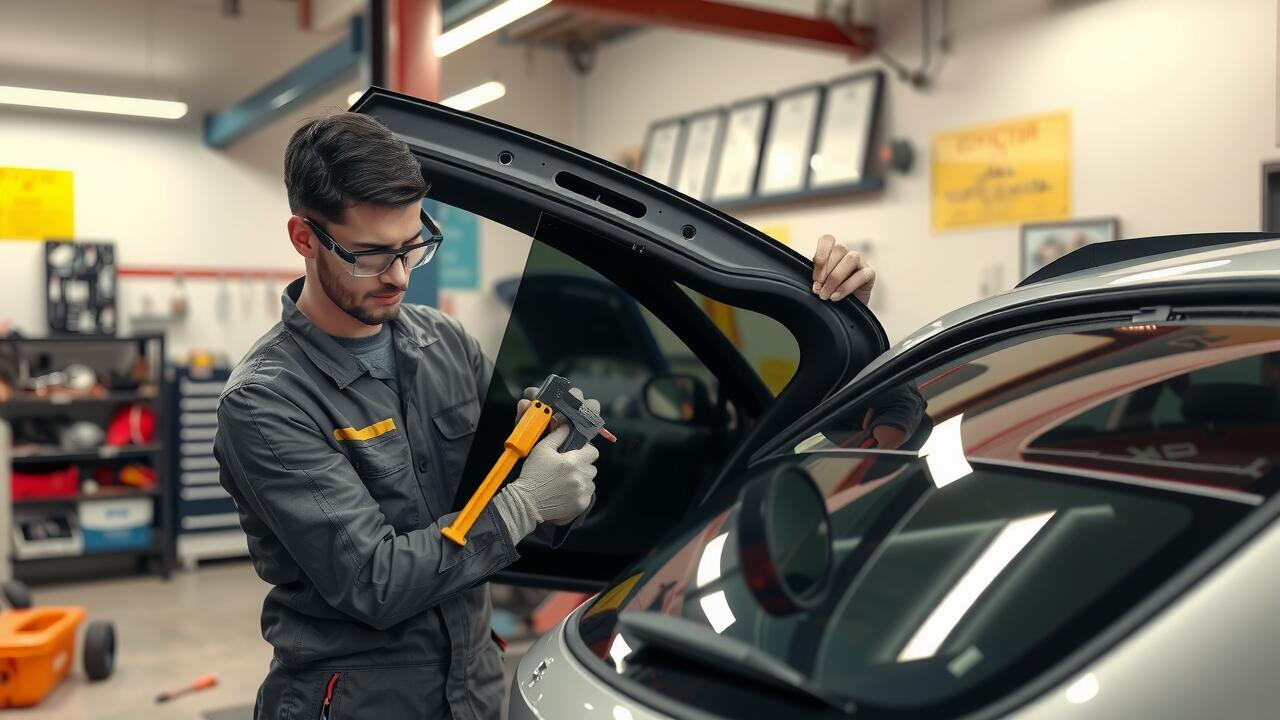
Ensuring Water Tightness
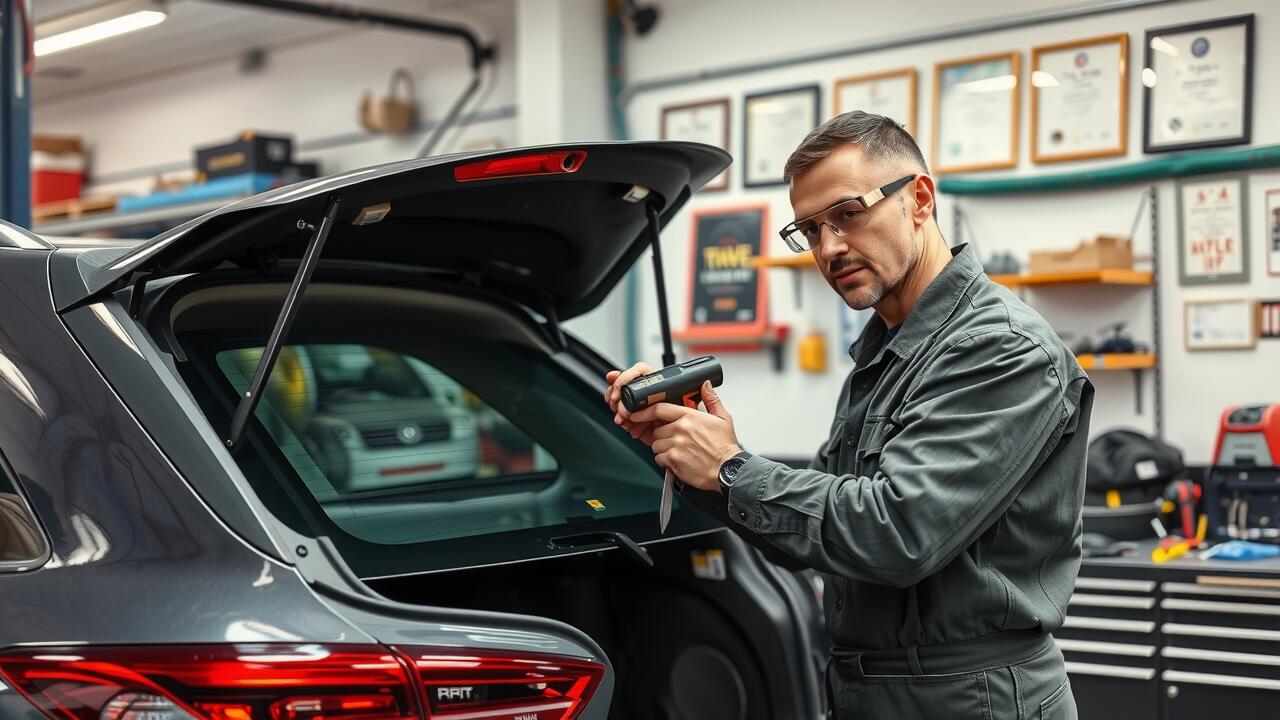
Achieving a watertight seal after replacing your rear window is essential to prevent leaks and water damage. A thorough inspection of the adhesive and sealant used is necessary to ensure it is suitable for your vehicle's make and model. Remove any excess sealant that may have squeezed out during the installation process to avoid trapping moisture, which can lead to mould or corrosion over time.
To further enhance water tightness, applying a bead of silicone sealant around the edges of the window can provide extra protection. This step is particularly important in areas prone to heavy rainfall. Regular maintenance checks on the rear window seal should also be part of your routine, as this will help identify any potential issues before they escalate. Keep in mind that professional assistance for rear window repairs can ensure the job is done effectively and lessen the chances of future complications.
FAQS
Why is it important to clean the window frame before replacing the rear window?
Cleaning the window frame is crucial as it removes dirt, grime, and old adhesive, ensuring a proper seal and preventing leaks after the new window is installed.
How can I ensure a proper seal for the new rear window installation?
To ensure a proper seal, use high-quality adhesive specifically designed for automotive glass, and follow the manufacturer's instructions for application. It's also essential to check for any gaps or imperfections in the frame before sealing.
What tools do I need for installing a new rear window?
You will need tools such as a utility knife, silicone sealant, a caulking gun, a rubber mallet, and possibly a glass suction cup for handling the window. Safety gear like gloves and goggles is also recommended.
Are there specific techniques I should follow for a successful rear window installation?
Yes, techniques such as applying adhesive evenly, pressing the window firmly into place, and ensuring it is centred are vital for a successful installation. Additionally, using a rubber mallet to gently tap the glass can help secure it without causing damage.
How do I ensure the rear window is watertight after installation?
To ensure water tightness, inspect the seal for any gaps and reapply sealant if necessary. It's also advisable to perform a water test after installation by spraying water over the window to check for leaks.