Table Of Contents
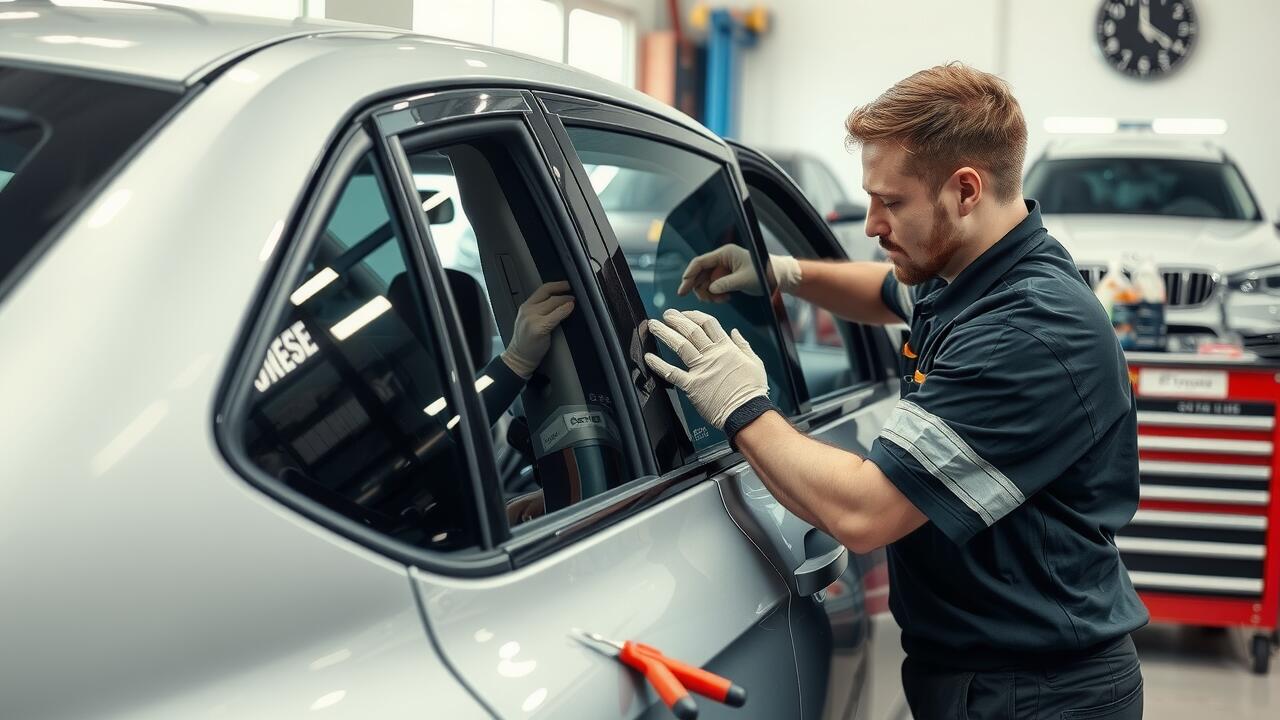
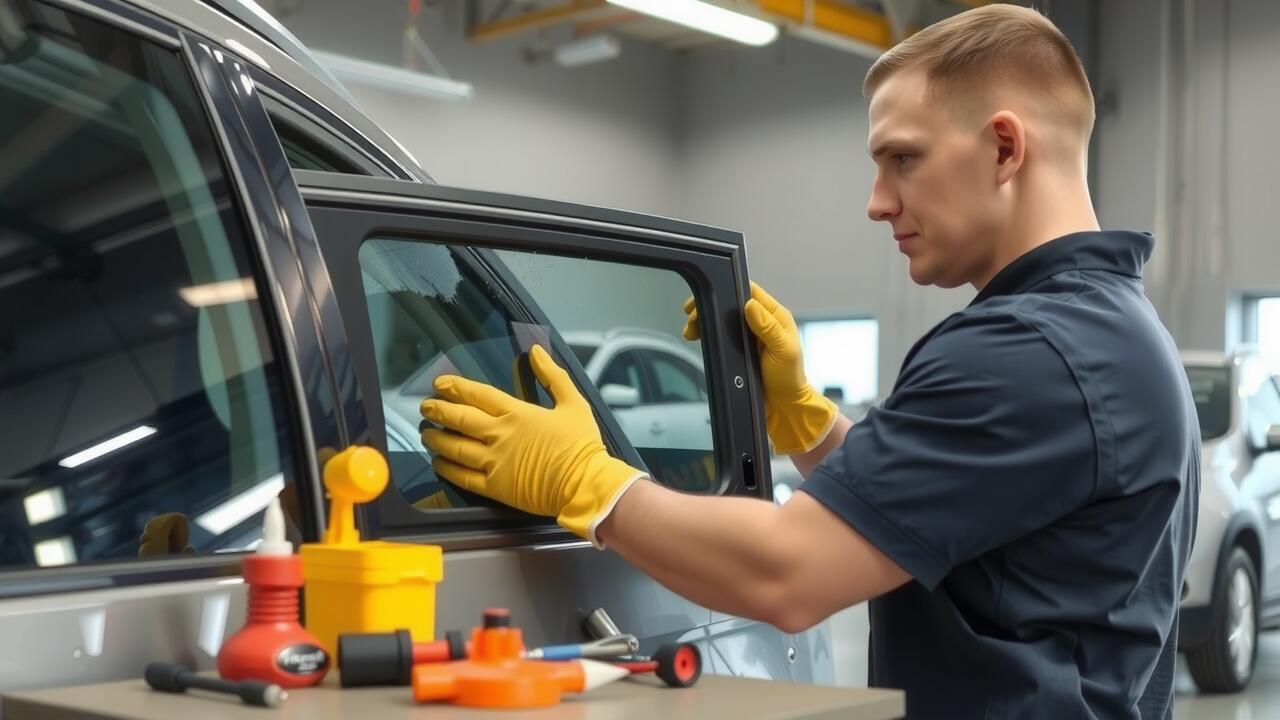
Installing the New Window
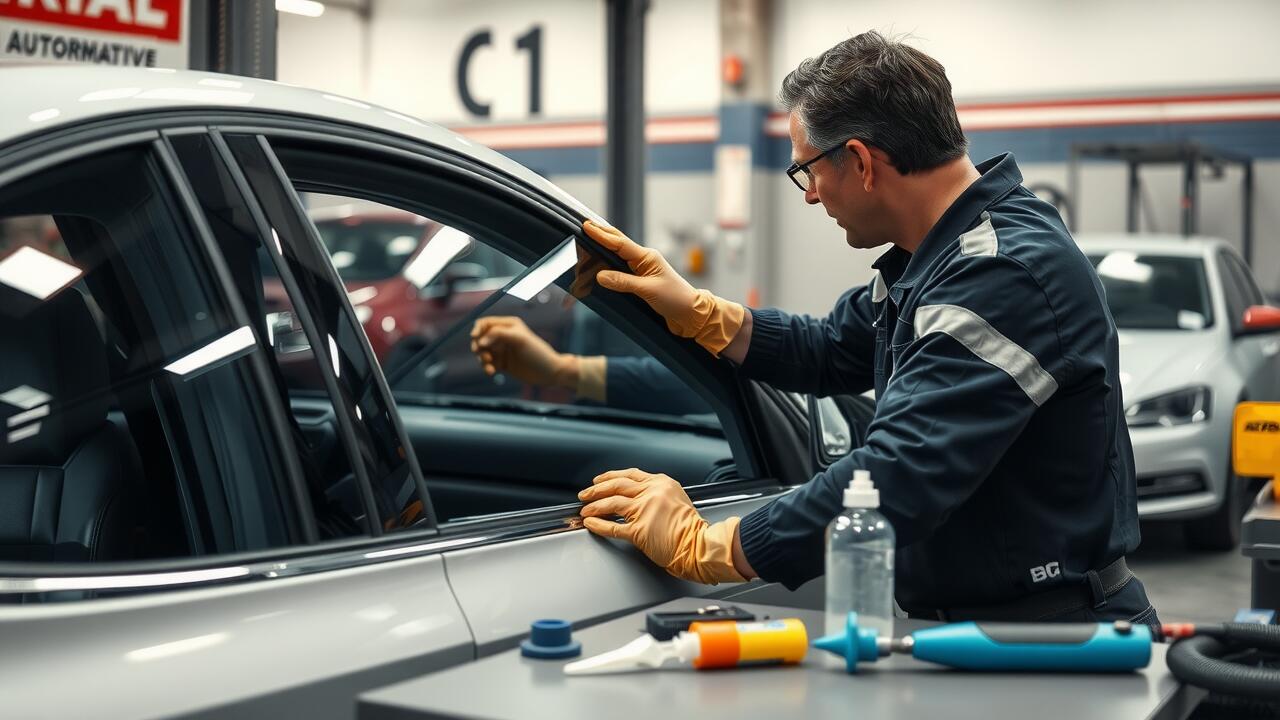
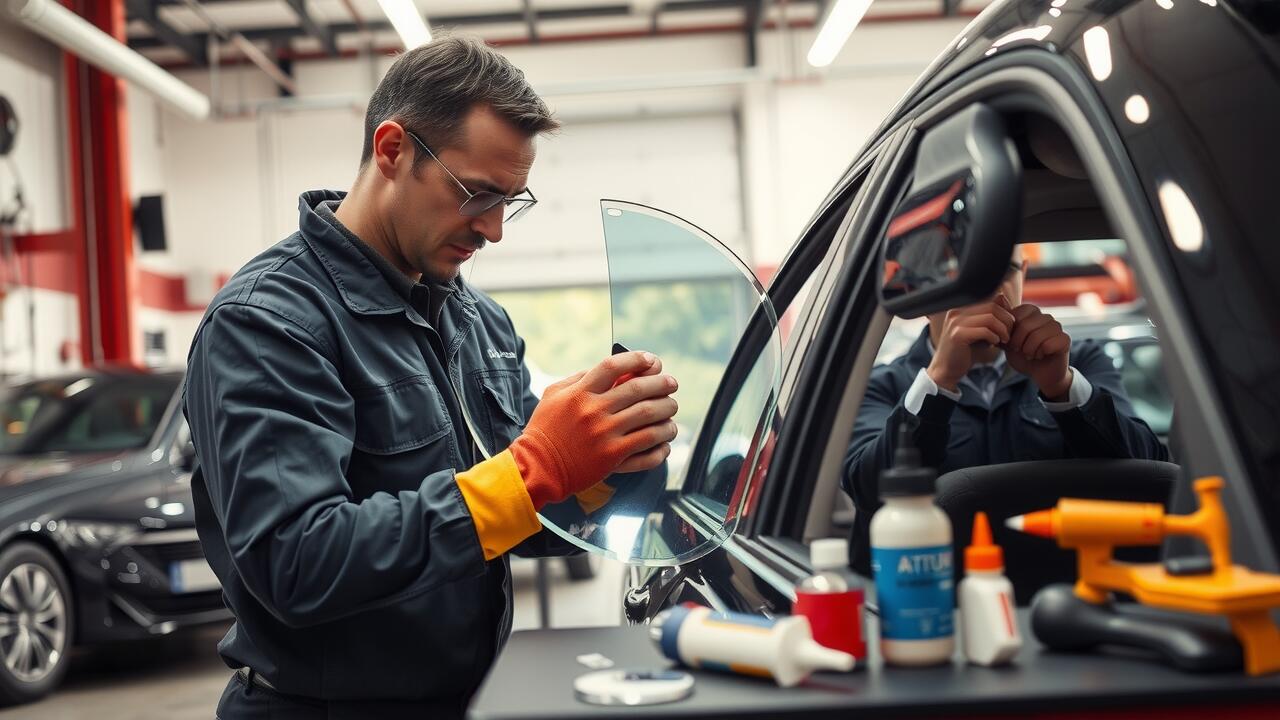
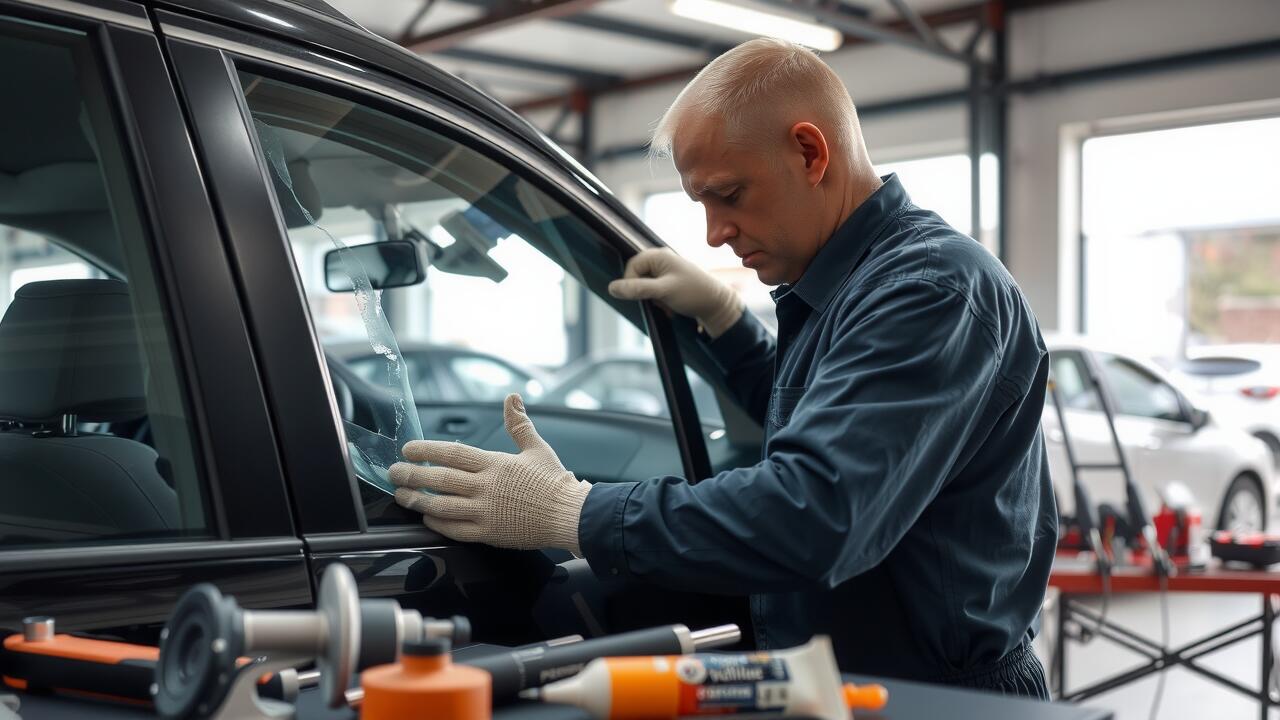
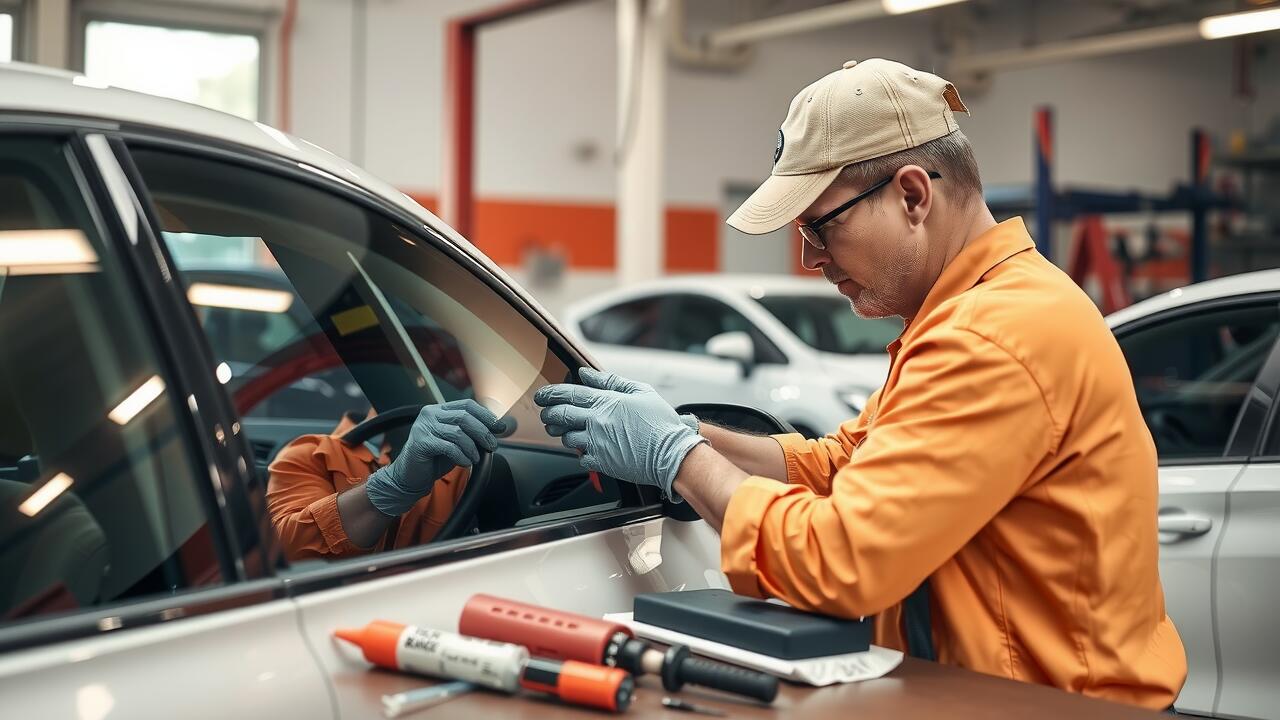
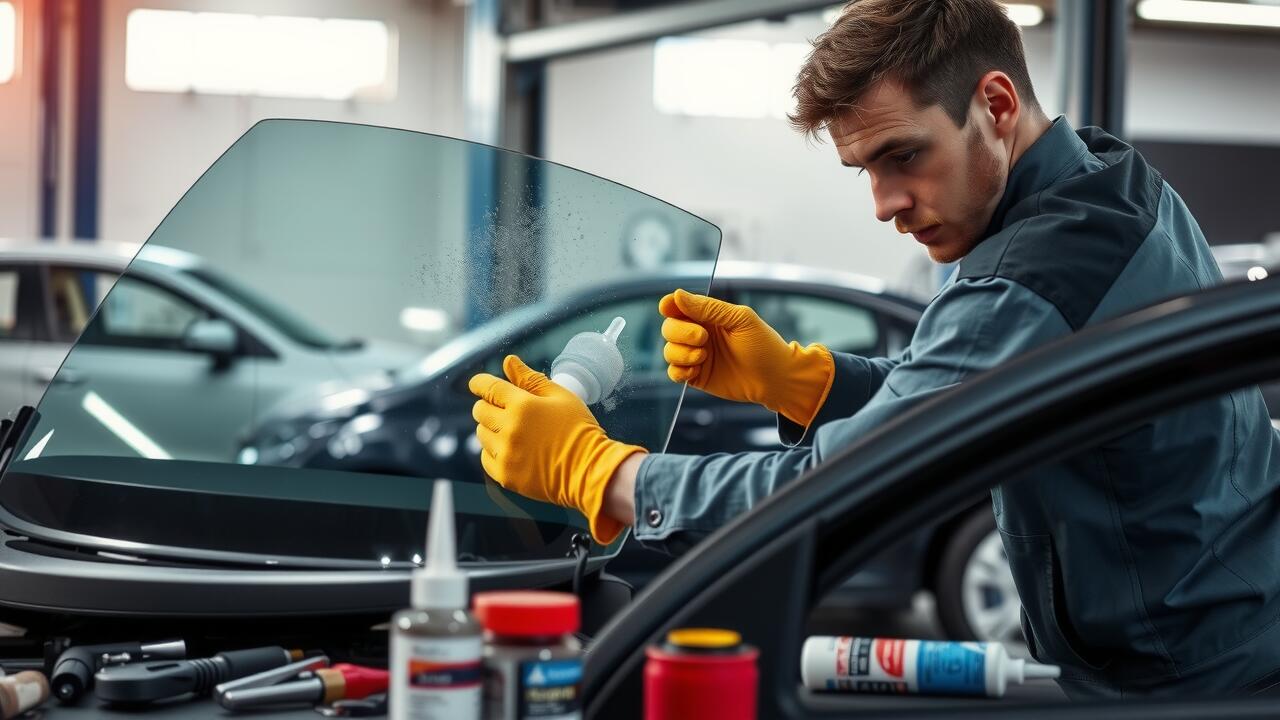
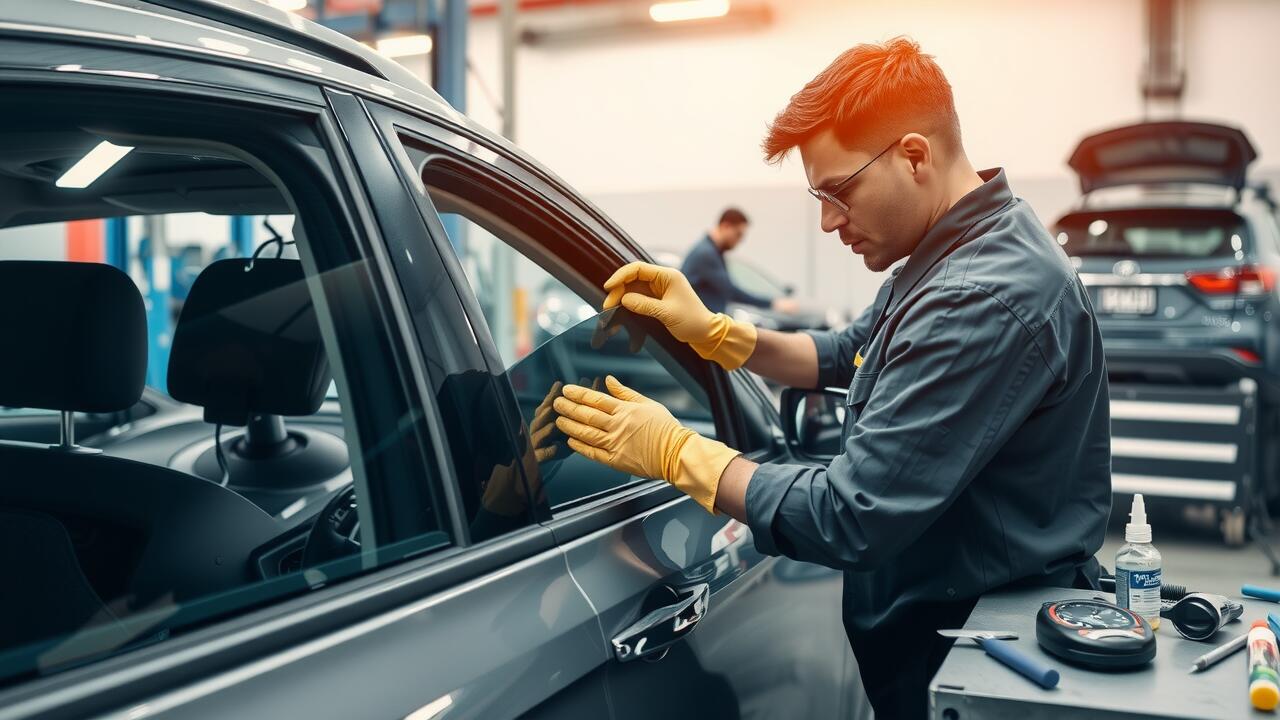
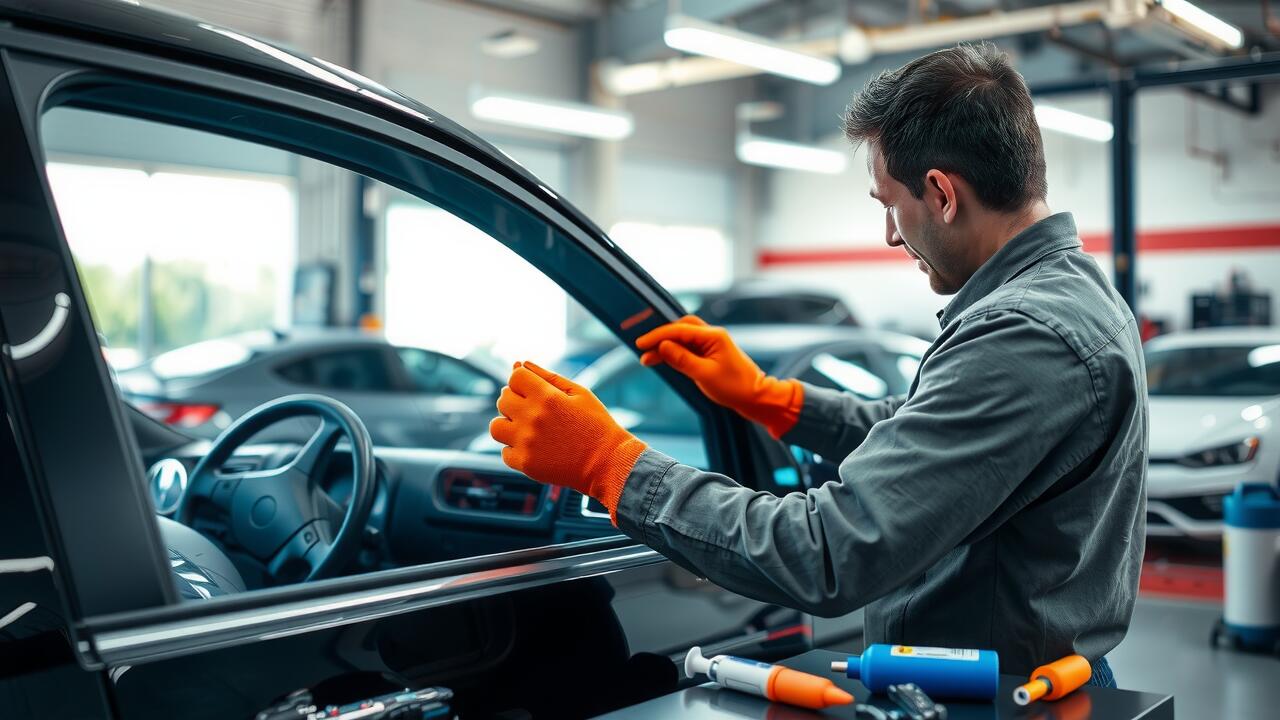
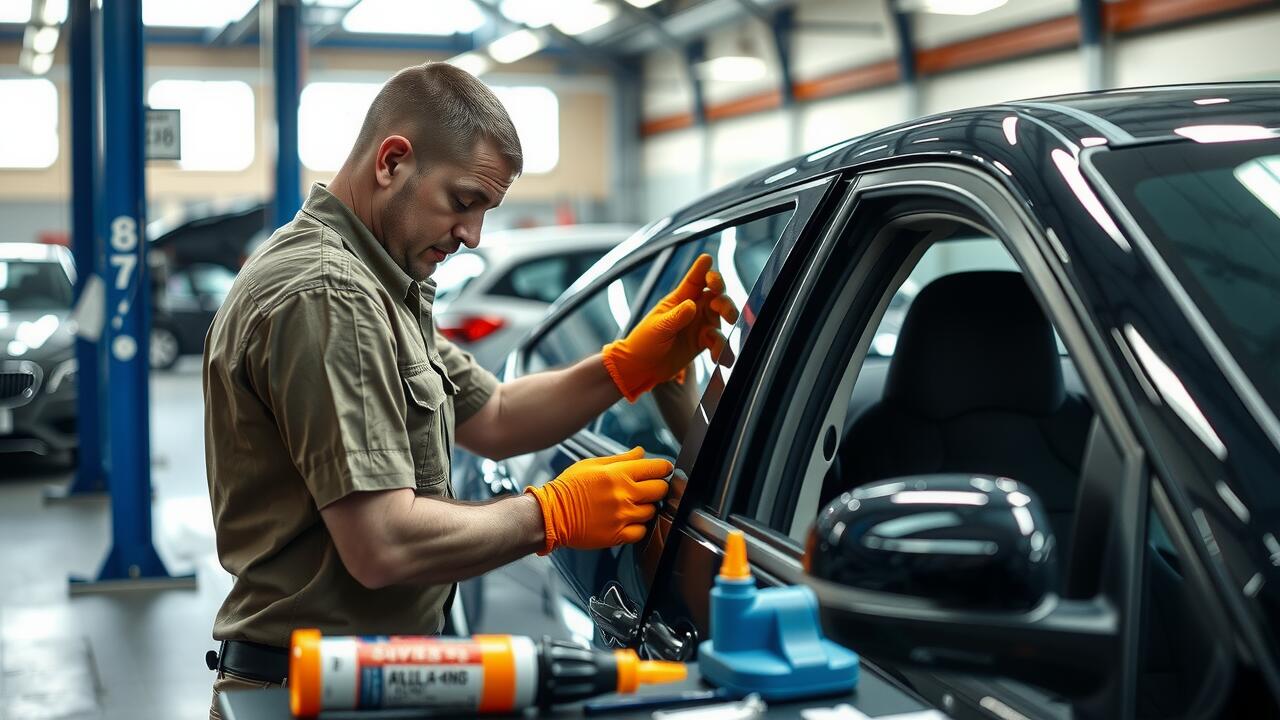
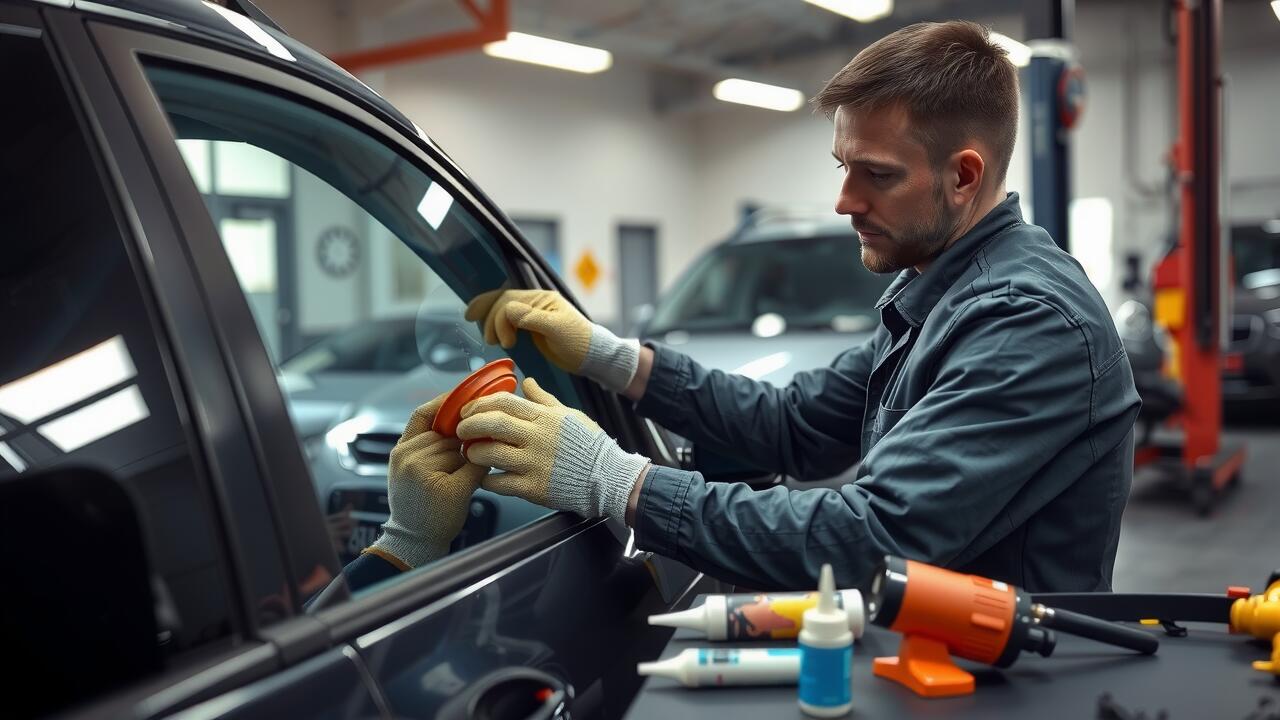
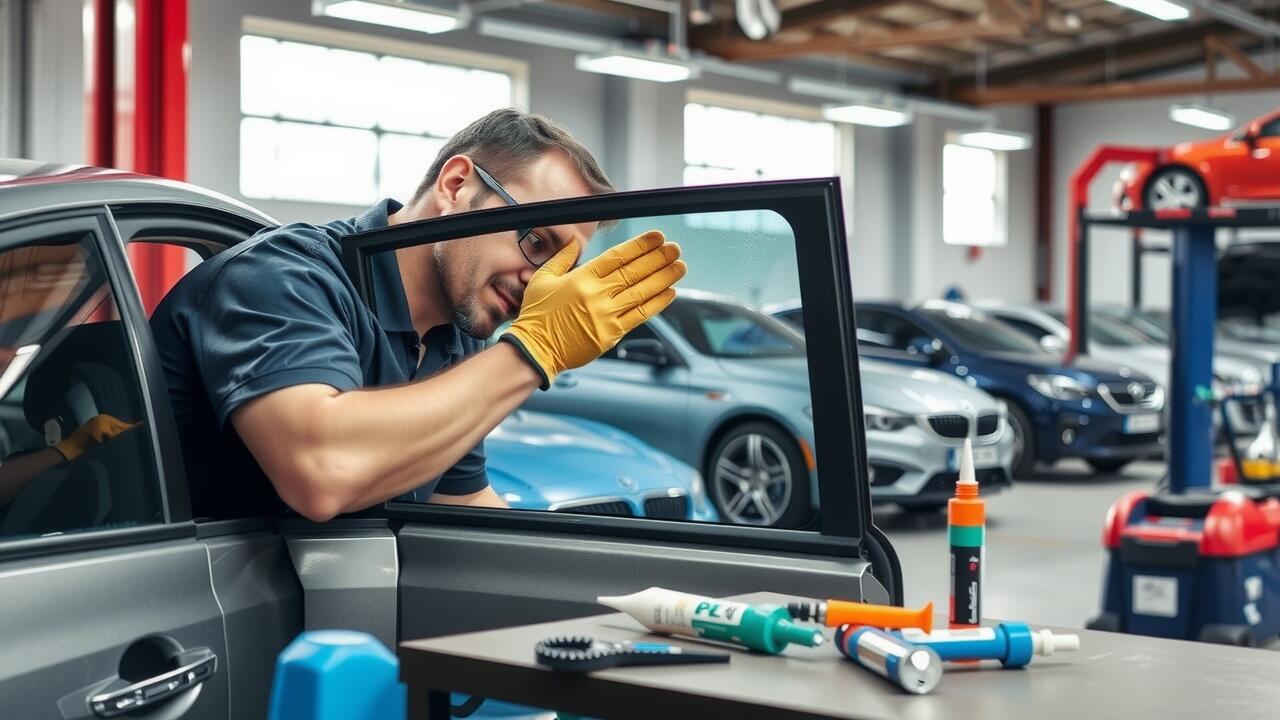
Installing a new car window requires careful attention to detail for a successful outcome. Start by ensuring that the window frame is clean and free from any debris. This step is crucial since dirt and grime can hinder the seal and lead to leaks in the future. Once the area is prepared, gently slide the new window into place. Ensure that it aligns correctly with the frame before proceeding to secure it.
After positioning the window, apply the adhesive designed for automotive glass. This adhesive will create a watertight seal, essential for side window replacement. Take care to follow the manufacturer's instructions regarding drying times and pressure application. Once the adhesive has set, consider reinstalling any components that were removed during the process, such as weather stripping. Proper installation enhances the durability of the window and ensures a smoother operation.
Proper Techniques for a Secure Fit
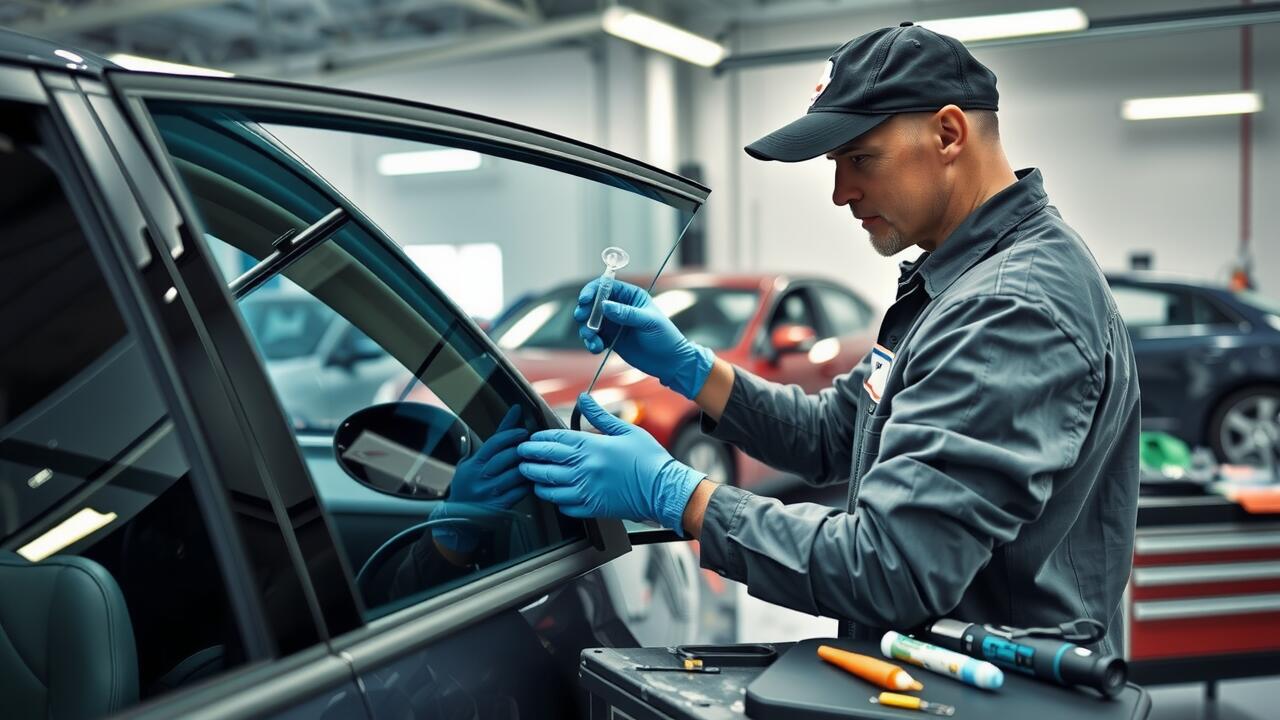
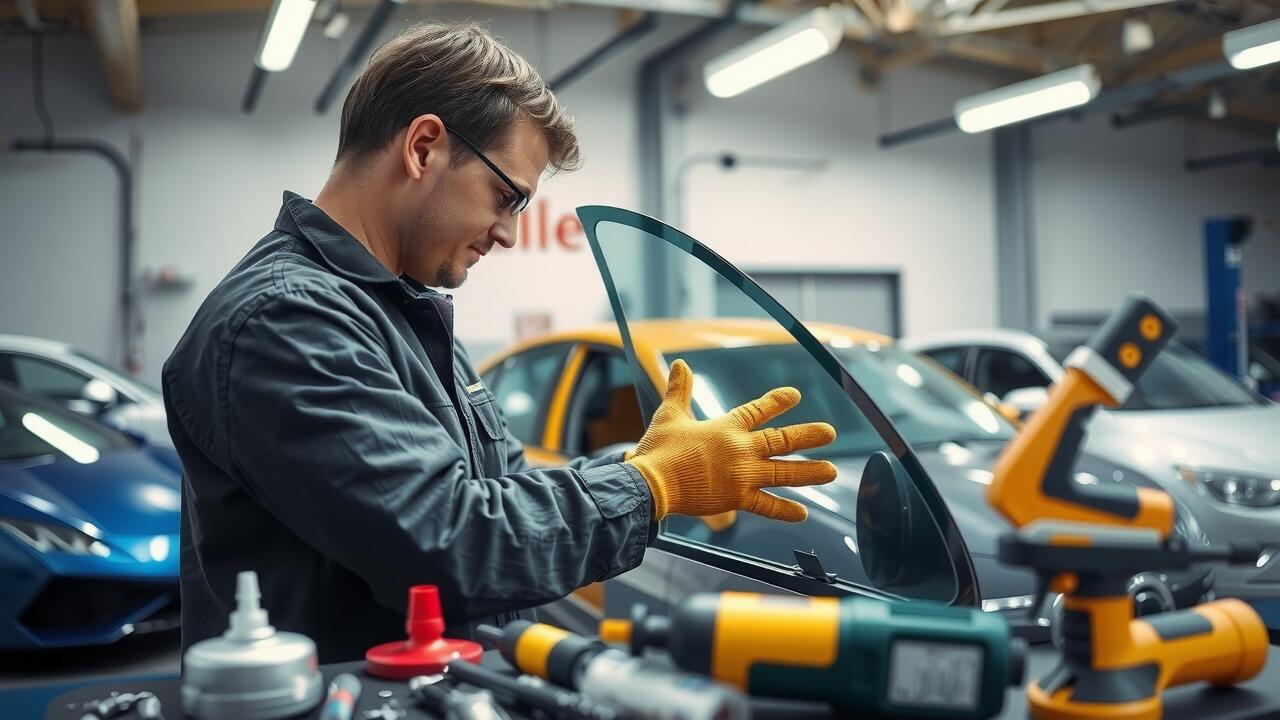
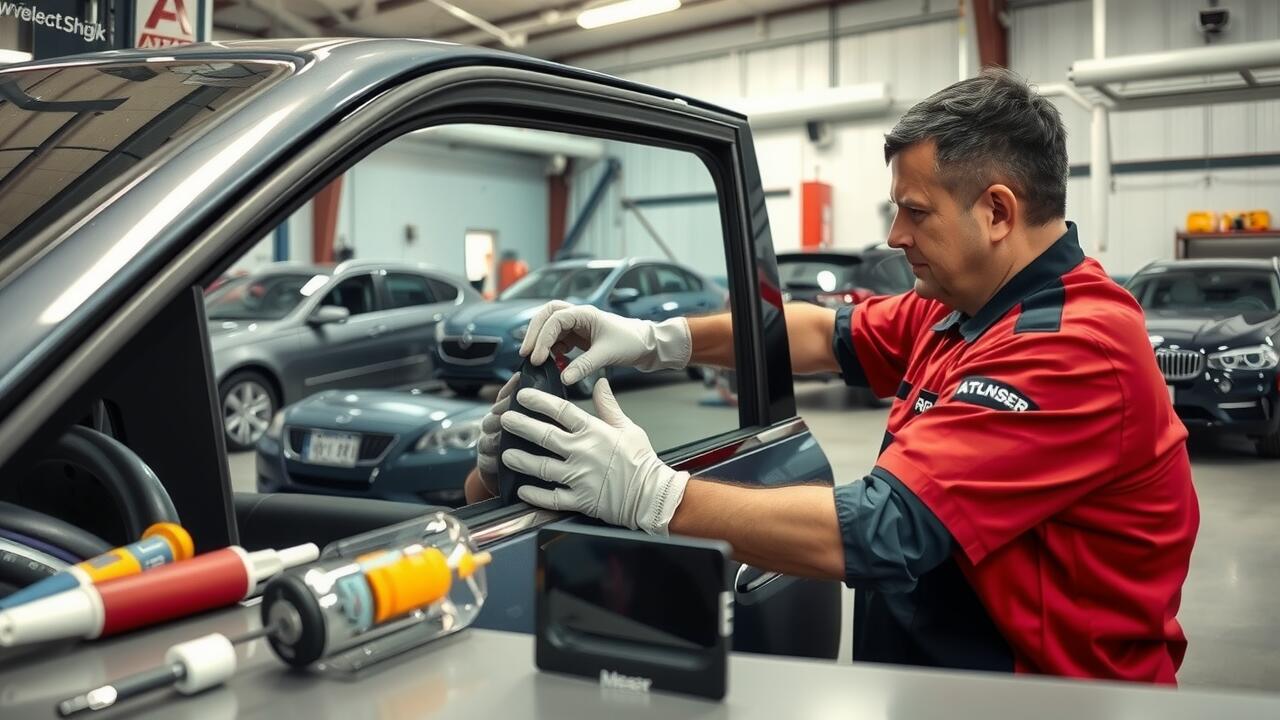
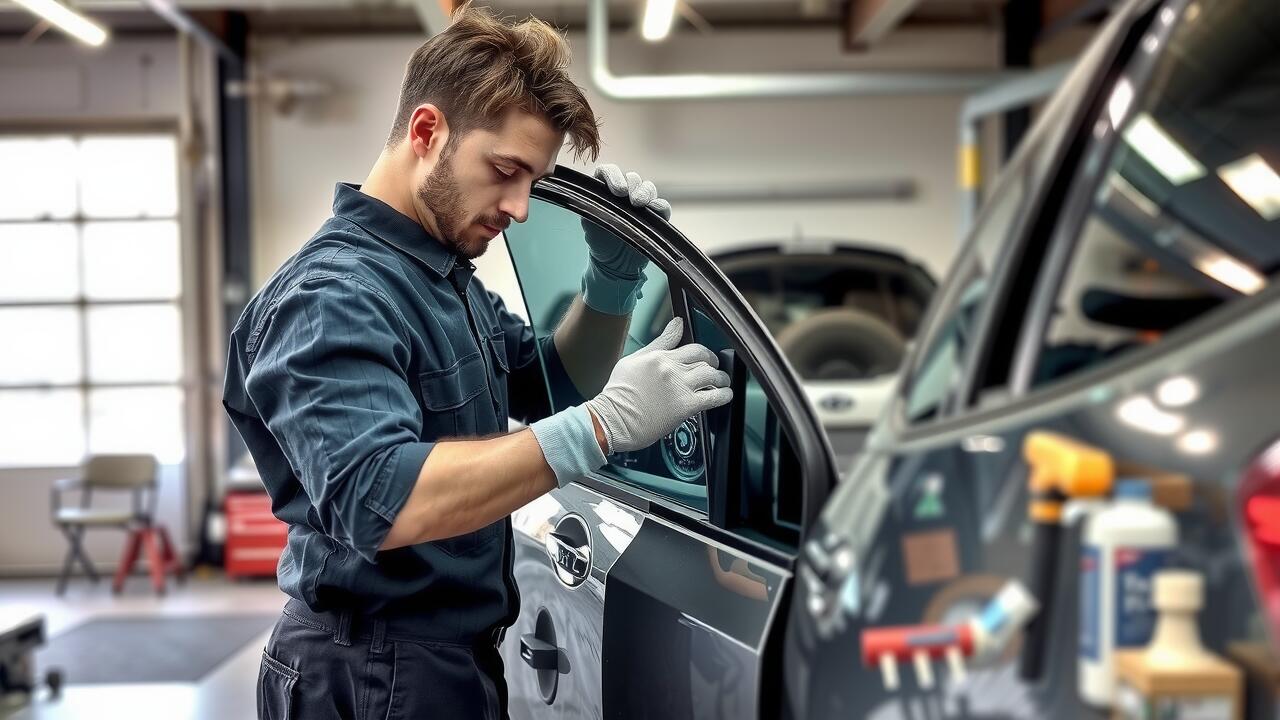
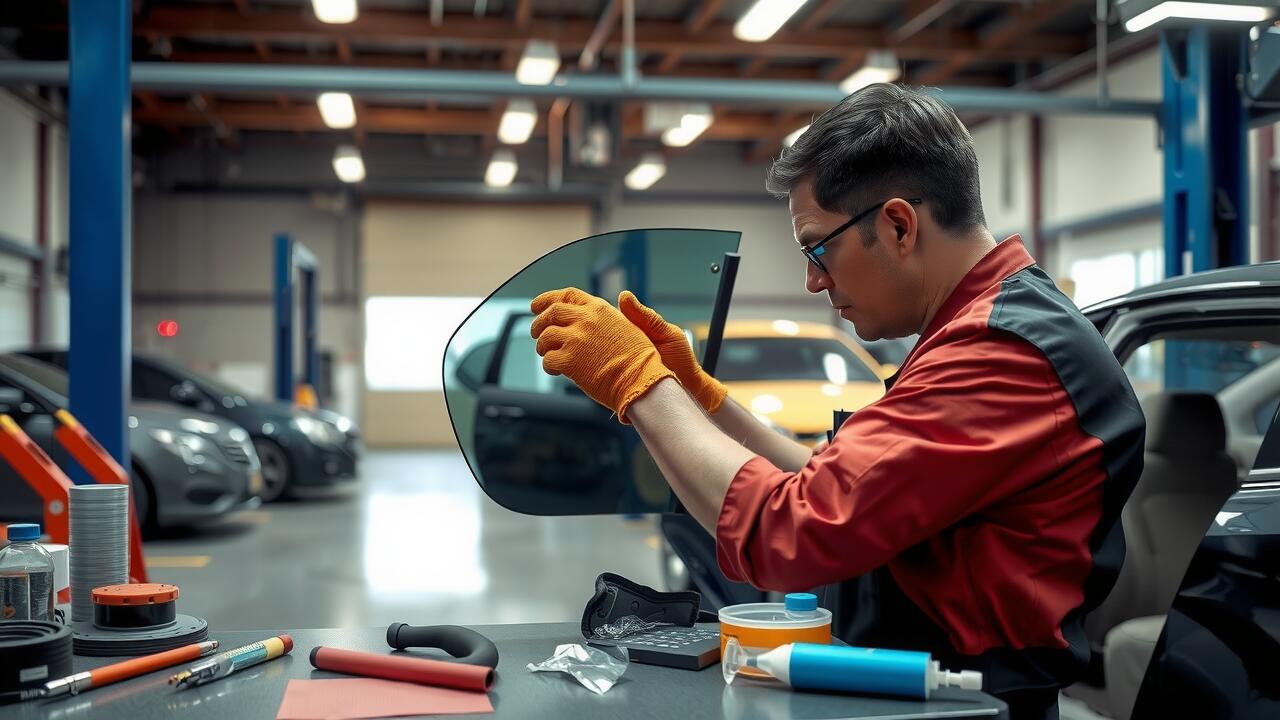
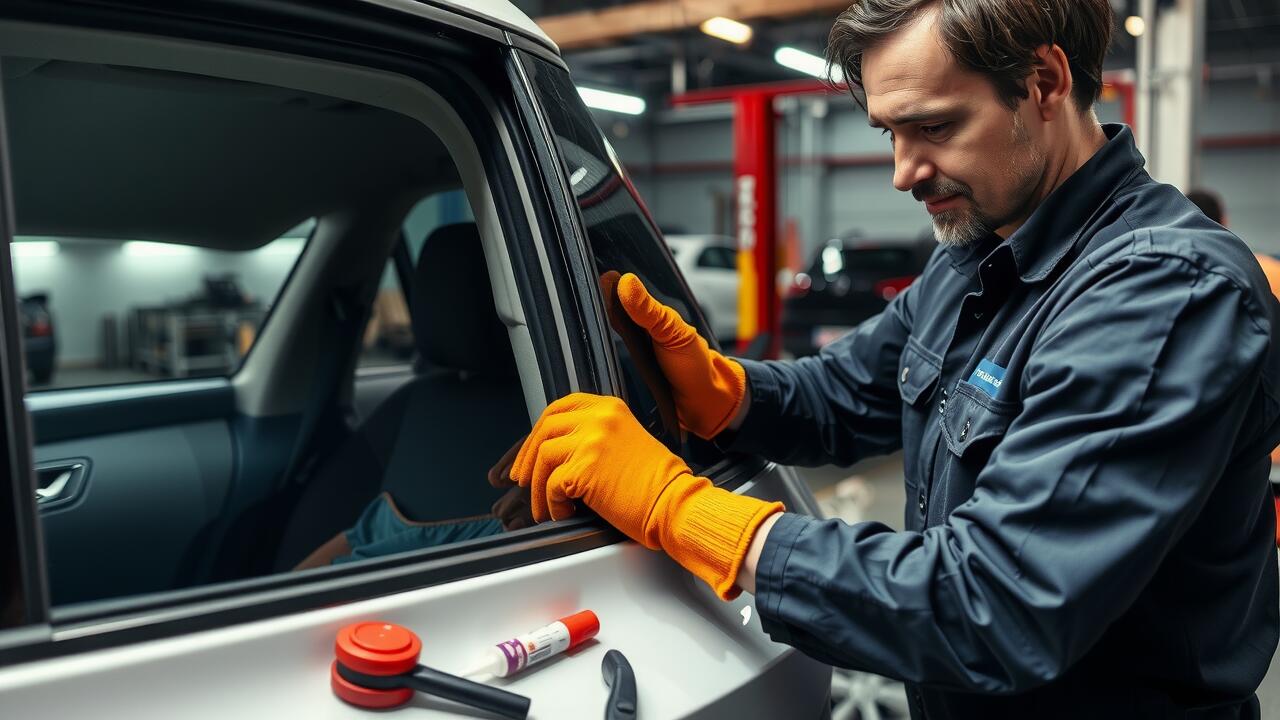
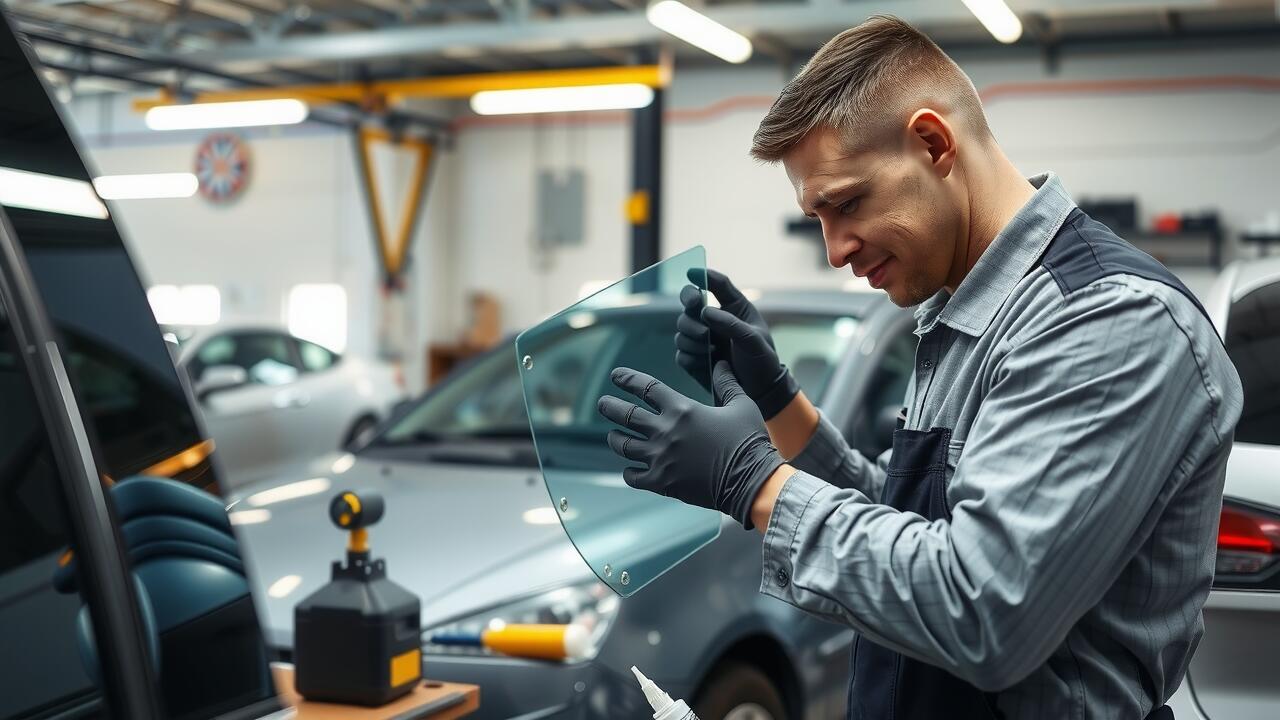
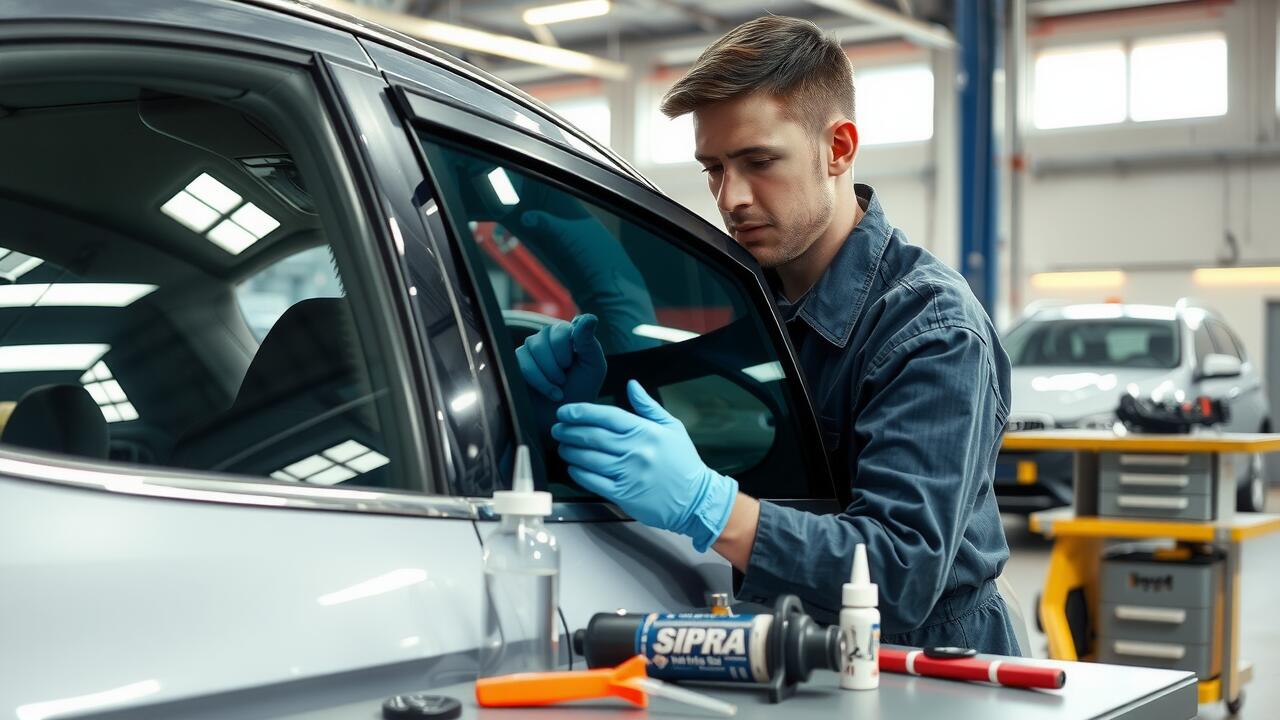
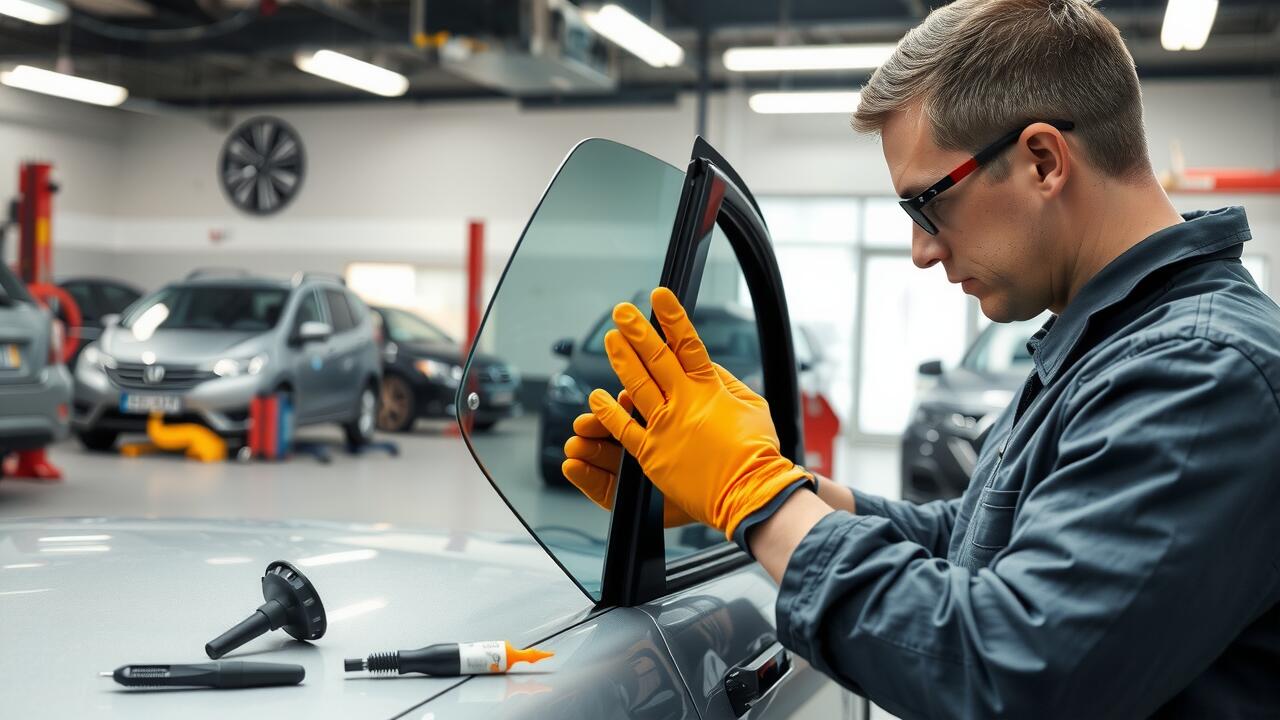
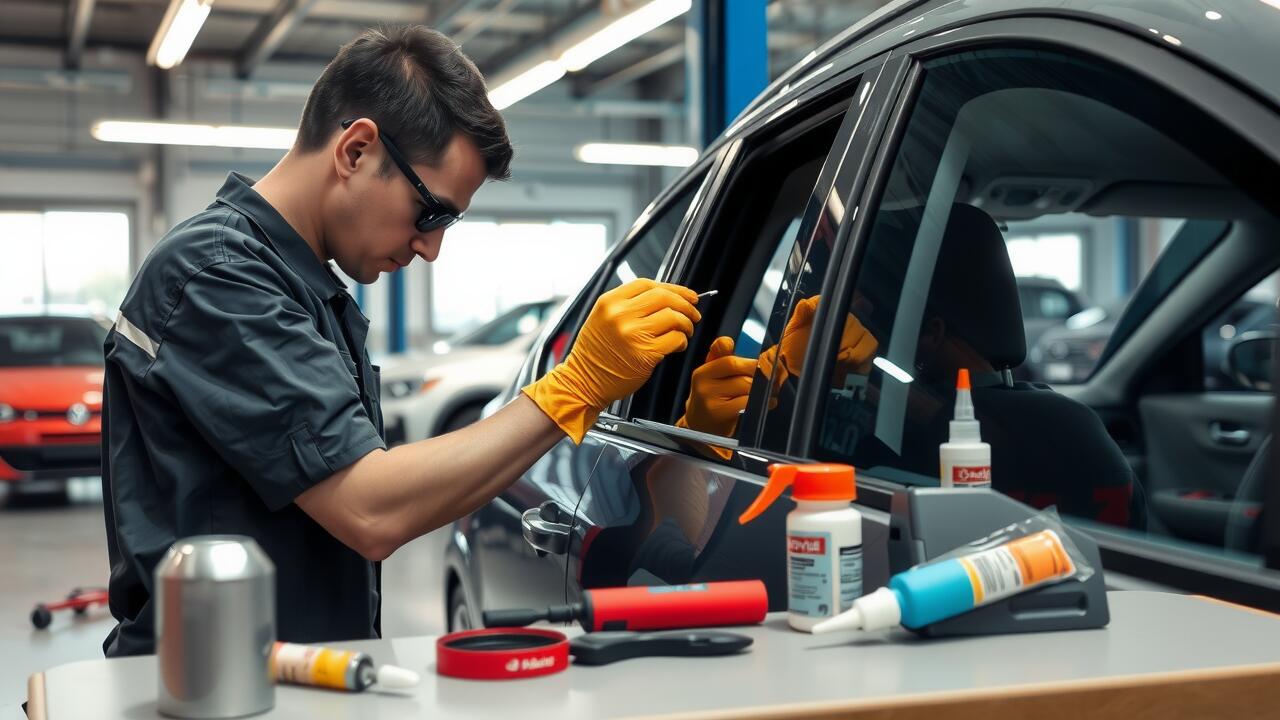
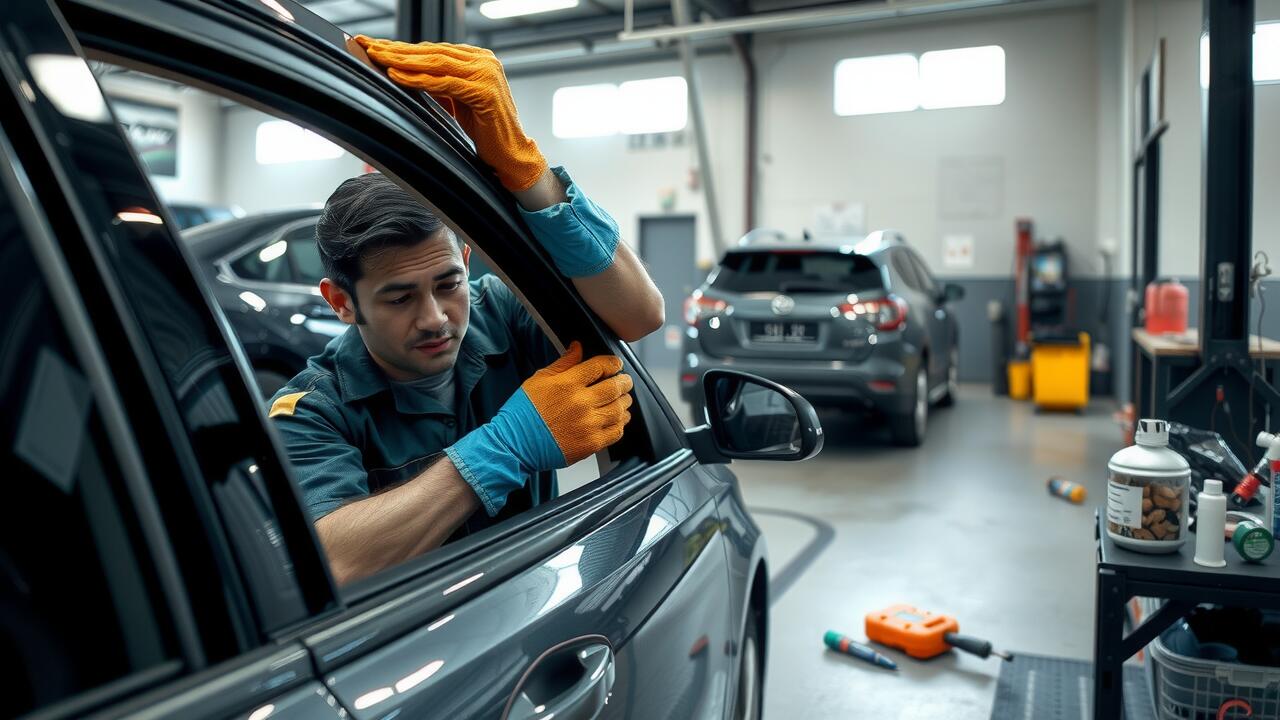
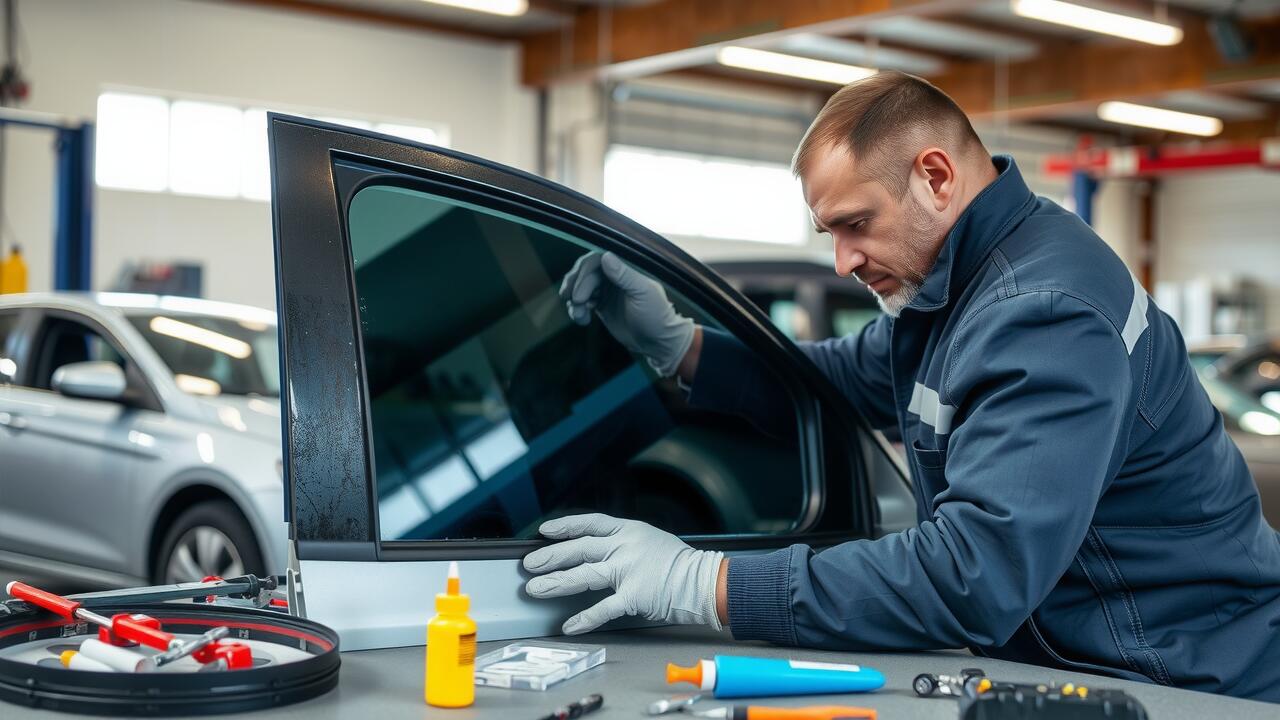
When undertaking a side window replacement, achieving a secure fit is crucial for both aesthetics and functionality. Start by ensuring that the frame is clean and free from debris. A dirty or damaged frame can compromise the integrity of the window seal, leading to potential leaks or issues with wind noise. Once clean, apply a quality automotive adhesive around the edges of the window frame. This adhesive will create a strong bond between the glass and the frame, ensuring the window stays securely in place.
Proper alignment is another key technique for a successful side window replacement. Carefully position the glass panel into the frame, allowing it to rest on any provided supports. Use rubber spacers if necessary to maintain even gaps between the glass and frame. Press firmly yet evenly onto the adhesive to eliminate air bubbles and ensure a tight seal. After installation, avoid putting stress on the window for at least a day to allow the adhesive to cure fully, thereby providing the best possible fit and durability.
Common Mistakes to Avoid
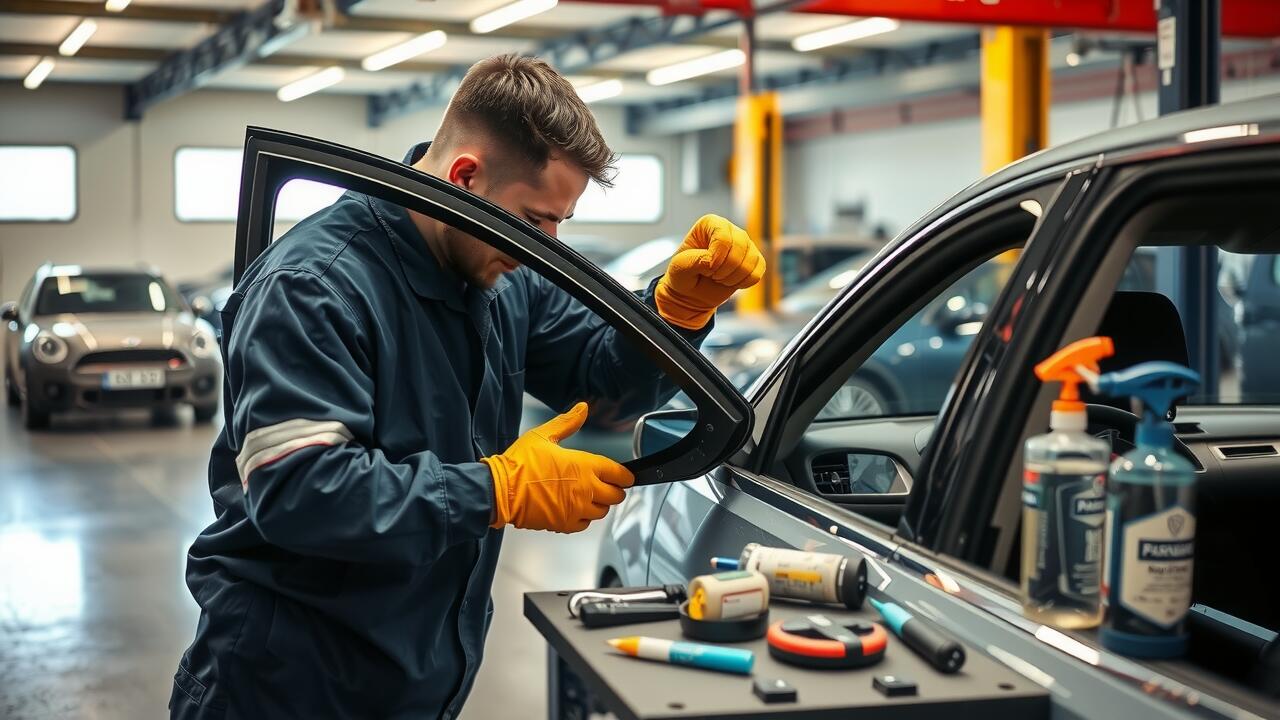
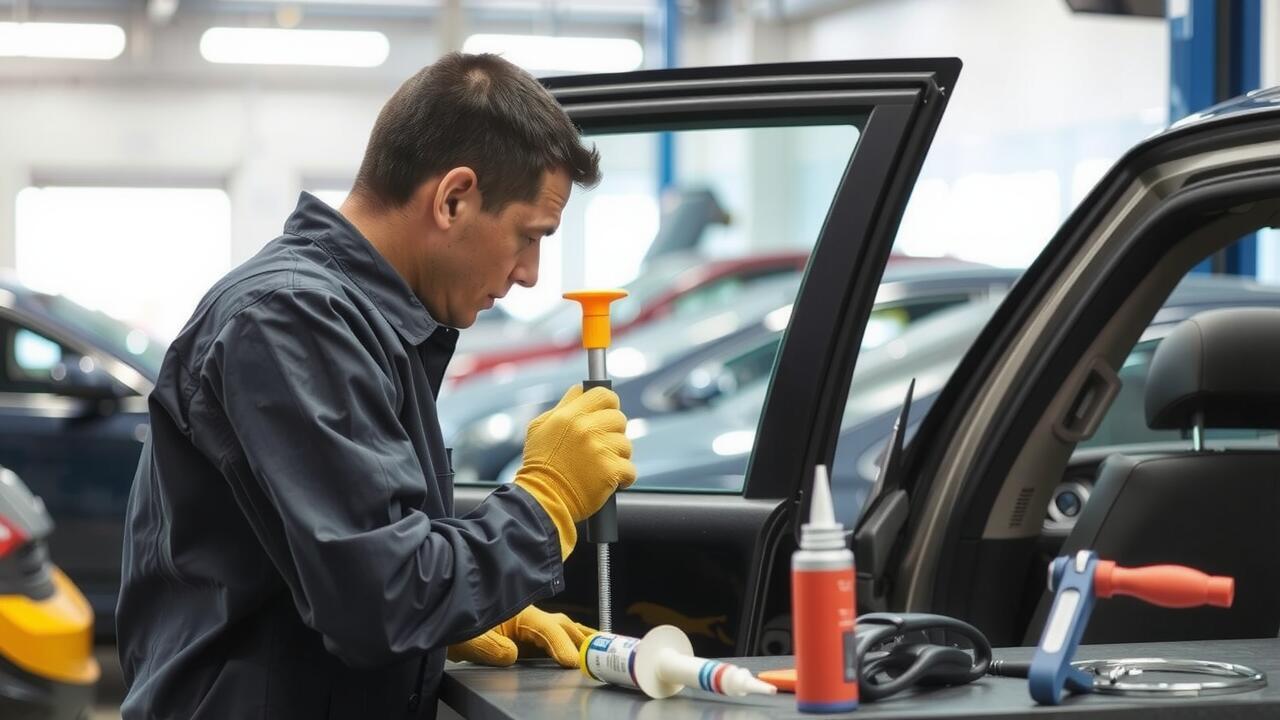
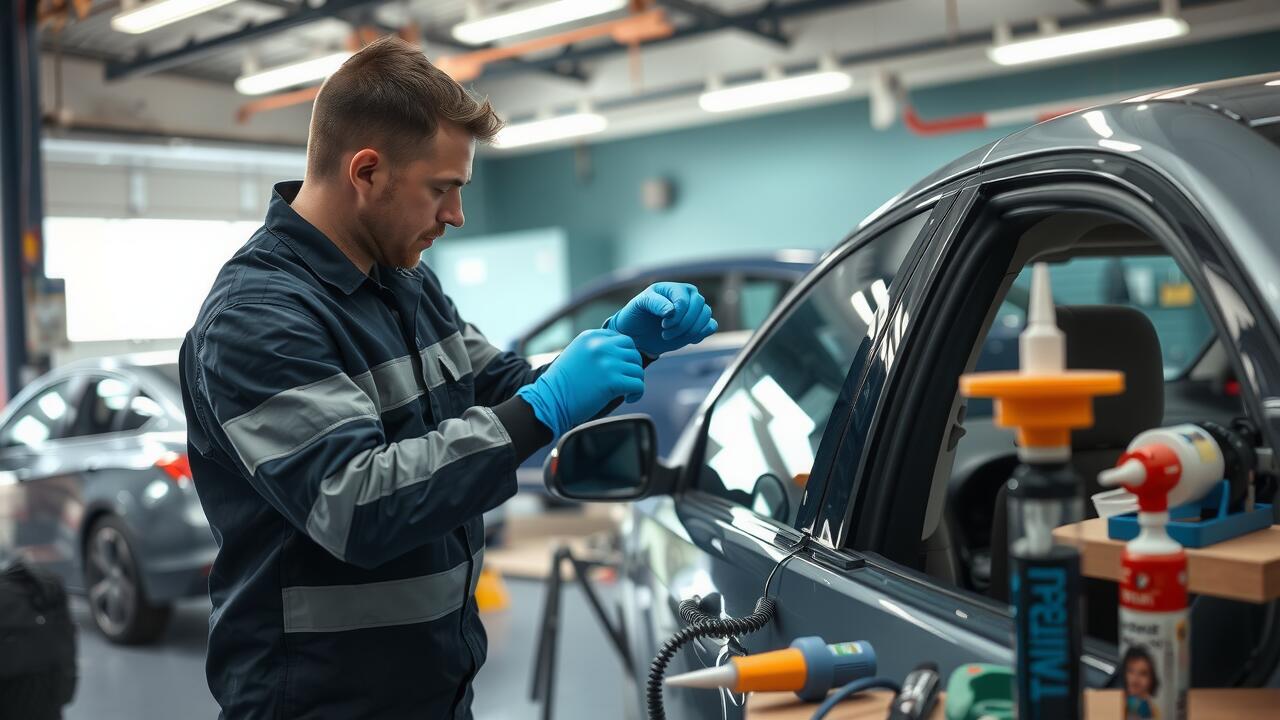
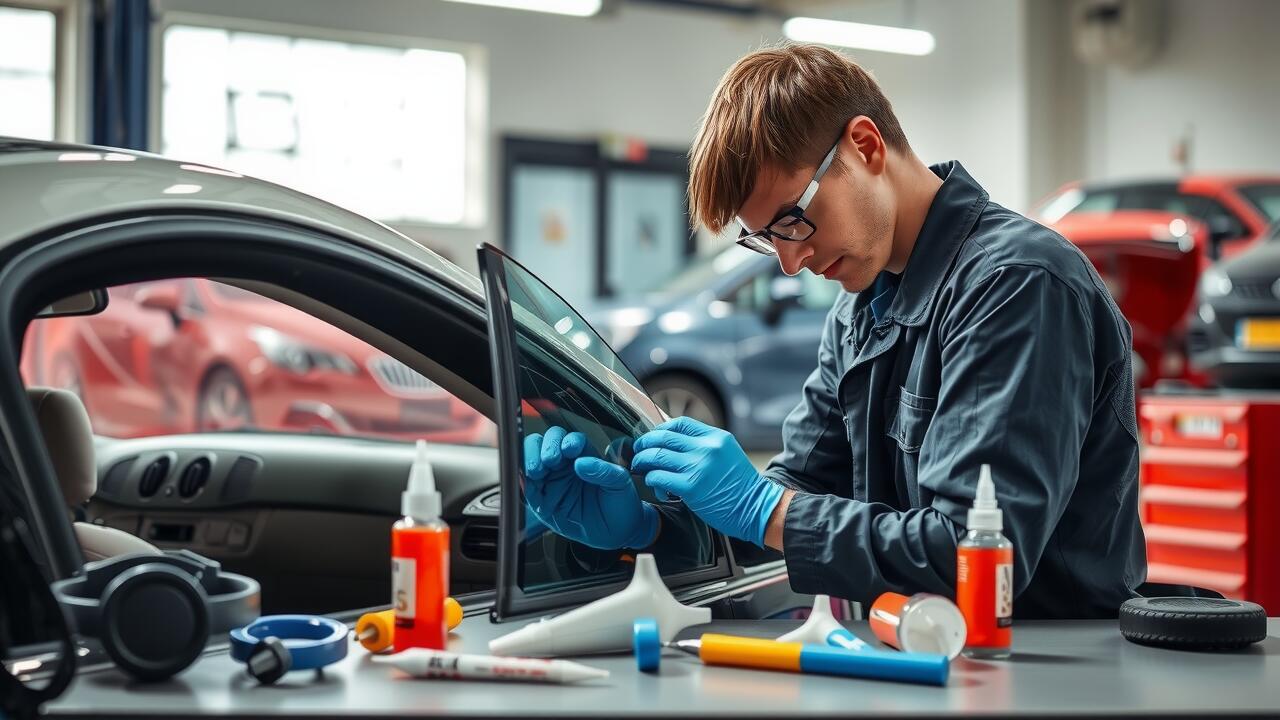
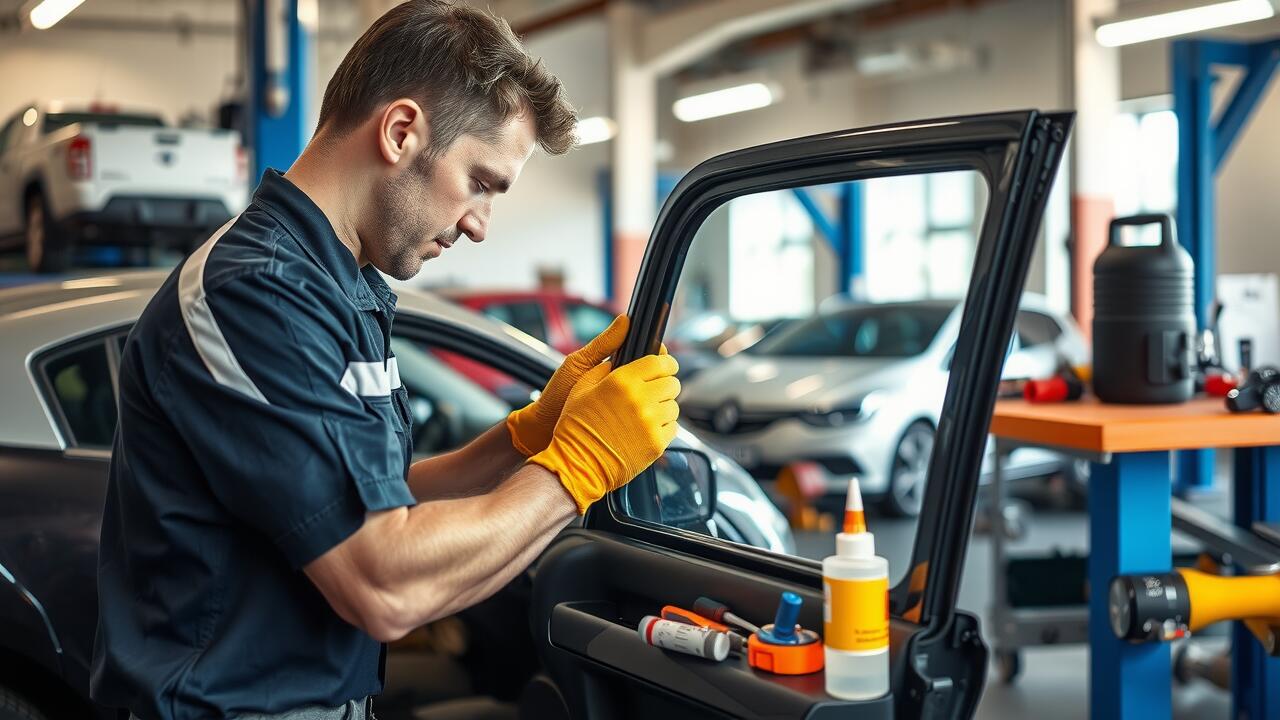
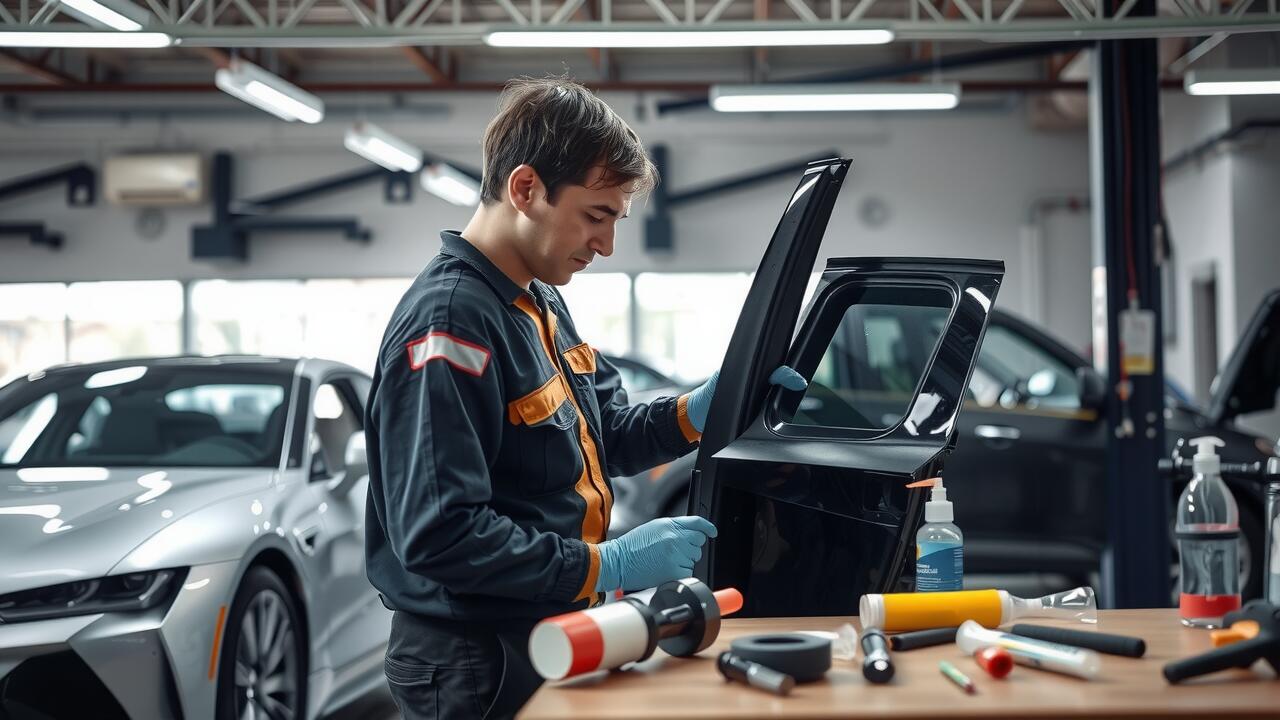
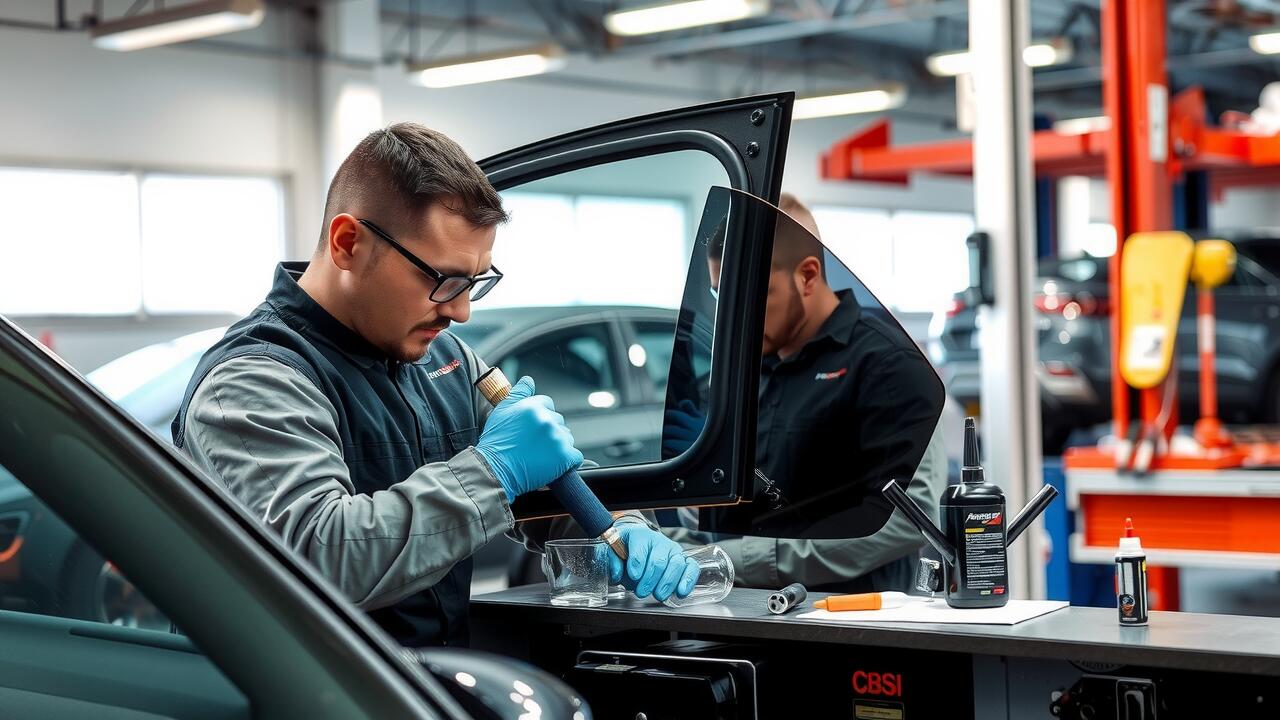
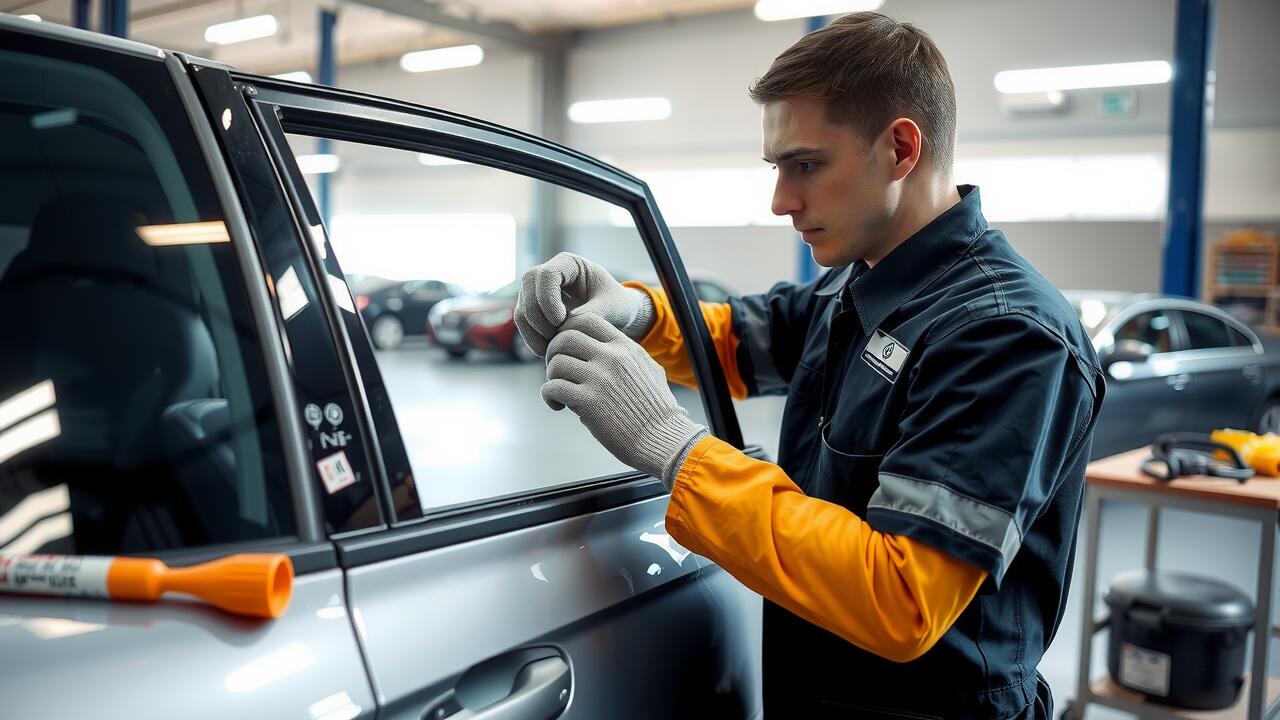
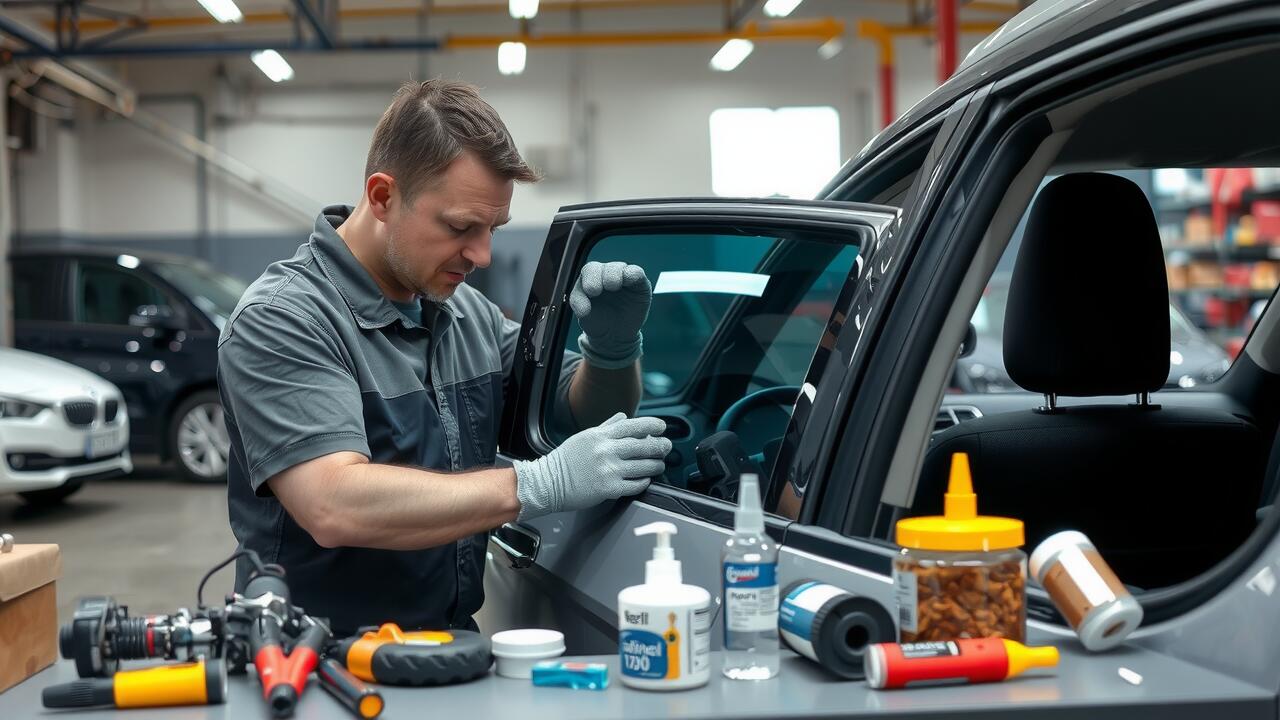
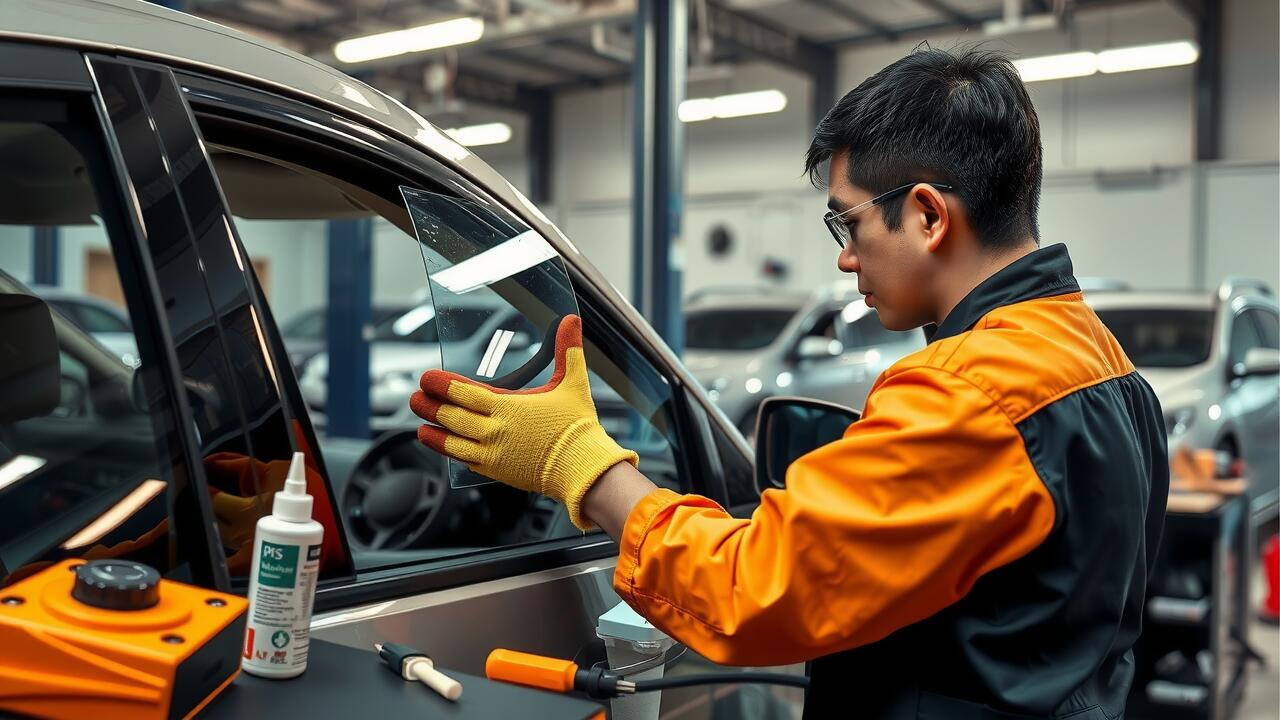
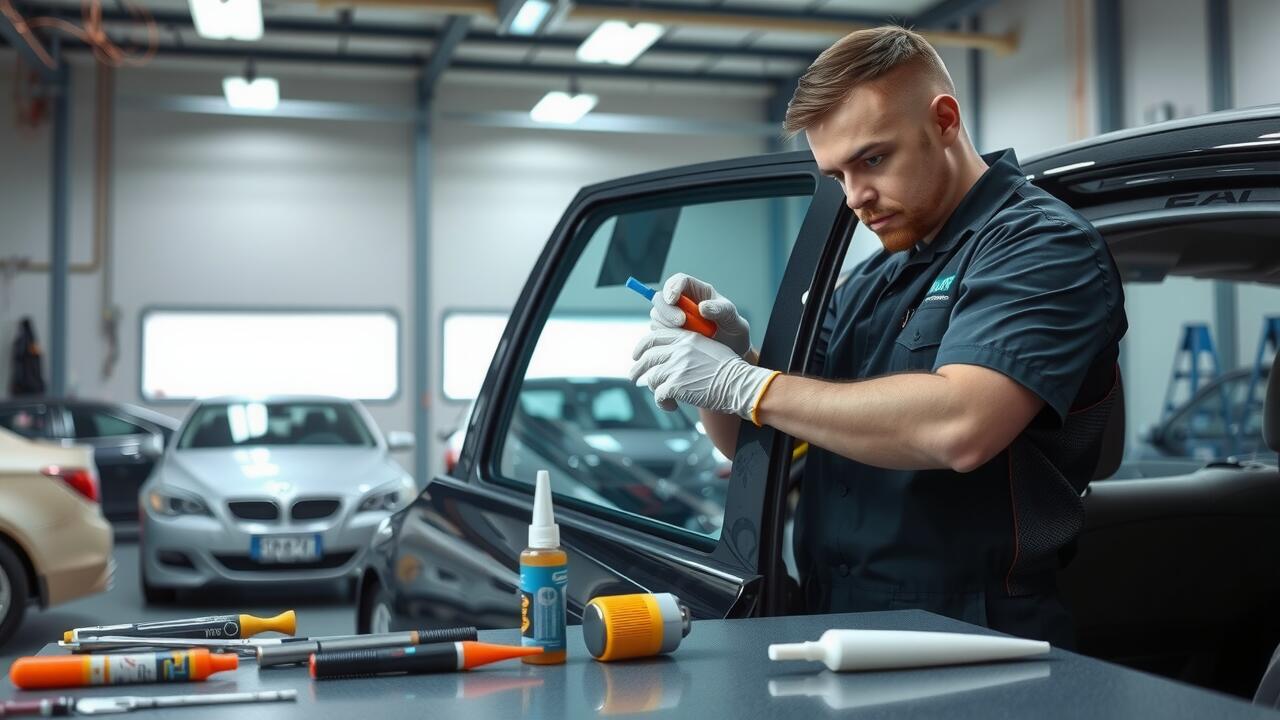
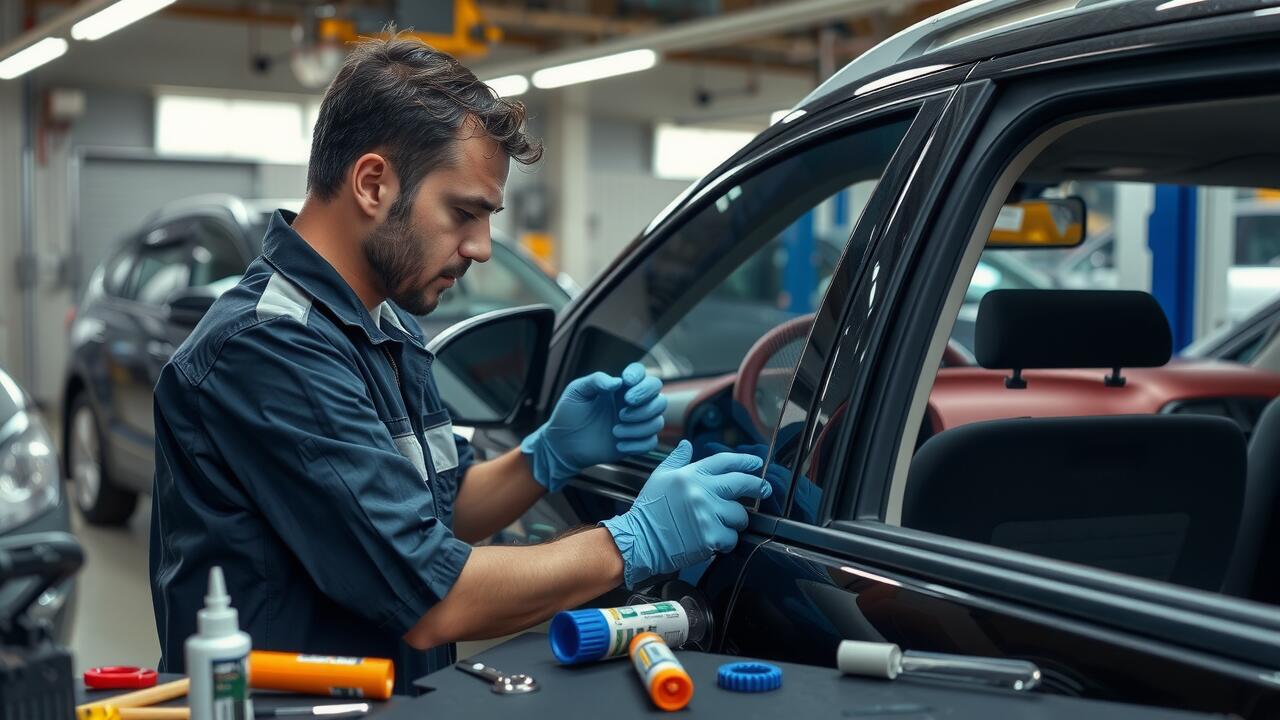
When undertaking a side window replacement, one of the most common mistakes is neglecting to thoroughly clean the installation area. Any debris or remnants of the old window adhesive can compromise the seal and lead to leaks or even the window detaching. Ensuring a clean surface promotes better adhesion and longevity for the newly installed window. It is also essential to properly align the window before securing it in place, as improper alignment can lead to operational issues later on.
Another frequent oversight is failing to use the correct materials for the replacement. Using the wrong type of adhesive or sealant can result in inadequate bonding, causing the window to rattle or becoming dislodged over time. It’s crucial to research and select products specifically designed for automotive applications. Additionally, over-tightening the fasteners can cause stress on the window frame and lead to cracks or breaks in the glass. Recognising these potential pitfalls can significantly affect the success of your side window replacement project.
Pitfalls That Can Complicate Replacement
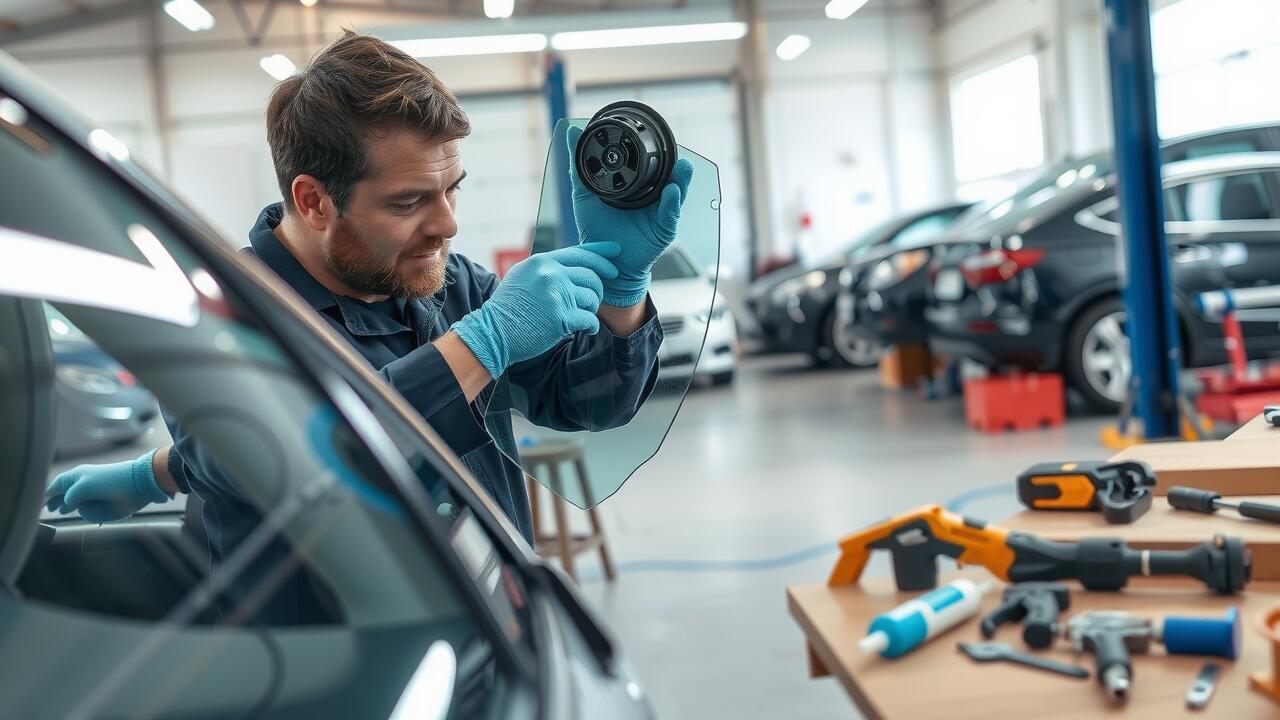
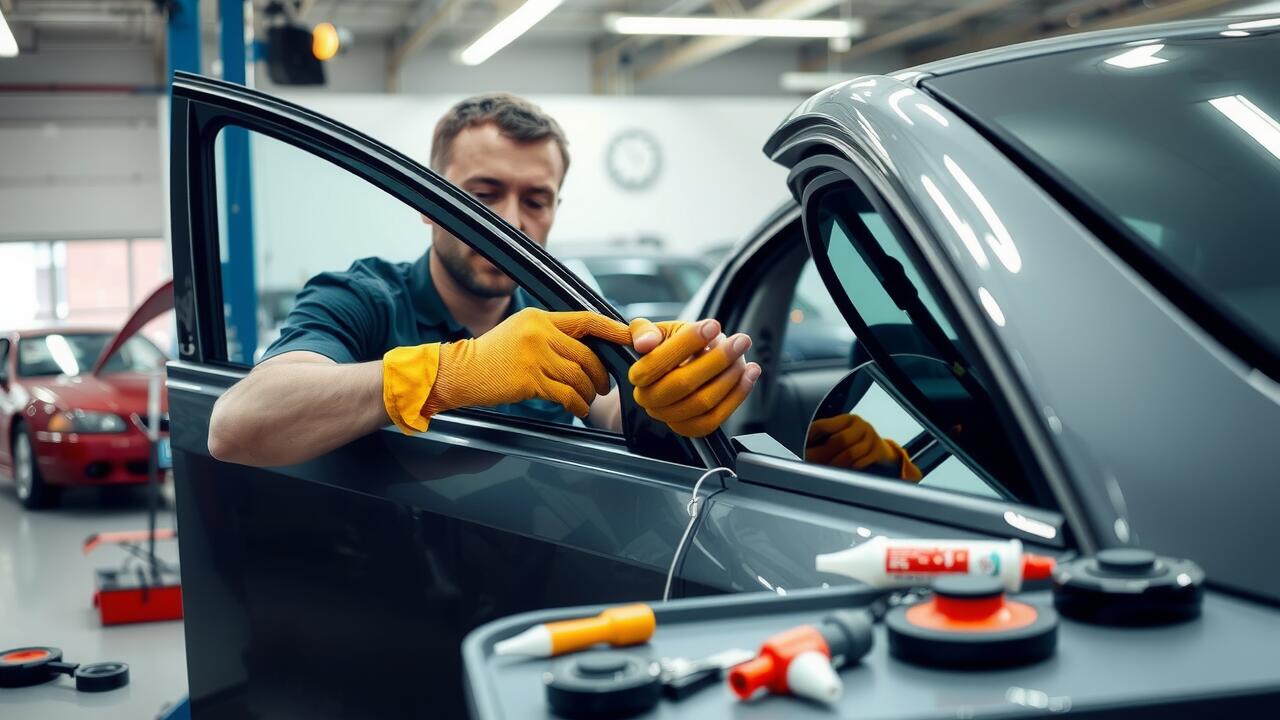
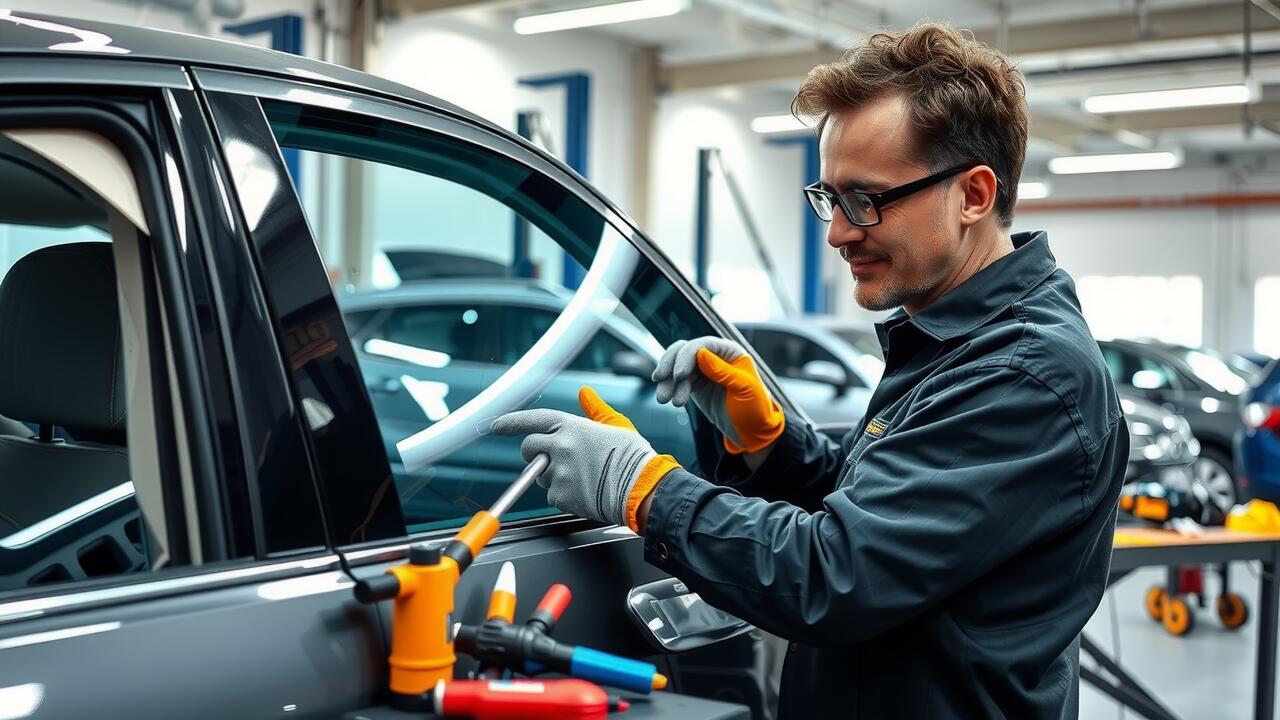
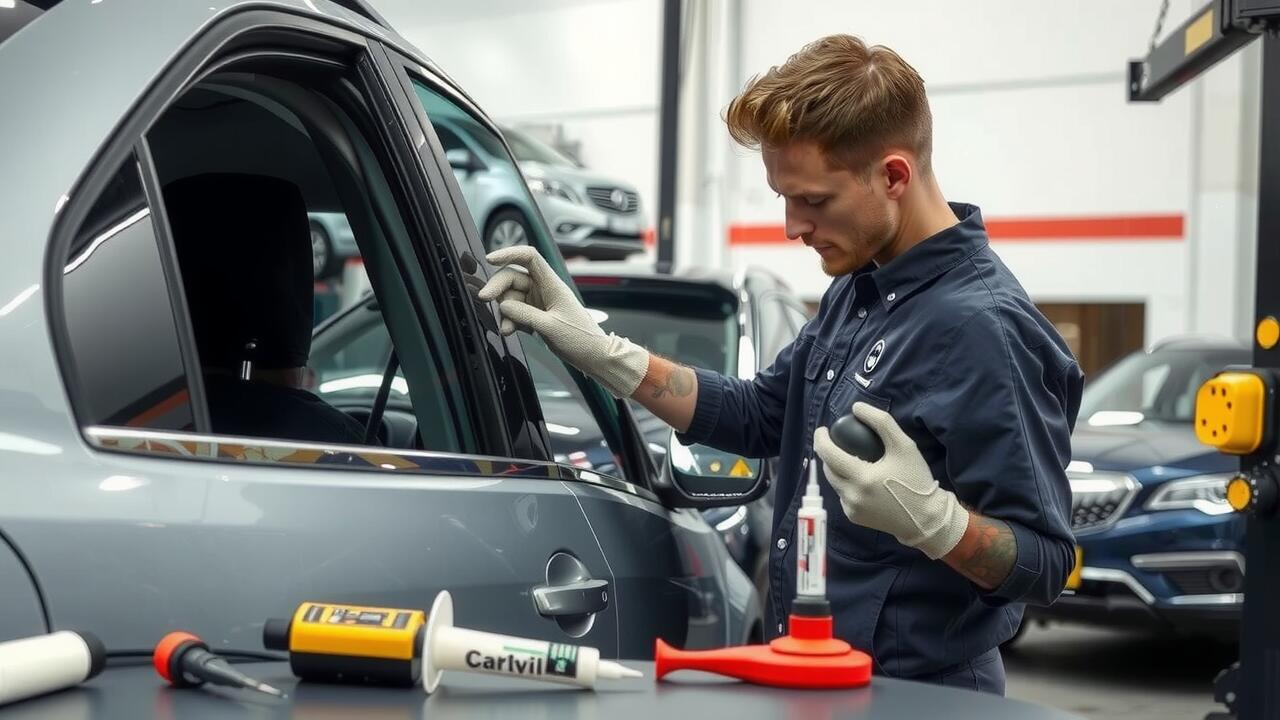
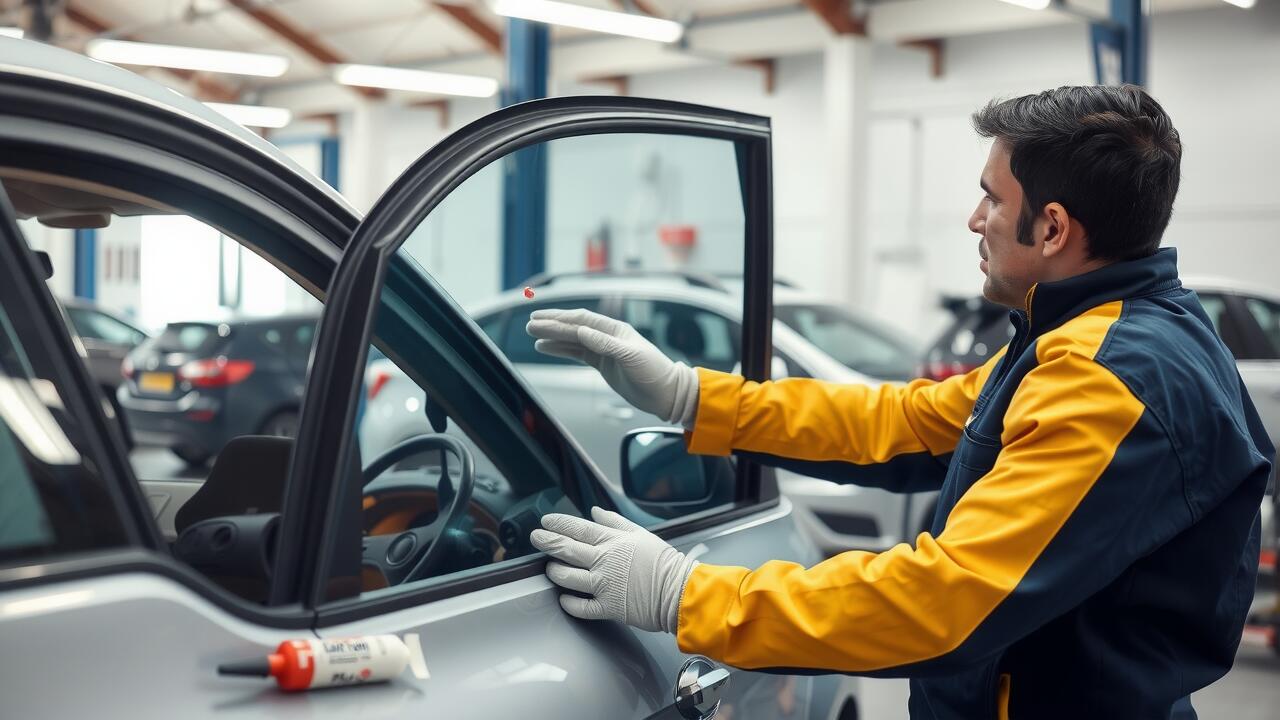
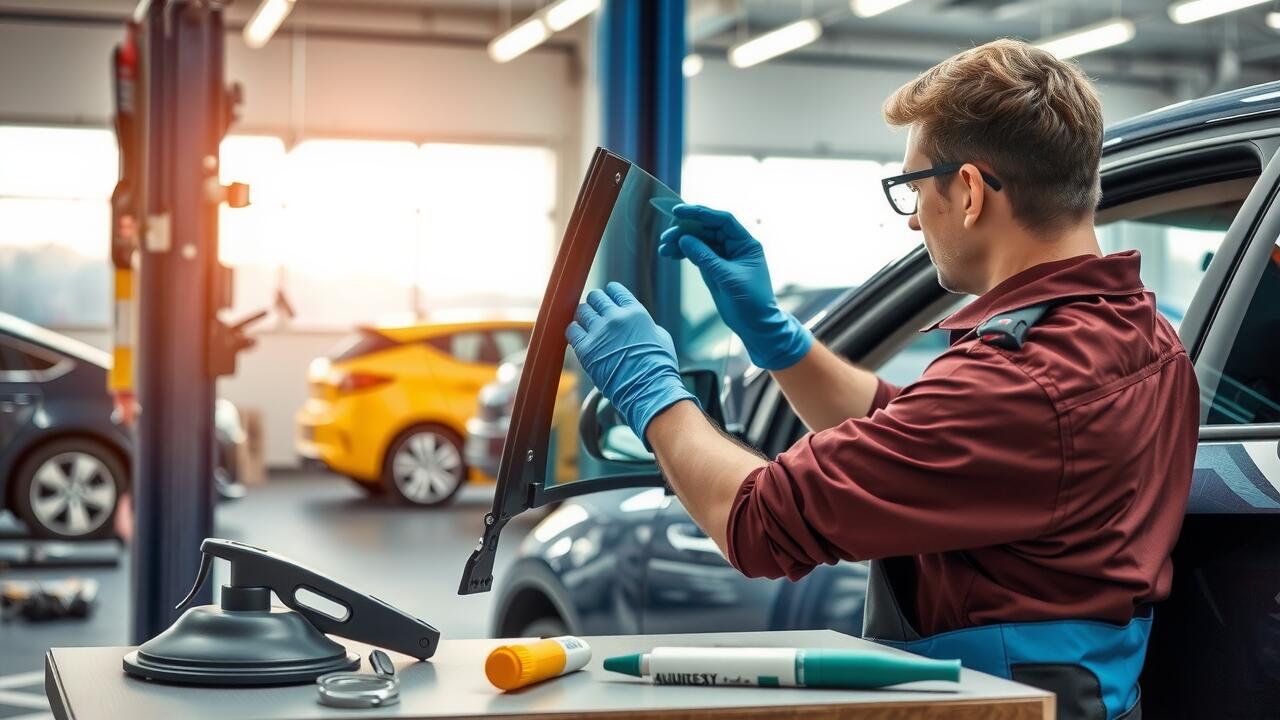
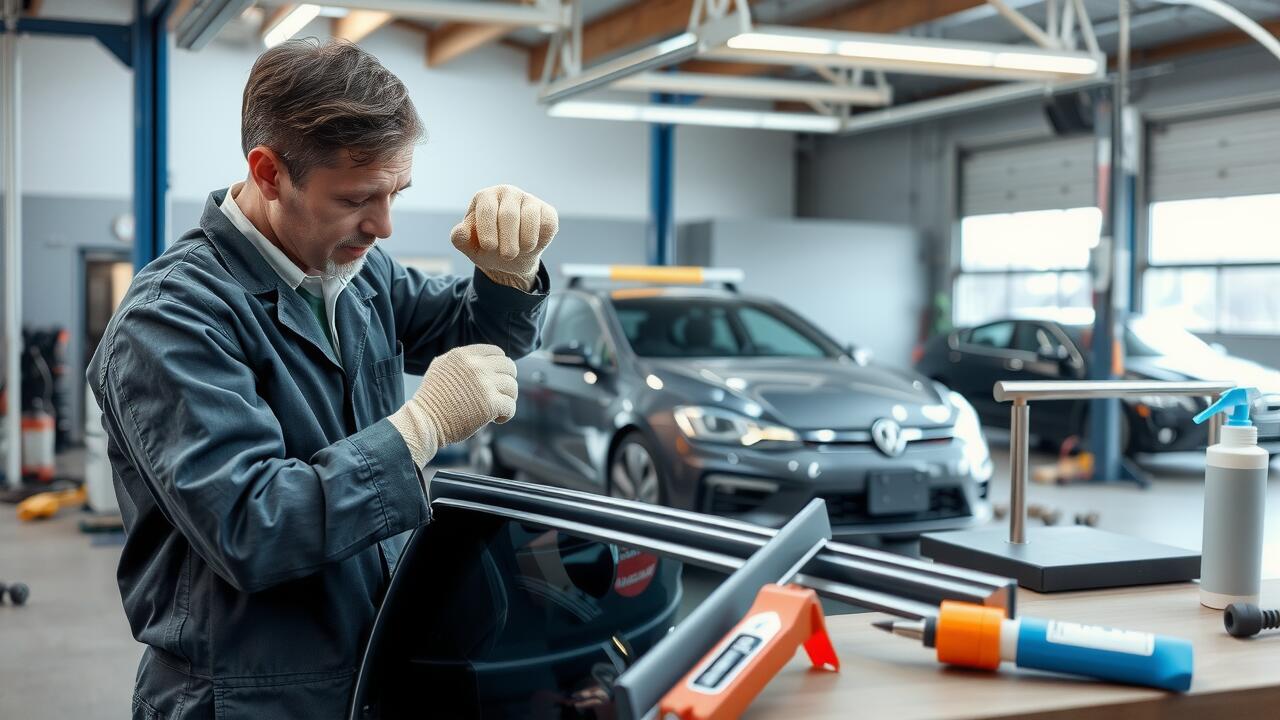
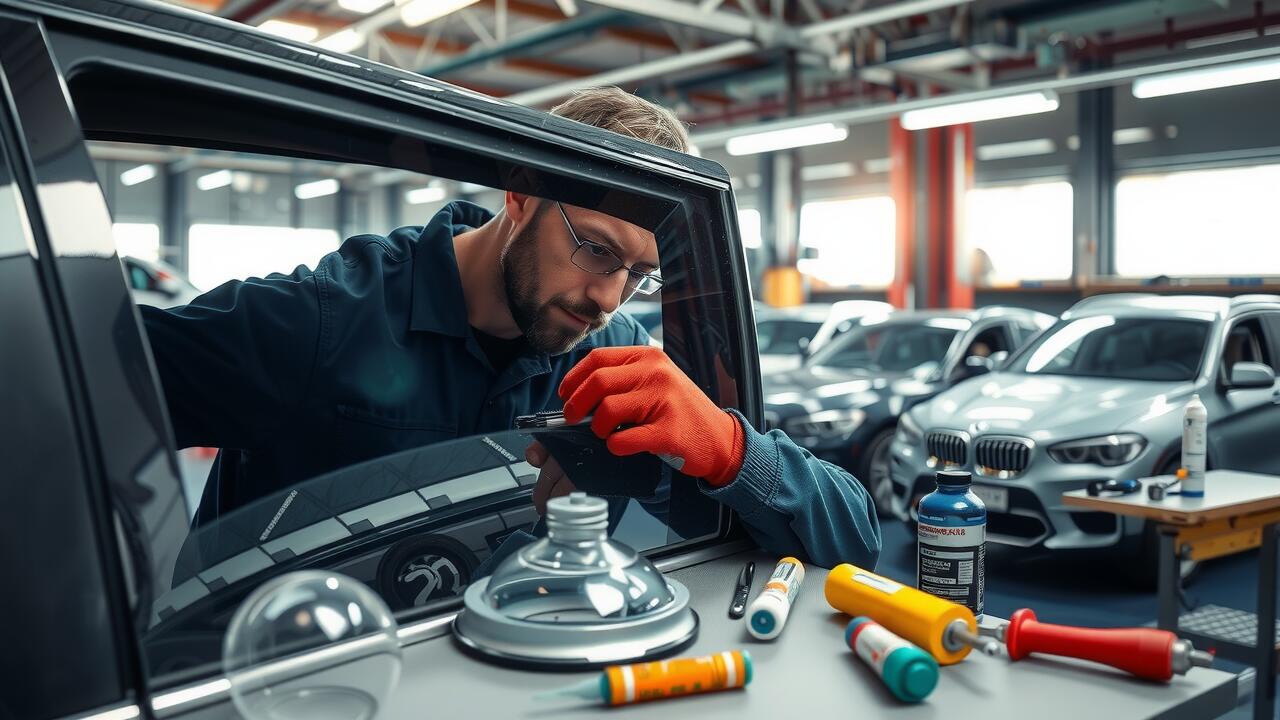
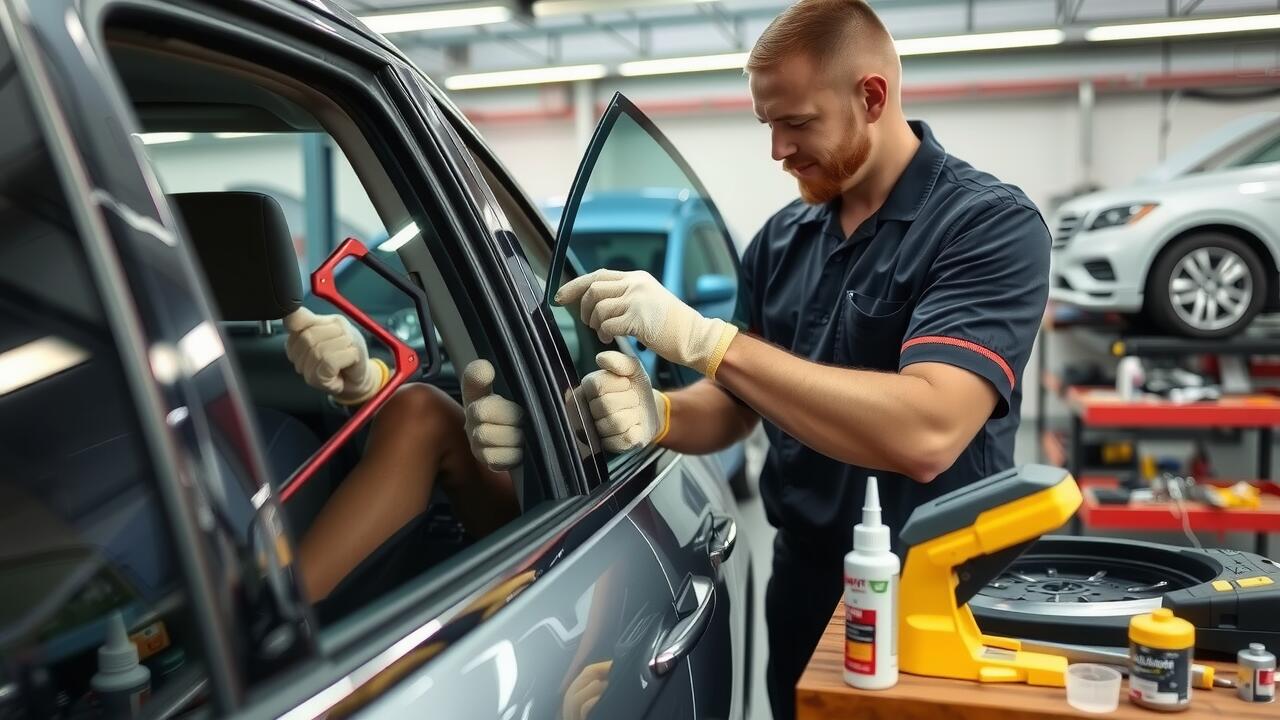
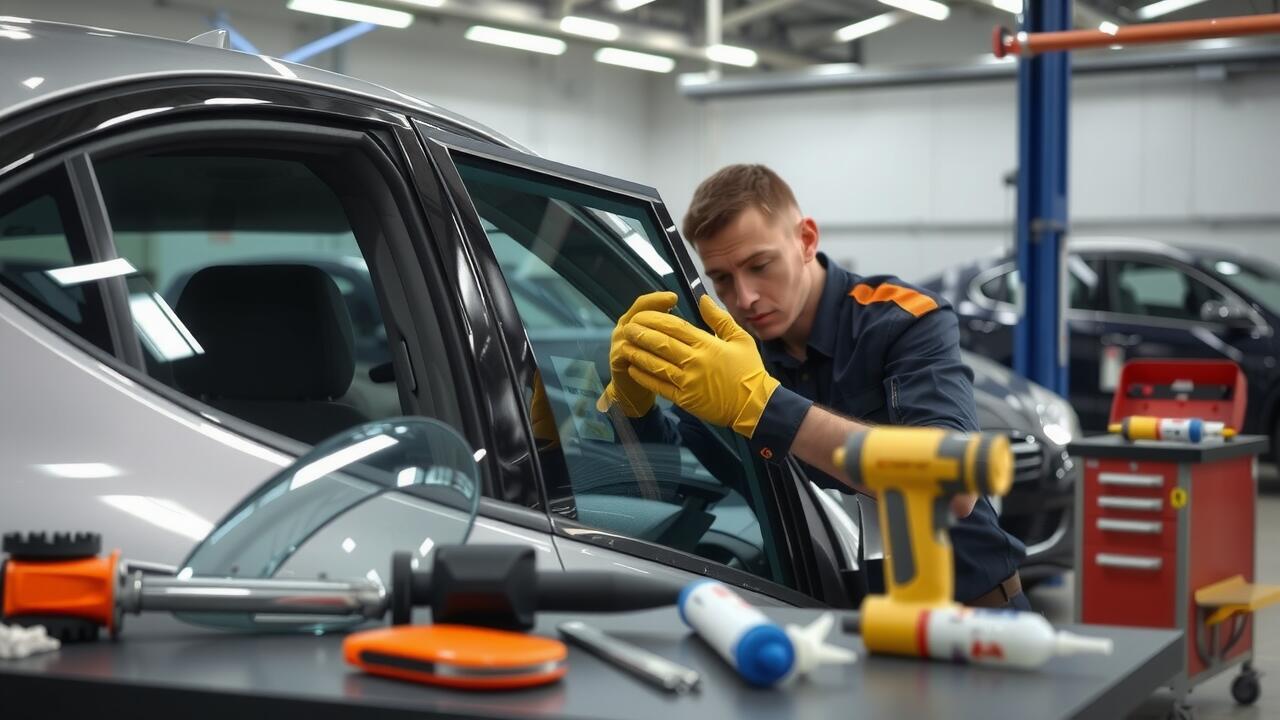
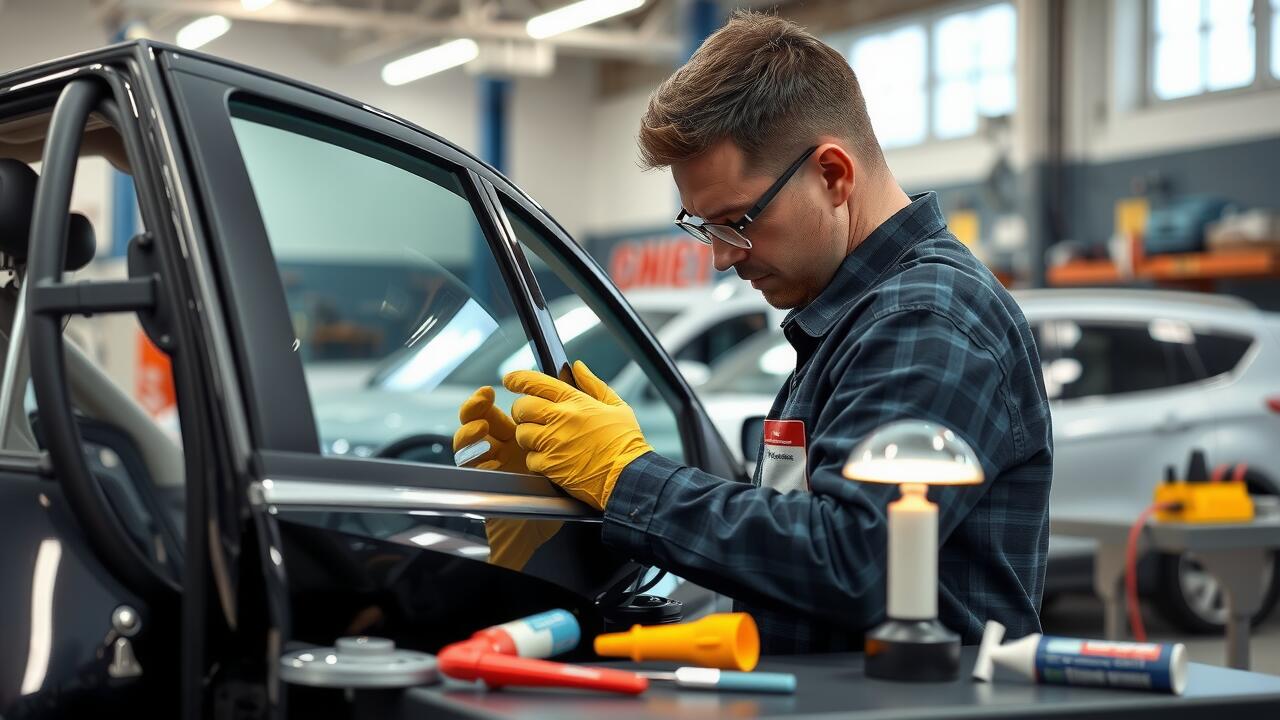
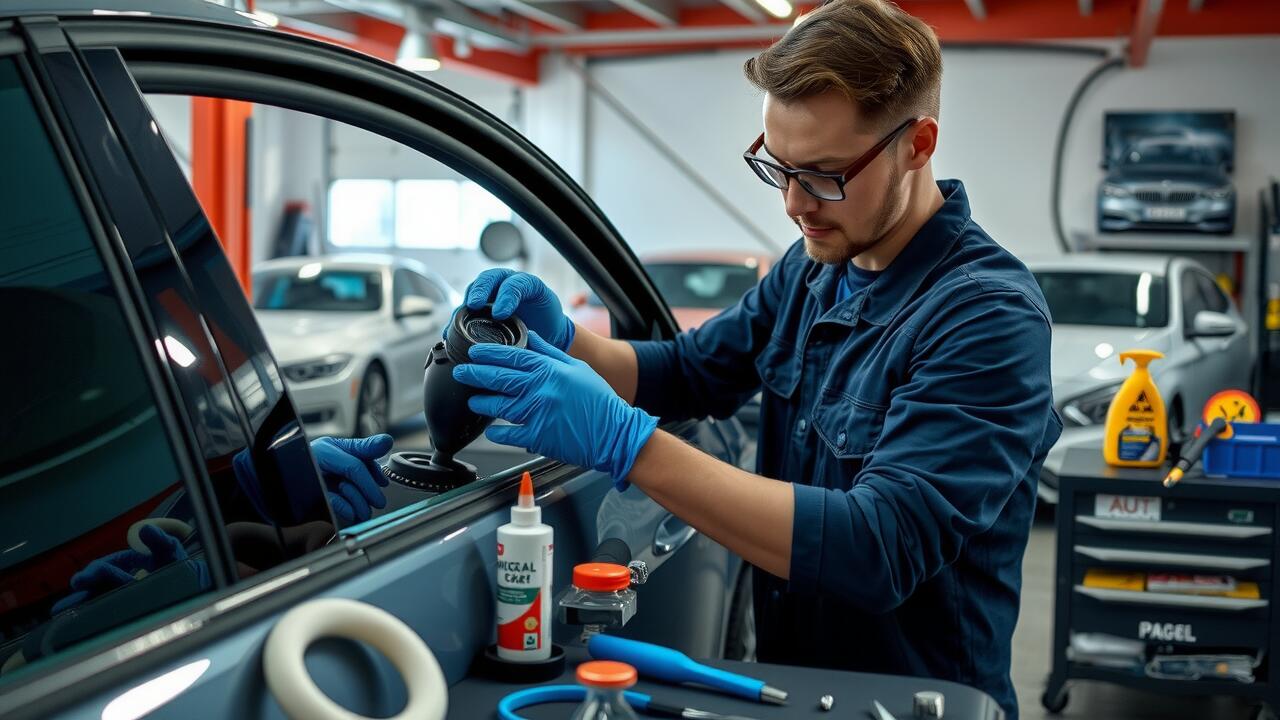
When undertaking a side window replacement, one common pitfall is underestimating the complexity of the task. Many individuals assume that simply removing the old window and securing a new one is straightforward, but there are often hidden challenges. The window frame might be damaged, requiring additional repairs before a new window can be installed. Moreover, aligning the new glass properly can be tricky, as even a slight misalignment can lead to leaks or improper sealing.
Another issue to be aware of is the potential for injury while handling glass. Car windows are made from tempered glass, which, while strong, can shatter unexpectedly if not handled correctly. Wearing appropriate safety gear is crucial to avoid cuts or other accidents. Additionally, if you're working without adequate experience, it’s easy to make mistakes with adhesives or seals that might compromise the integrity of the installation. These factors can turn a simple side window replacement into a much more complicated and time-consuming project.
Cost Considerations
When considering a side window replacement, it is essential to evaluate both the costs of parts and potential tools required for the installation. Sourcing the new window is typically the most significant expense. Prices can vary widely based on whether you're opting for original equipment manufacturer (OEM) glass or aftermarket options. Alongside the window itself, you may need adhesive, sealants, and various tools, which can add to the overall cost.
In addition to the material costs, think about the time investment a DIY approach demands. While attempting a side window replacement might save money on professional services, the learning curve can lead to additional expenses if mistakes occur. For those unfamiliar with the process, hiring a professional might seem like a higher initial outlay, but it often guarantees a quicker and more assured outcome, potentially saving on future repairs or replacements. Balancing the DIY option's costs against professional assistance is crucial to making the right decision.
Budgeting for DIY vs. Professional Services
When considering the cost of side window replacement, many car owners weigh the options between a DIY approach and hiring a professional service. A DIY replacement can be appealing due to the potential for lower costs related to labour. However, those embarking on this path must account for the purchase of tools, adhesives, and the new window itself, which can add up. A learning curve exists that might lead to mistakes, potentially increasing overall expenses if a professional needs to step in to rectify errors.
On the other hand, opting for professional services guarantees that the side window replacement is completed efficiently and correctly. While this option may initially present a higher price tag, it often includes warranties and peace of mind regarding the workmanship. Professionals have the experience and the right equipment, which can save time and reduce the risk of future problems. Evaluating these options requires a careful assessment of both immediate costs and long-term considerations related to vehicle safety and integrity.
FAQS
Can I replace my own car window without any experience?
While it is possible to replace your own car window without prior experience, it is recommended to have some basic knowledge of automotive repair to ensure a proper fit and finish.
What tools do I need to replace a car window?
Common tools required for replacing a car window include a screwdriver, a trim removal tool, a utility knife, adhesive, and possibly a window suction cup for handling the glass.
How long does it typically take to replace a car window?
The time it takes to replace a car window can vary, but it generally takes about 1 to 2 hours for a DIY replacement, depending on your experience and the complexity of the car model.
What are some common mistakes to avoid when replacing a car window?
Common mistakes include not properly cleaning the adhesive area, failing to allow adequate curing time for the adhesive, and not ensuring a secure fit, which can lead to leaks or wind noise.
How much can I expect to save by replacing my car window myself instead of hiring a professional?
DIY window replacement can save you a significant amount, typically ranging from $100 to $300, depending on the type of window and your local professional service rates. However, consider the costs of tools and materials as well.