Table Of Contents
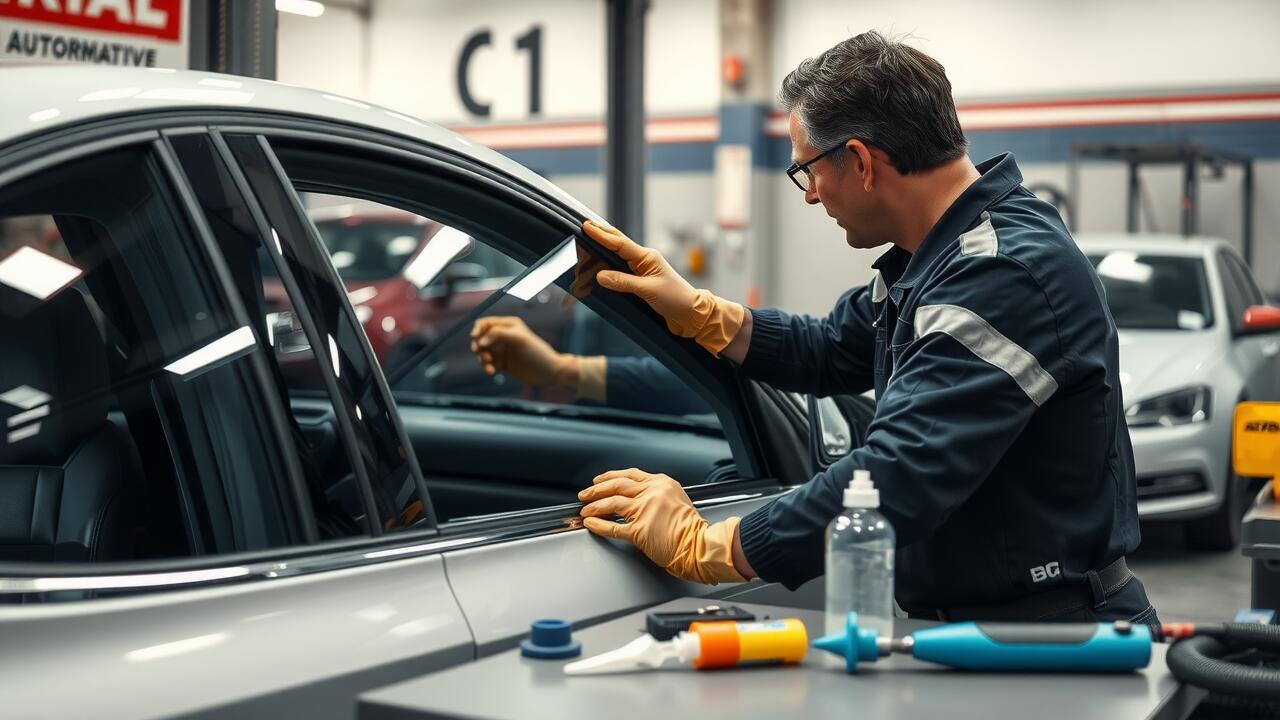
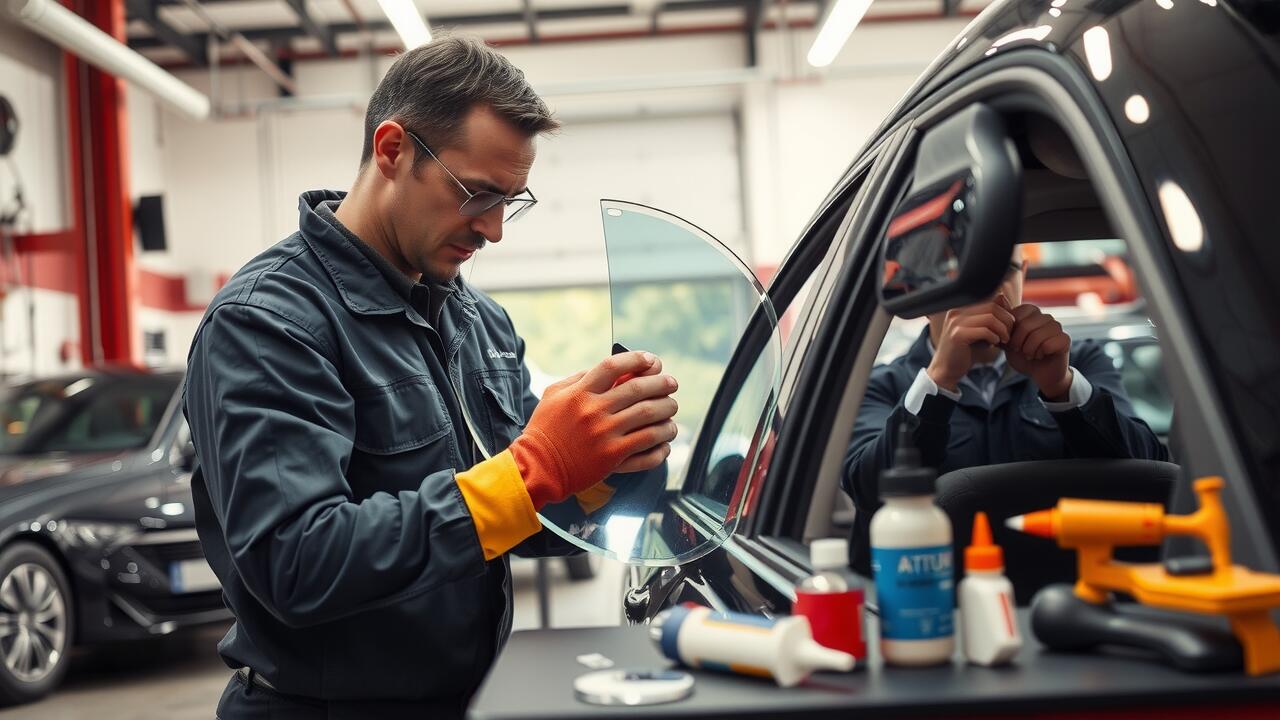
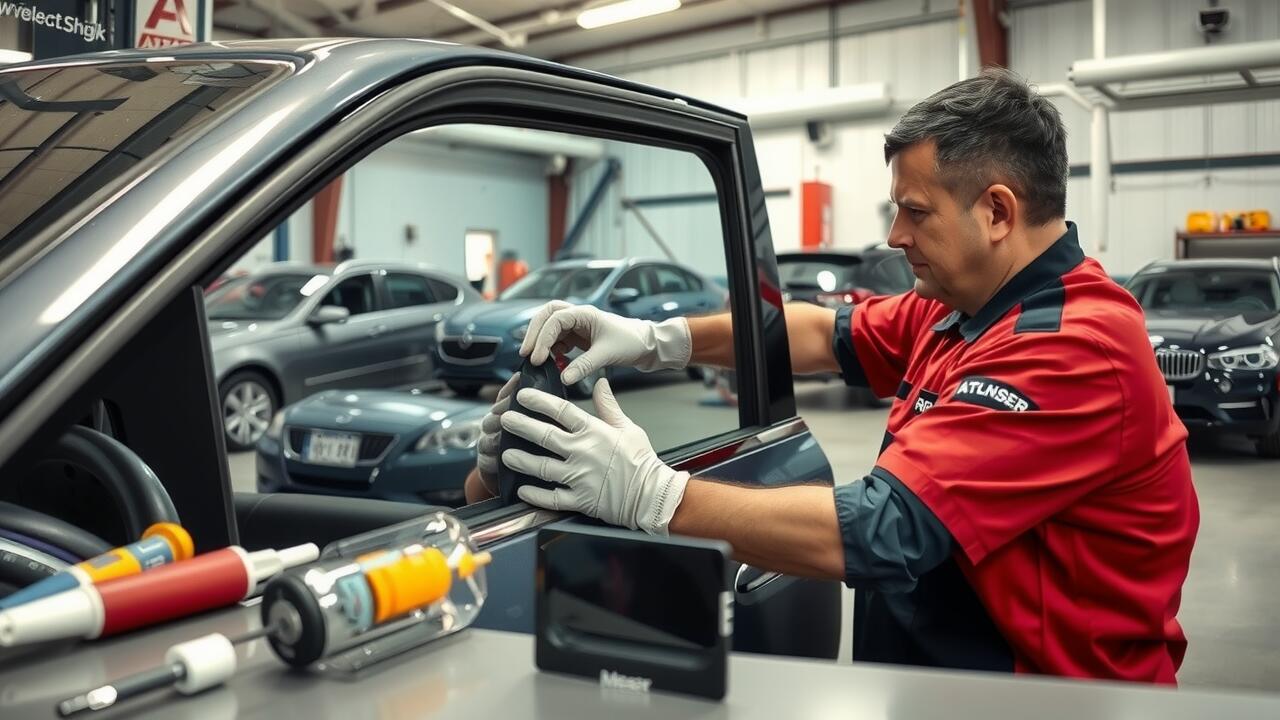
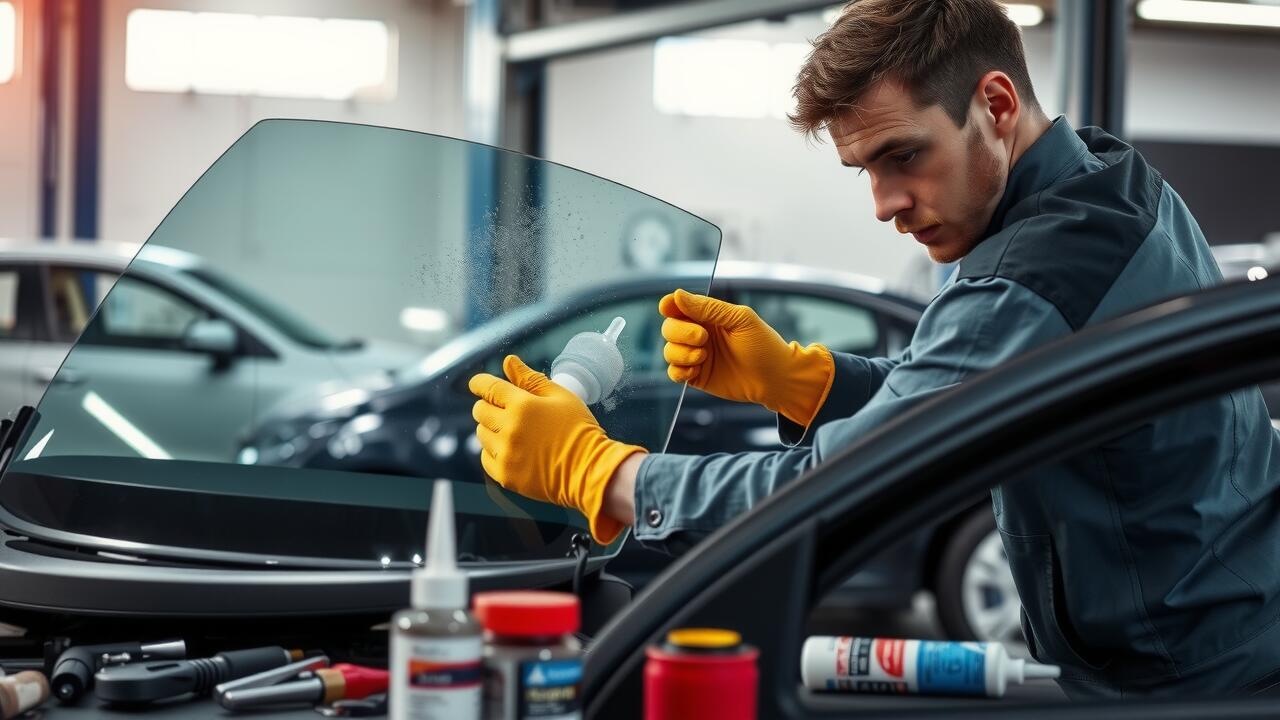
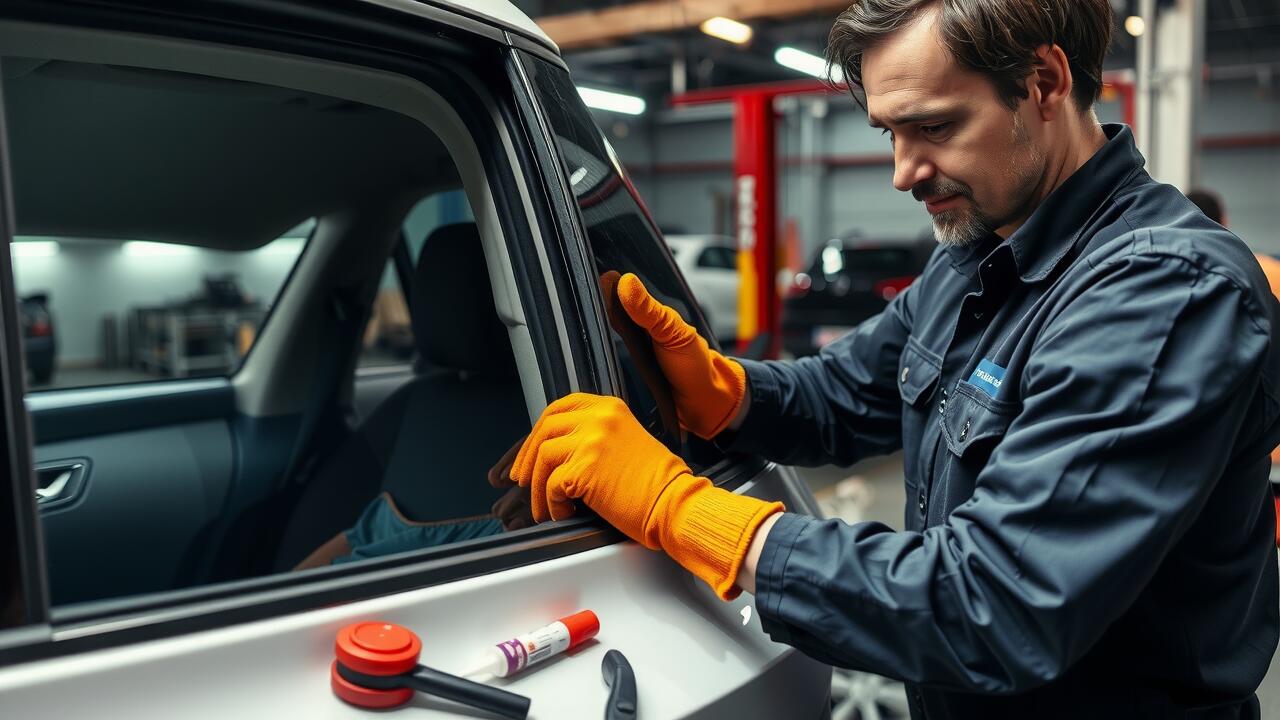
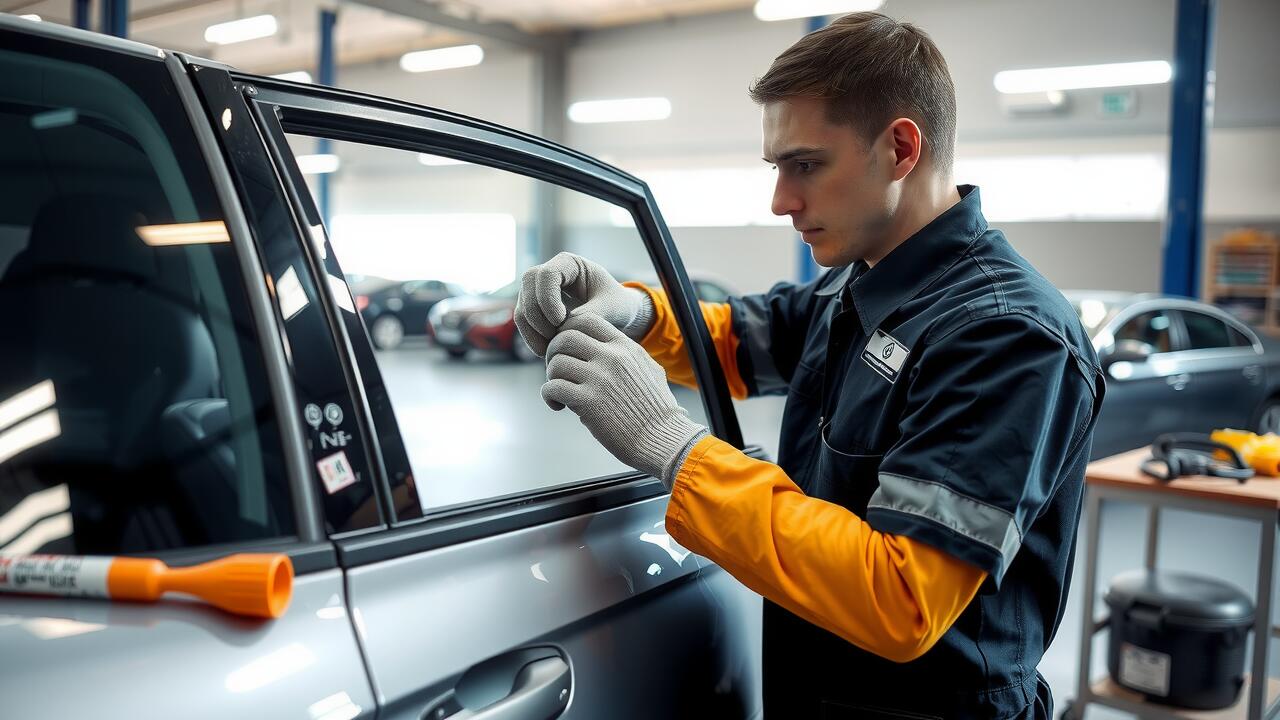
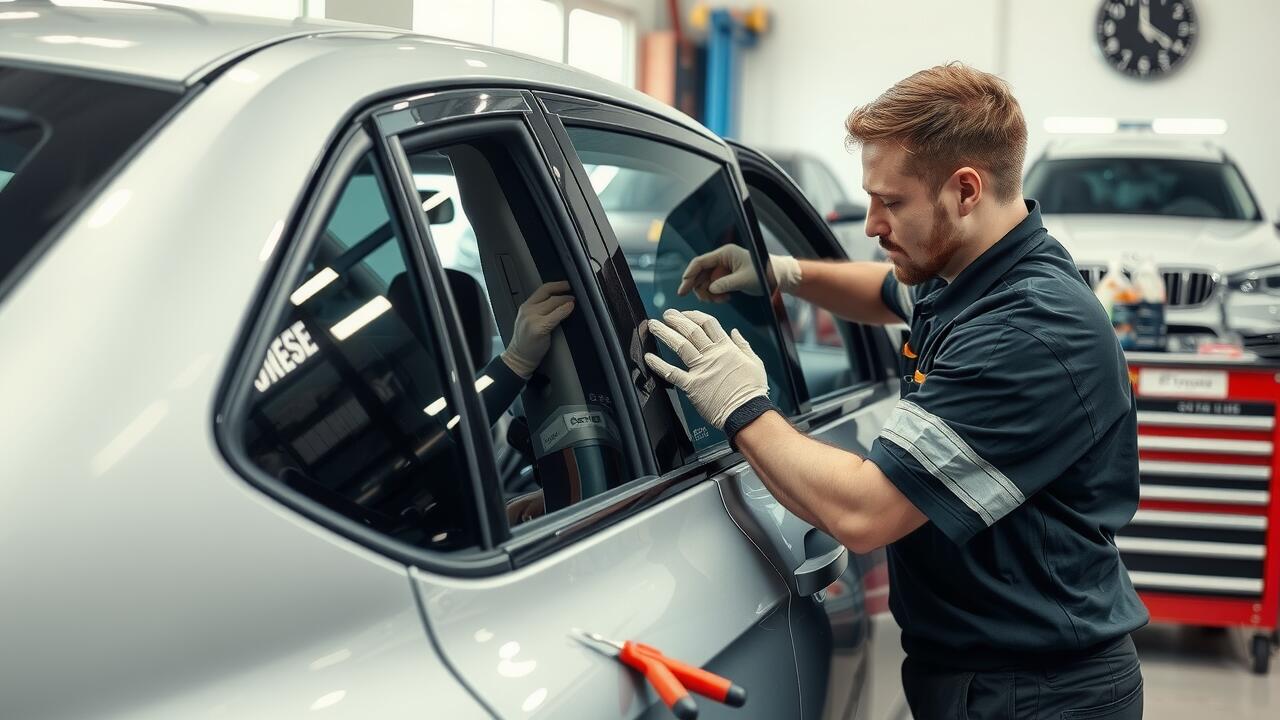
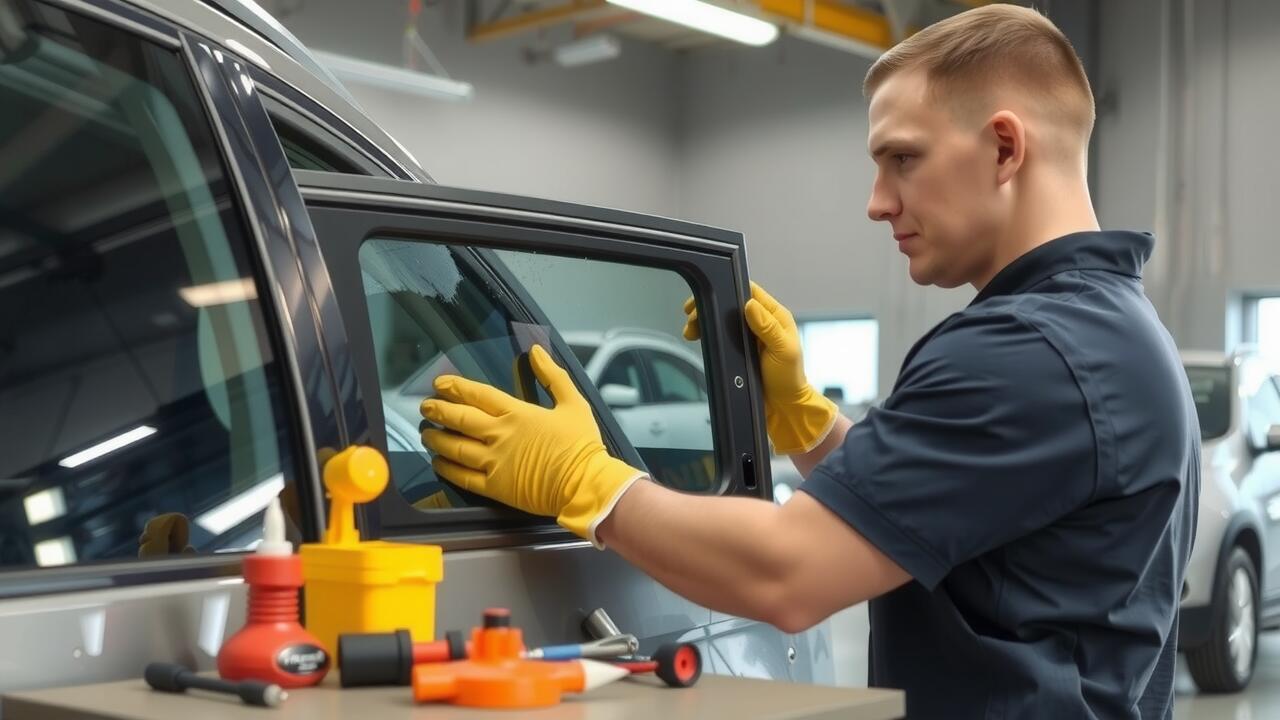
Positioning the New Window
Positioning the new window correctly is crucial for a successful side window replacement. Begin by ensuring that the window frame and the opening are clean and free of any debris. This will help in achieving a precise fit. Hold the window in place, ensuring it aligns evenly with the edges of the opening. Adjust as necessary to maintain balance and symmetry throughout the process.
Once you have positioned the window correctly, it is important to check that it sits flush in the frame. Any gaps can lead to future issues with insulation or leaks. Take your time to make any necessary adjustments before moving on to securing the window. Accurate placement now can save time and problems later, so it's worth the effort to do it right at this stage.
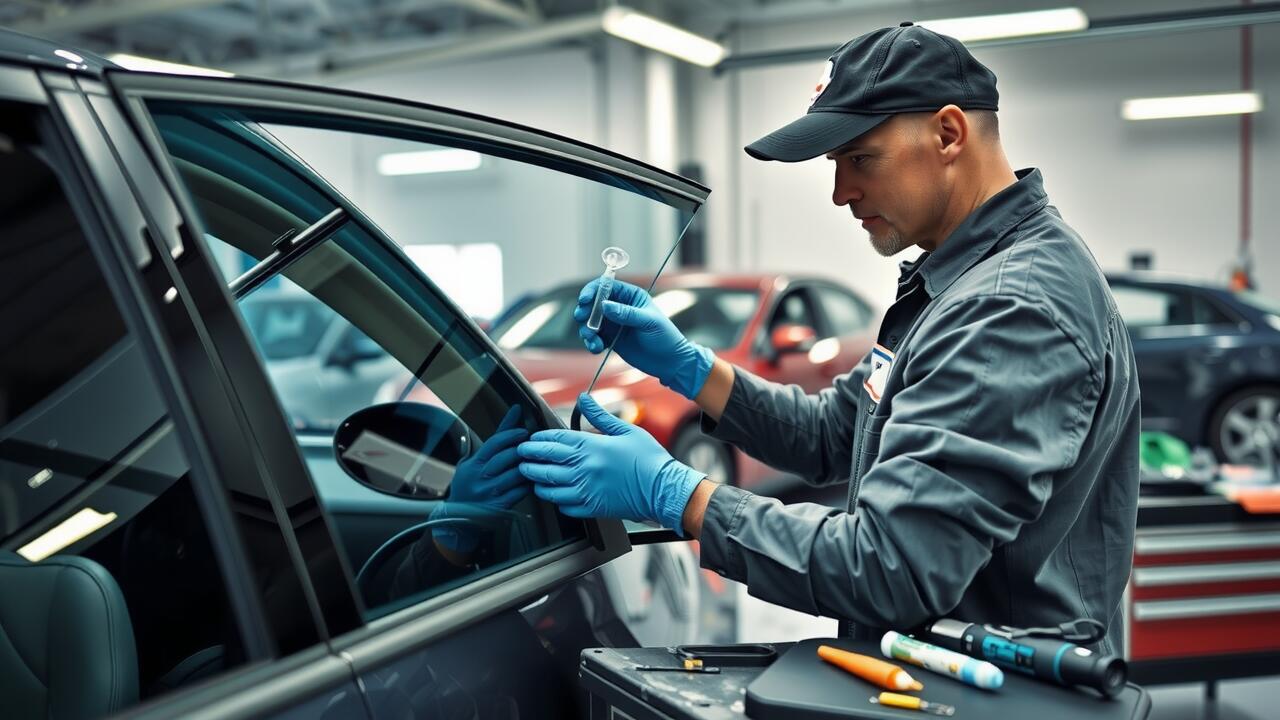
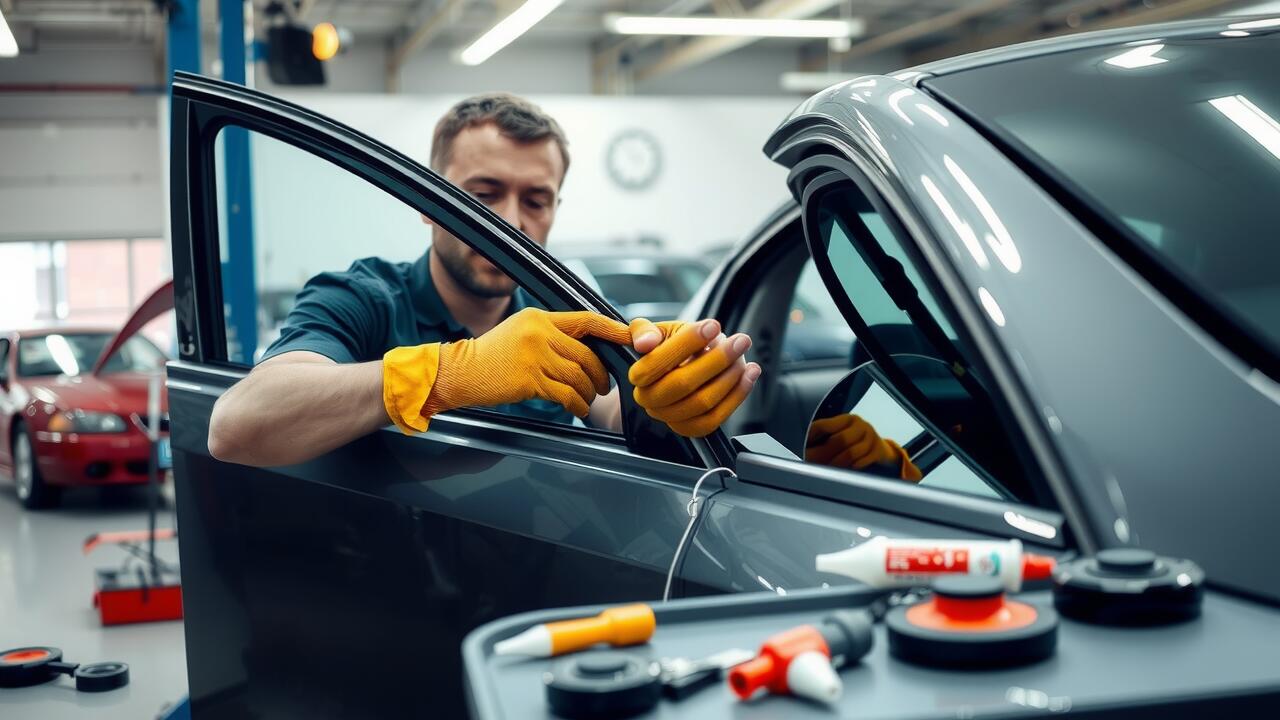
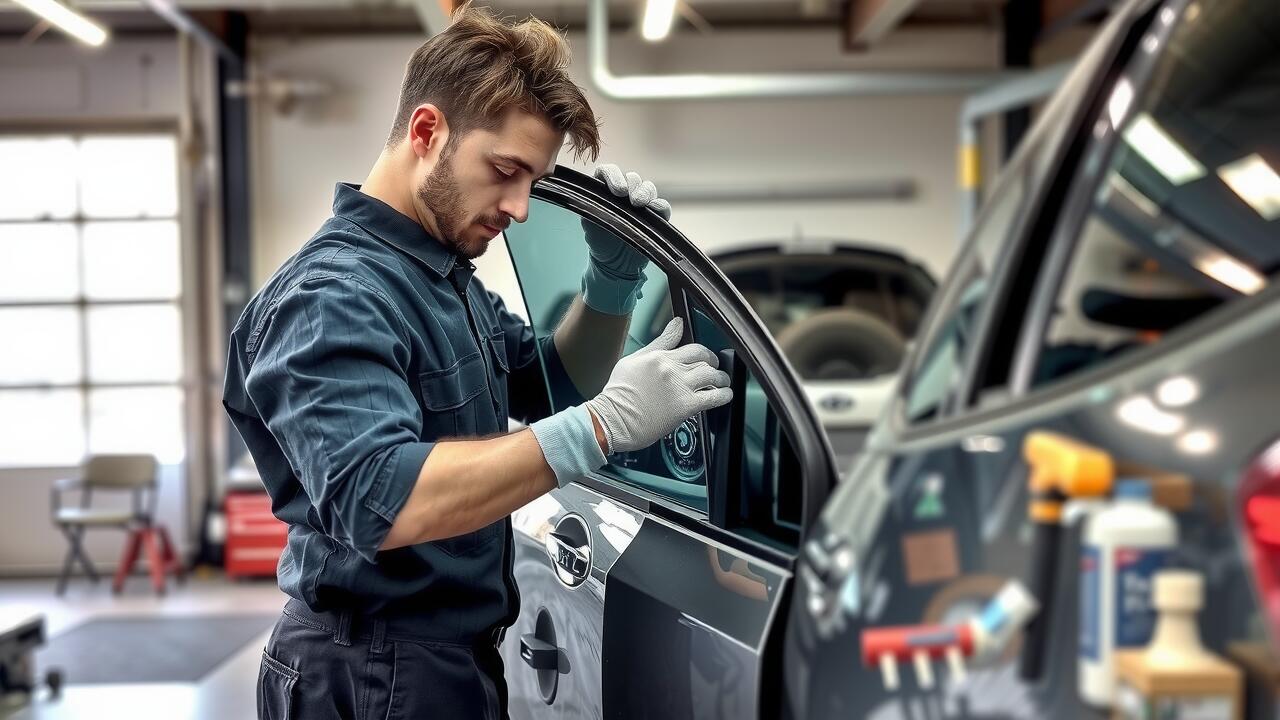
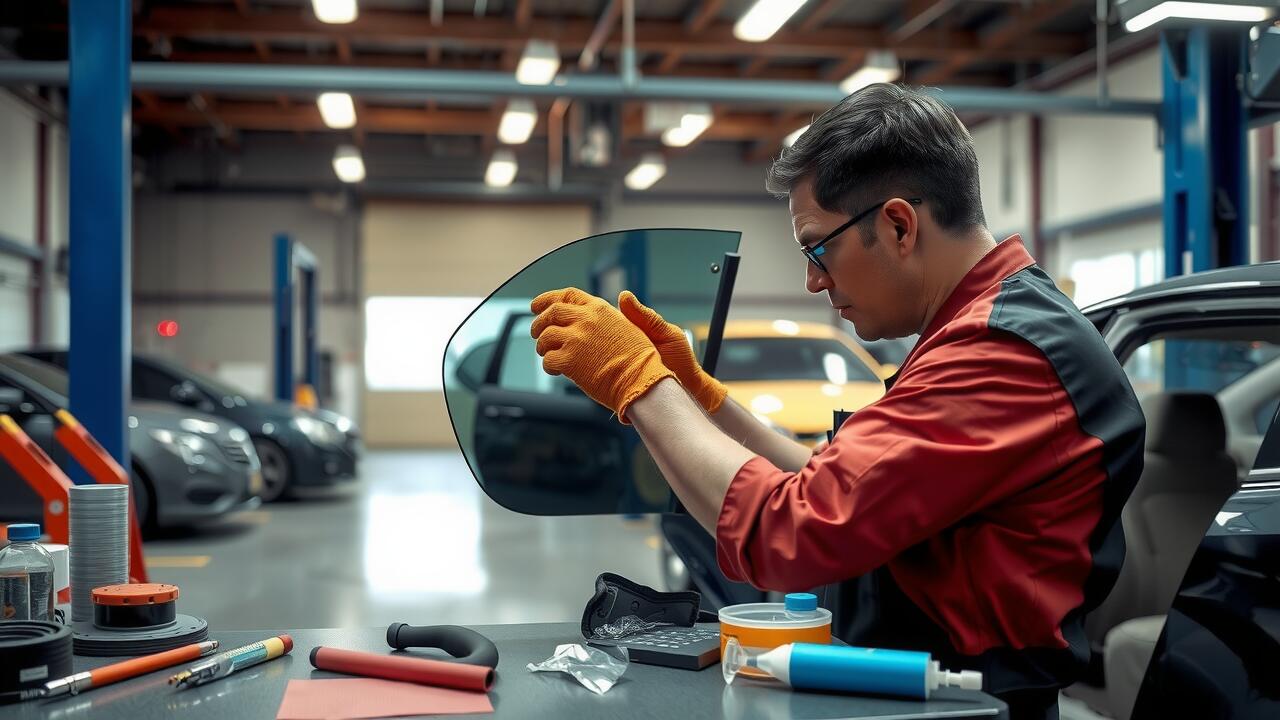
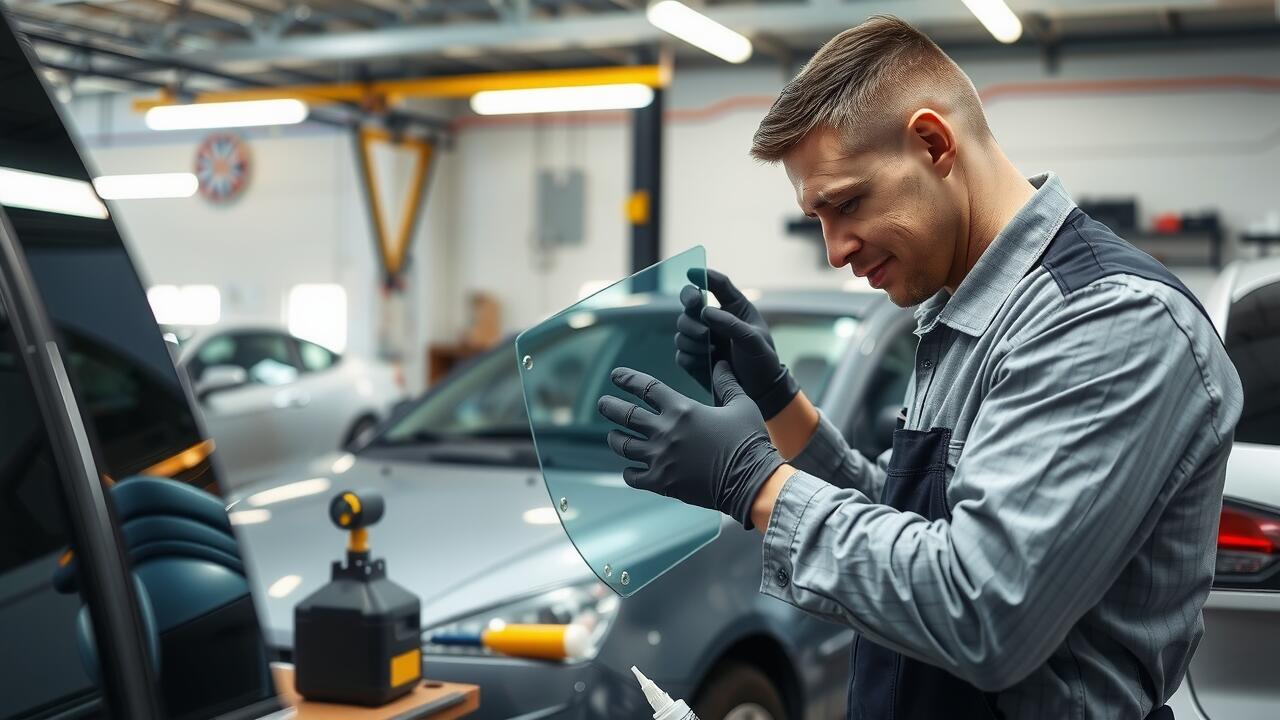
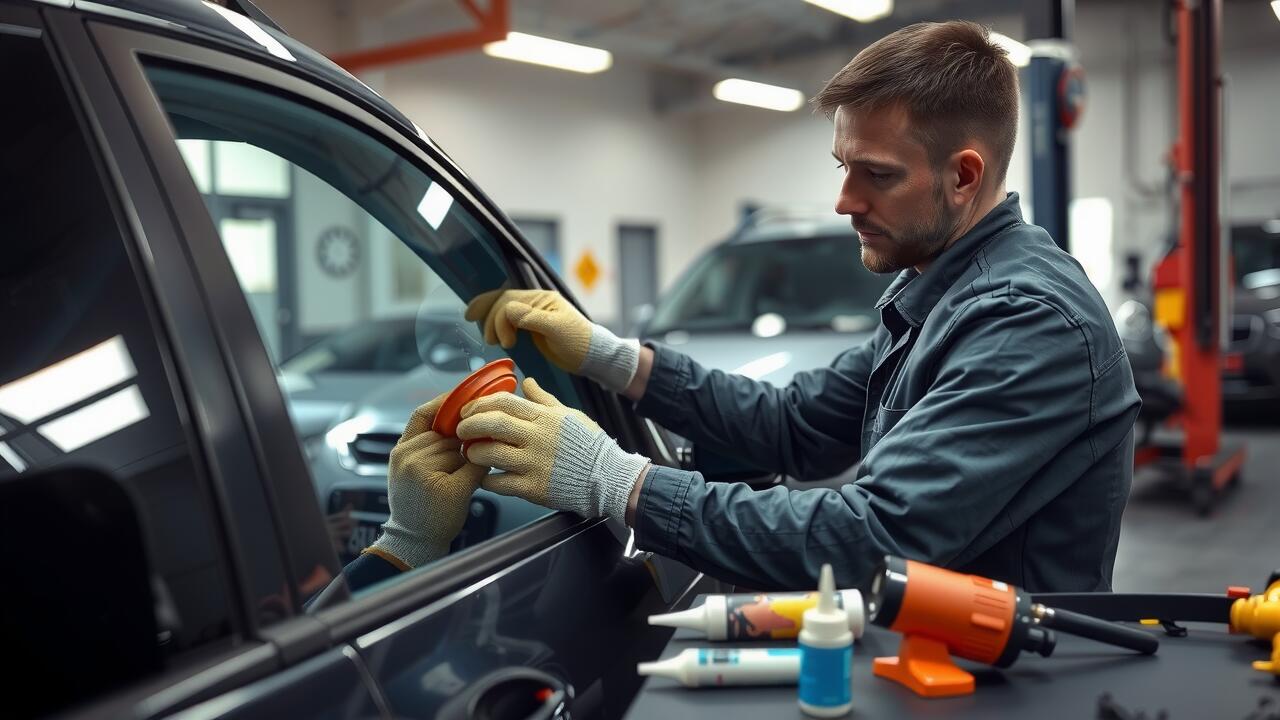
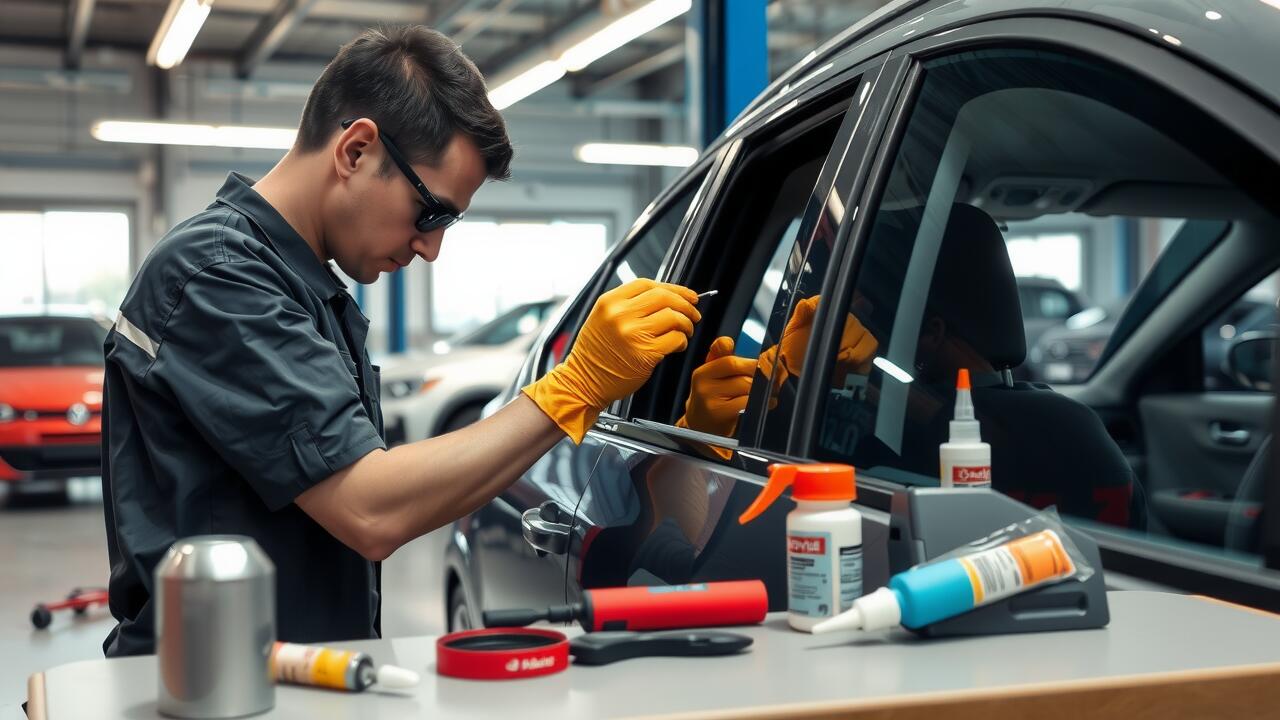
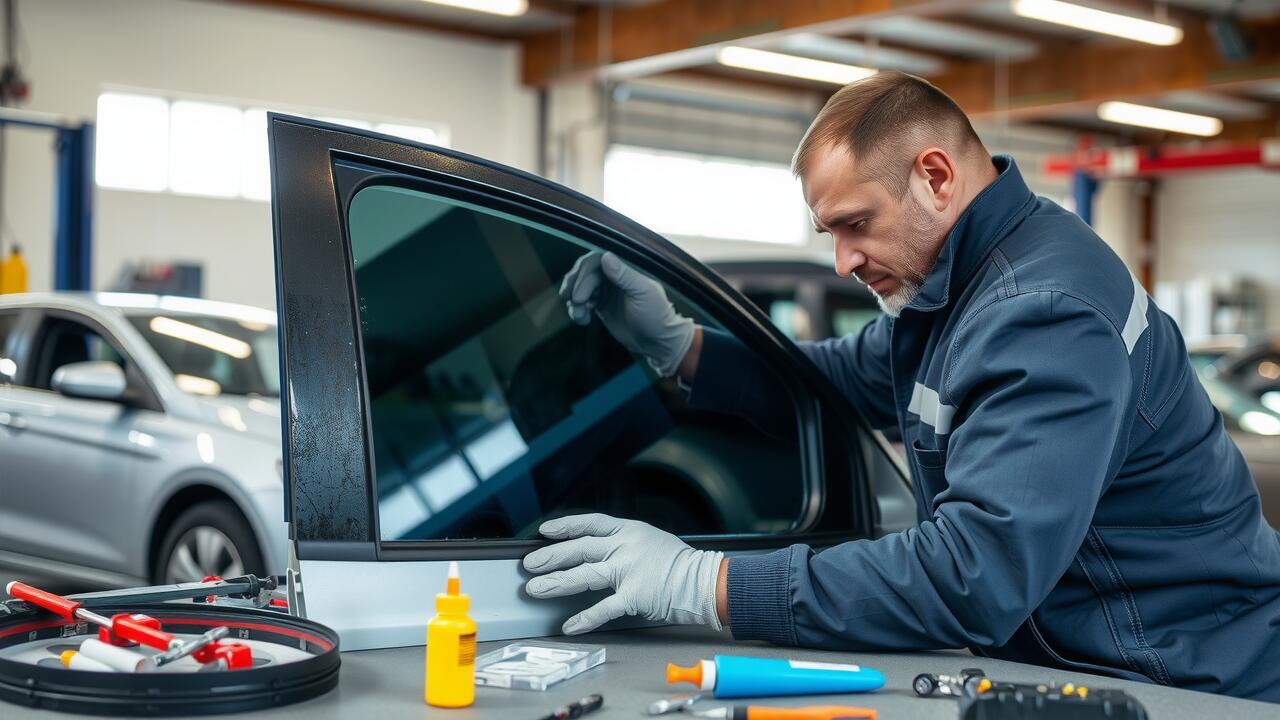
Aligning and Setting the Window
When undertaking the side window replacement, proper alignment is crucial to ensure a snug fit and prevent leaks. Position the new window into the trim and carefully push it into place. Ensure that the top and bottom edges align evenly with the surrounding frame. It can be helpful to use spacers to maintain consistent gaps, providing a foundation for an accurate installation.
Once the window is positioned correctly, check its level with a spirit level or similar tool. Any misalignment should be adjusted before proceeding, as this will affect the overall integrity of the installation. Gently adjust the window as needed, maintaining equal space on all sides. This step is essential for achieving a successful side window replacement that functions properly and enhances the aesthetics of the vehicle.
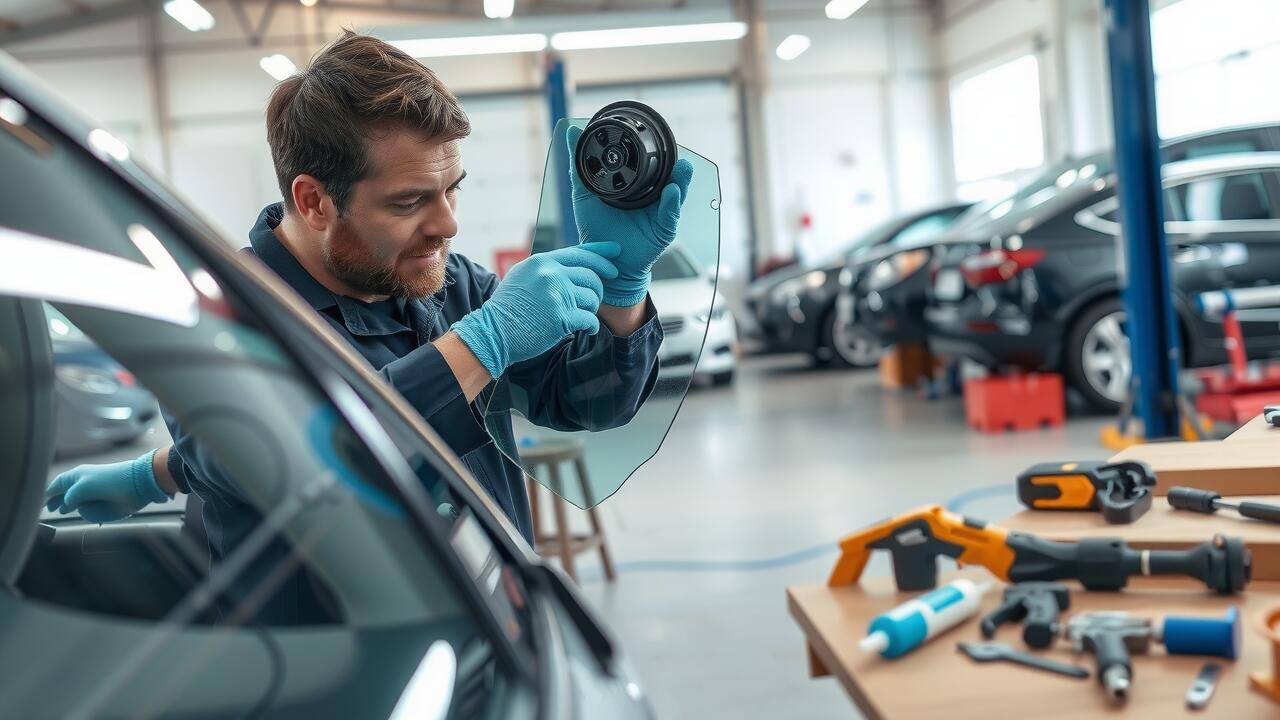
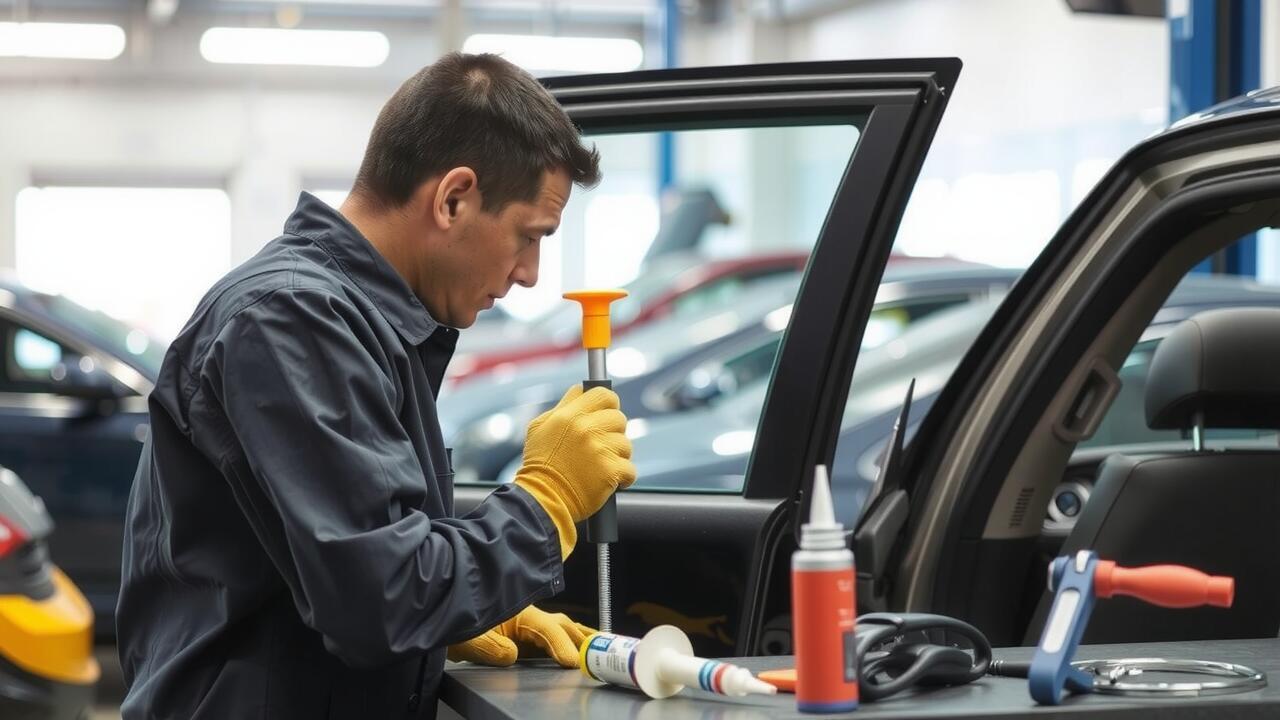
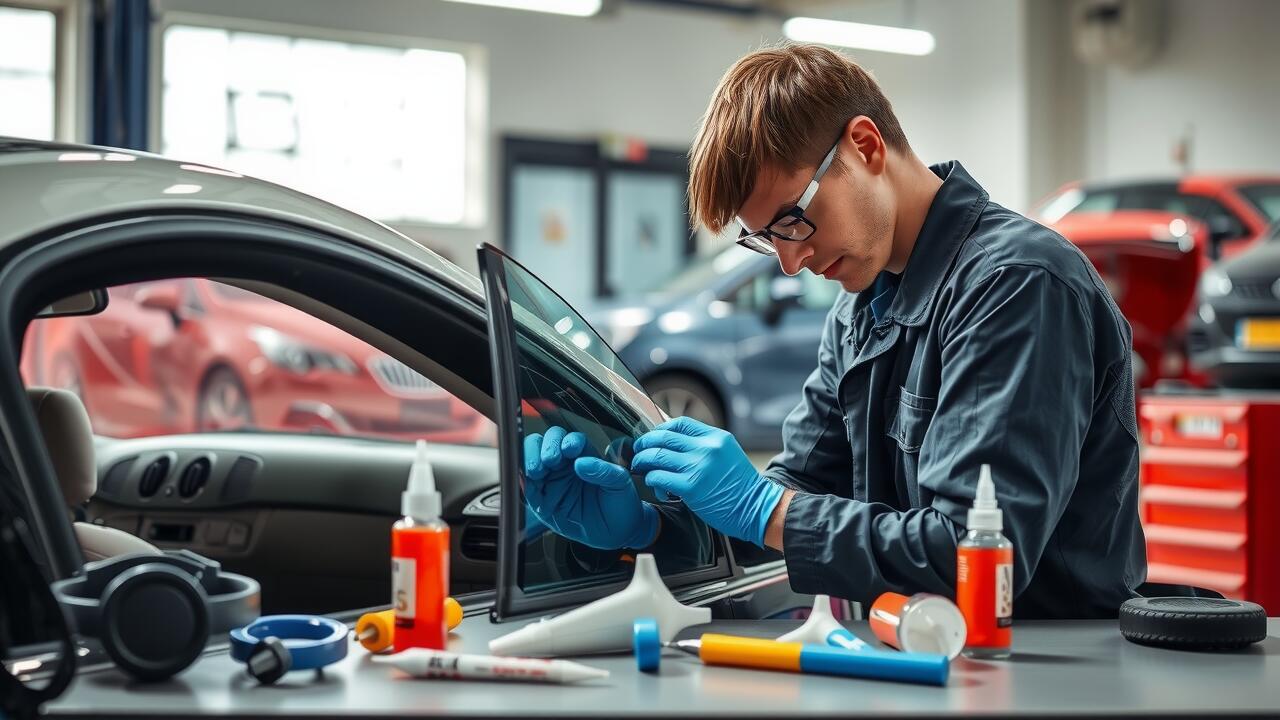
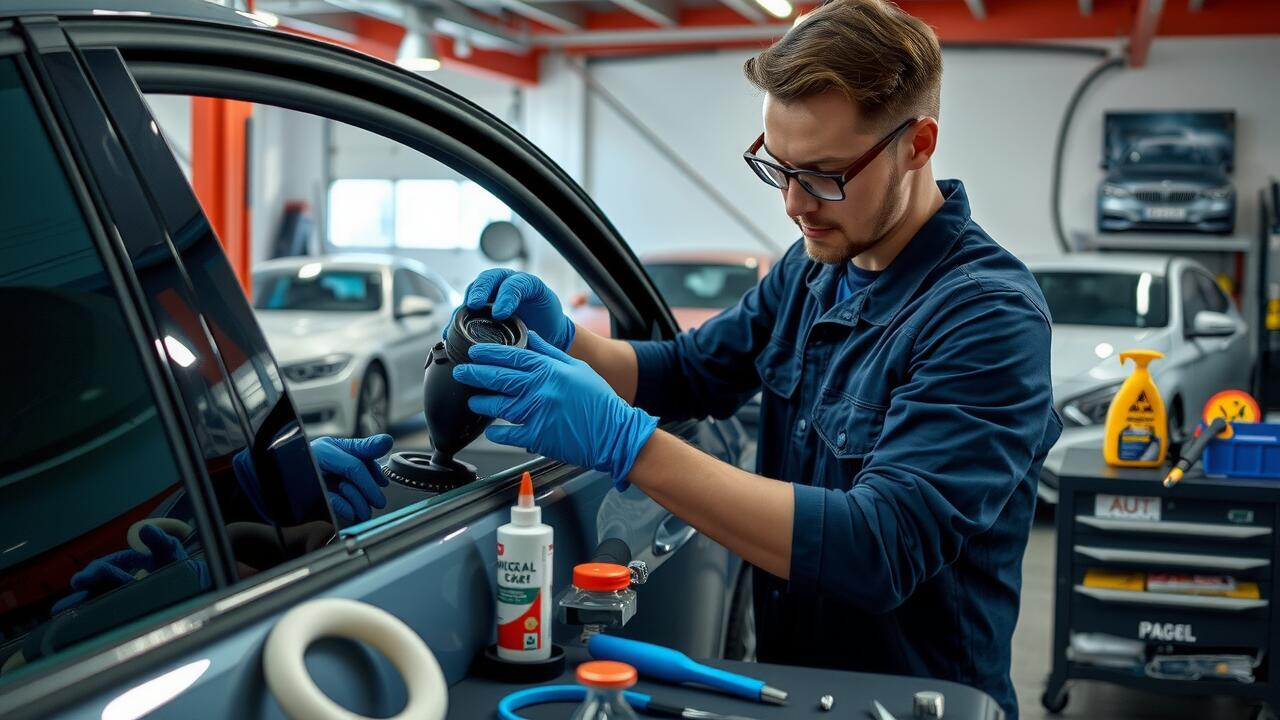
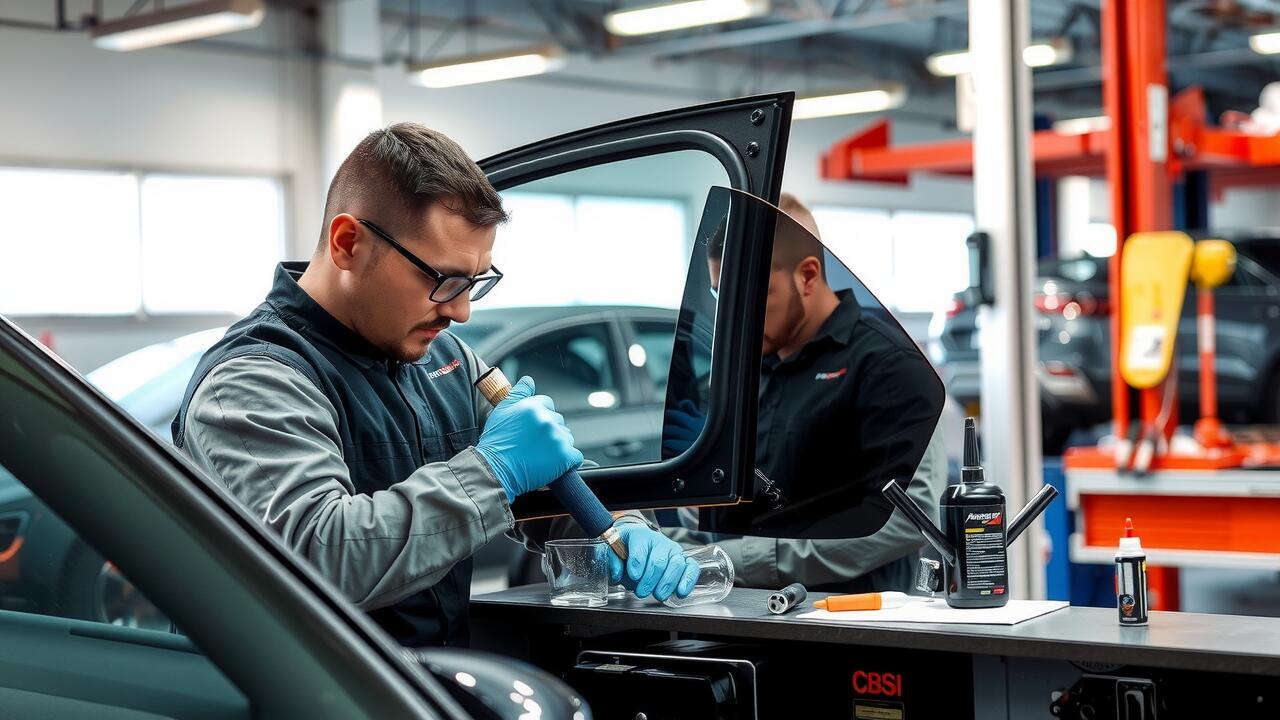
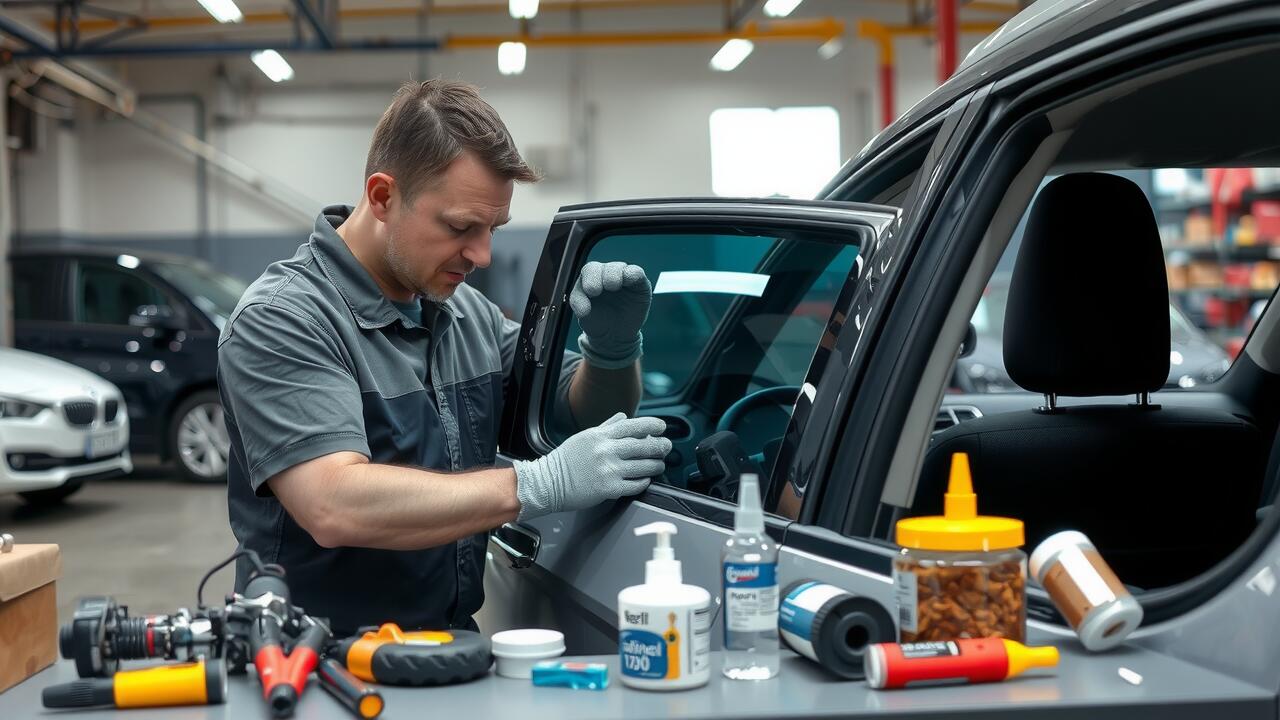
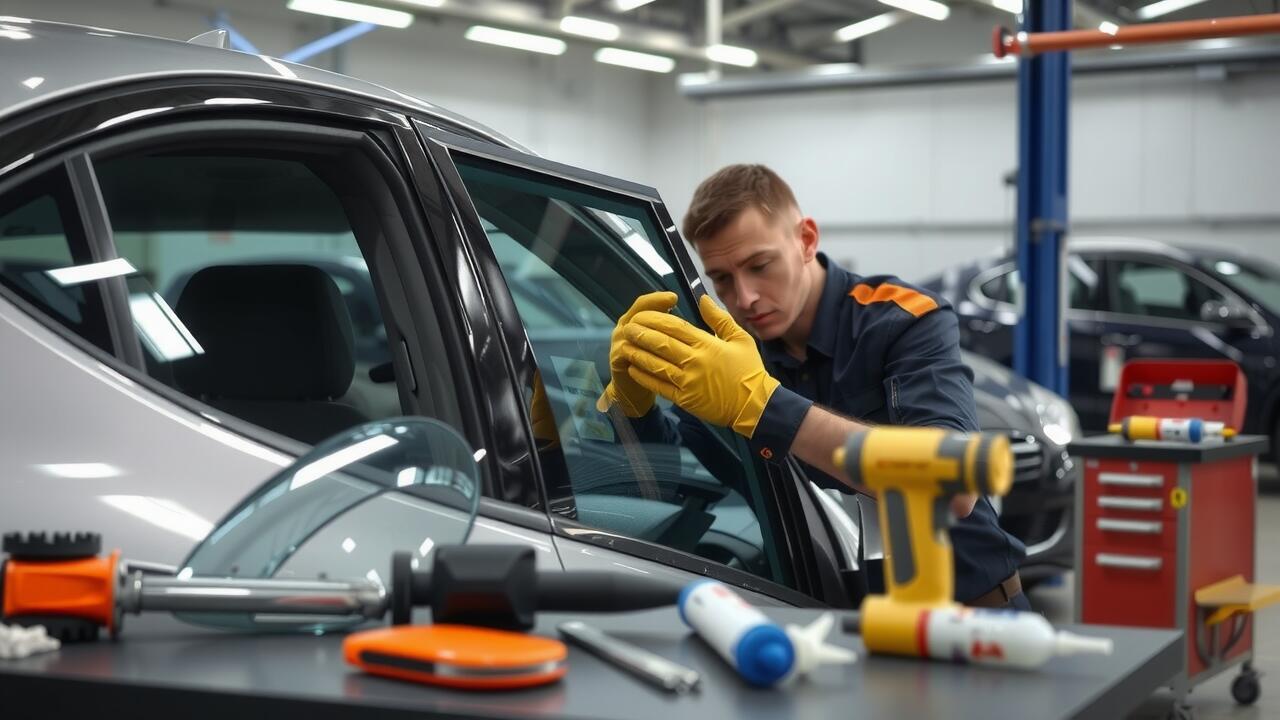
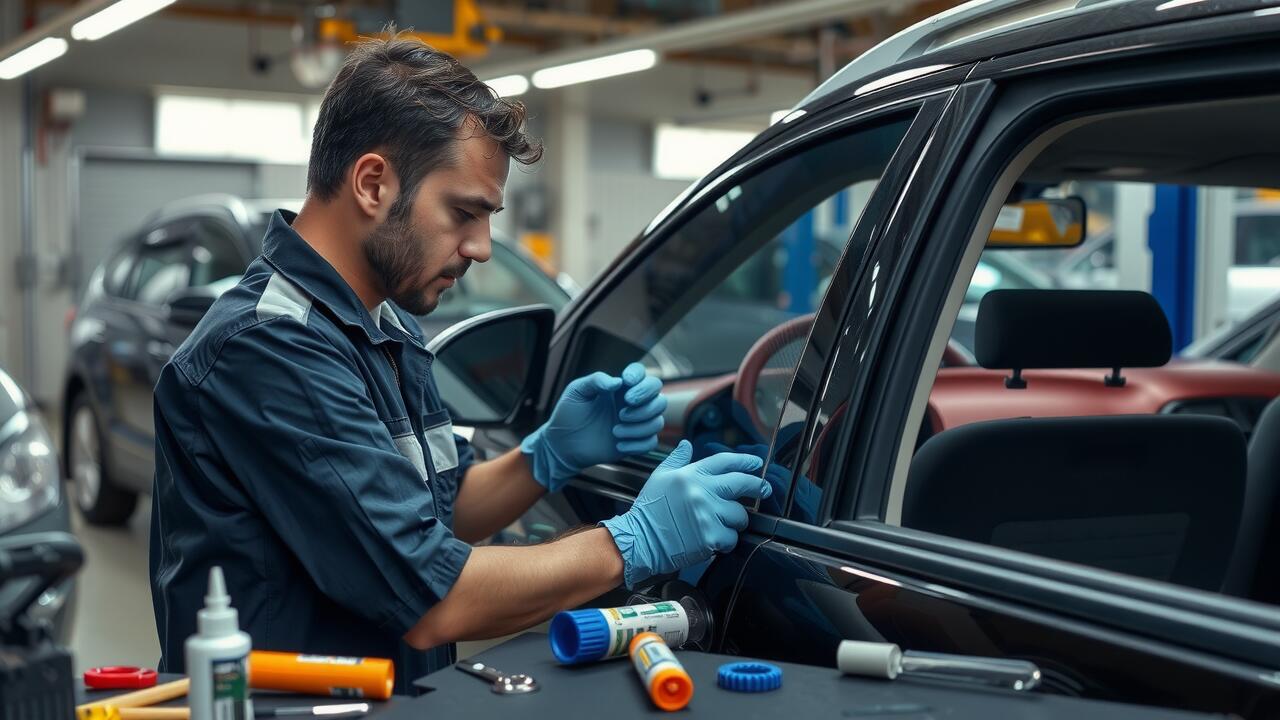
Securing the Window
Securing the window is a crucial step in the side window replacement process. Begin by using high-quality automotive adhesive to create a durable bond between the glass and the frame. Apply the adhesive evenly around the perimeter of the window opening, ensuring adequate coverage. Once the adhesive is ready, carefully lower the new side window into position, aligning it with the pre-marked guidelines. This helps maintain an even gap, which is essential for a successful installation.
After positioning the side window, press it firmly against the frame to allow the adhesive to create a strong seal. Use clamps or securing tape to hold the window in place while the adhesive cures. This ensures that the window does not shift during the drying process. Be mindful of any excess adhesive that may ooze out and clean it immediately to maintain a neat appearance. Properly securing the window not only enhances its longevity but also contributes to the overall integrity of the vehicle.
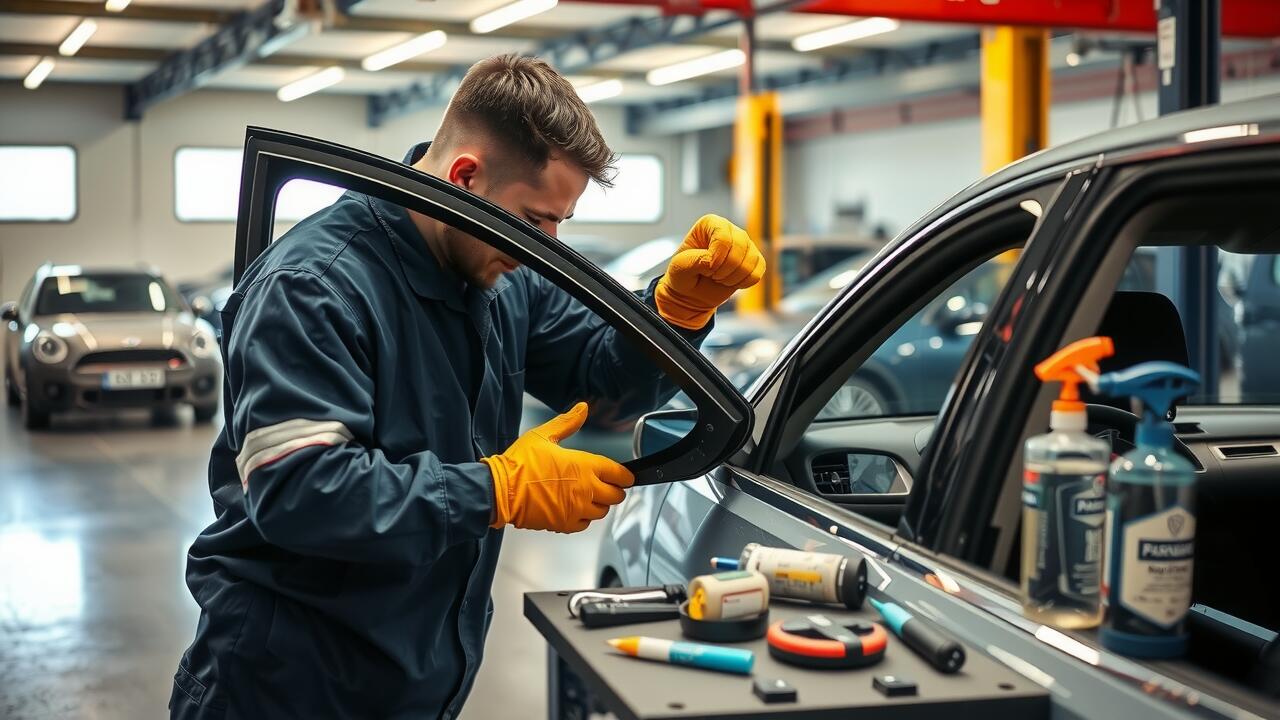
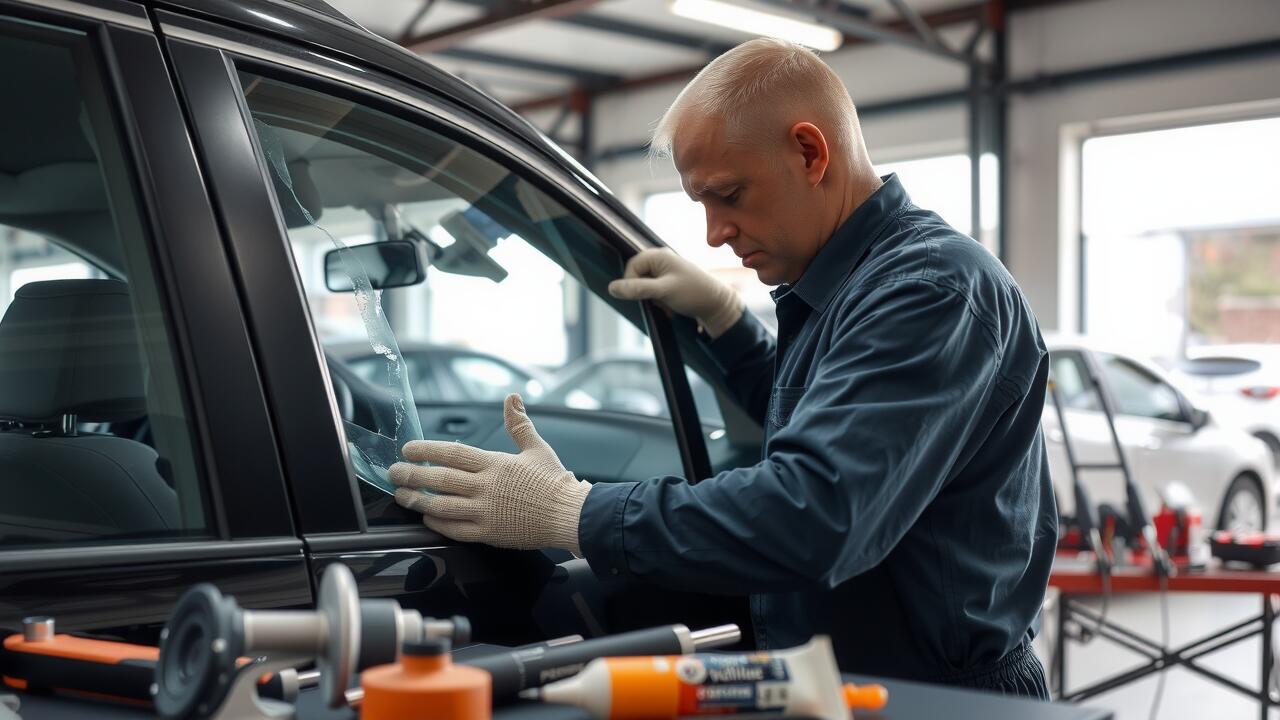
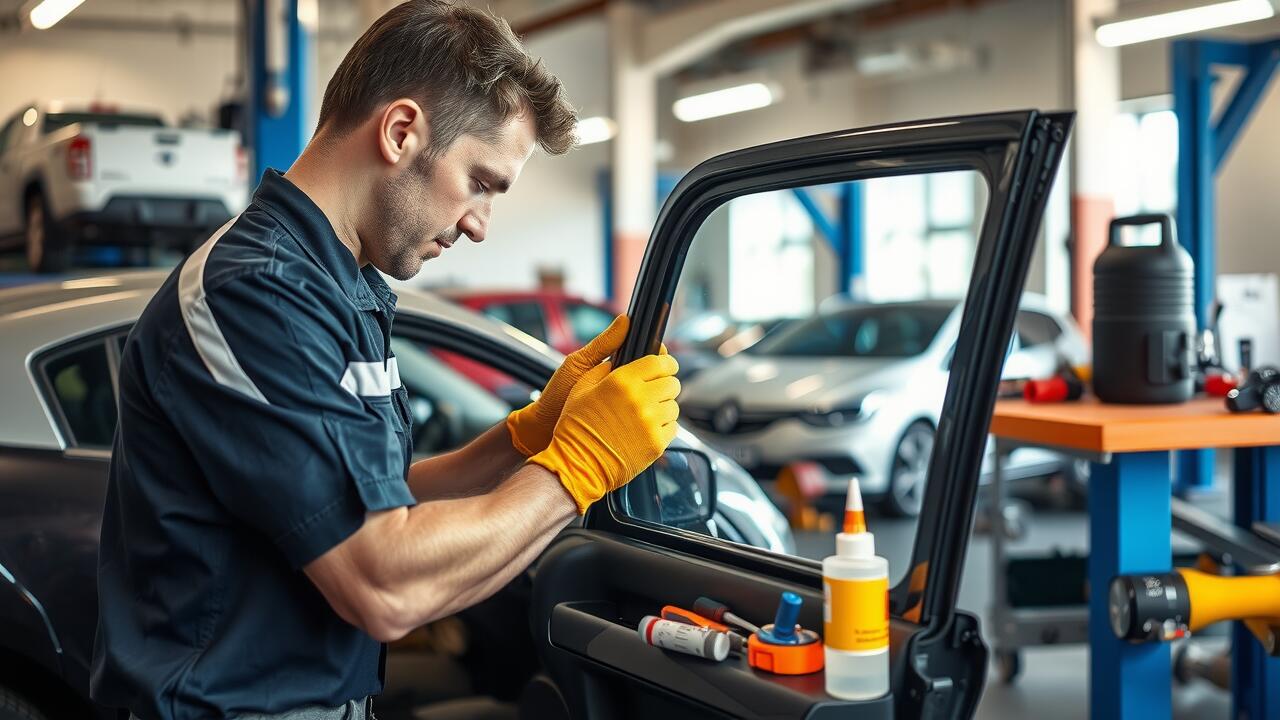
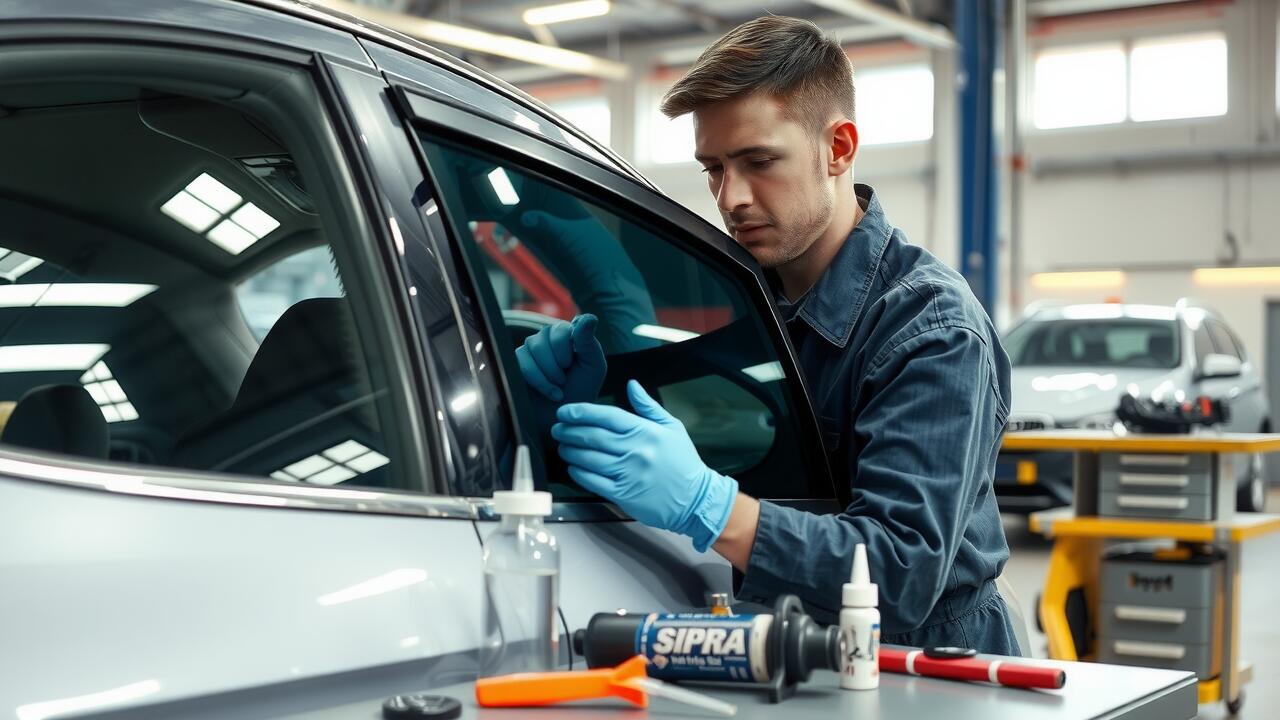
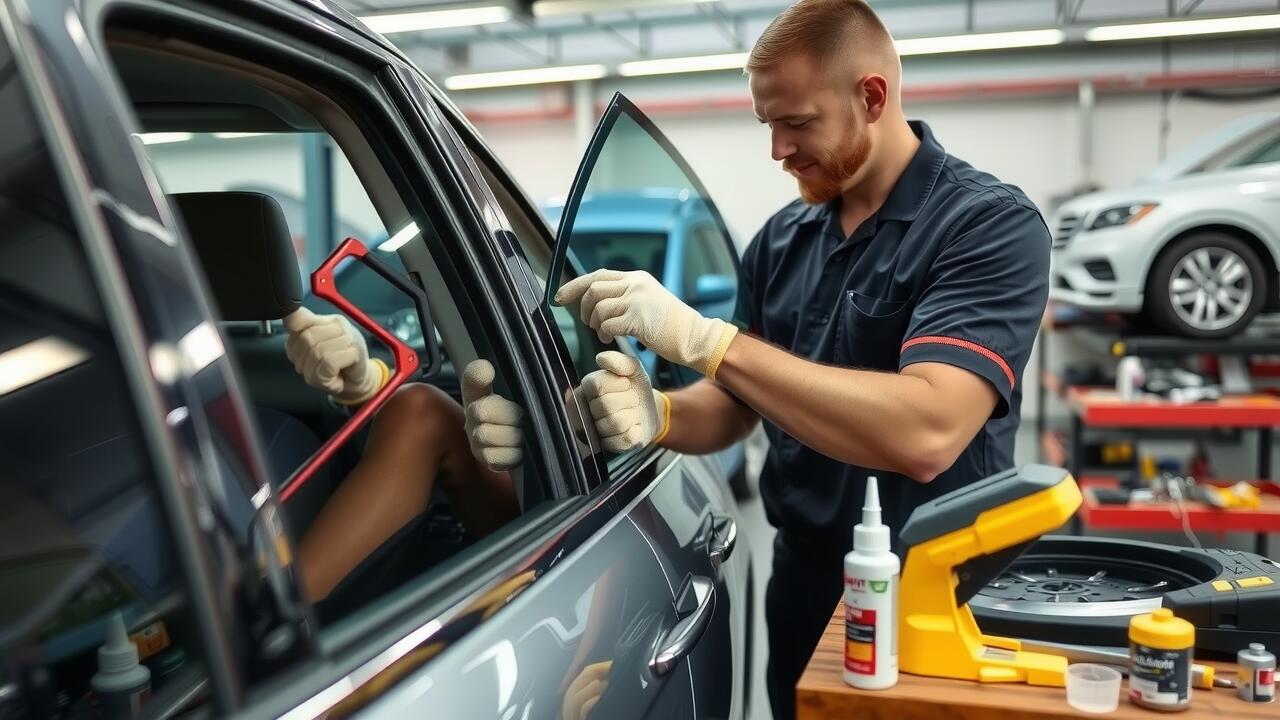
Techniques for a Tight Fit
Achieving a tight fit during side window replacement is essential for preventing leaks and ensuring durability. Begin by checking the window frame for any imperfections or debris. Ensure that the surfaces are clean and dry before attempting to fit the window. Use weather stripping or foam insulation to fill gaps, which provides both a snug fit and enhances energy efficiency. If needed, apply a bead of adhesive to further secure the window in place.
When positioning the new window, press firmly to ensure the adhesive bonds effectively. Use clamps to hold the window in position while the adhesive cures. This will help prevent any movement that could lead to misalignment. After setting the clamps, double-check that the window is level and aligned properly with the surrounding frame. Making minor adjustments at this stage can save time and effort later if any issues arise.
Cleaning Up After Installation
After completing the side window replacement, it is essential to tidy up the workspace to ensure everything is in order. Begin by removing any tools and materials that were used during the installation process. Gather any packaging related to the new window and dispose of it properly. This not only makes the area safe but also creates a more pleasant environment.
Next, inspect the area for any leftover adhesive or sealant. This residue can affect the appearance and functionality of the installation if not cleaned properly. Use an appropriate solvent to remove excess adhesive without damaging the vehicle’s surface. Take care to follow manufacturer guidelines for the cleaning products to ensure compatibility and effectiveness. A thorough clean-up not only enhances the visual appeal but also reinforces the quality of the side window replacement.
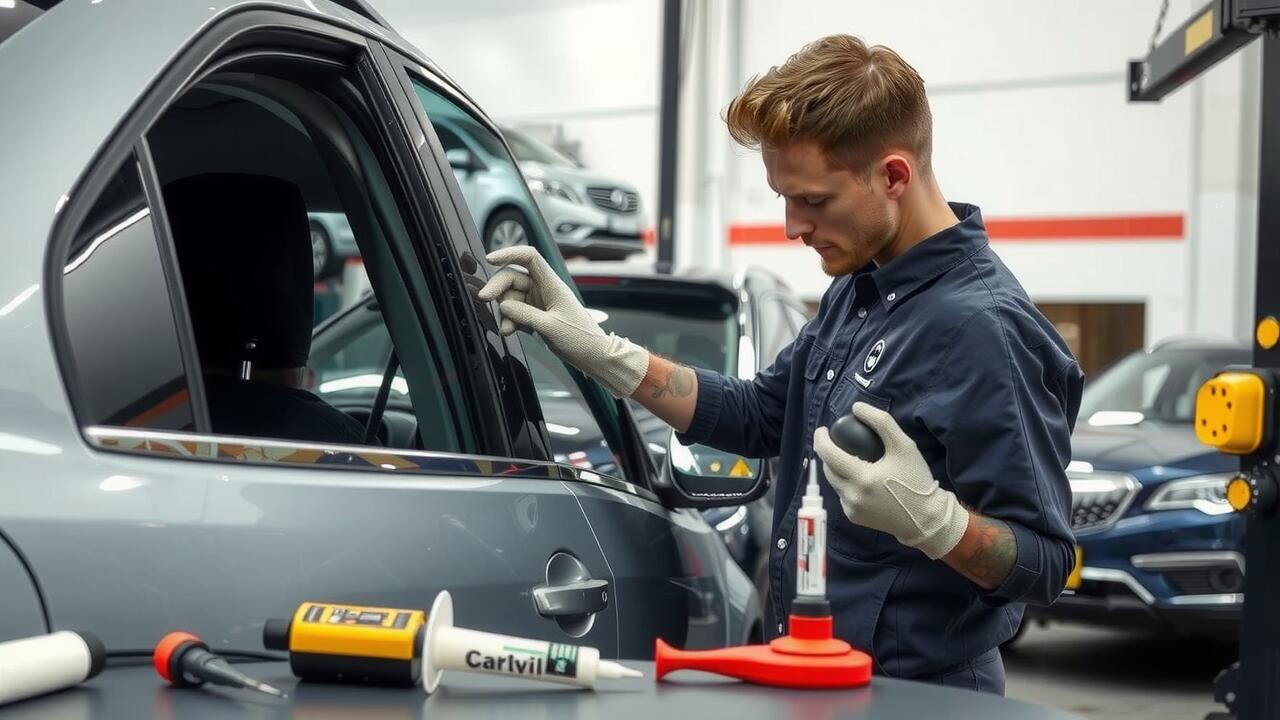
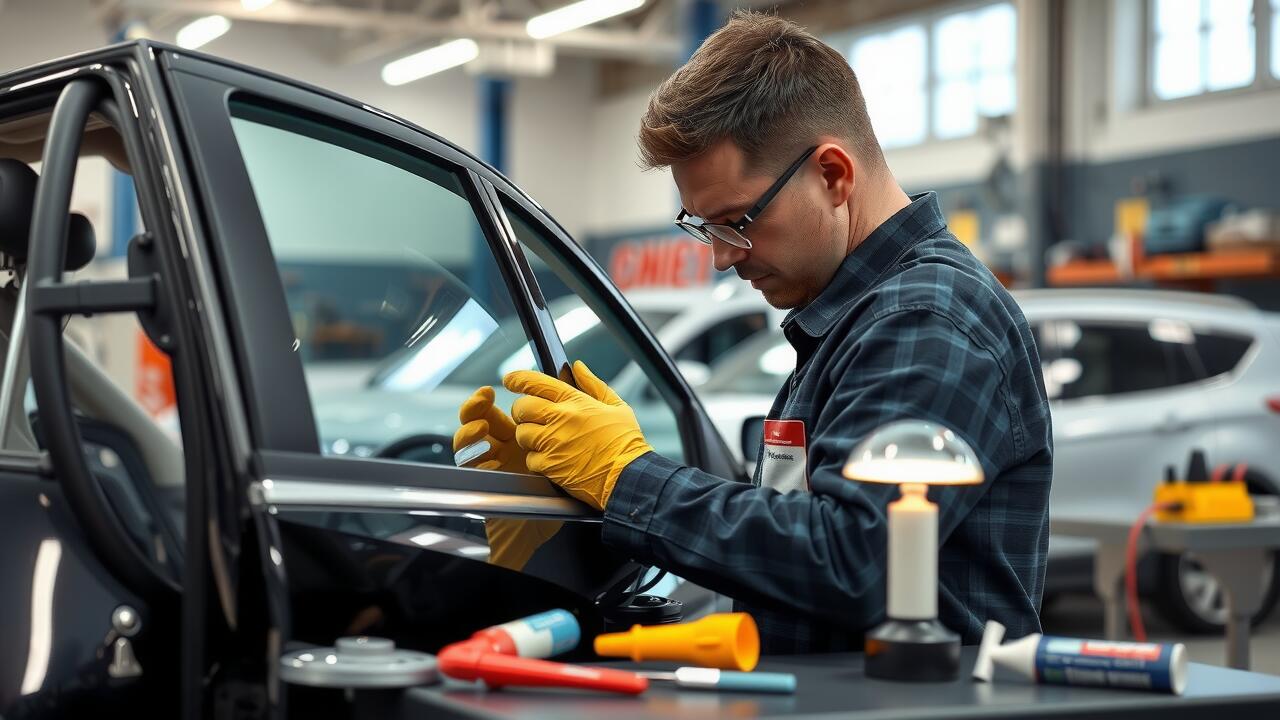
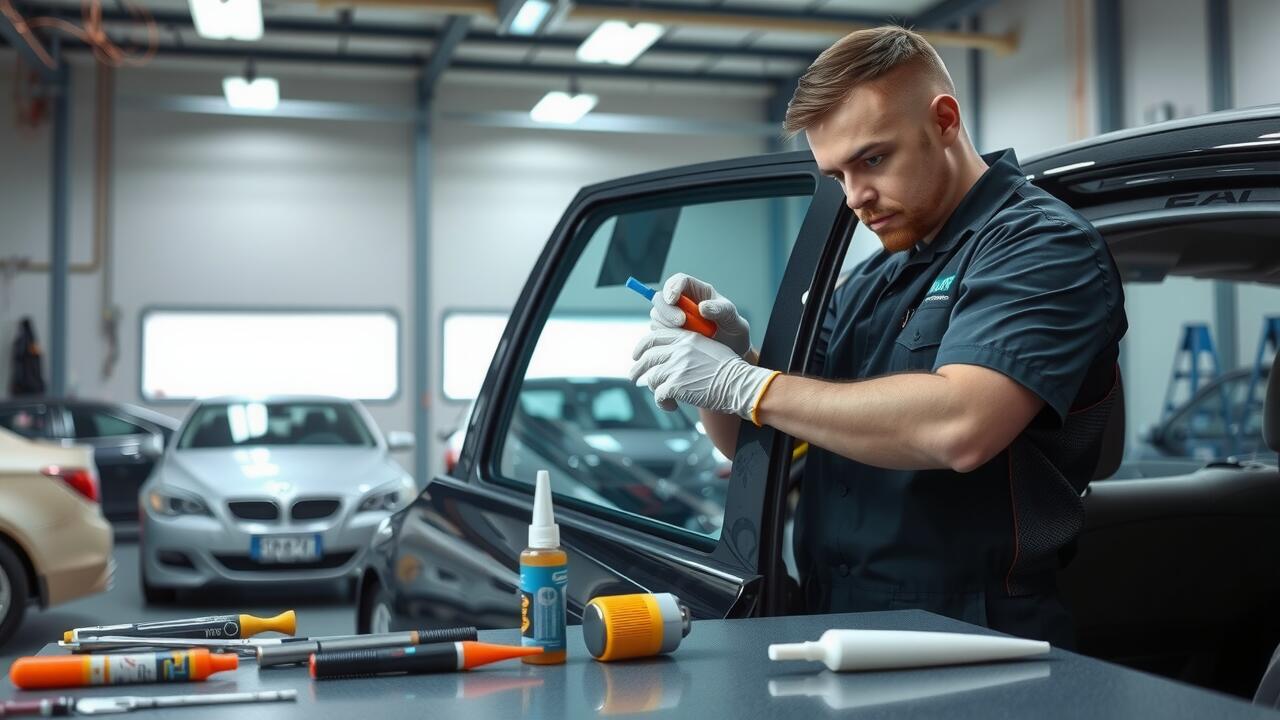
Removing Excess Adhesive
Once the new side window is securely installed, it's essential to tidy up any excess adhesive that may have squeezed out during the process. Using a clean cloth or a scraper, carefully remove the surplus adhesive to ensure a neat finish. This step not only improves the overall appearance of the installation but also prevents any potential blockages or issues with window operation. Ensuring a clean workspace reflects professionalism and attention to detail in your side window replacement project.
After removing the visible adhesive, inspect the surrounding areas for any residual material that might have been missed. If necessary, a small amount of solvent can help dissolve and clean up stubborn bits, but be cautious around painted surfaces to avoid damage. Properly finished edges contribute to the longevity of the window and prevent water leaks. A thorough clean-up embodies the final touch in your side window replacement, ensuring that the installation is both functional and aesthetically pleasing.
FAQS
What tools do I need to install a new side window?
You will typically need a utility knife, a screwdriver, a sealant or adhesive, a measuring tape, and possibly a suction cup tool for handling the glass.
How do I ensure the new window is properly aligned?
To ensure proper alignment, measure the opening and the window frame, and use shims if necessary to keep the window level and square during installation.
What should I do if the window doesn't fit snugly into the opening?
If the window doesn’t fit snugly, you can use foam or rubber weather stripping to fill any gaps and create a tighter seal.
How long does the adhesive take to cure after installing the window?
The curing time for the adhesive can vary, but it generally takes about 24 hours for a full cure. Always refer to the manufacturer's instructions for specific details.
Is it necessary to clean up excess adhesive immediately after installation?
Yes, it is best to clean up excess adhesive immediately while it is still wet, as it can be much harder to remove once it has cured.