Table Of Contents
Installing the New Window
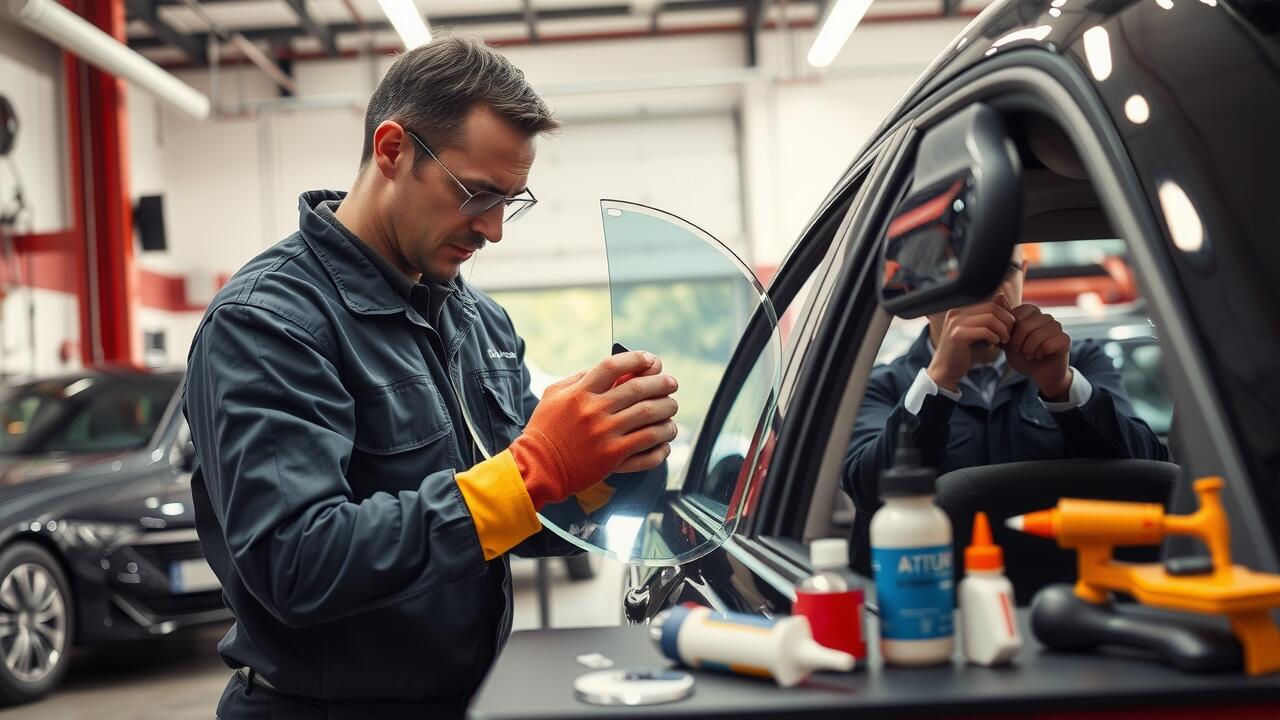
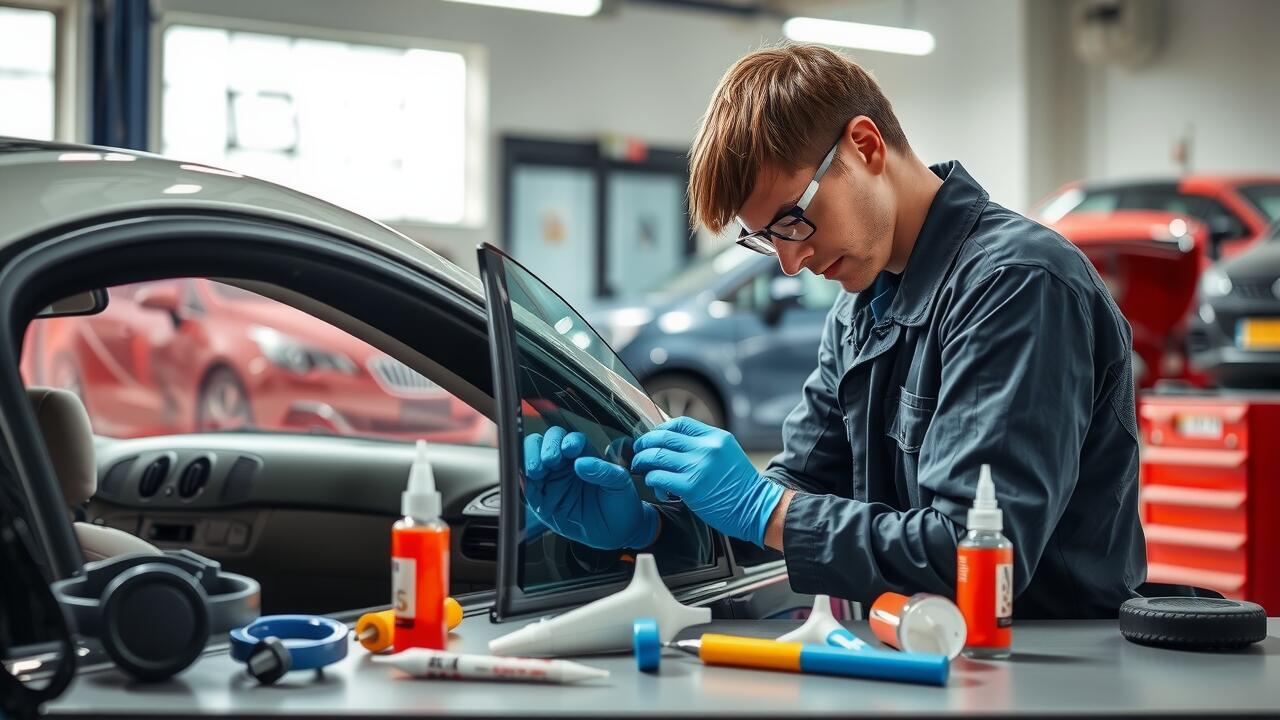
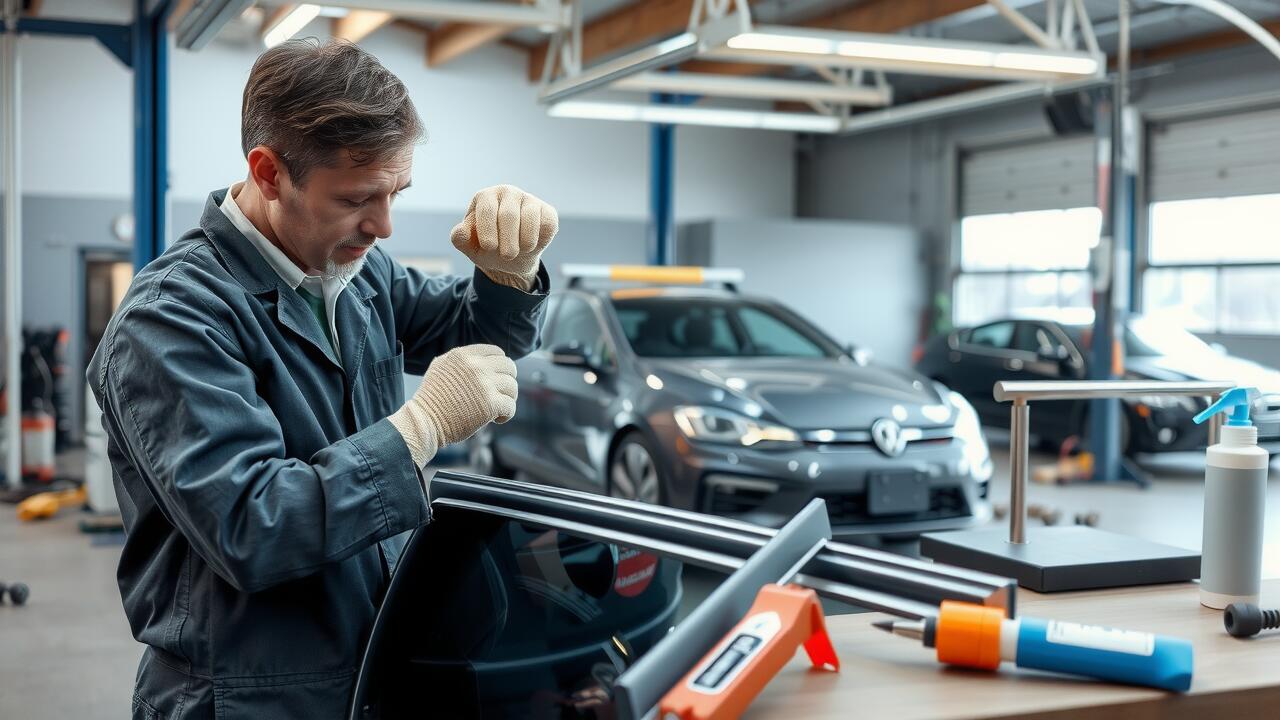
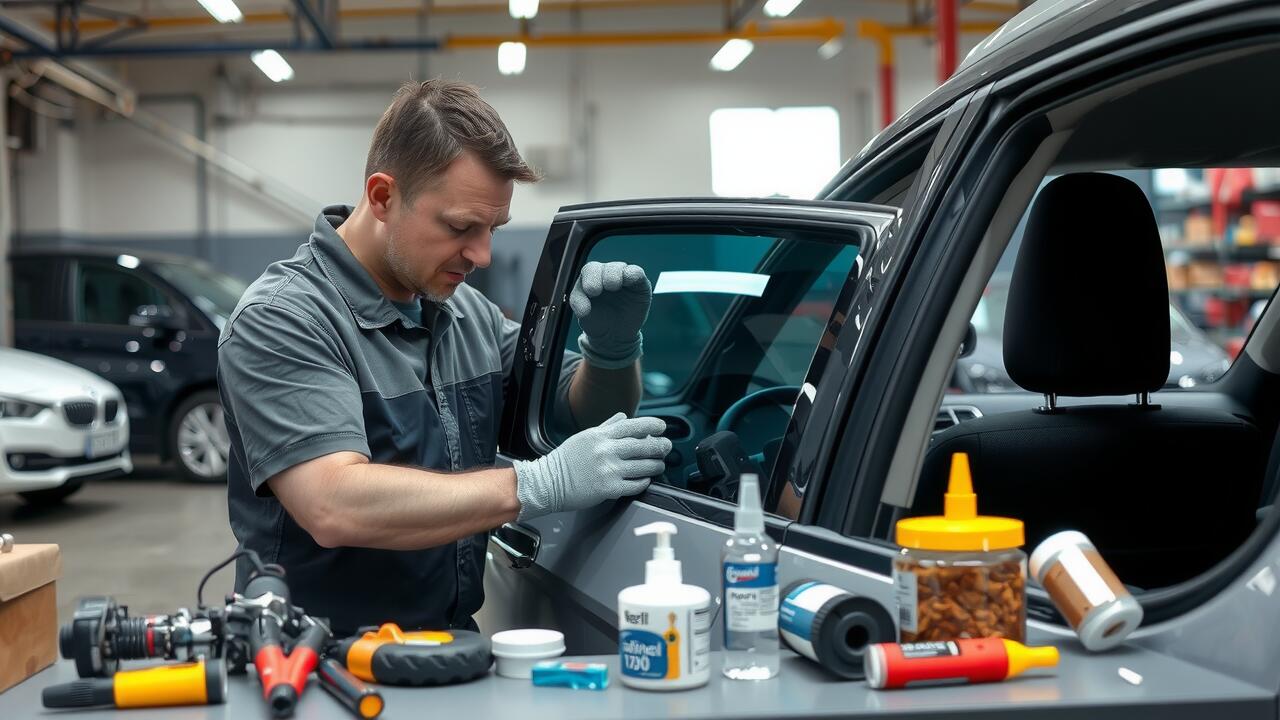
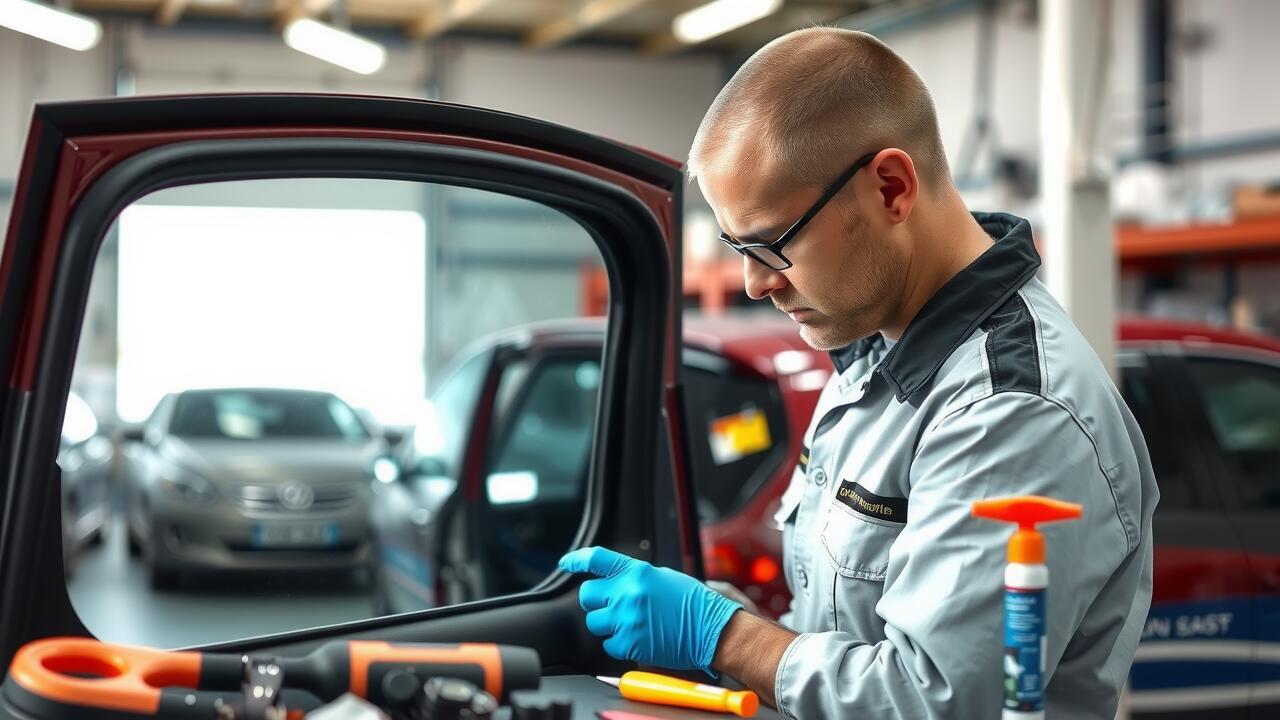
When undertaking a side window replacement, the removal of the old glass is the first crucial step. Begin by carefully detaching the interior trim and any fasteners that secure the window in its frame. Utilising a flat tool can help in gently prying away the trim without causing damage. Once the trim is off, the shattered glass can be removed, ensuring to handle sharp edges with care. It may be beneficial to wear gloves and goggles during this process for added safety.
After clearing the space, it is essential to prepare the new window for installation. Most replacement windows will come with a protective film; remove it before positioning the glass. Align the new window in the frame, ensuring it sits securely within the channel. It is wise to check the alignment from both inside and outside the vehicle to guarantee a perfect fit. Once correctly positioned, secure the window with any necessary fasteners or clips, making sure it is stable before moving on to the next step in the installation process.
Techniques for Proper Installation
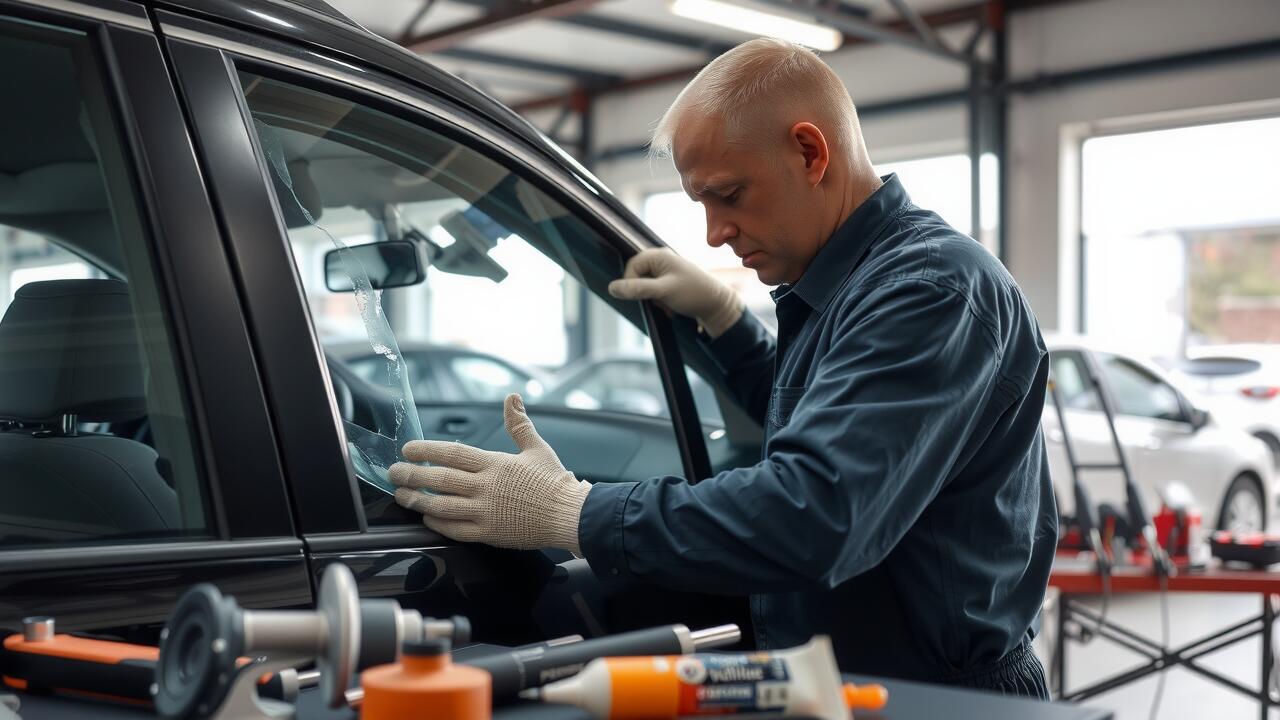
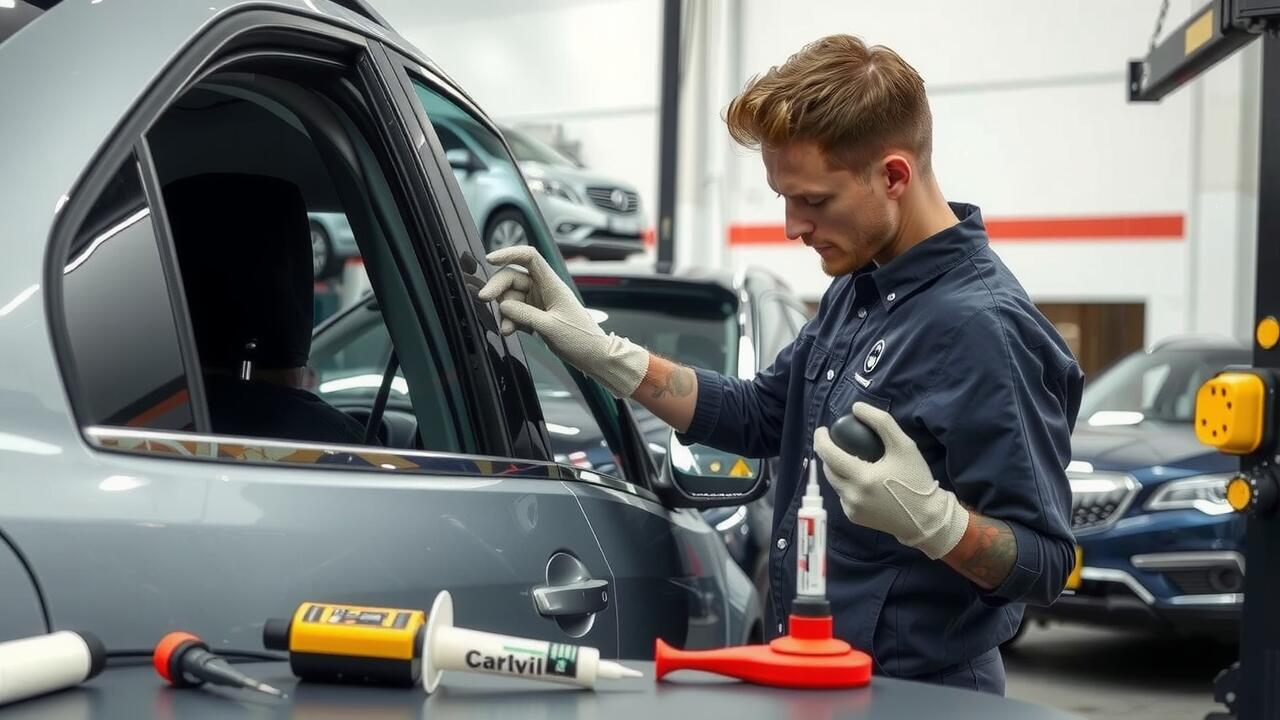
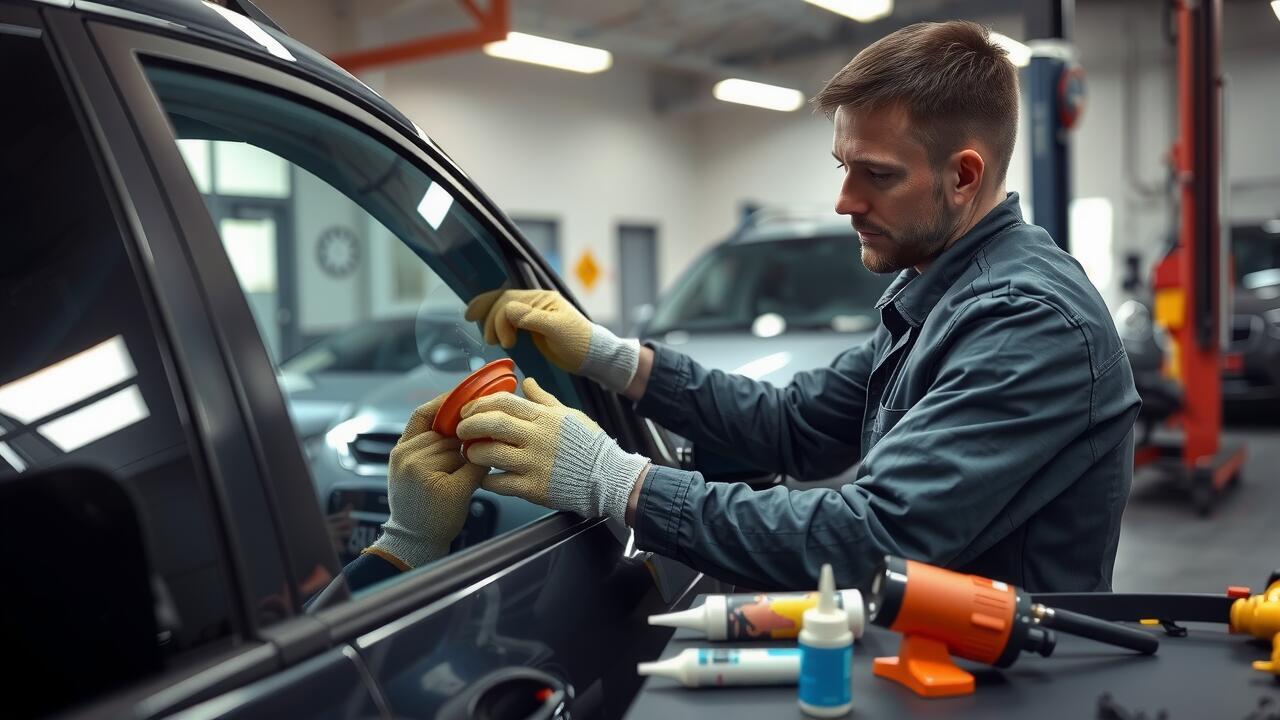
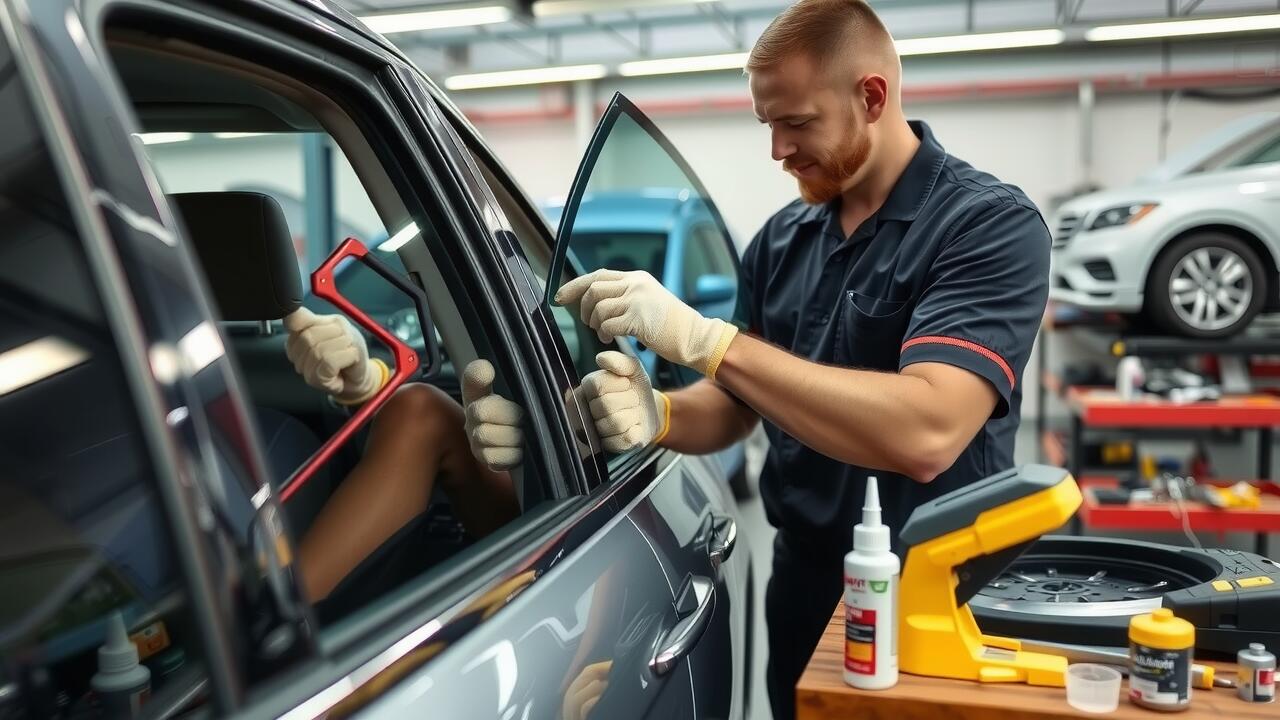
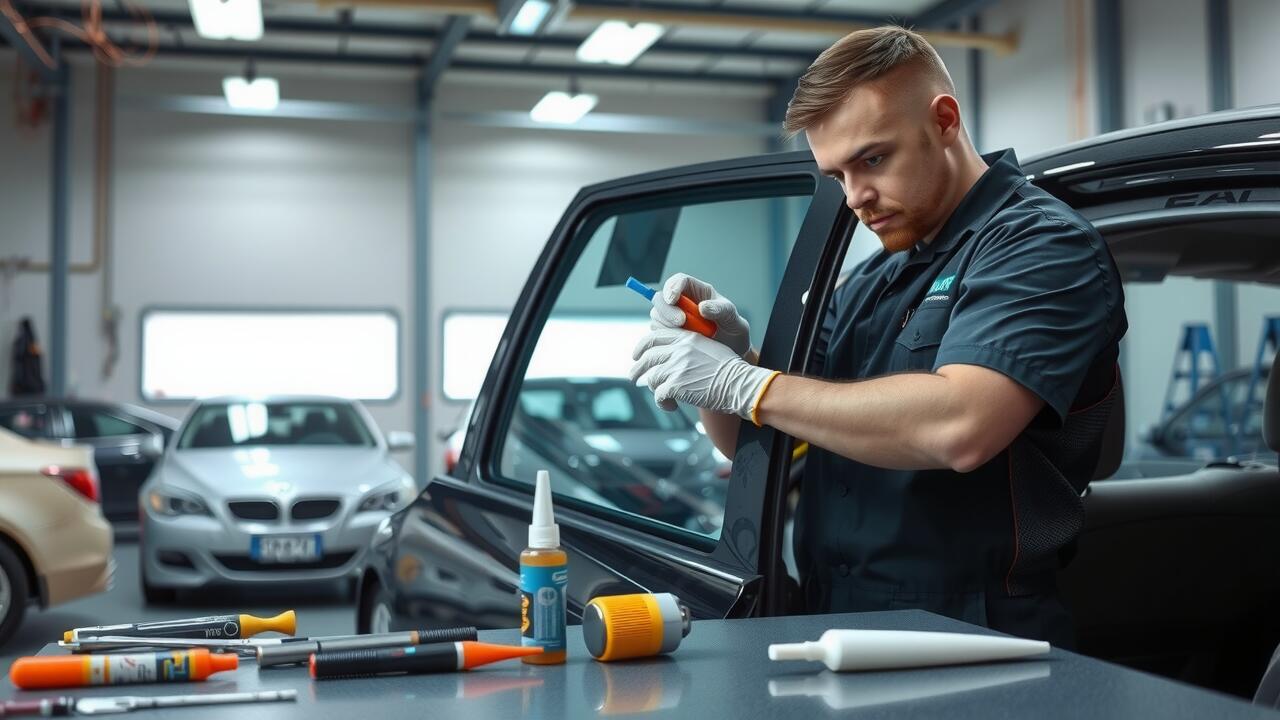
When undertaking a side window replacement, proper installation techniques are vital for achieving a secure fit. Begin by ensuring that the window frame is clean and free from debris. This provides a solid foundation for the new glass. Align the new window carefully within the frame, taking care to match any grooves or clips that help to hold it in place. It is beneficial to have an extra pair of hands available to assist in positioning the window, preventing any accidental damage during the process.
Once the window is in place, utilise a combination of adhesive and clips as needed to secure it. Follow the manufacturer's instructions regarding the curing time of the adhesive to guarantee a strong bond. Avoid rushing this step, as proper curing is essential for the overall stability of the installation. Double-check that the window operates smoothly within the frame before completing the installation. These techniques are crucial for ensuring that the side window replacement withstands daily use and environmental factors.
Sealing the Window
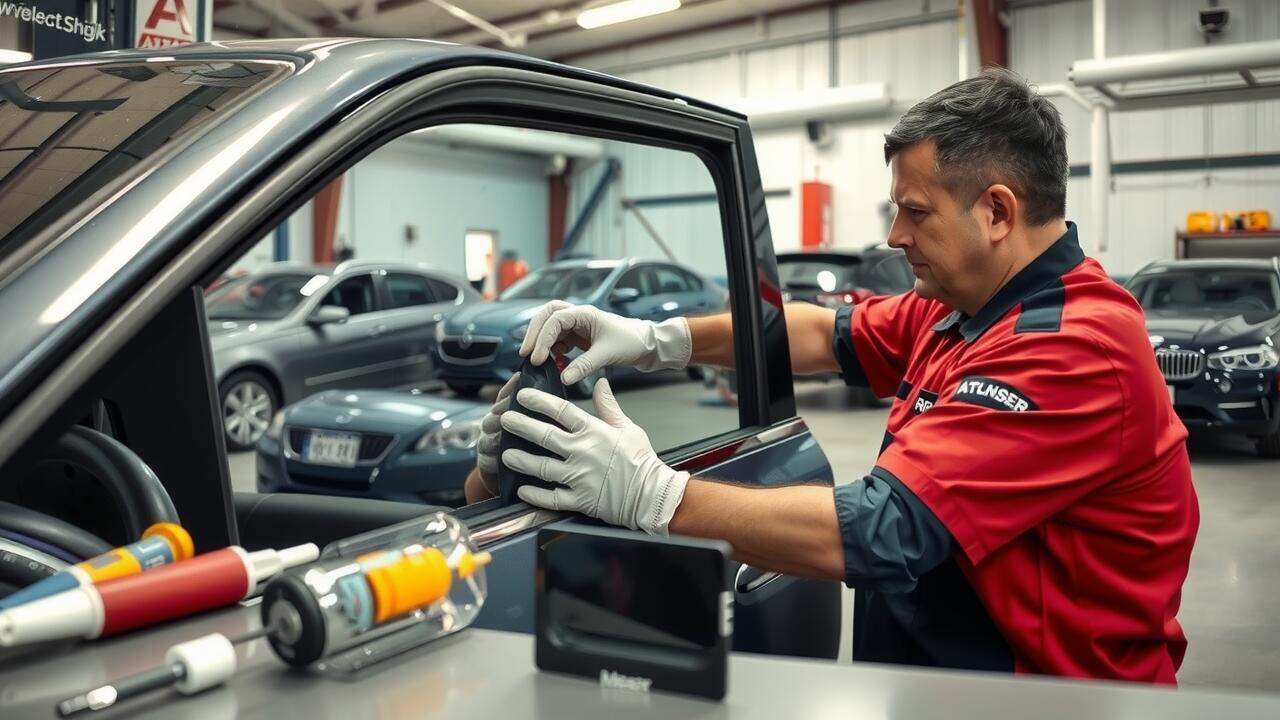
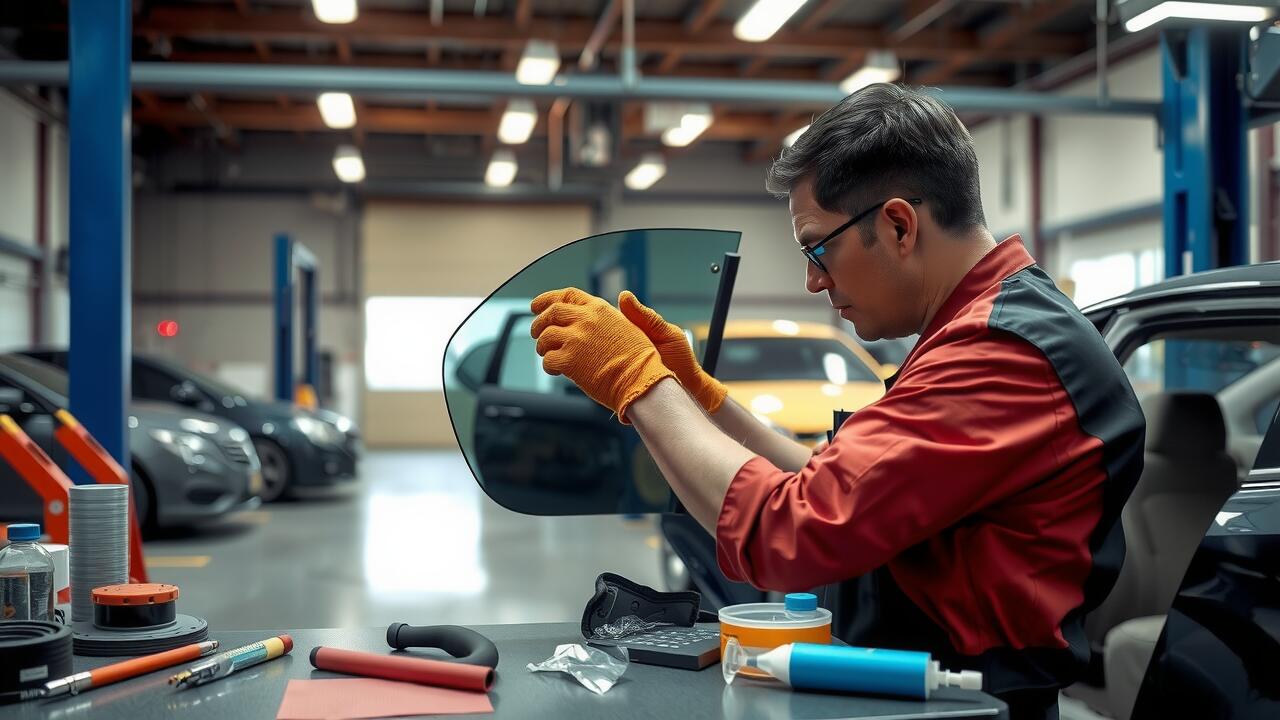
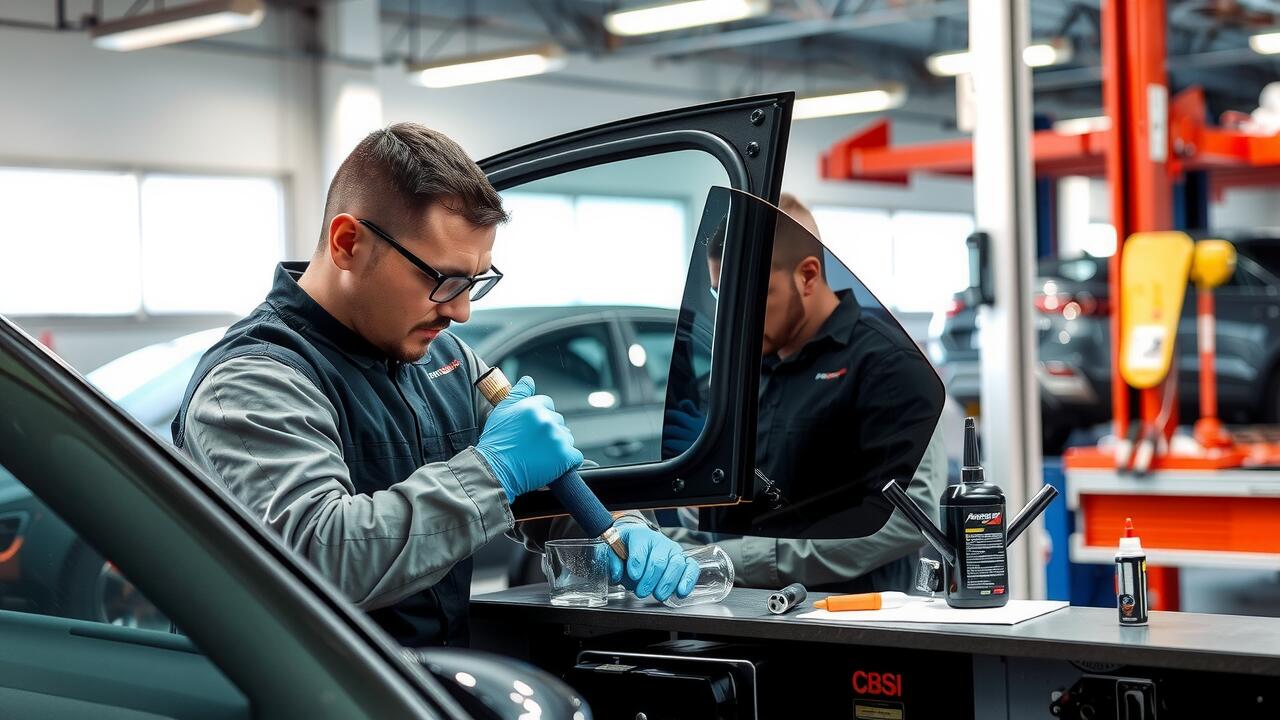
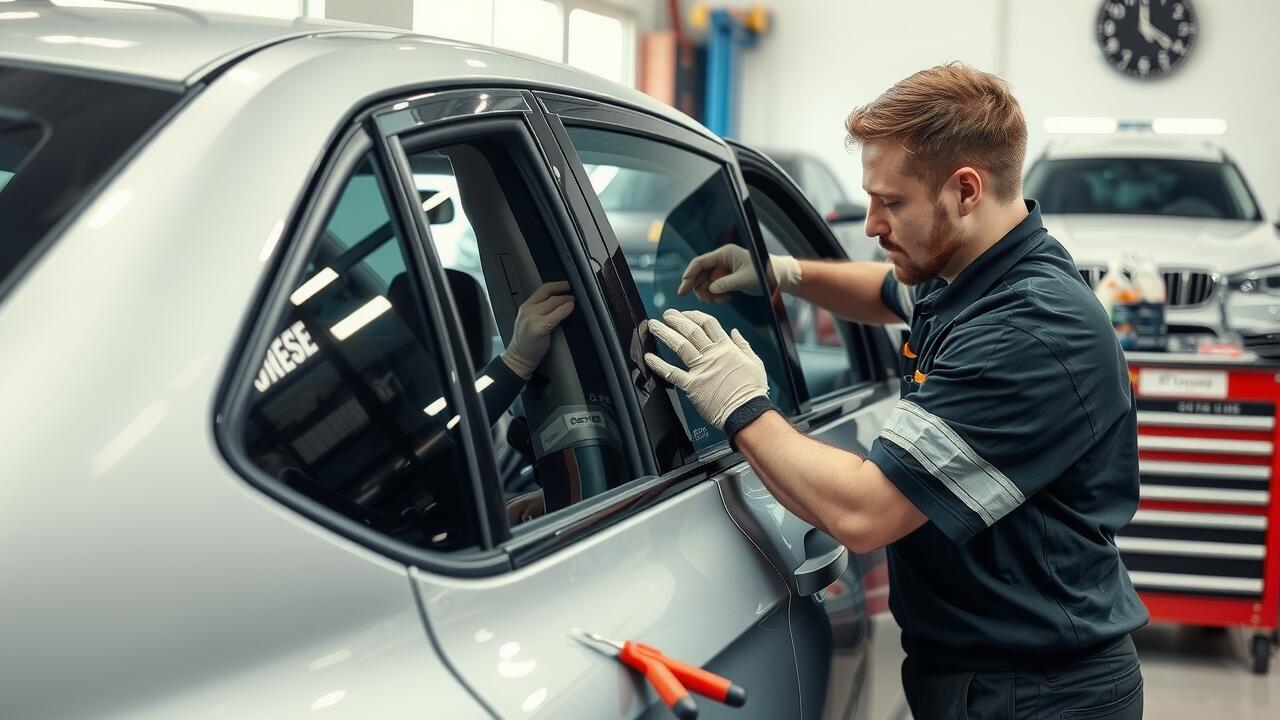
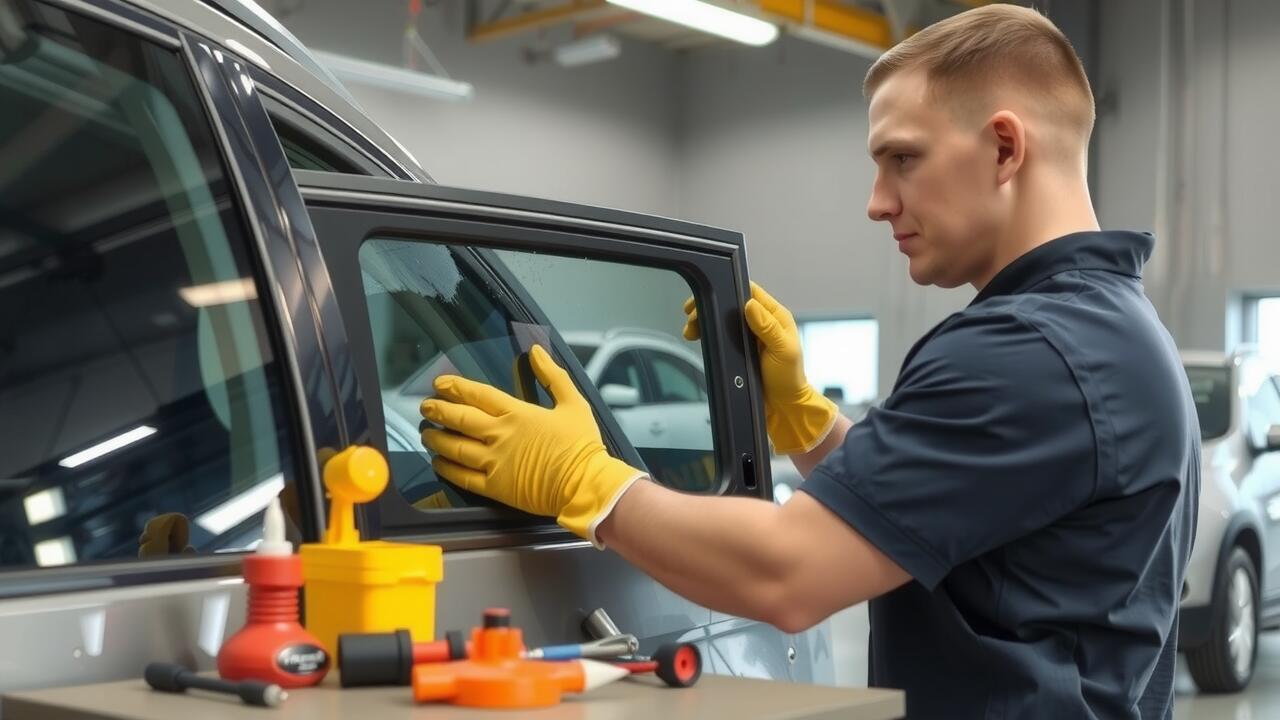
Sealing the window is a crucial step following a driver side window replacement. It ensures that the new glass is securely held in place and protected from moisture and debris. Proper application of weatherstripping or sealants around the edges of the window frame helps to prevent leaks. This step not only enhances security but also contributes to the vehicle's overall insulation and noise reduction from outside elements.
Using adhesives and sealants effectively during this process is essential for long-lasting results. Choosing a high-quality adhesive designed for automotive glass is recommended for optimal bonding. Following the manufacturer's instructions for application allows for the best adherence. Once the adhesive is applied, it is important to allow adequate curing time before fully operating the window. This attention to detail during sealing can make a significant difference in the durability of the side window replacement.
Using Adhesives and Sealants Effectively
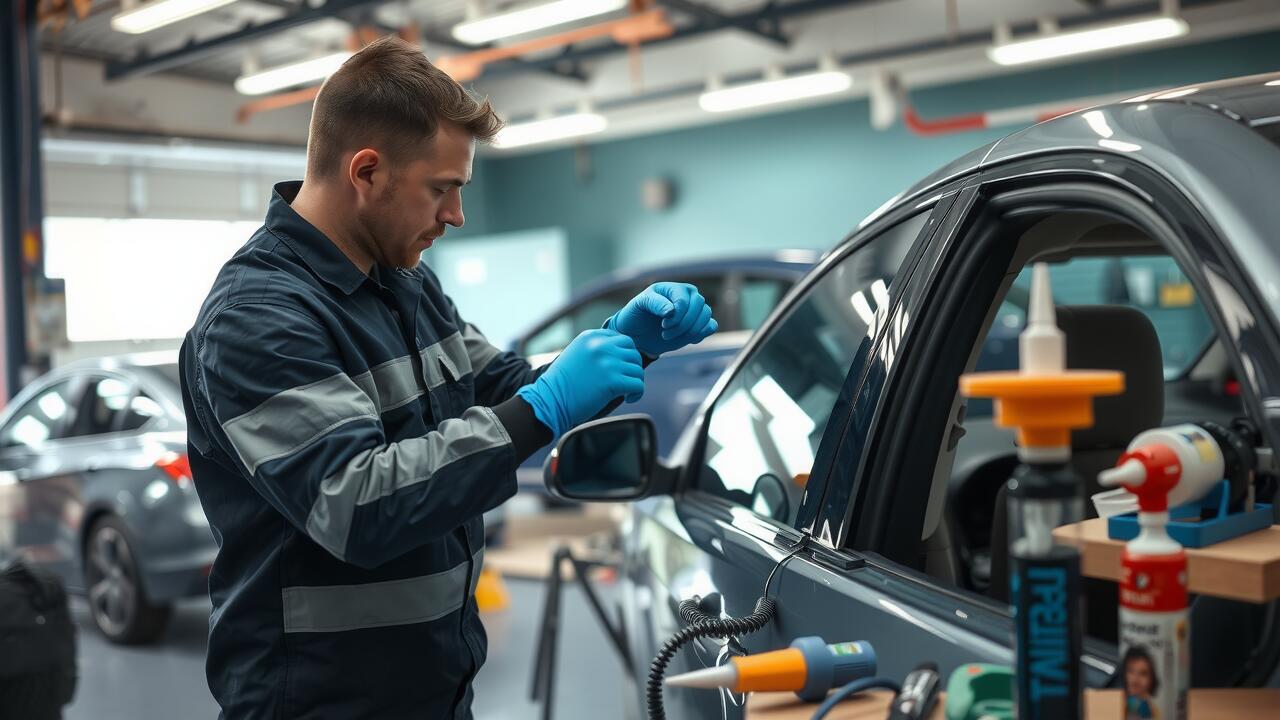
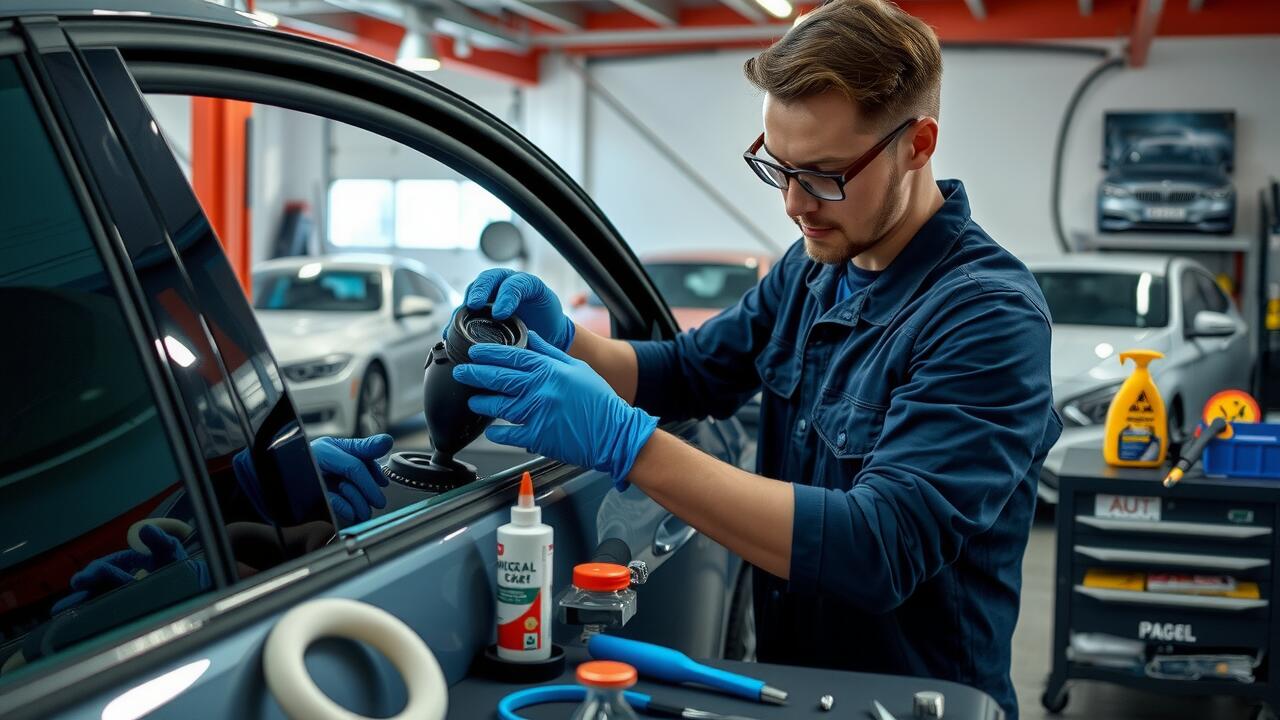
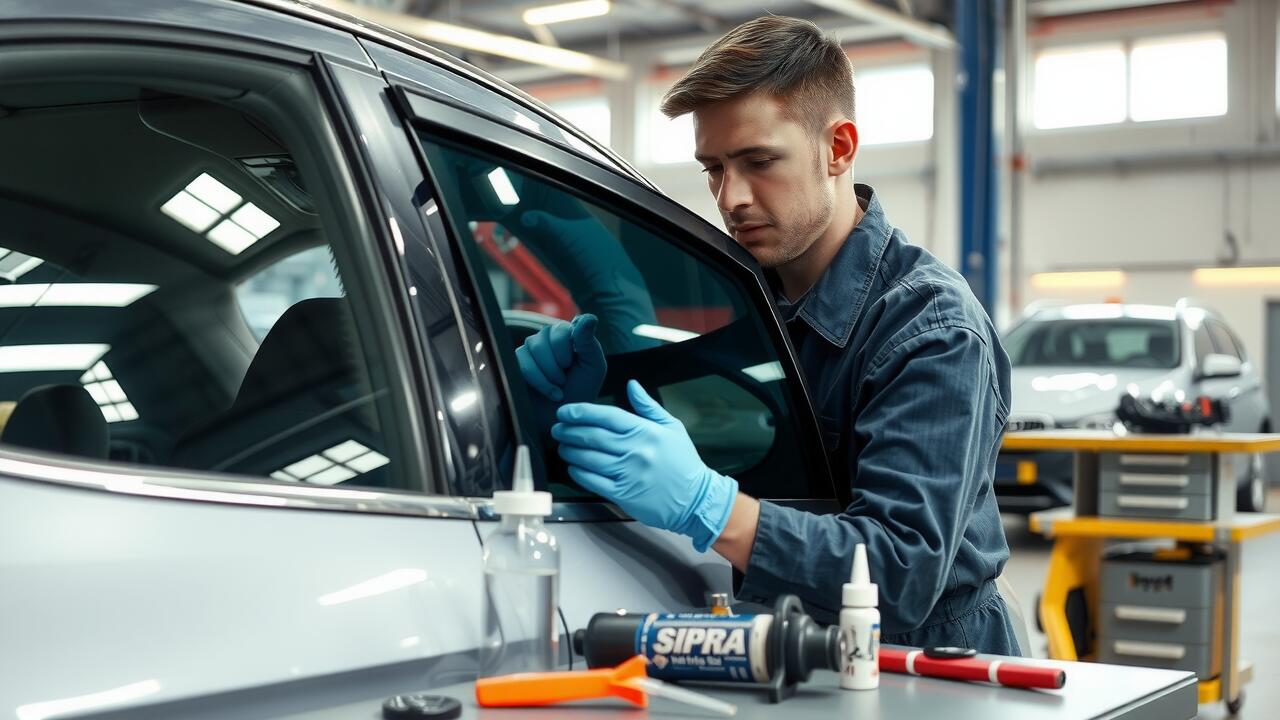
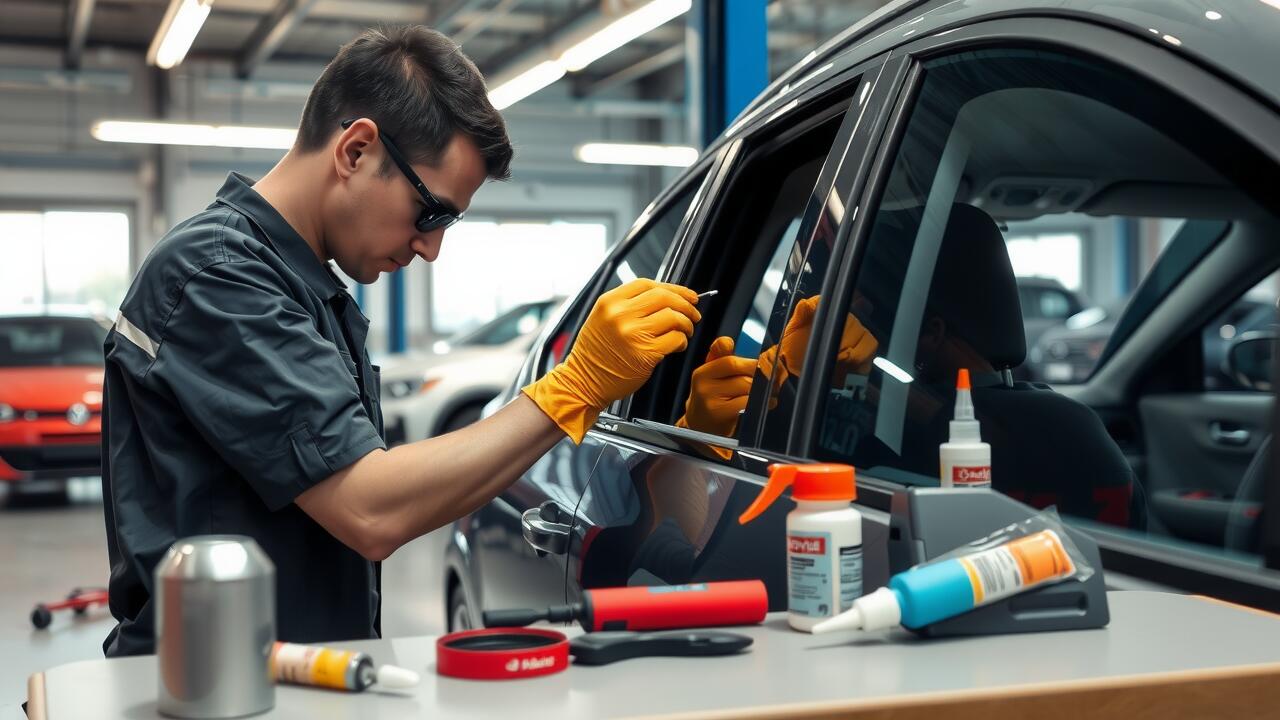
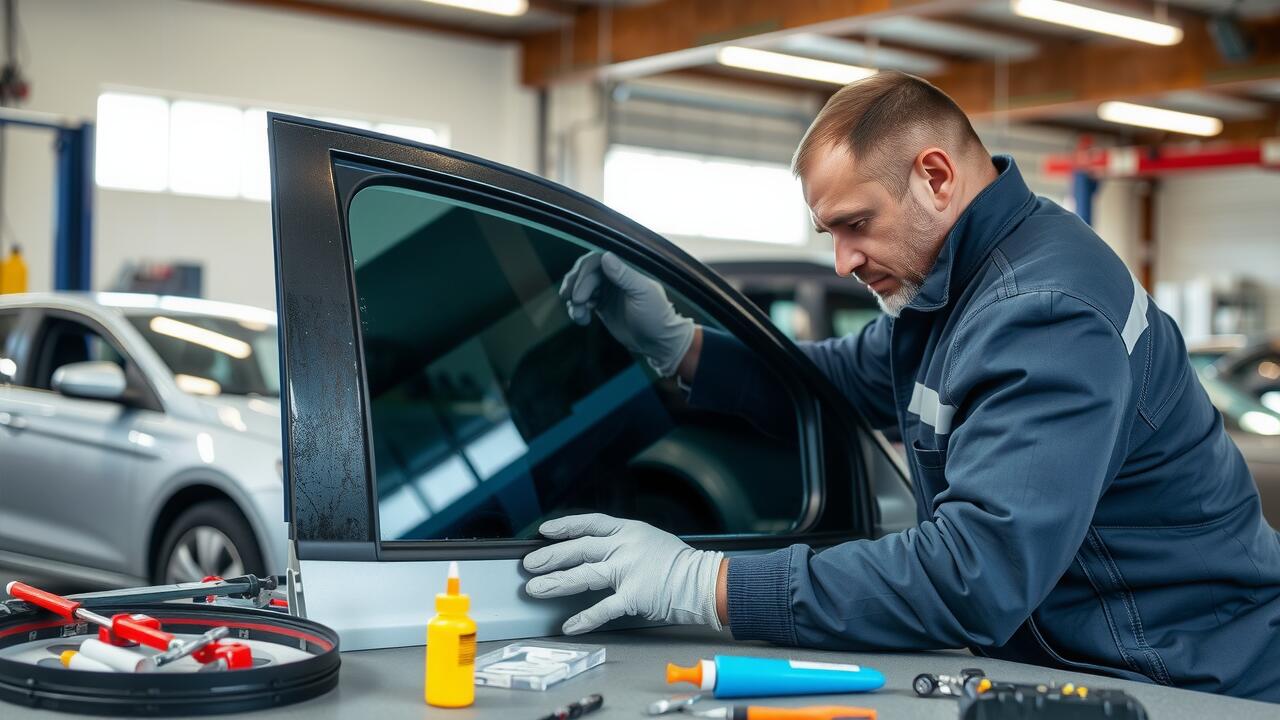
When undertaking a side window replacement, using the right adhesives and sealants is crucial for ensuring a durable and watertight installation. Begin by selecting a high-quality automotive adhesive designed specifically for glass applications. These adhesives often provide the necessary strength and flexibility to withstand temperature variations and vibrations experienced during driving. To enhance bonding, thoroughly clean the surfaces, removing any old sealant or adhesive residues. Following manufacturer instructions regarding application time and curing will significantly impact the overall effectiveness of the installation.
Once the window has been positioned and the adhesive set, sealant can be applied to create an additional barrier against moisture and air leaks. Choose a sealant compatible with automotive applications to ensure longevity and prevent any compatibility issues. Apply the sealant evenly around the edges of the window, ensuring full coverage without excess that might obstruct the window's operation. Testing for leaks after the adhesive has cured will confirm the integrity of your side window replacement.
Testing the New Installation
After completing the installation of the driver side window, it is essential to conduct thorough testing to ensure functionality and security. Begin by checking the movement of the window. Operate the window control to verify that it opens and closes smoothly without any hindrance. Listen for any unusual sounds that might indicate misalignment or obstruction. If the window functions properly, proceed to test the auto-lock and anti-pinch features, if applicable. A successful driver side window replacement should enable the window to respond correctly to all controls.
Following the functional tests, inspect the sealing and fit of the new window. Look for any gaps or irregularities along the edges where adhesives or sealants were applied. A well-installed window should be flush with the surrounding frame and exhibit no signs of leaking when exposed to water. To further ensure security, gently apply pressure on the glass to confirm it is securely held in place. This step helps guarantee that the driver side window replacement is not only functional but also adequately sealed against environmental factors.
Checking for Functionality and Security
Once the driver side window is installed, it's essential to check for functionality and security to ensure everything is working correctly. Begin by testing the window's movement. Activate the window switch to confirm it opens and closes smoothly without any obstruction. Listen for any unusual noises during operation, as this could indicate misalignment or a mechanical issue. It’s important that the window fits snugly within its frame, providing a seamless look and functionality.
After verifying that the window operates well, inspect the seals on all edges. Proper sealing is critical in side window replacement to prevent water leaks and minimise wind noise. Run your fingers along the edges to check for any gaps or irregularities. A visual inspection will help identify any visible flaws. If everything appears secure and operates normally, your new driver side window is ready for use.
FAQS
How difficult is it to replace a driver side window myself?
Replacing a driver side window can be moderately challenging, depending on your mechanical skills and experience. If you’re comfortable with basic tools and following instructions, you may be able to complete the task yourself.
What tools do I need to replace a driver side window?
Common tools required include a screwdriver, a socket set, a utility knife, and possibly a window removal tool. Additionally, adhesive or sealant will be needed to secure the new window.
Are there specific techniques for installing the new window correctly?
Yes, proper techniques include ensuring the frame is clean, using the right amount of adhesive, and aligning the window correctly before securing it in place. Additionally, following manufacturer guidelines can help ensure a successful installation.
How do I seal the new window effectively?
To seal the new window effectively, use high-quality adhesives and sealants, apply them evenly around the frame, and allow sufficient time for curing as per the product instructions. This will help prevent leaks and ensure a secure fit.
What should I do to test the new installation after replacing the window?
After installation, check for functionality by ensuring the window opens and closes smoothly. Also, inspect for any gaps or misalignments that could indicate improper sealing or installation. Testing for security is also important to ensure the window is firmly in place.