Table Of Contents
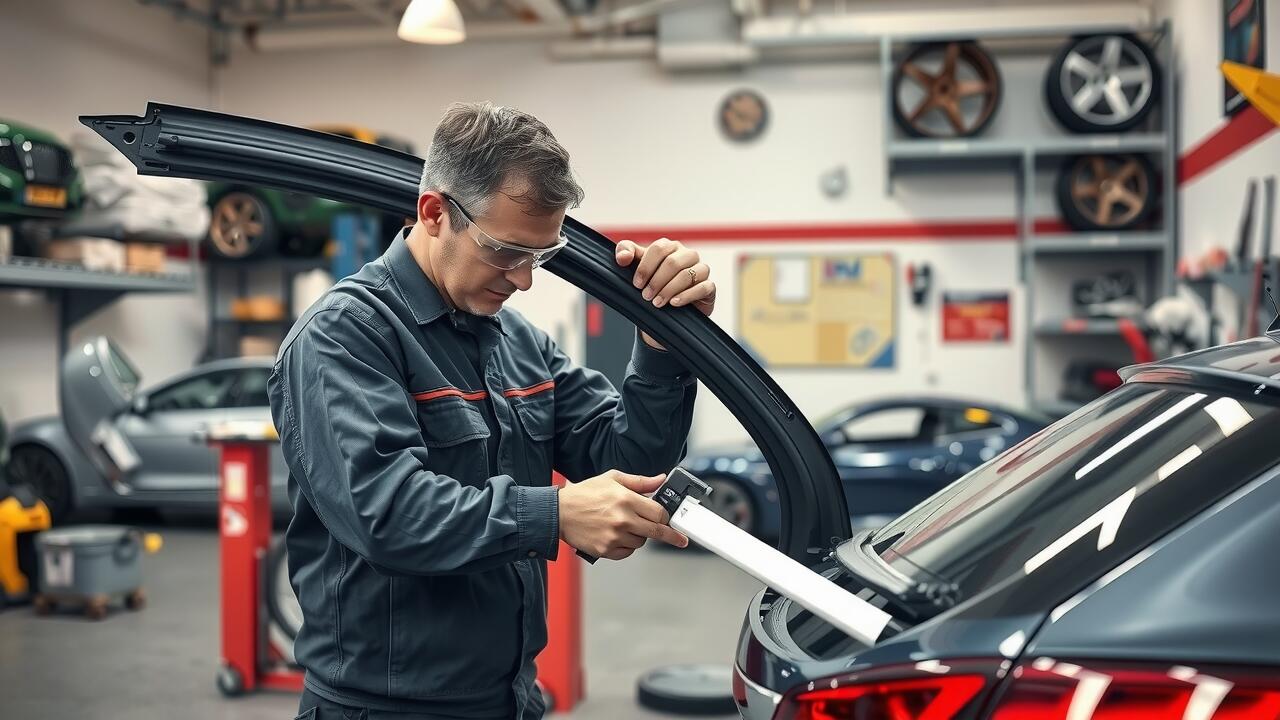
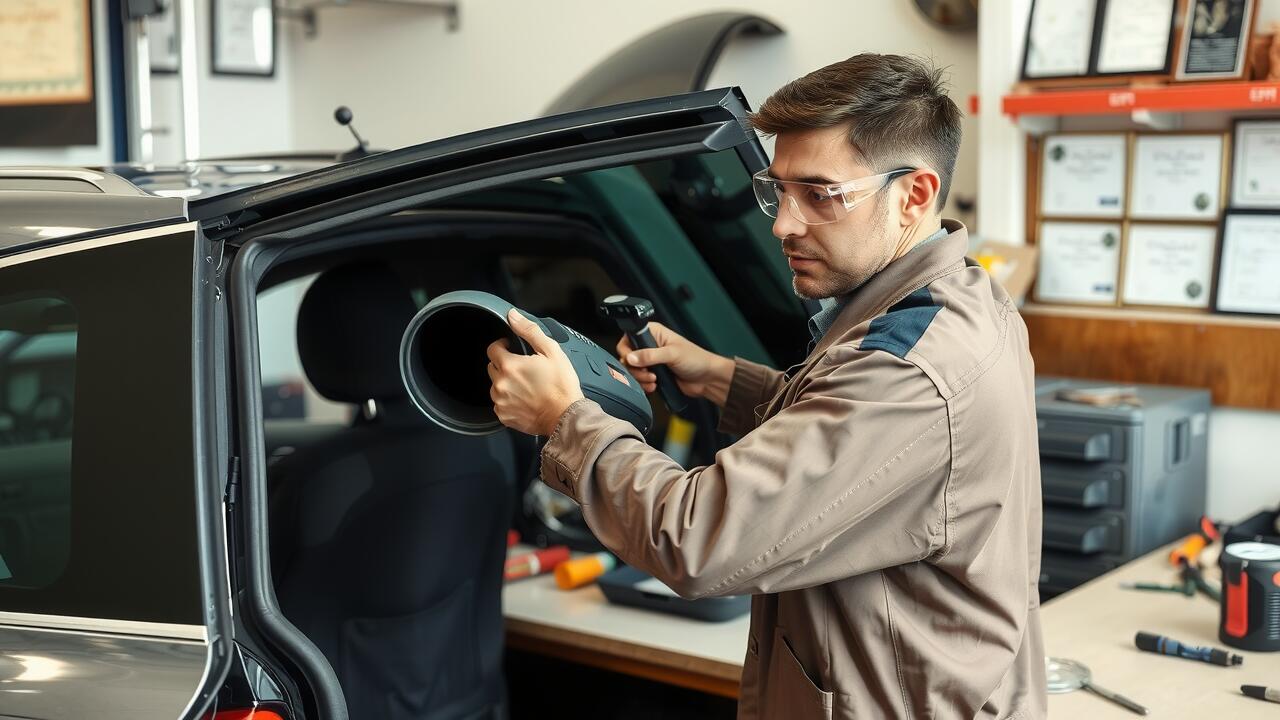
Techniques for Applying Sealant
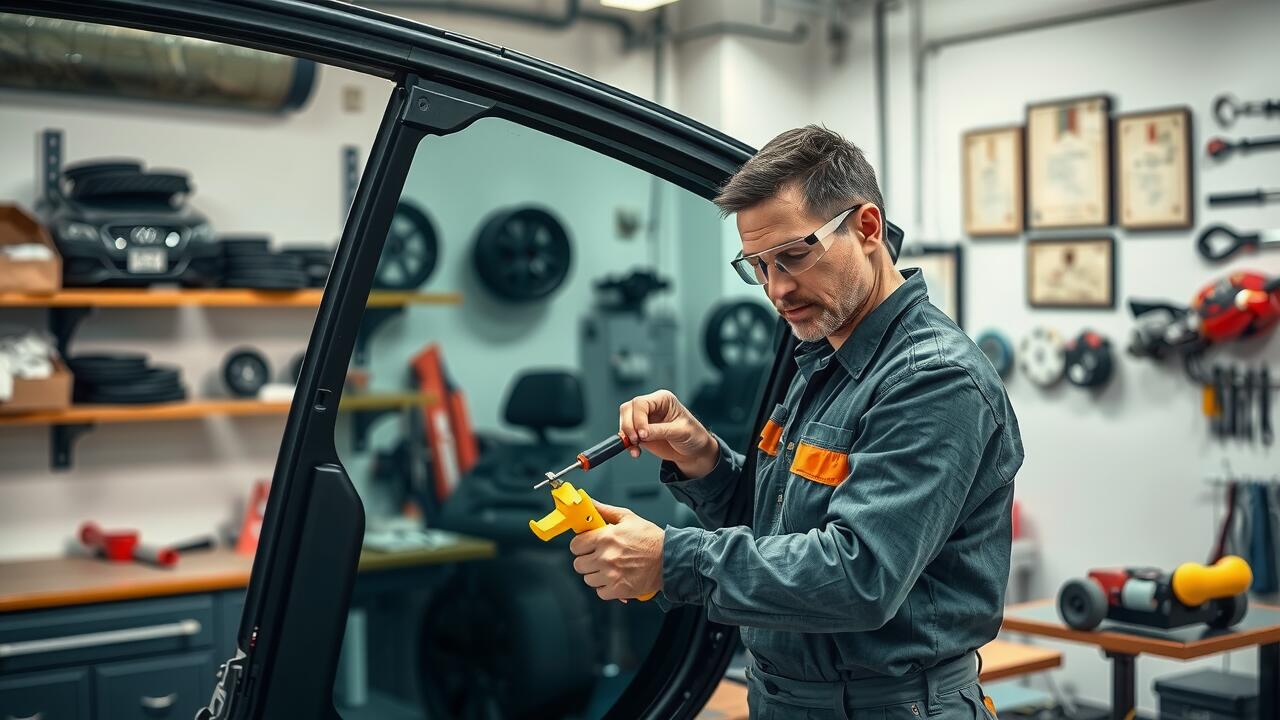
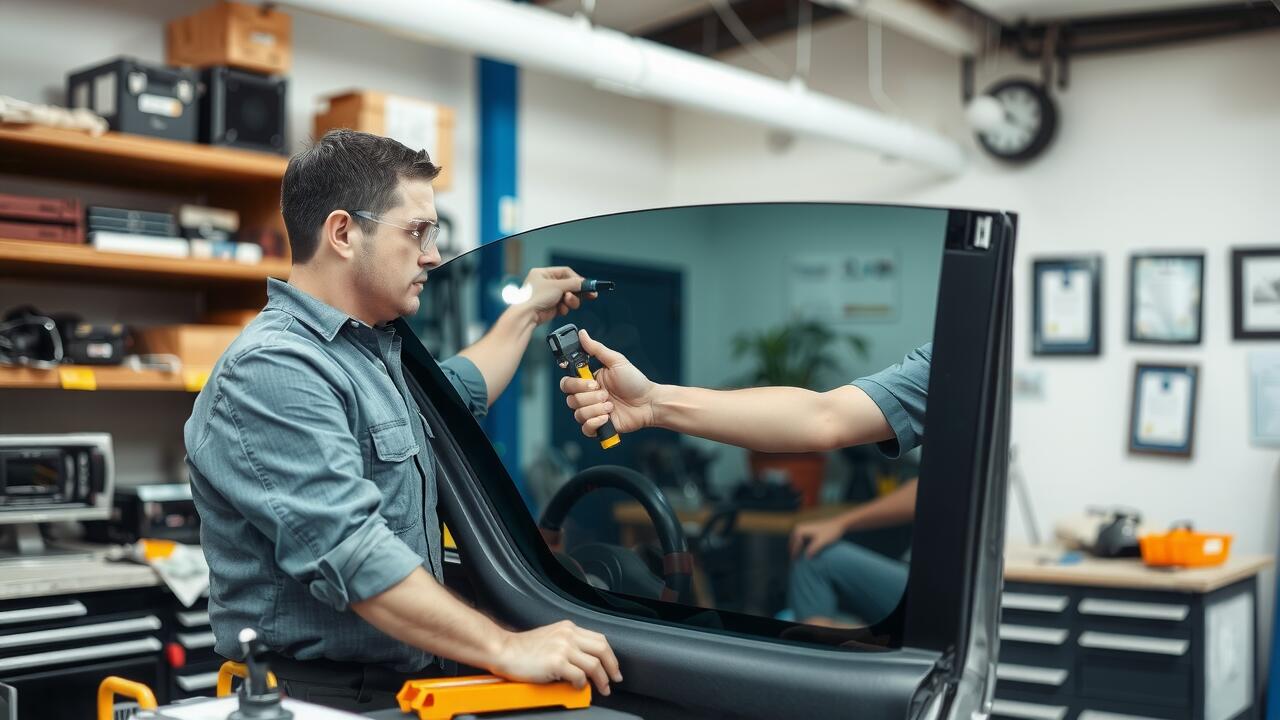
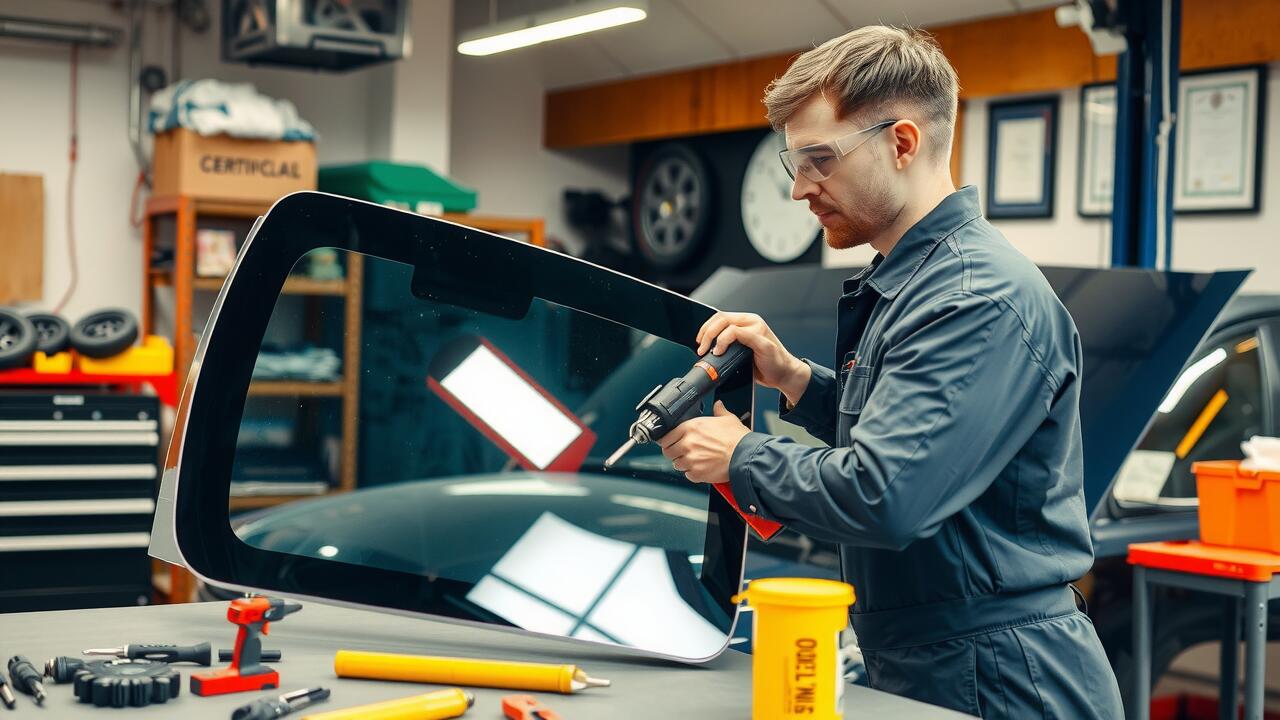
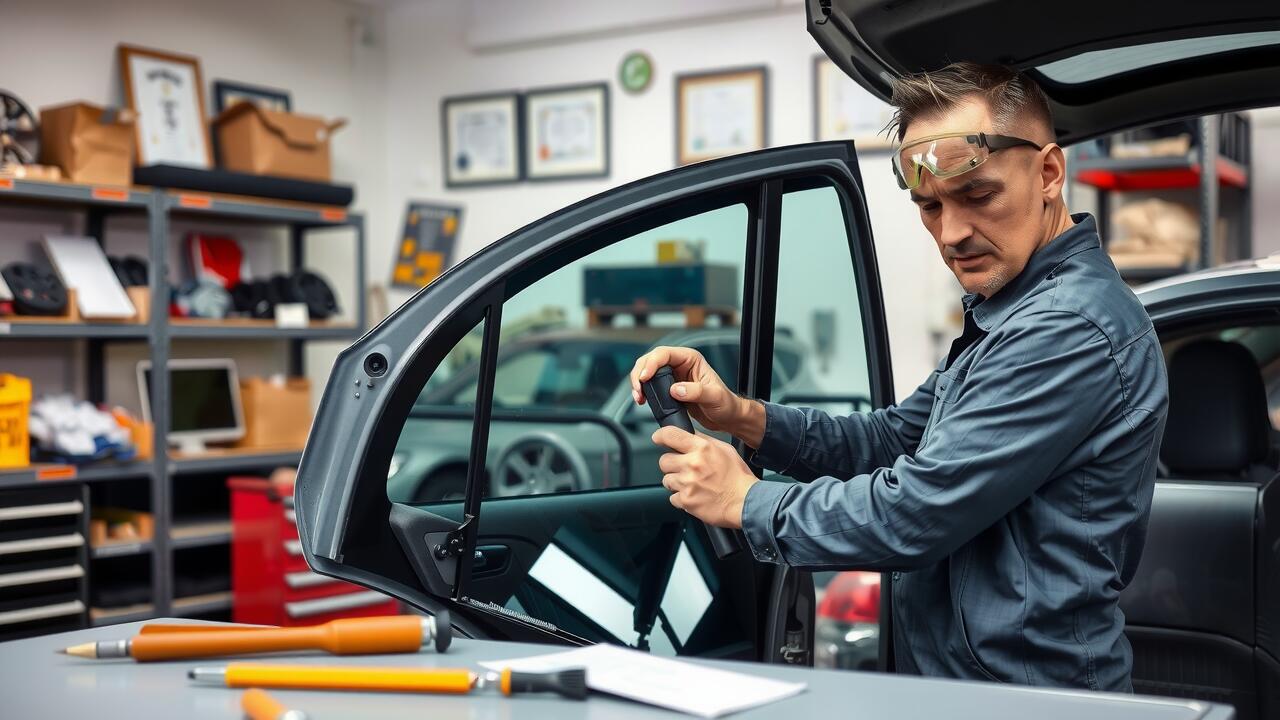
When undertaking rear window repairs, applying sealant requires precision to ensure durability and effectiveness. Choose a high-quality, auto-grade sealant specifically designed for glass installations. Start by cleaning the surface where the sealant will be applied, removing any dirt, dust, or old adhesive. A clean surface allows for better adhesion, reducing the risk of leaks. It is essential to have all your tools prepared, such as a caulking gun, to facilitate a smooth application.
Apply the sealant evenly along the perimeter of the window opening. Use a consistent and steady pressure on the caulking gun to create a uniform bead. It is important to work in one continuous motion to avoid gaps that might compromise the seal. After the application, use a plastic spatula or your finger to smooth the sealant, ensuring it fills any imperfections in the surface. This technique not only contributes to a tighter fit but also enhances the aesthetic finish of your rear window repairs.
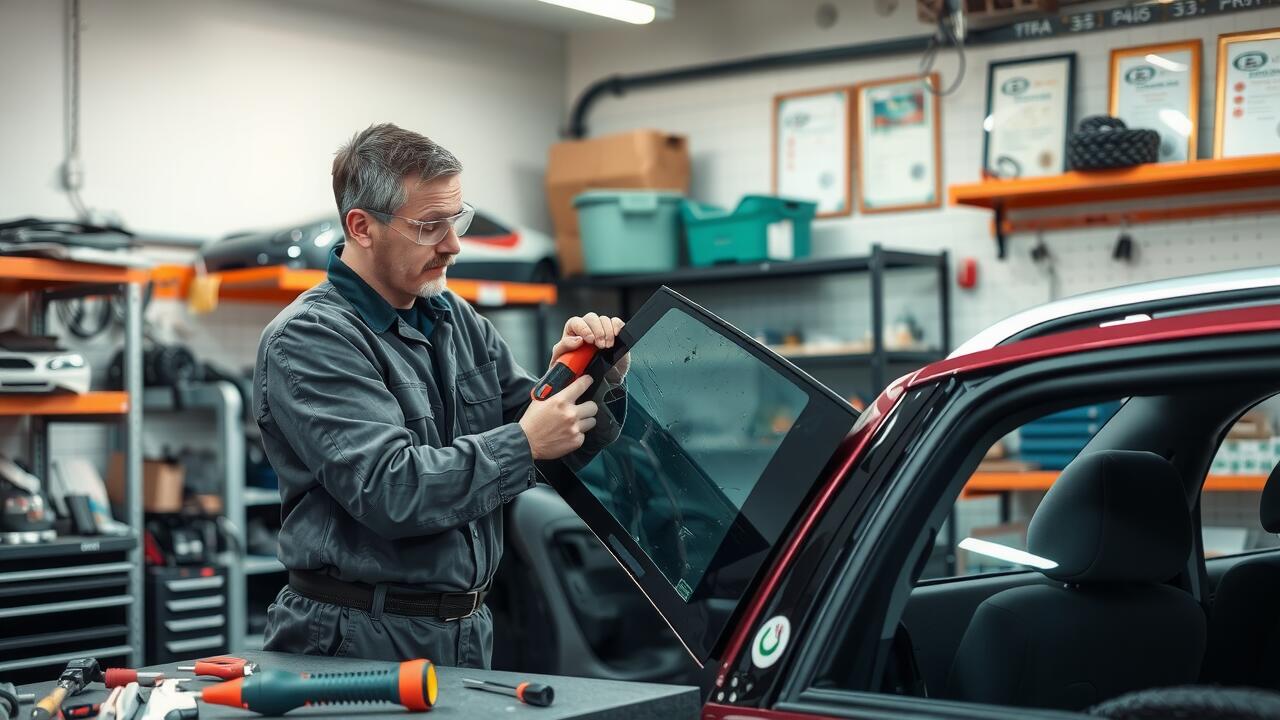
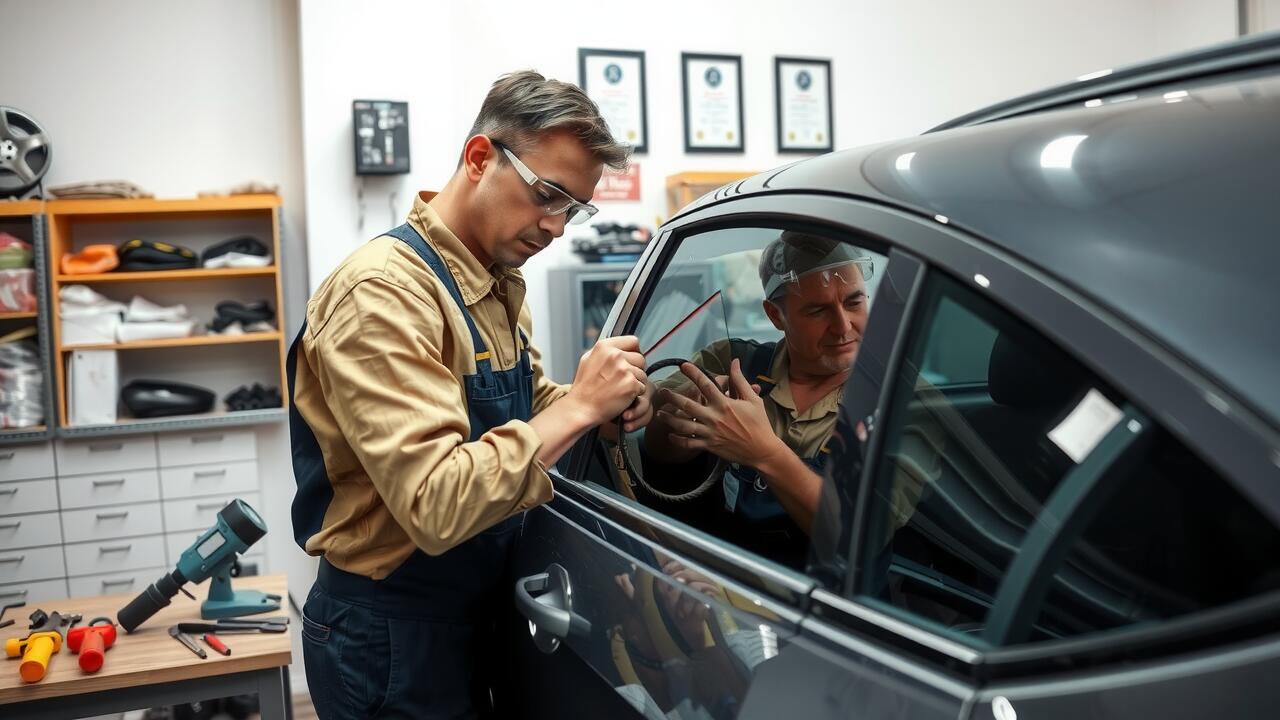
Step-by-Step Application Process
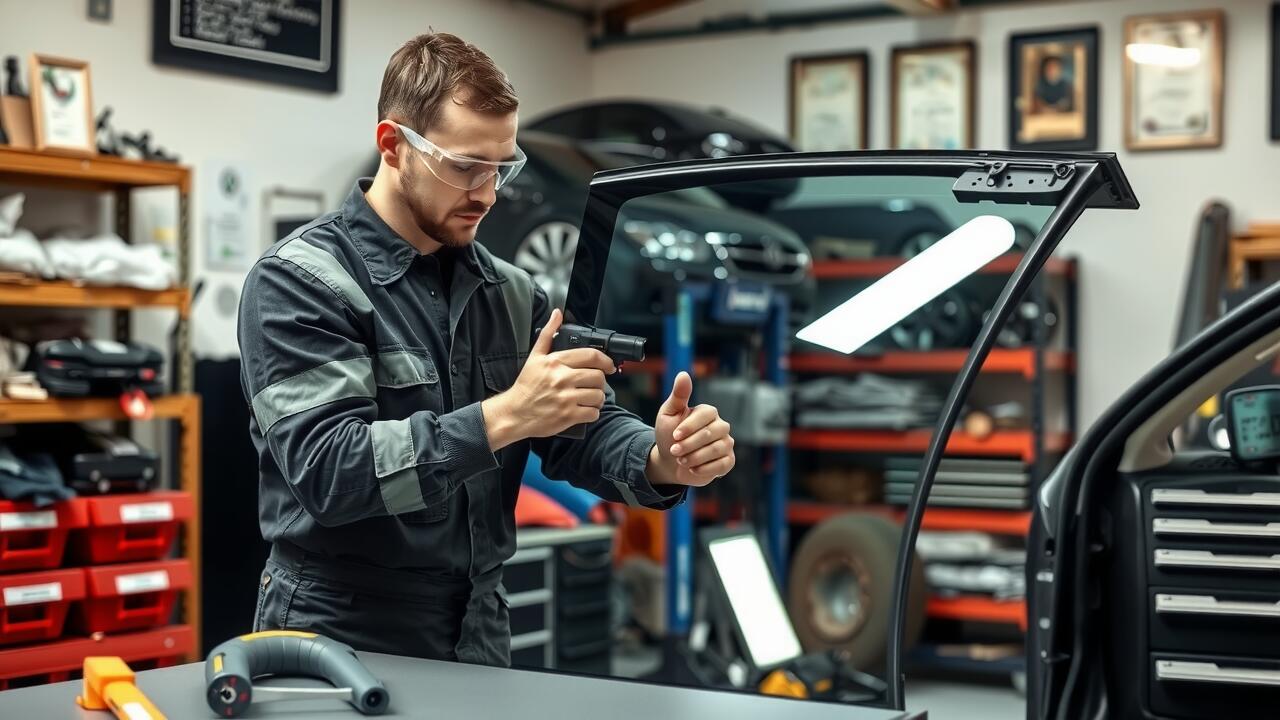
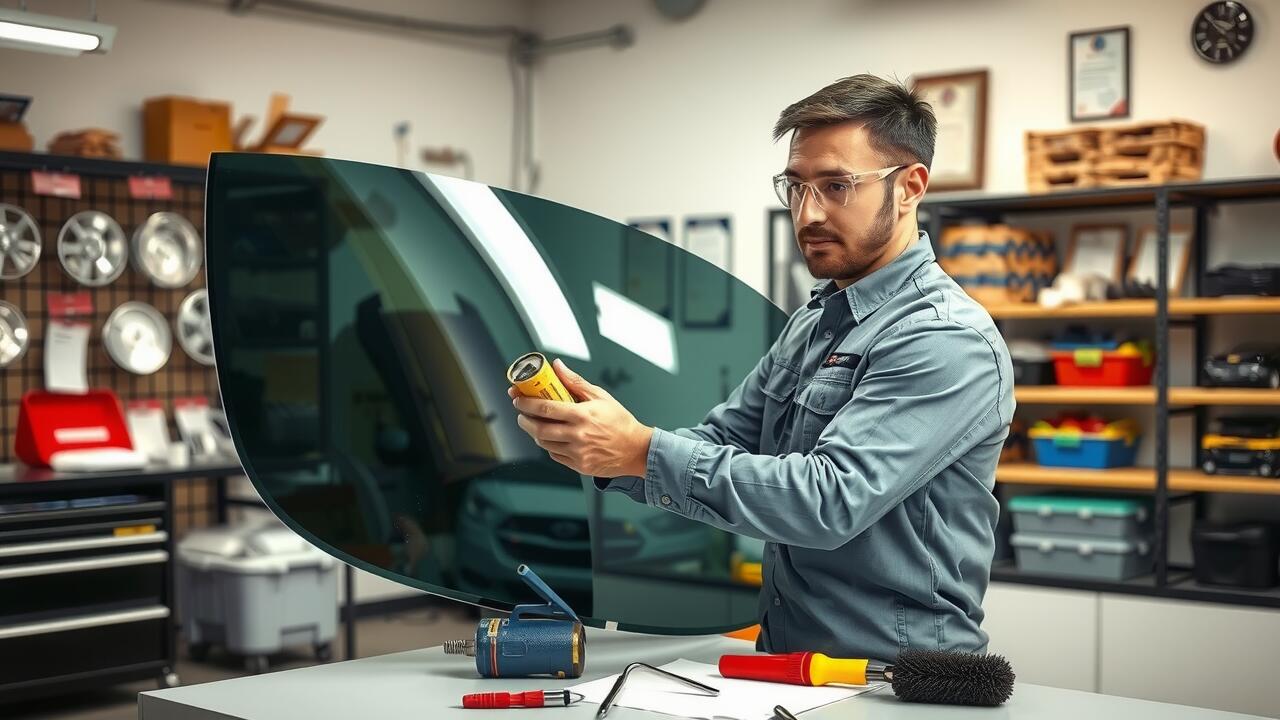
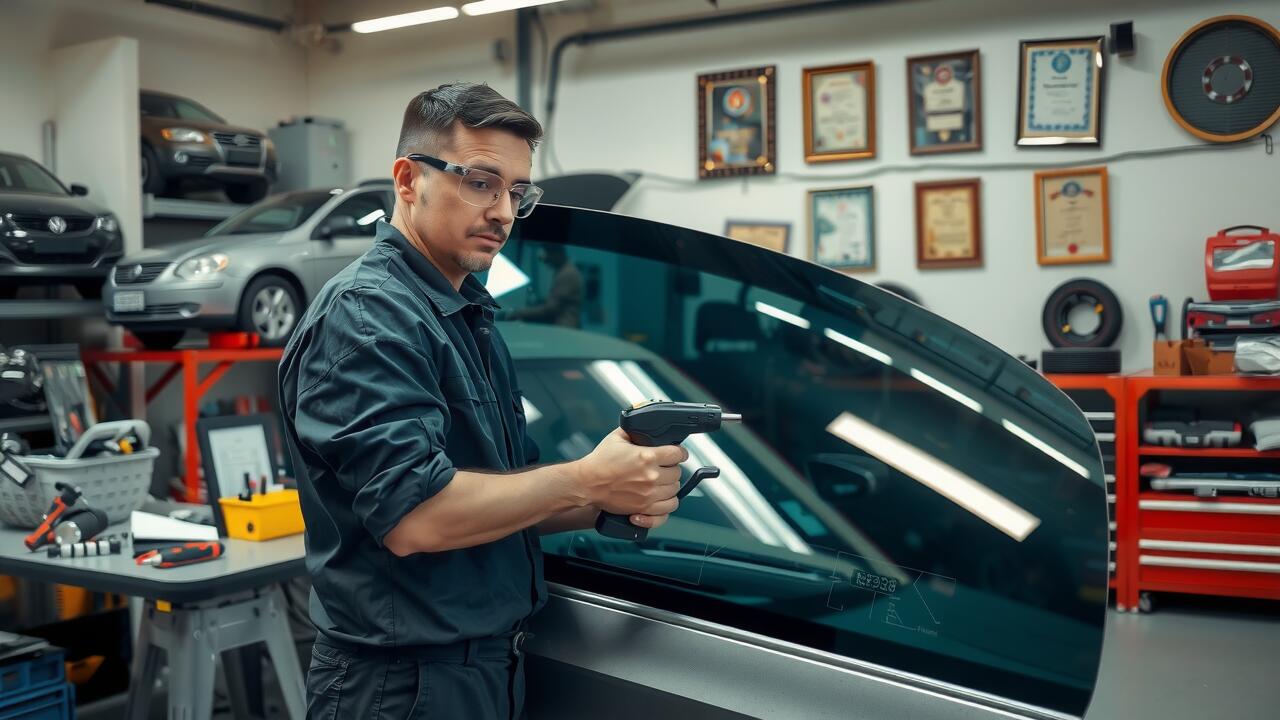
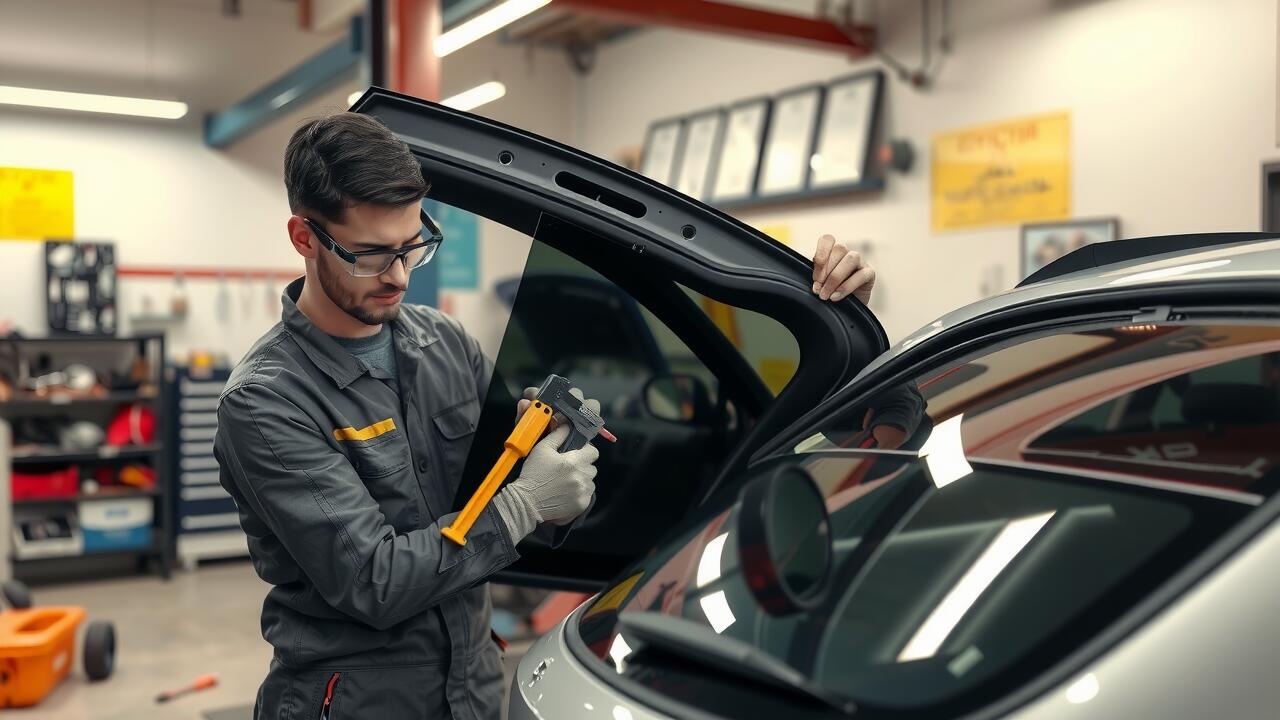
Before applying the sealant, ensure the surface is clean and free from residue. Remove any old sealant and dirt using a scraper or solvent to create a smooth base for adhesion. Once prepared, load your sealant gun with quality automotive sealant specifically designed for rear window repairs. Begin the application at one corner, applying a consistent bead of sealant along the edge. It is essential not to rush this step, as an even application is crucial for a proper seal.
As you continue to apply the sealant, maintain a steady hand, keeping the bead uniform in thickness. Pay special attention to corners and curves, ensuring ample product covers these areas, as they are more prone to leaks. Complete the bead around the entire perimeter of the window frame. Take a moment to inspect your work for any gaps or inconsistencies, as these can compromise the integrity of your rear window repairs. Follow up by smoothing the sealant with a tool or your finger, creating a neat finish that promotes the best seal possible.
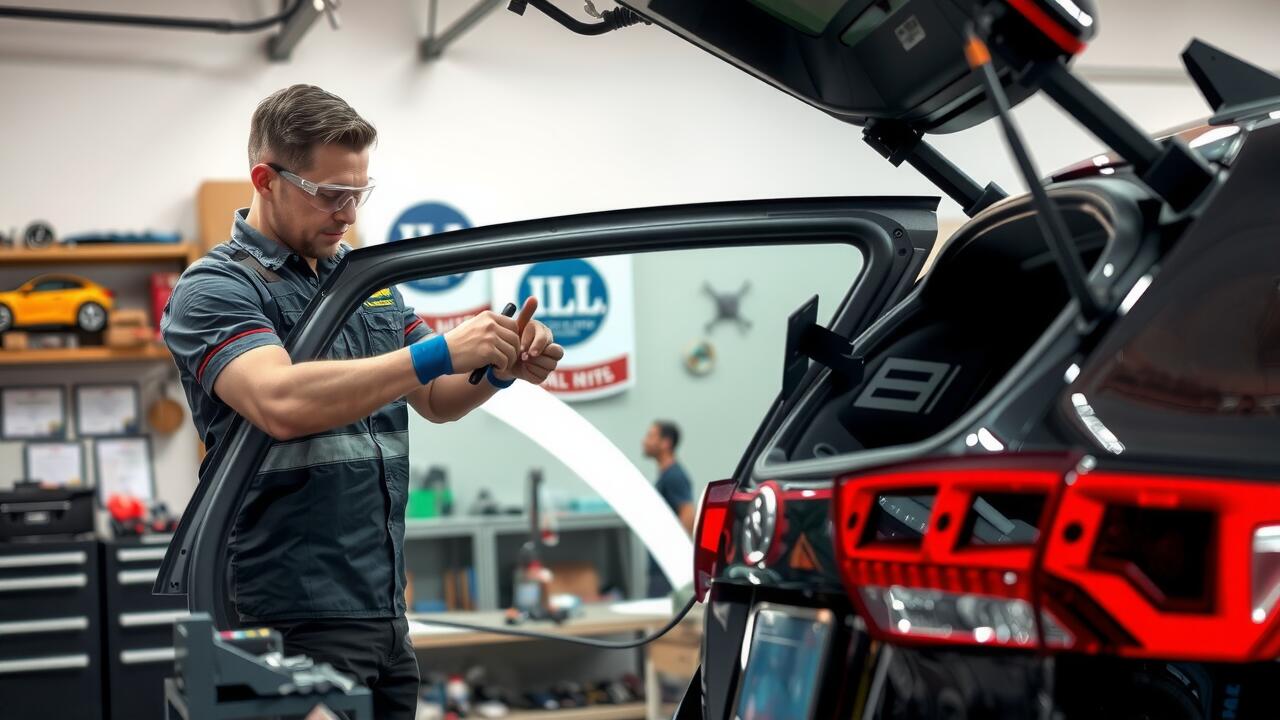
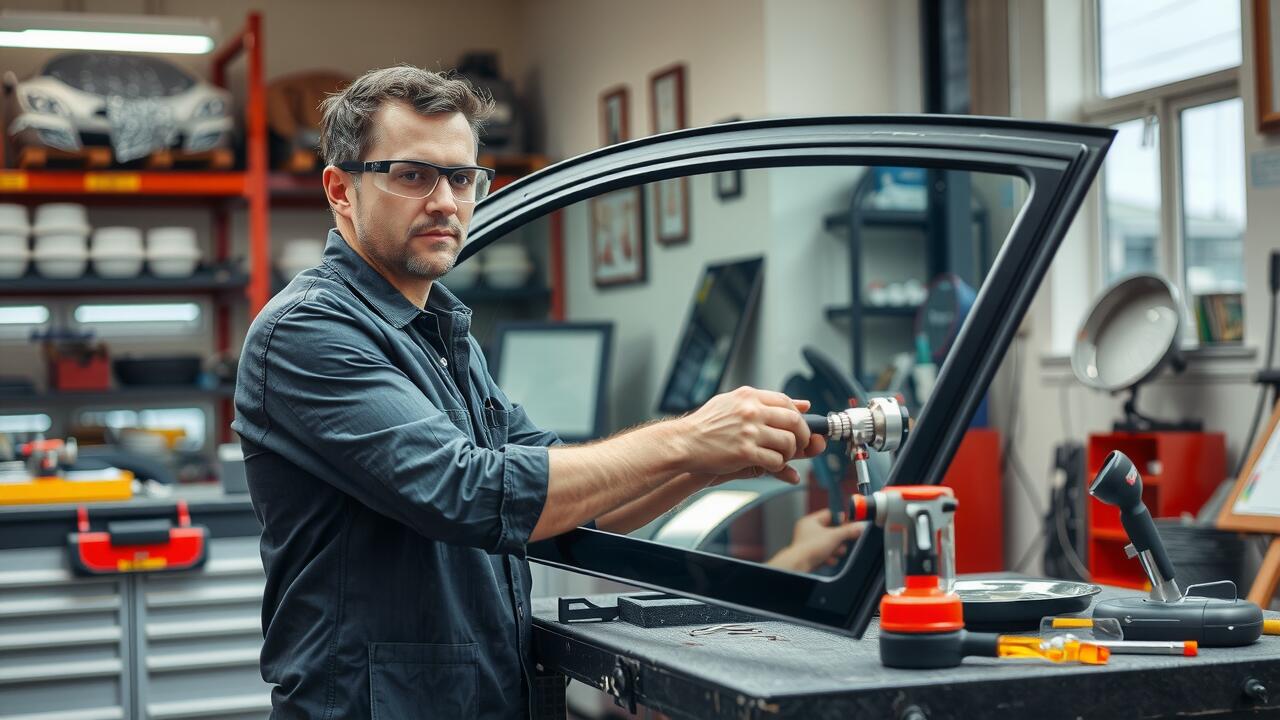
Installing the New Rear Window
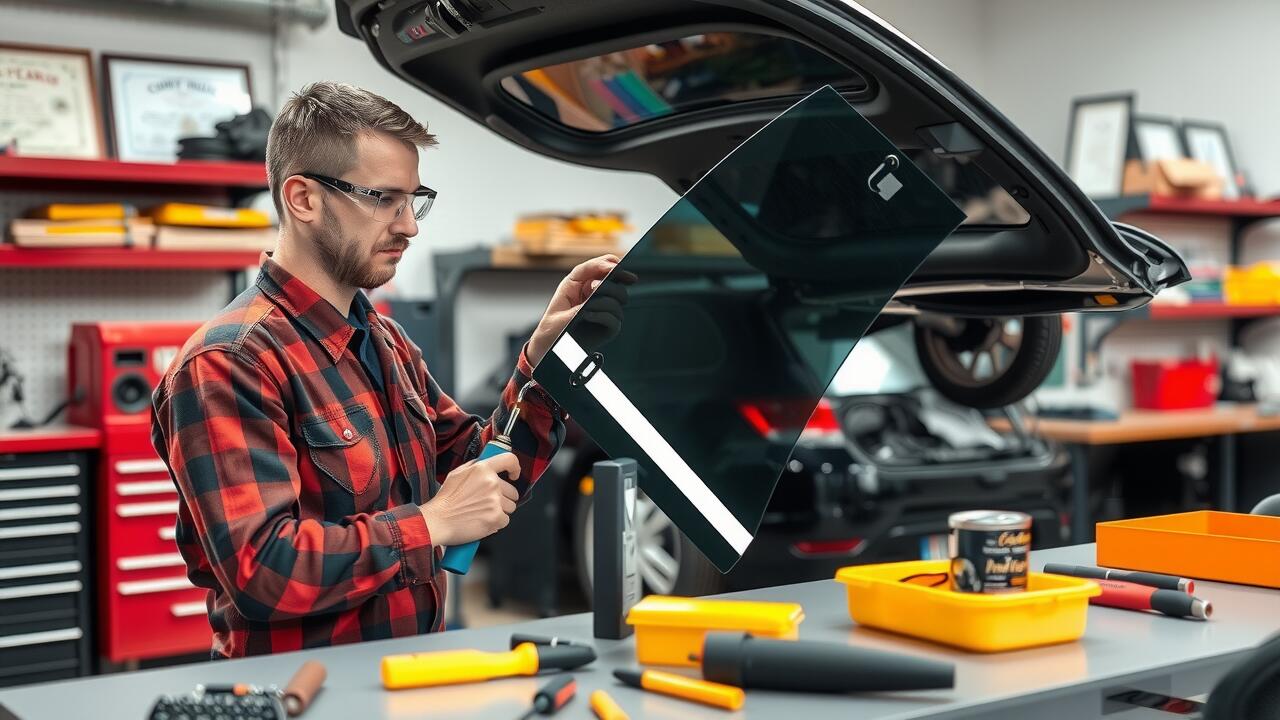
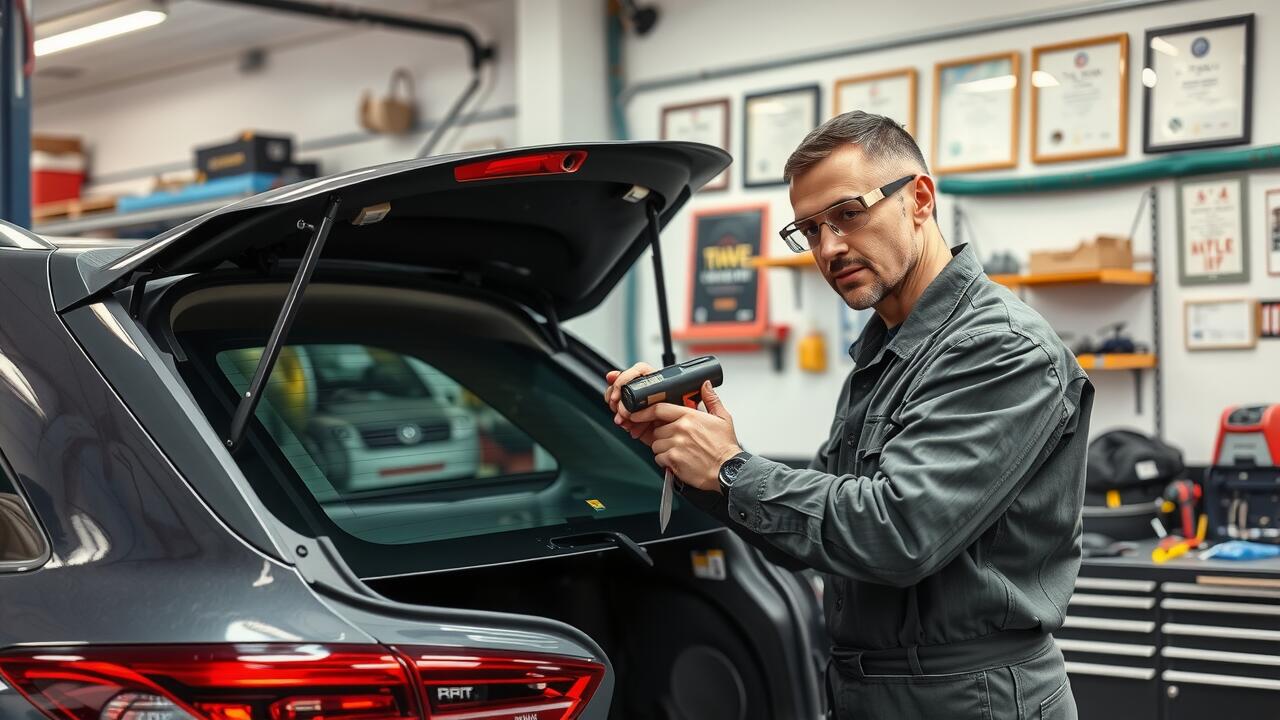
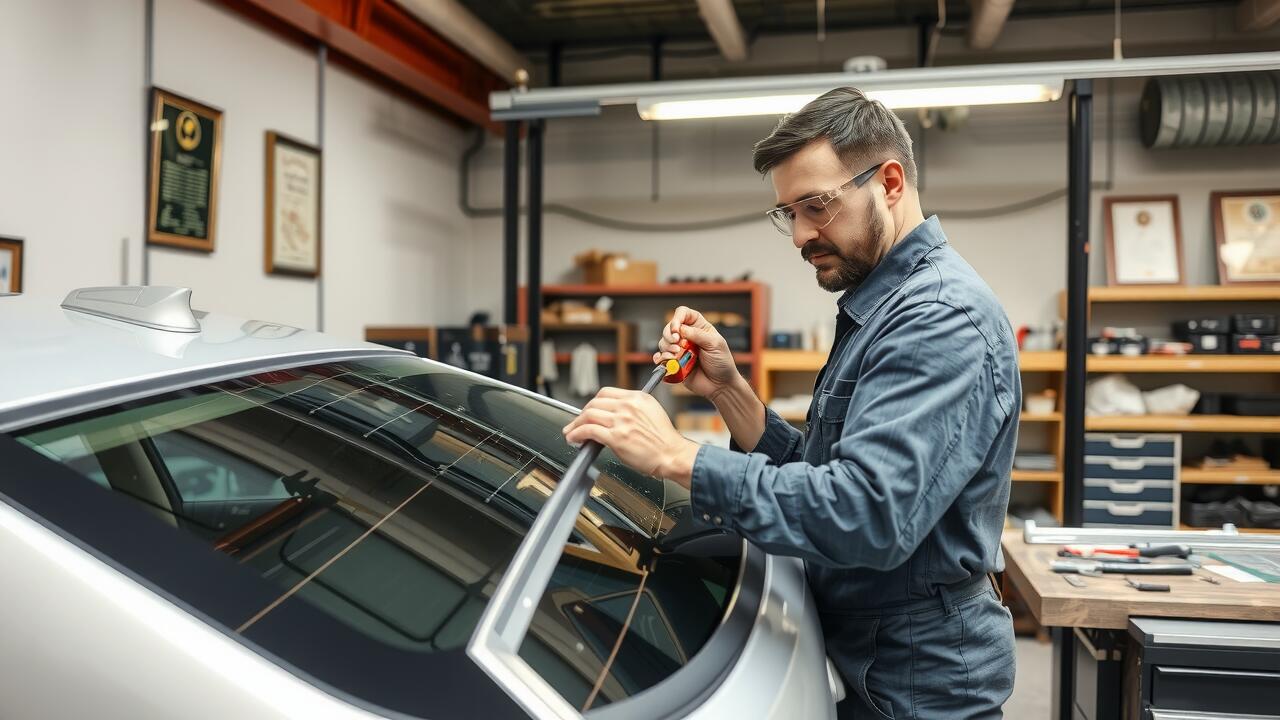
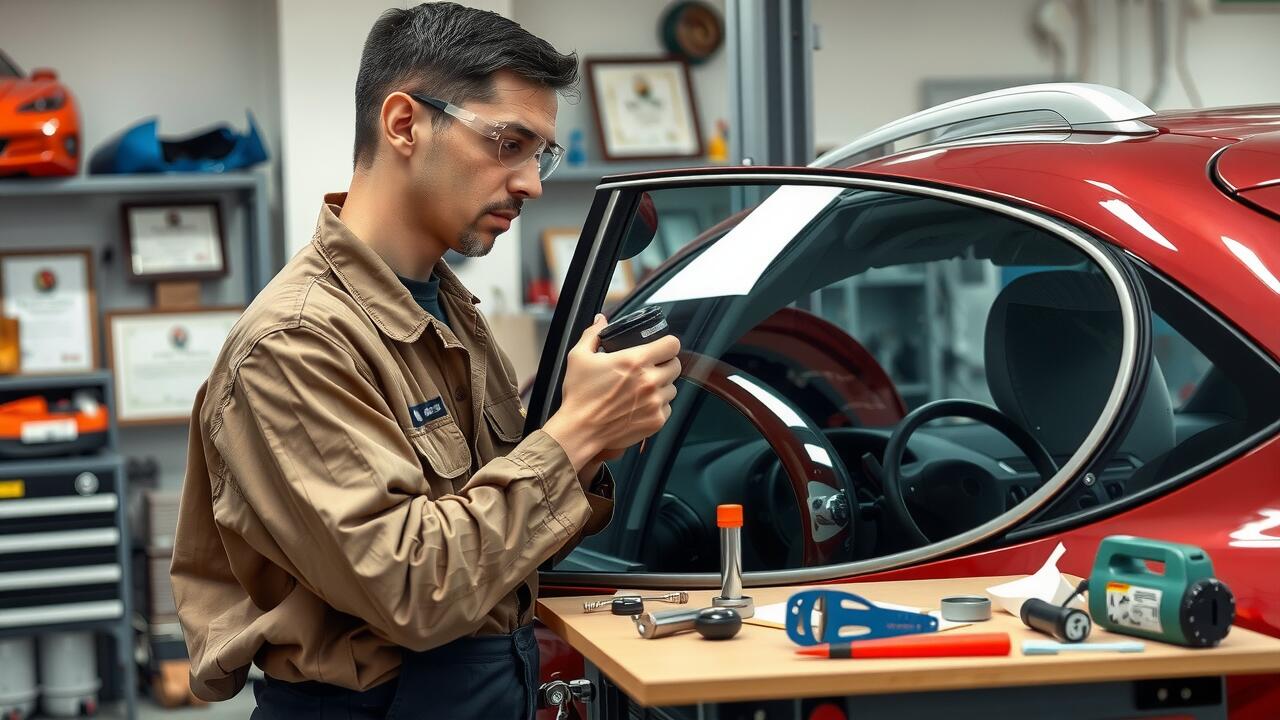
When installing the new rear window, ensure that the frame is clean and free from debris. Remove any old sealant remnants to create a smooth surface for the new installation. The proper placement of the window is crucial to avoid leaks and ensure a snug fit. Carefully lift the window into position, checking for alignment with the edges of the frame. It may be beneficial to have a second person assist with the process, providing additional support and allowing for adjustments as needed.
After positioning the window correctly, apply gentle pressure to embed it within the sealant. This step is essential for achieving a reliable bond, which is vital for effective rear window repairs. Take the time to ensure that the window sits evenly, inspecting for any gaps that could lead to future issues. Once satisfied with the placement, you can proceed to secure the window, making sure that it stays in place during the hardening of the sealant.
Correct Placement and Alignment
Achieving correct placement and alignment of your rear window is crucial for effective installation. Begin by cleaning the window frame thoroughly to remove any debris or old sealant. This ensures a smooth surface for the new window. Position the window in the frame without applying any adhesive to test fit. Check for even gaps around the edges and ensure the window sits flush with the body of the vehicle. Make any necessary adjustments before proceeding with the sealing process.
Once the window is in place, use spacers or wedges to maintain alignment while the adhesive cures. This step is essential to prevent any shifts during the drying time. For Rear Window Repairs, double-check that the window operates correctly within its frame without obstructions. Take your time with this stage to guarantee that the window not only looks good but also functions as intended, ensuring safety and preventing leaks.
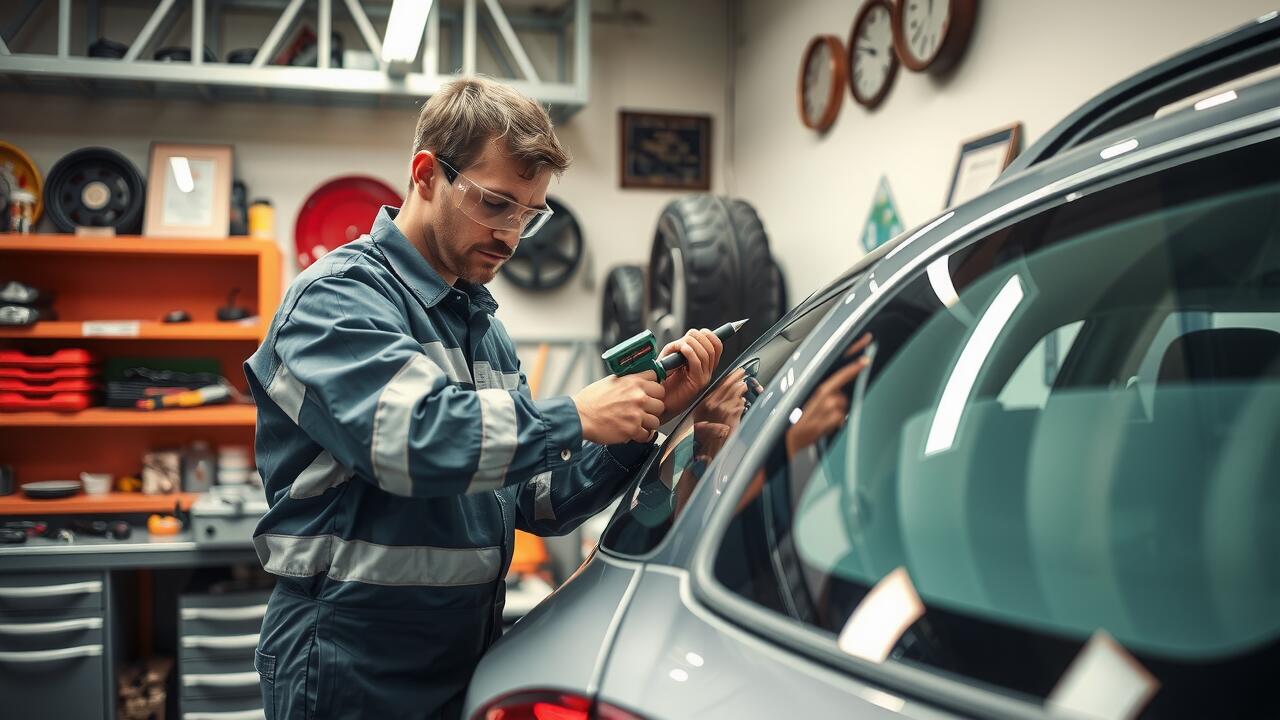
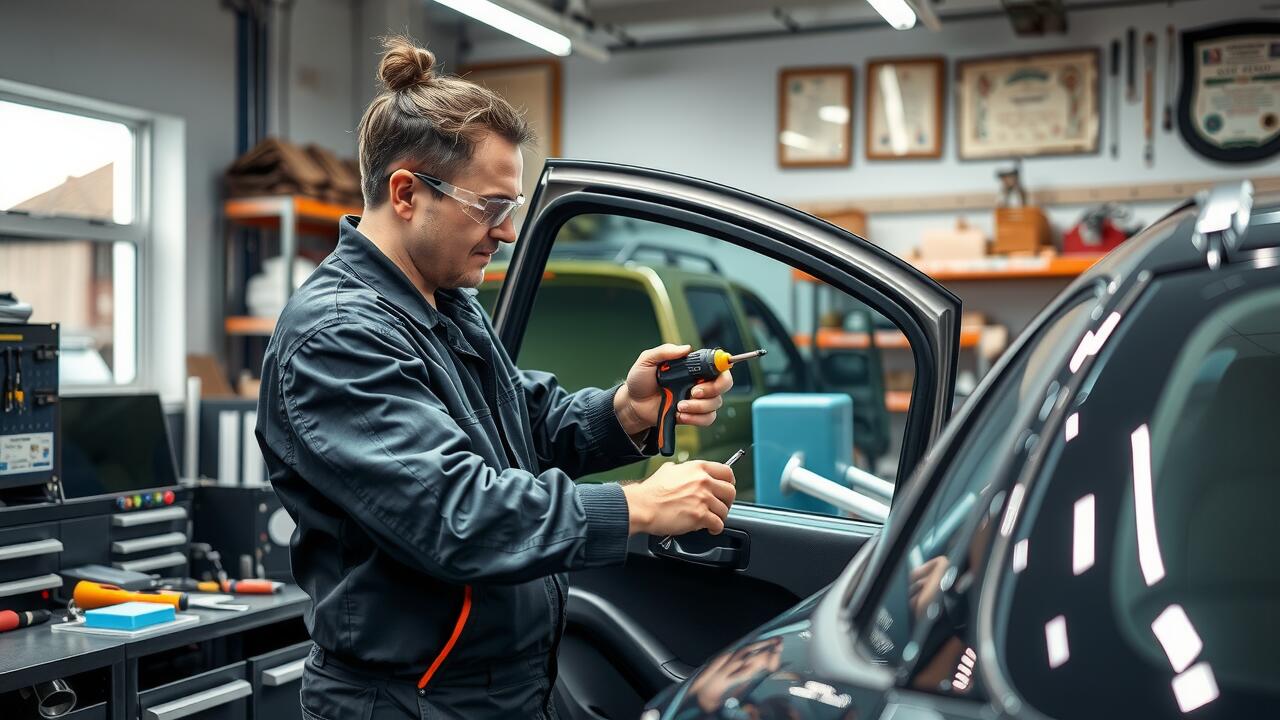
Securing the Rear Window
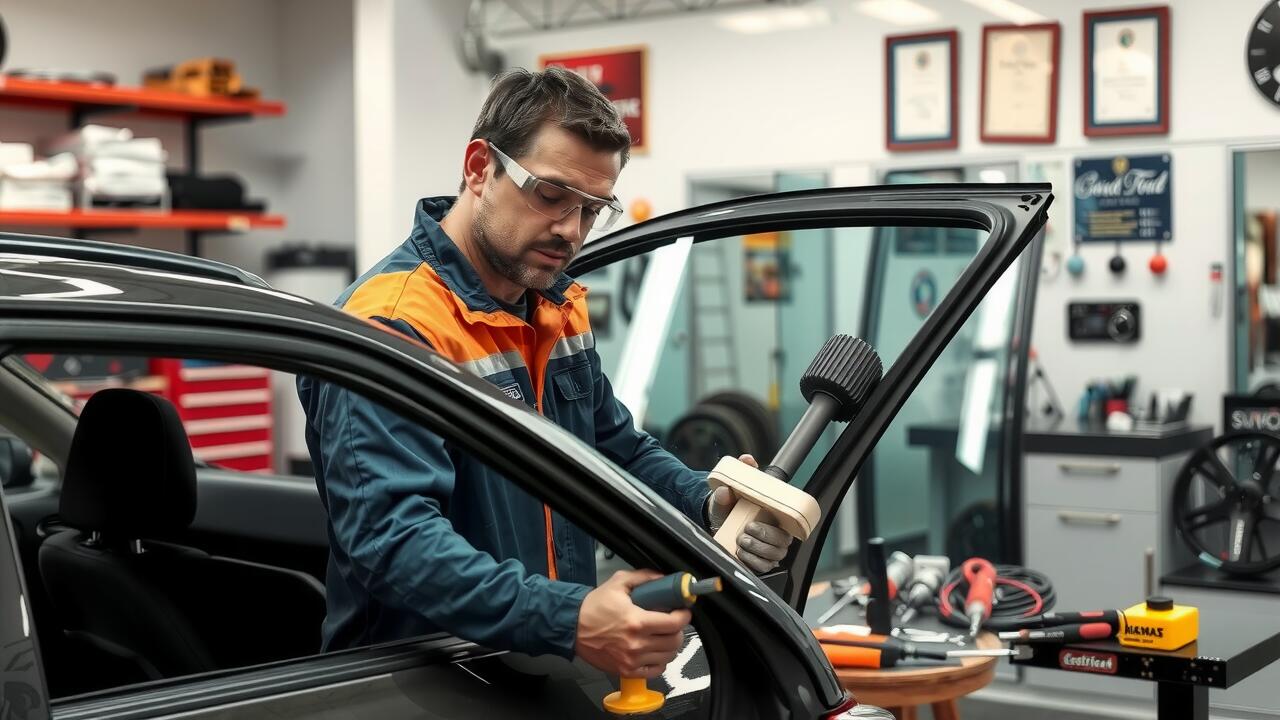
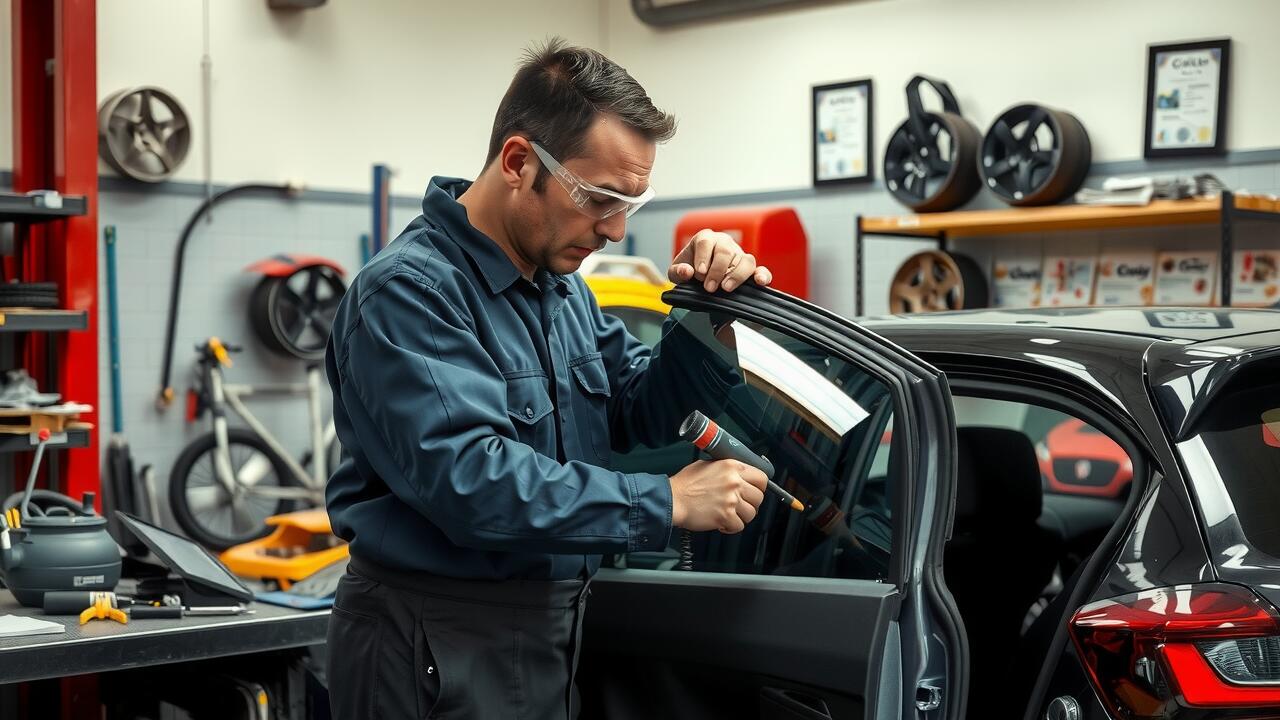
Securing the rear window is a critical step in ensuring that it remains intact and watertight. Begin by applying a high-quality adhesive designed for automotive glass installation. This will create a strong bond between the new window and the vehicle frame. Carefully consider the curing time of the adhesive, as proper drying is essential before taking the vehicle on the road. Ensure that the adhesive is evenly distributed around the perimeter of the frame to provide consistent support.
Once the adhesive has been applied, gently press the new rear window into place. Utilize spacers or suction cups to help position the glass correctly within the frame, allowing for a uniform gap on all sides. This attention to detail in the alignment will facilitate a professional finish. After securing the window, inspect the bond to ensure that there are no gaps. For anyone looking to perform rear window repairs, following these meticulous steps will guarantee a reliable and long-lasting fit.
Methods for Ensuring a Tight Fit
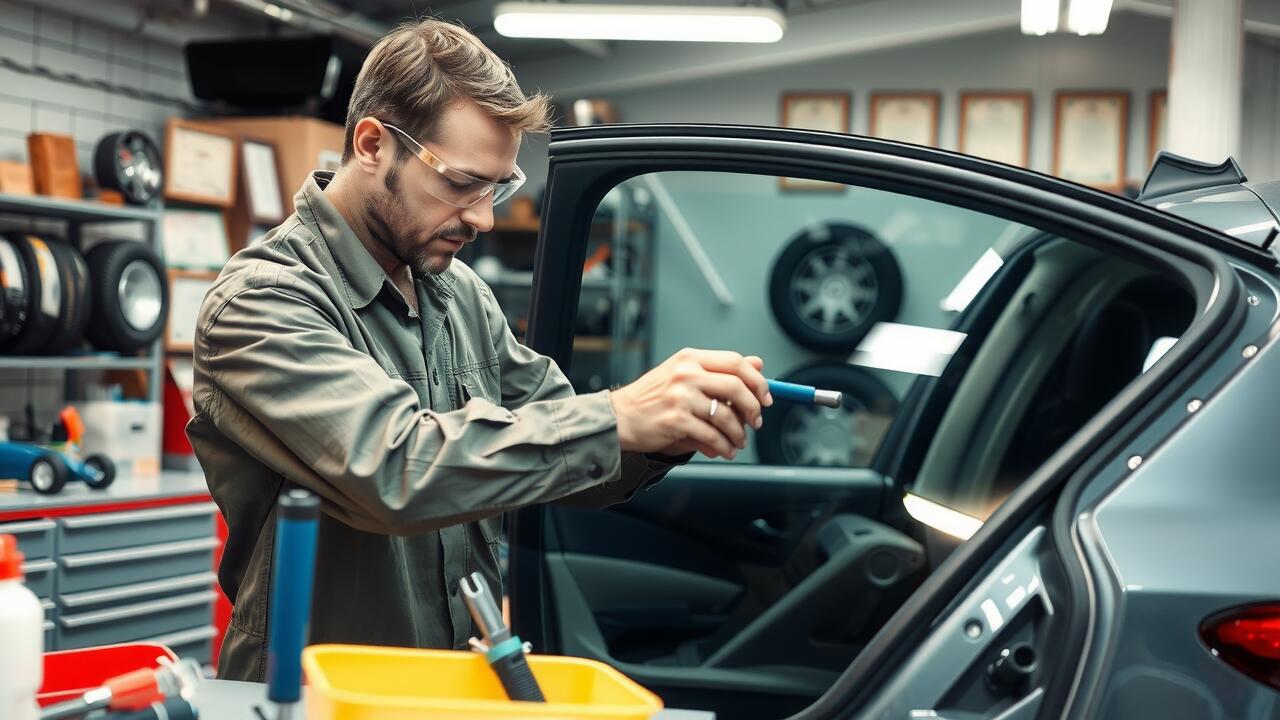
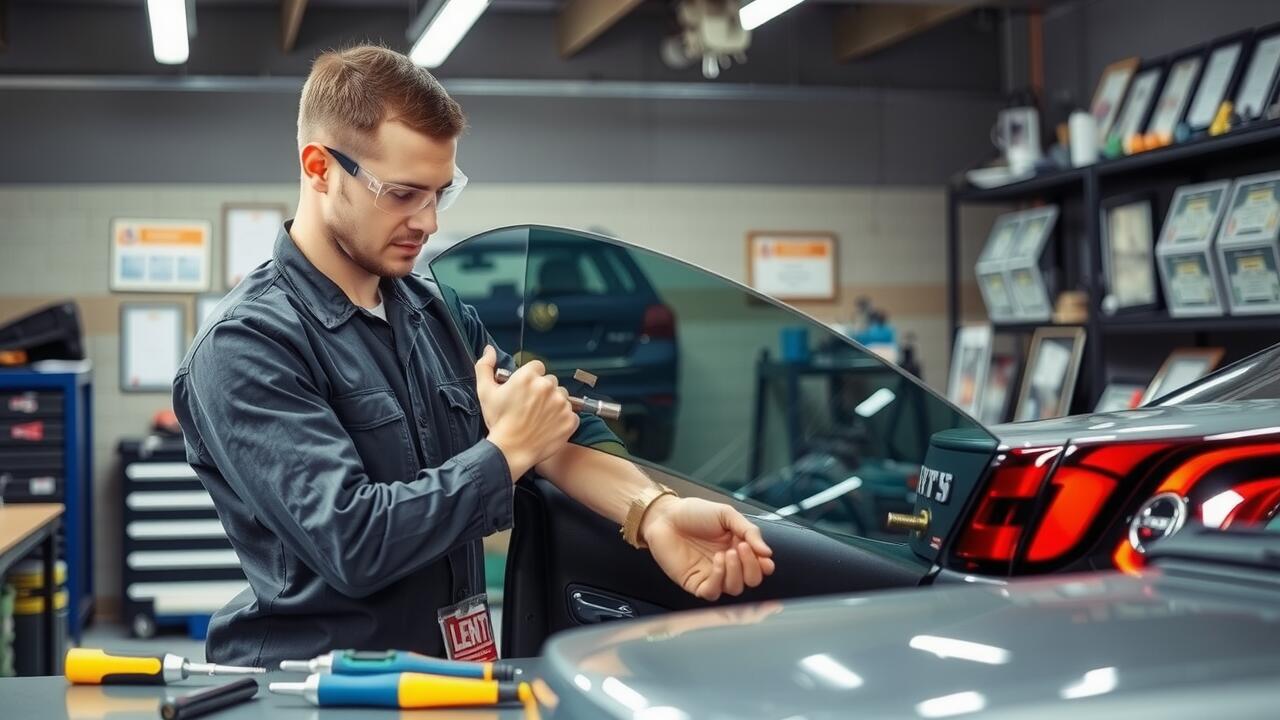
To achieve a tight fit during rear window installation, it is essential to properly prepare the surface where the new window will be placed. Clean the frame thoroughly to remove any old sealant, dirt, or debris. A clean surface ensures that the new sealant adheres effectively, providing a more durable bond. Using a primer on the frame can enhance adhesion, making it easier to secure the window in place. Carefully inspect the gasket or adhesive used. Selecting the right material will contribute to the longevity of the installation.
While placing the rear window, ensure it is correctly aligned with the frame. Begin by setting one edge and gently pressing down to ensure the sealant makes contact. It is important to gradually lower the window into position while maintaining equal pressure along the edges. Once it is seated, secure it with clamps or tape to hold it in place until the sealant cures. Keeping the rear window stable during the curing process will prevent shifts that could compromise the integrity of your rear window repairs.
FAQS
What type of sealant should I use for replacing my rear window?
It's best to use a high-quality automotive sealant that is specifically designed for glass installation. Look for products that are weather-resistant and suitable for exterior use.
How do I know if my old sealant needs to be removed completely?
If the old sealant is cracked, dried out, or shows signs of leakage, it should be fully removed to ensure a proper seal with the new window.
What are the key steps in ensuring correct placement and alignment of the new rear window?
Start by cleaning the frame thoroughly, applying the sealant evenly, and then carefully positioning the window while checking for even gaps on all sides. Use spacers if necessary to maintain even placement during installation.
How can I ensure a tight fit when securing the rear window?
Use clamps or strong tape to hold the window in place while the sealant cures. Additionally, check the alignment frequently during this process to make adjustments if needed.
How long should I wait before driving my vehicle after replacing the rear window?
It is generally recommended to wait at least 24 hours before driving your vehicle to allow the sealant to cure properly and ensure a strong bond. Always check the manufacturer's instructions for specific curing times.