Table Of Contents
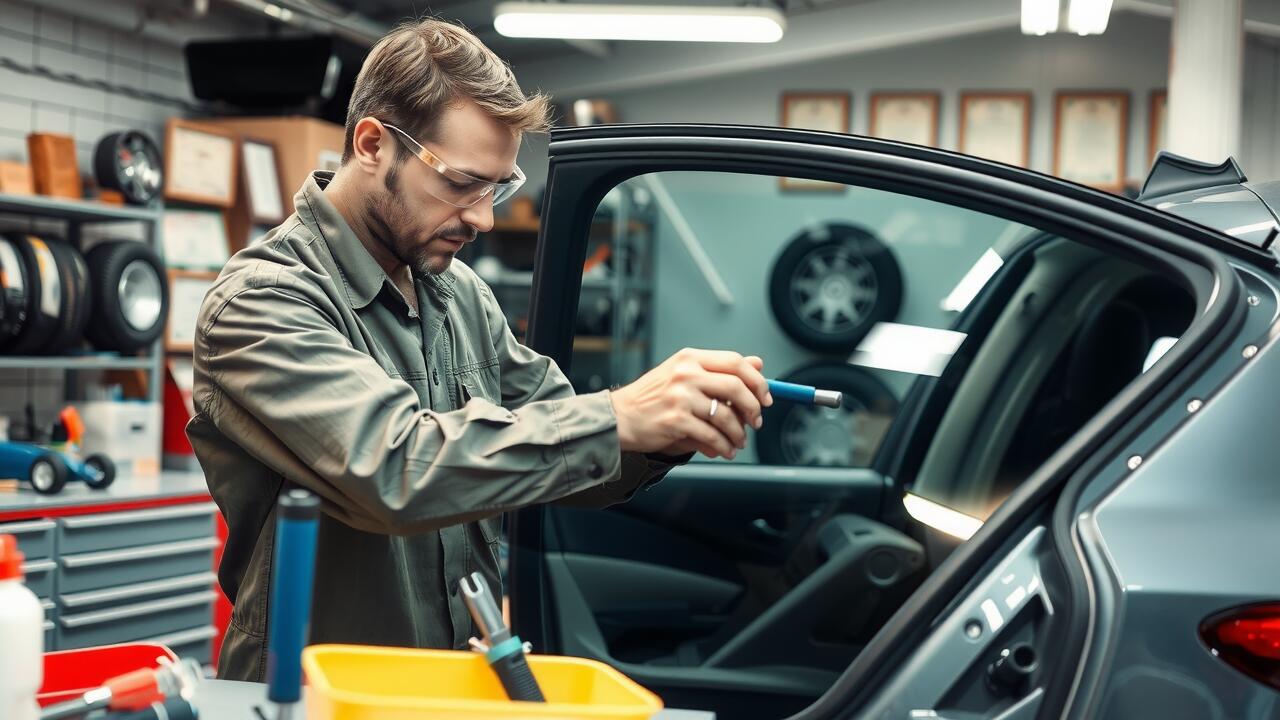
Common Mistakes During Replacement
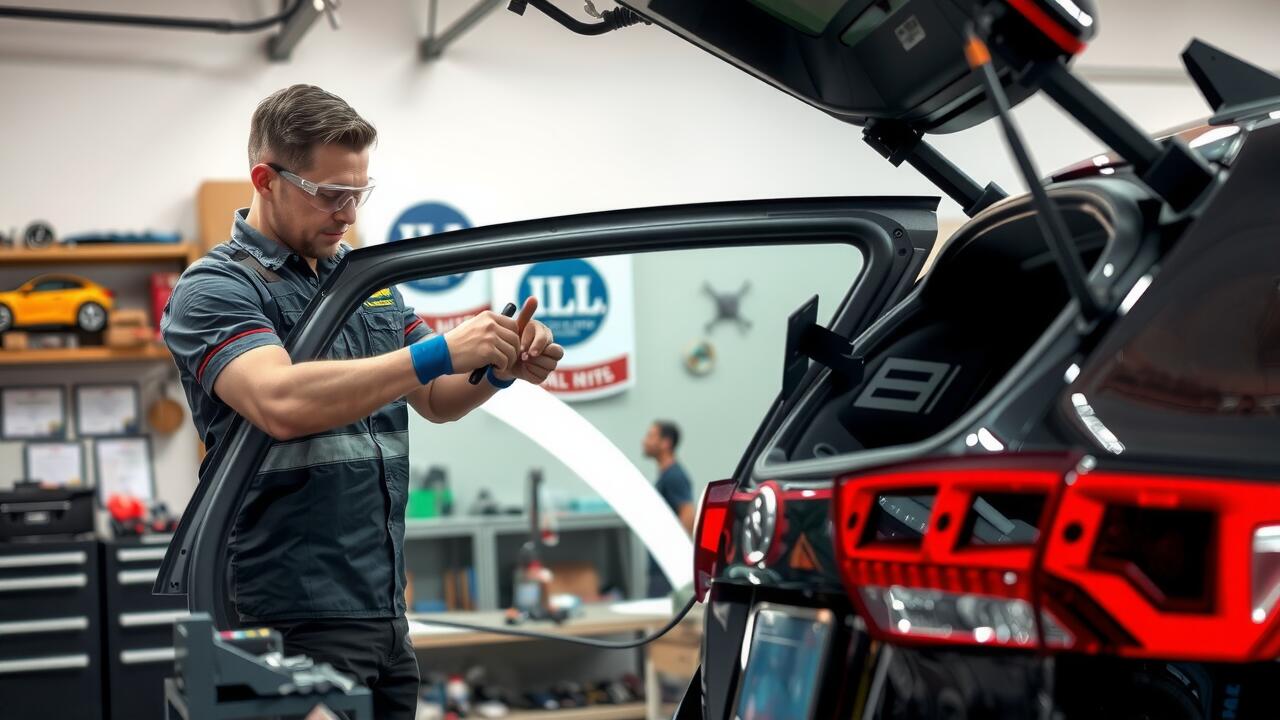
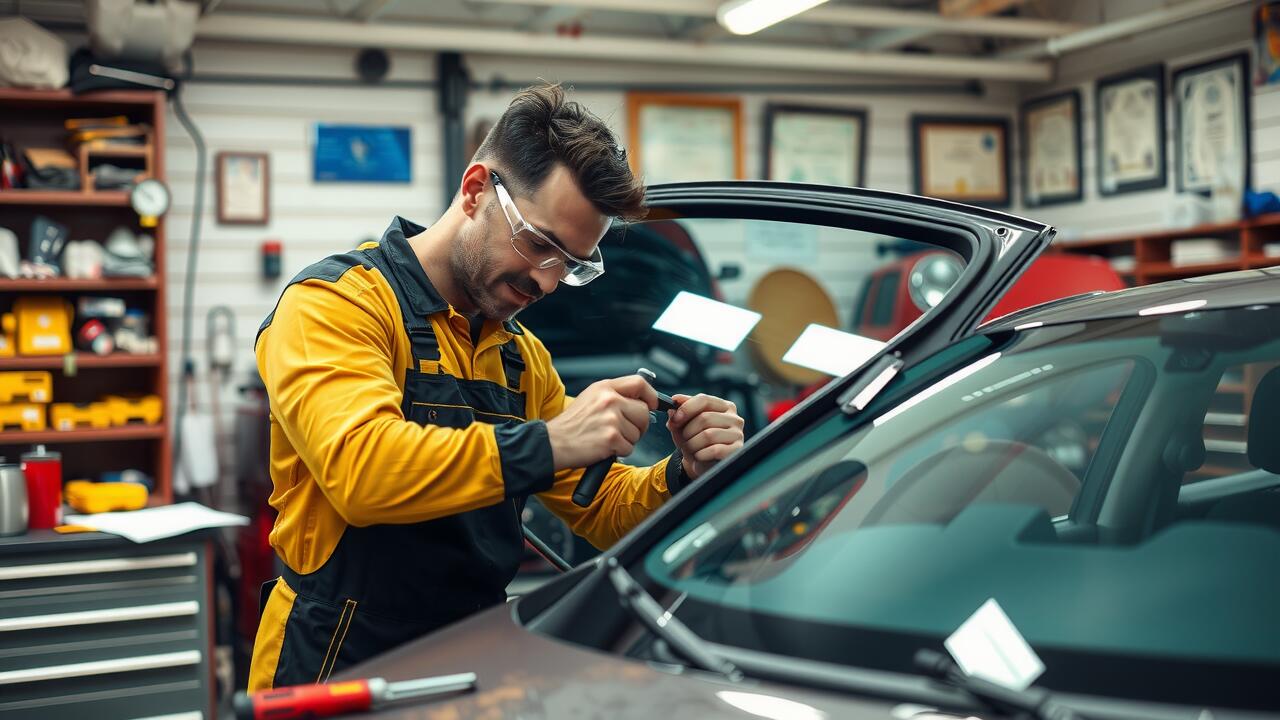
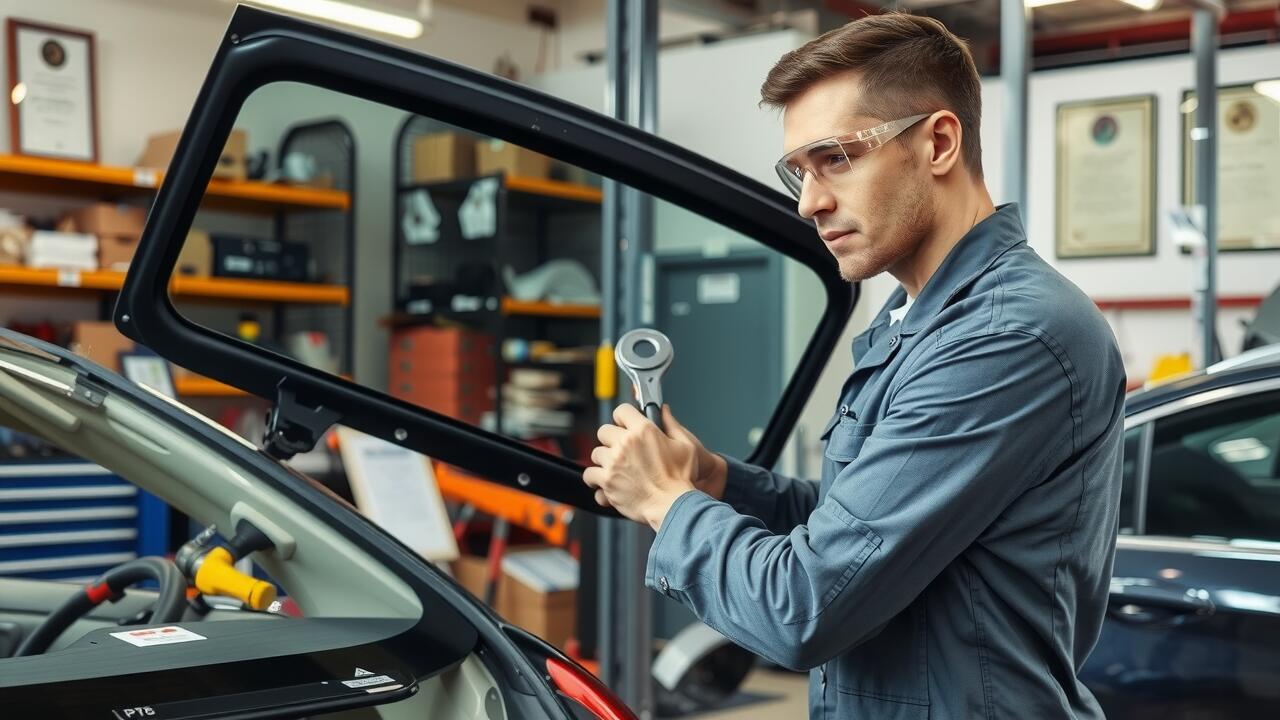
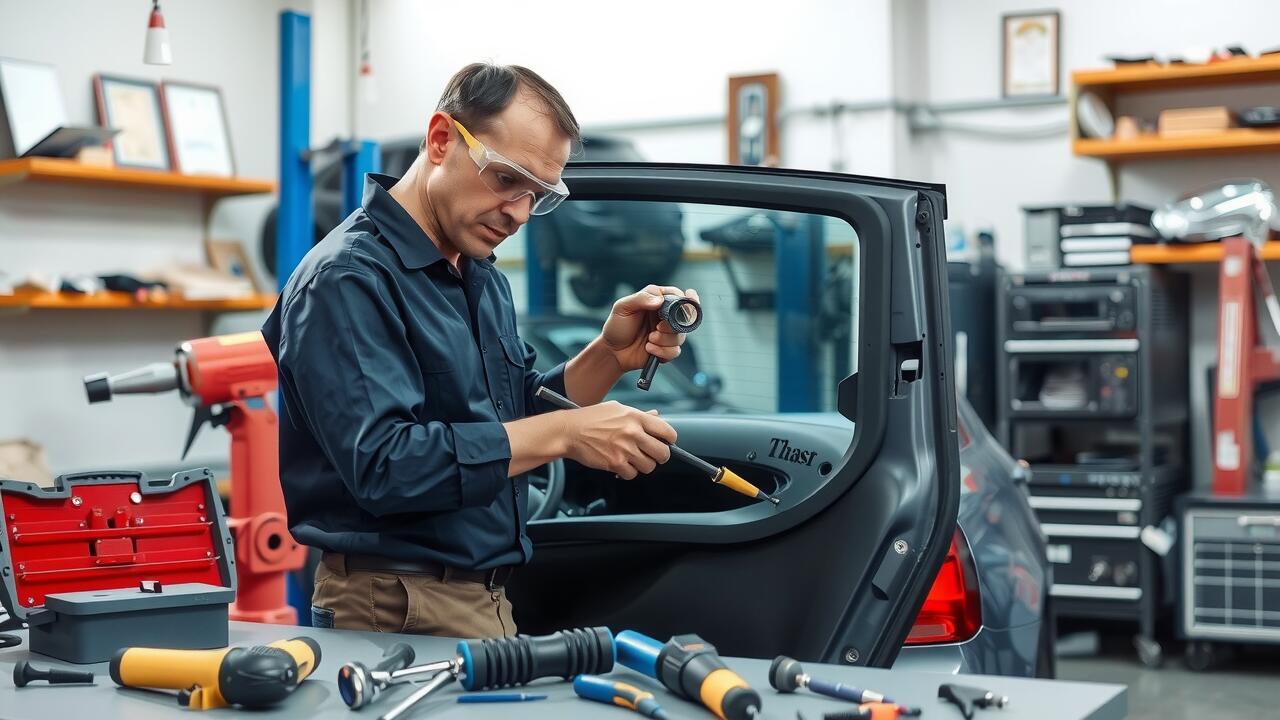
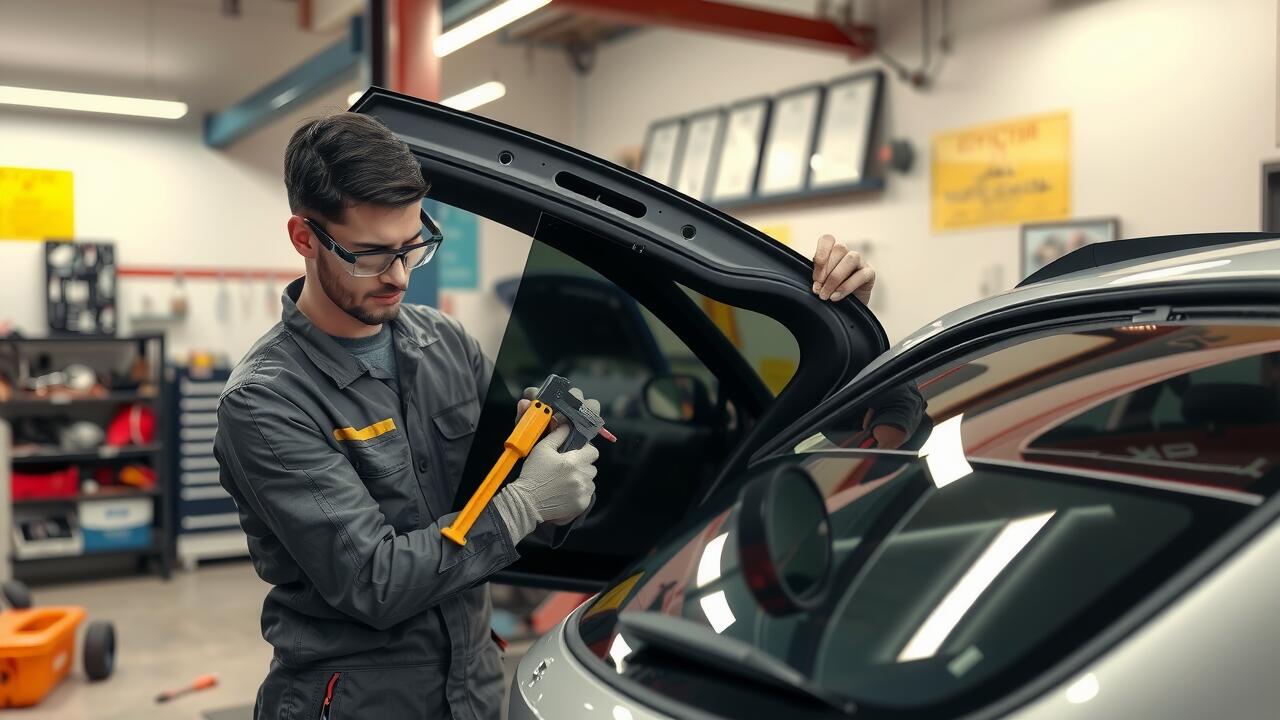
One of the primary mistakes made during rear window replacements is failing to properly clean the surfaces before applying adhesive. Dirt, grime, and old sealant can interfere with the bonding process. This oversight can lead to leaks or the window not adhering securely over time. Ensuring that the area is meticulously prepared is essential for a successful installation, as it directly impacts the longevity of the repairs.
Another common error involves neglecting to allow adequate curing time for the adhesive before reassembling the vehicle or subjecting it to stress. Many individuals underestimate the importance of this step, believing they can expedite the process. Without adequate curing, the bond formed by the adhesive may weaken, leading to complications later on. Paying attention to these details ensures that rear window repairs are durable and effective.
Avoiding DIY Pitfalls
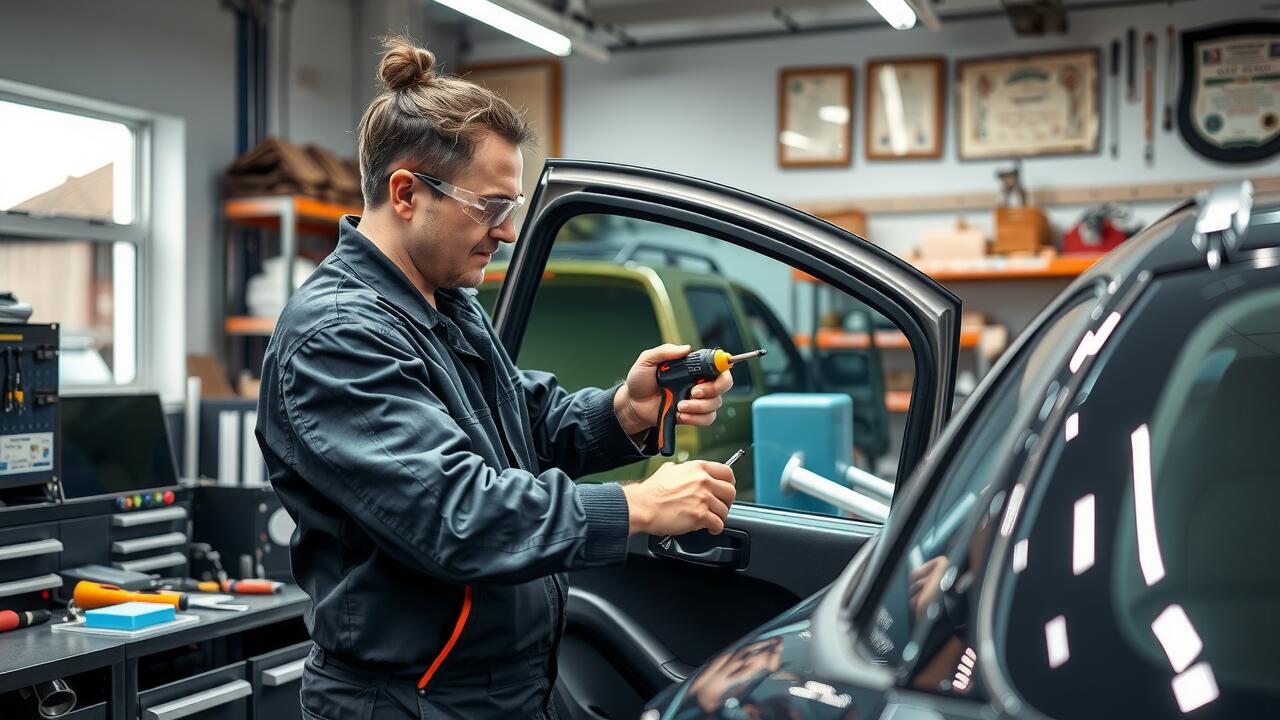
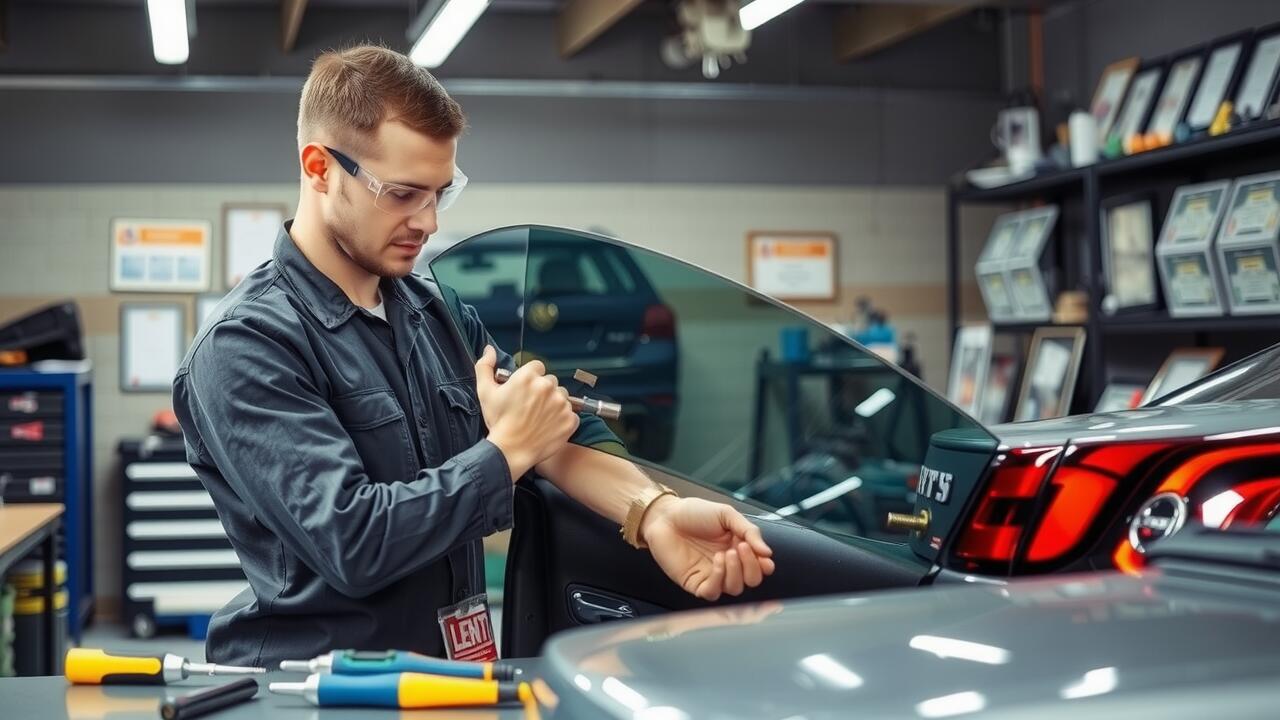
Many enthusiasts take on rear window replacements themselves, tempted by the prospect of saving money. However, DIY projects can lead to costly errors if not approached with caution. Common pitfalls include improperly removing old adhesive, which can compromise the integrity of the new installation. Inadequate preparation also arises when the installation area isn’t cleaned properly, leading to potential leaks and further issues down the line.
Lack of understanding about the right tools and techniques can exacerbate these problems. Some might underestimate the complexity of rear window repairs, opting for subpar materials or rushing through the steps. Investing in high-quality adhesives and following manufacturer guidelines for installation is essential. Ensuring a proper fit and seal requires patience and attention to detail, making it wise to consult professionals if there’s any uncertainty about the process.
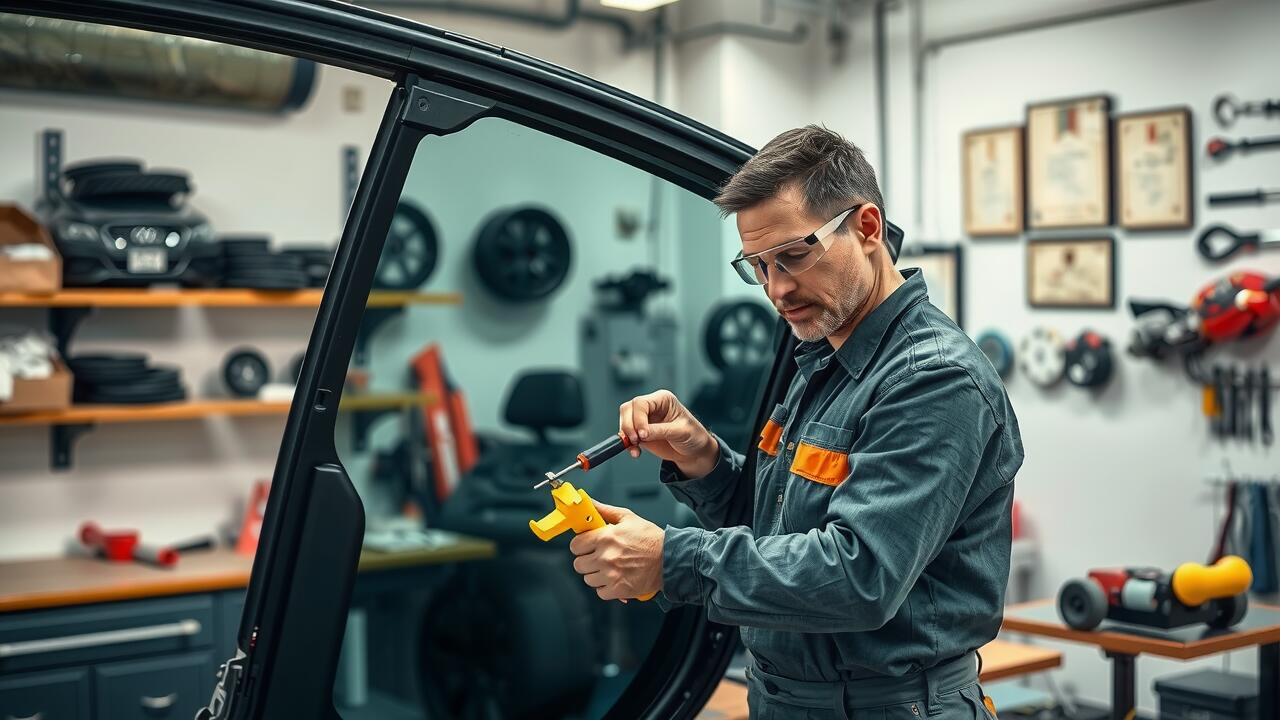
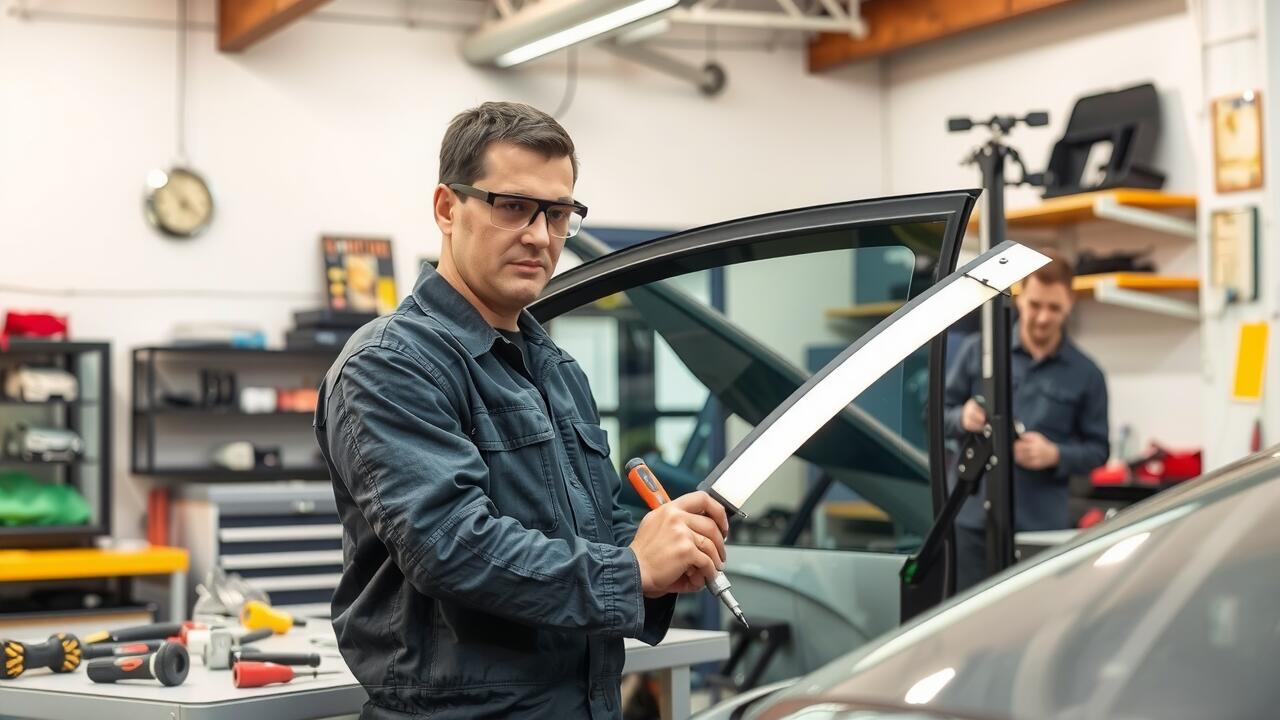
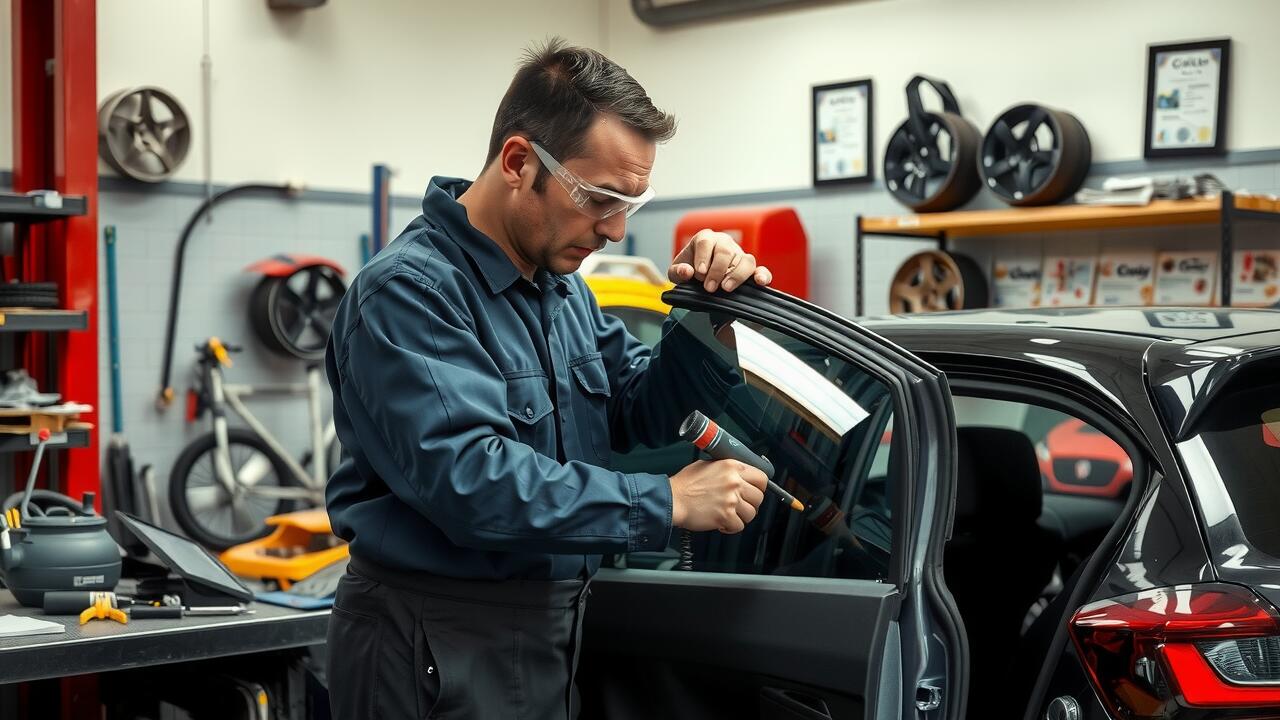
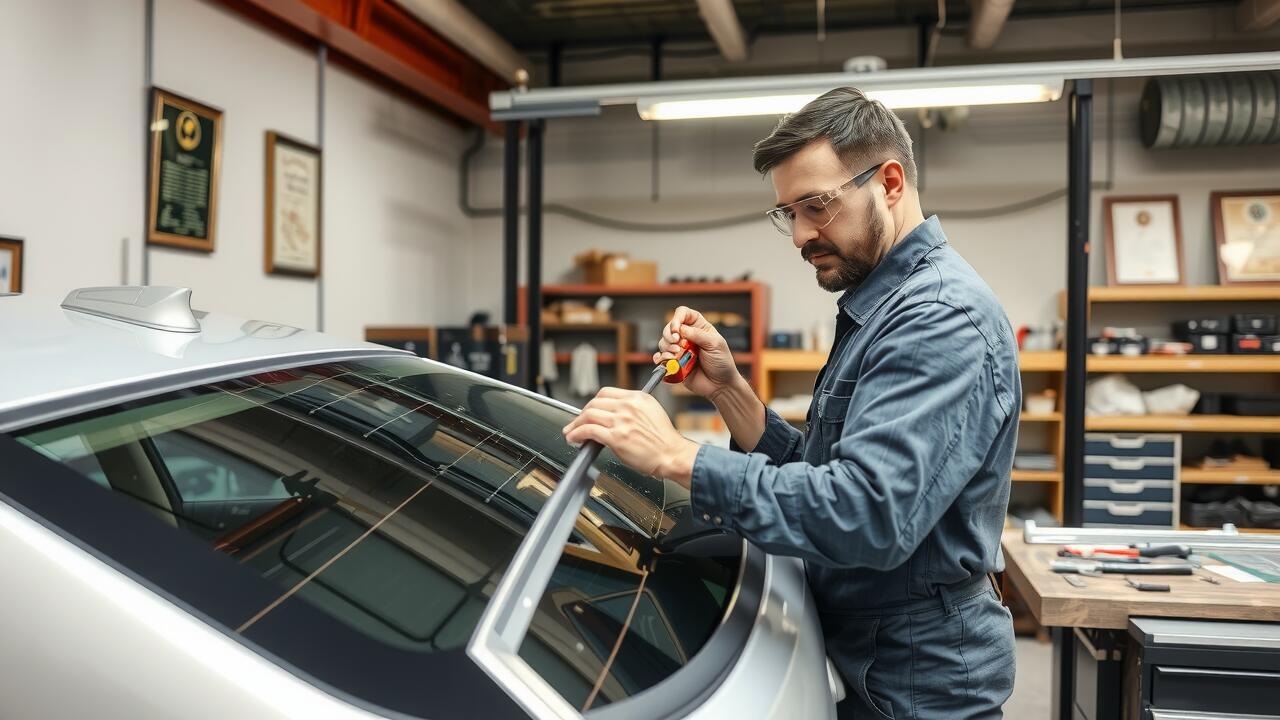
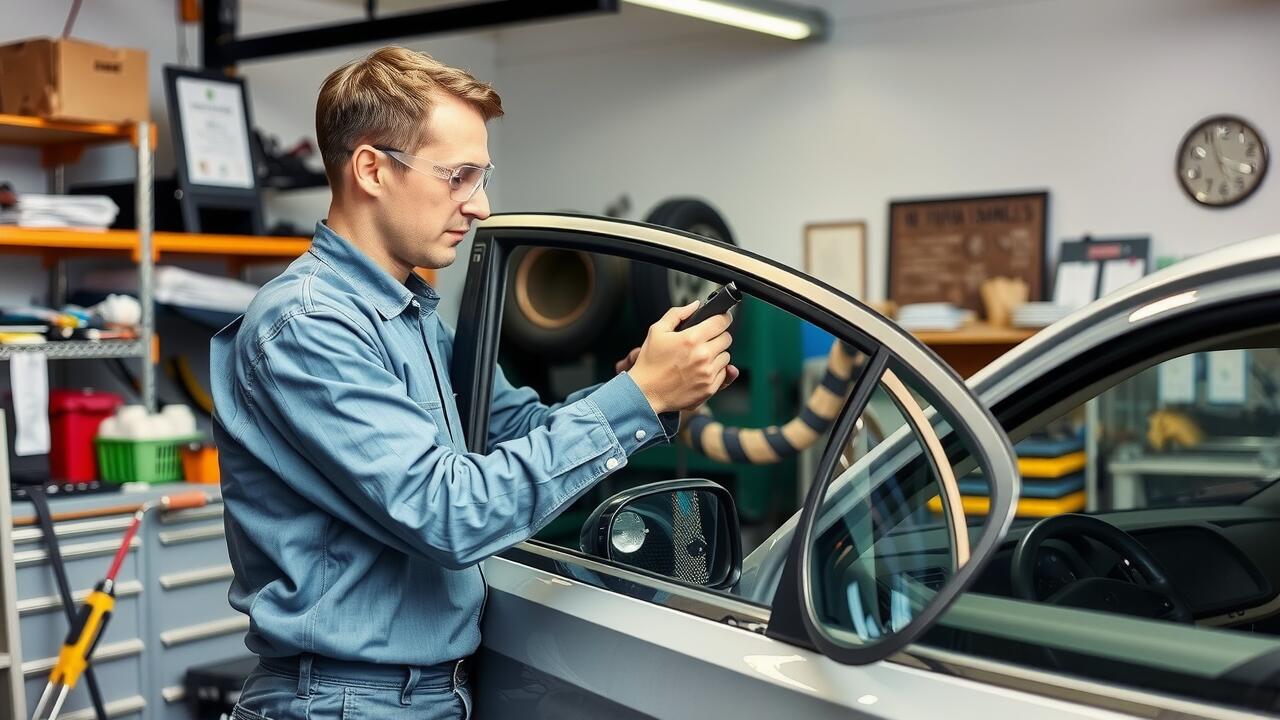
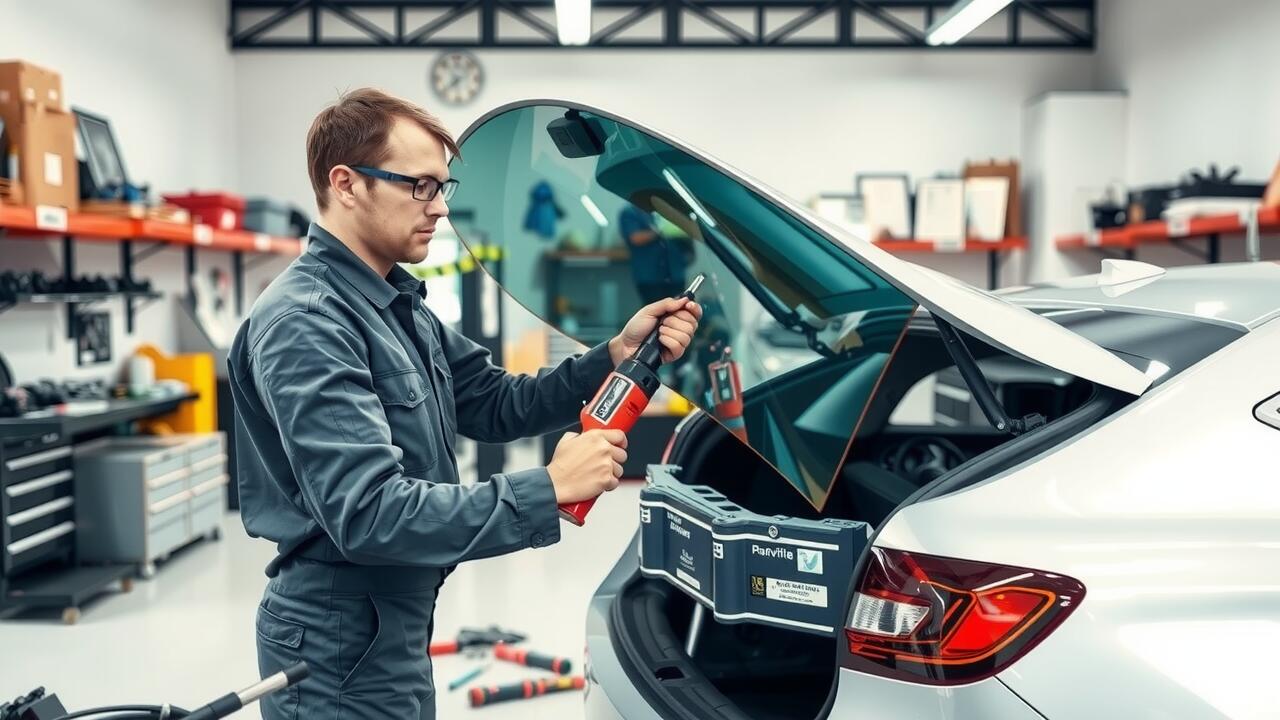
Tools Required for a Successful Replacement
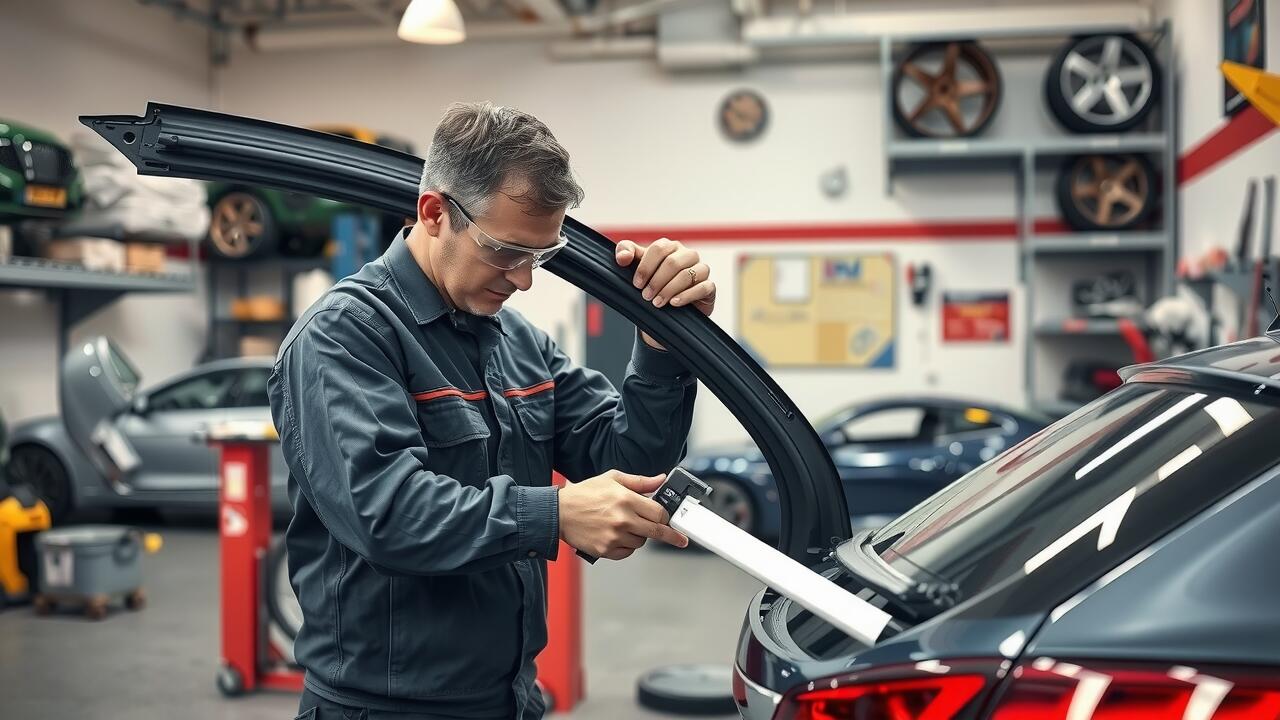
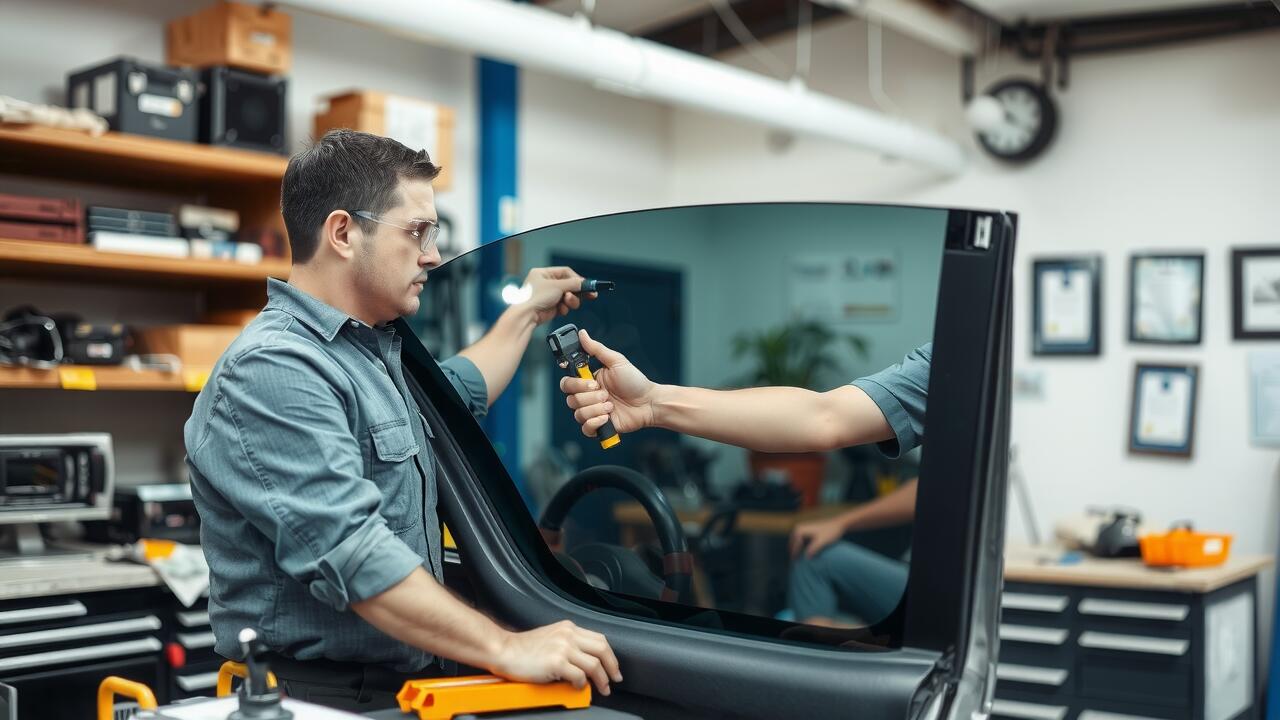
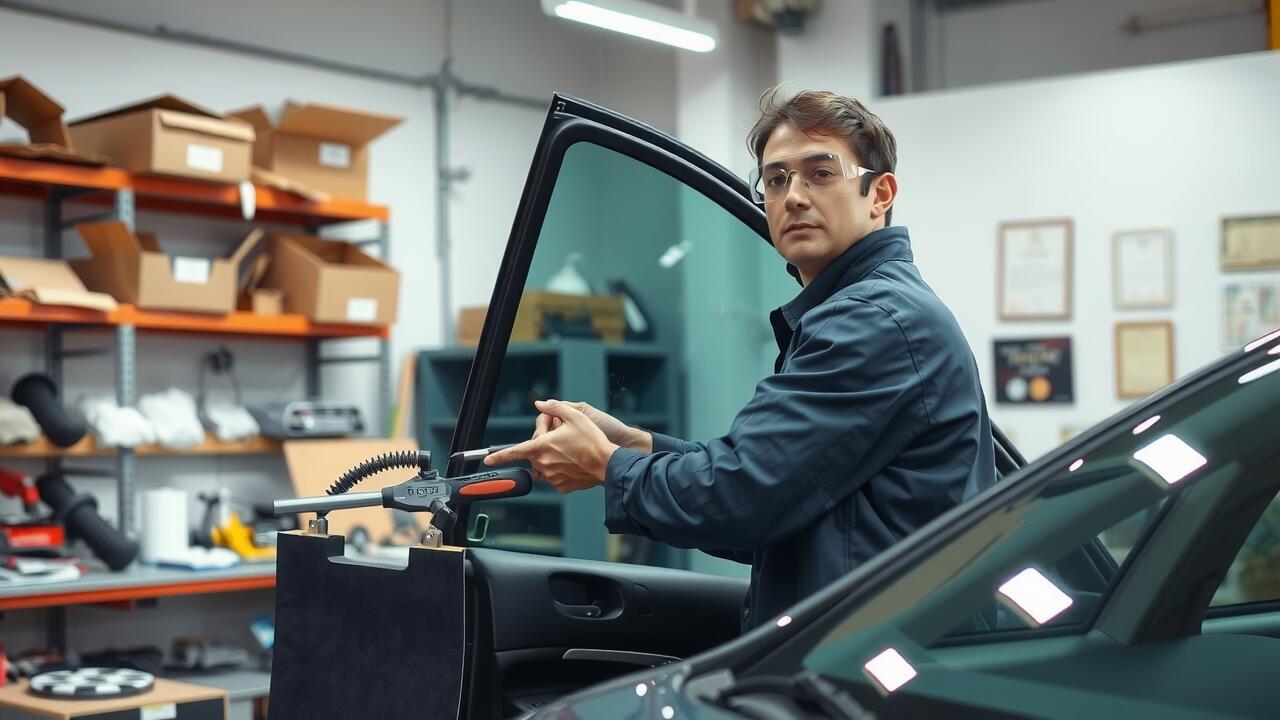
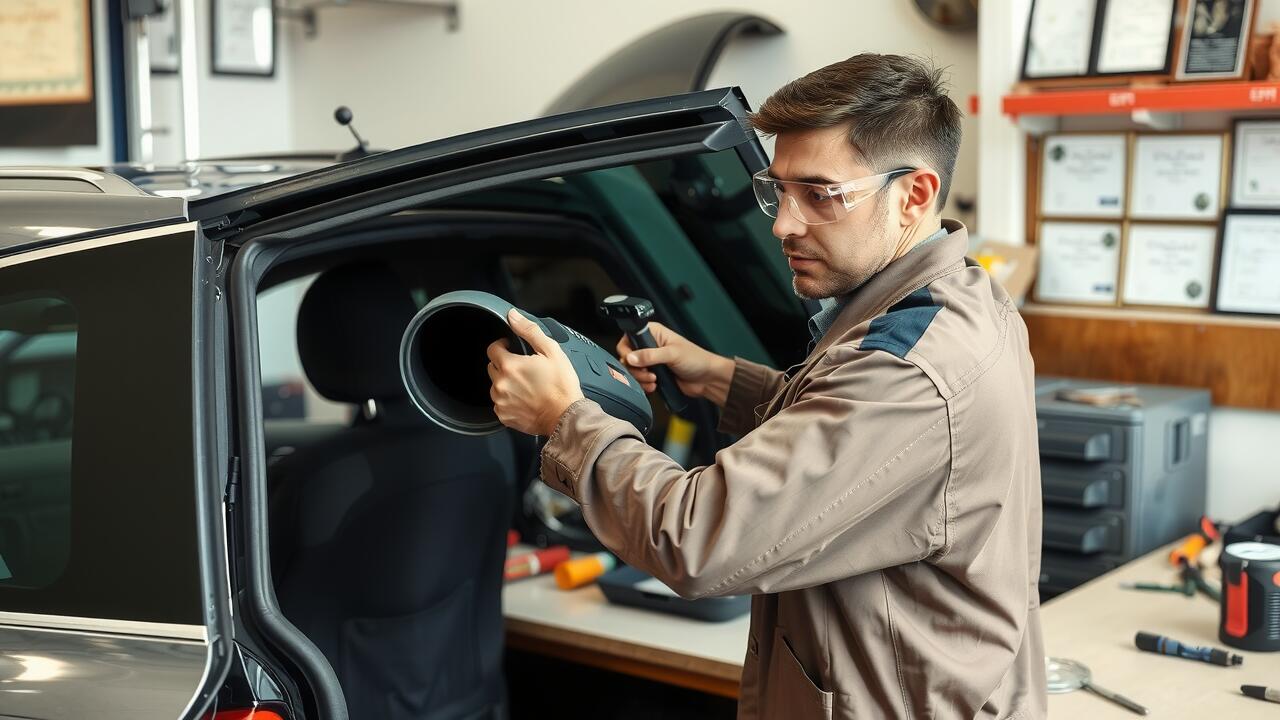
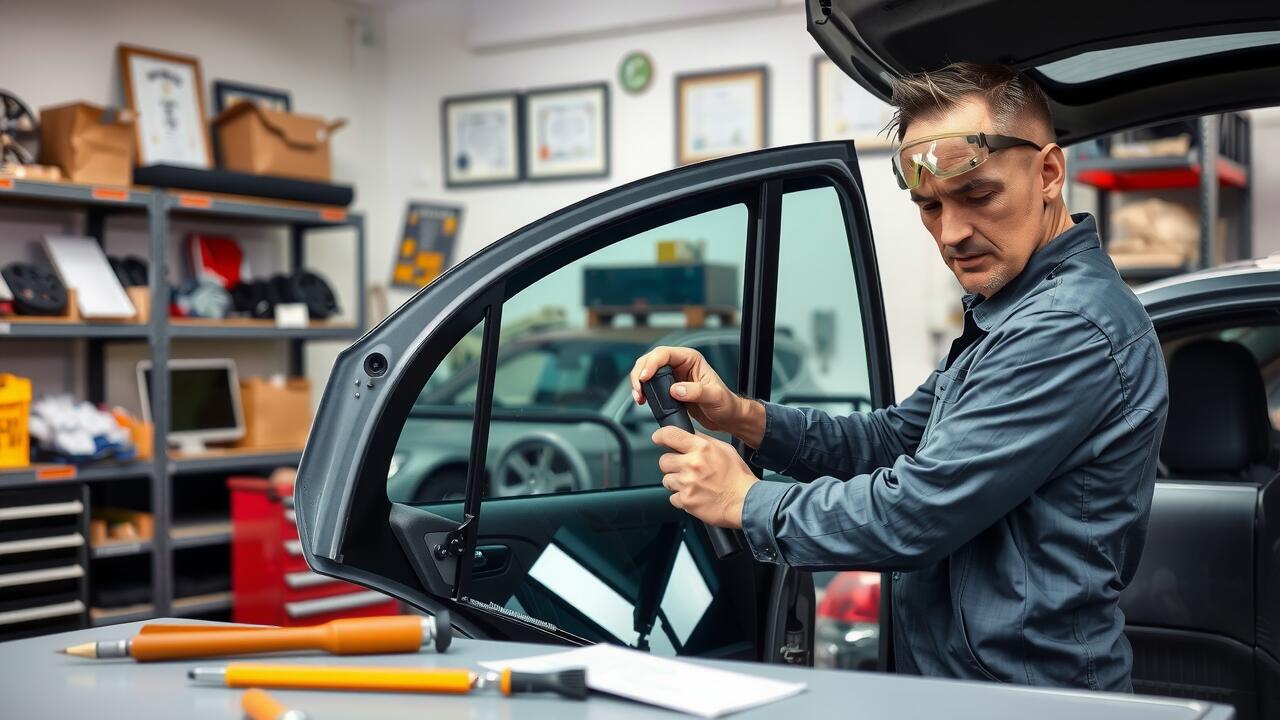
Replacing a rear window requires specific tools to ensure a successful installation. A basic set includes safety gloves, a utility knife, and a scraper to remove any old adhesive or debris. A priming tool helps prepare the bonding surface, ensuring the adhesive sticks effectively. Additionally, a suction cup lifter aids in handling the glass, preventing damage during installation. These tools contribute to a smoother process for rear window repairs.
Having the right equipment is essential for achieving a proper fit and seal. A caulking gun is necessary for applying adhesive evenly around the window frame. Moreover, a tape measure will help gauge the dimensions of the rear window accurately. A soft cloth for cleaning the surfaces prior to installation can also improve adhesion. Investing in these tools not only simplifies the task but also enhances the quality of rear window repairs.
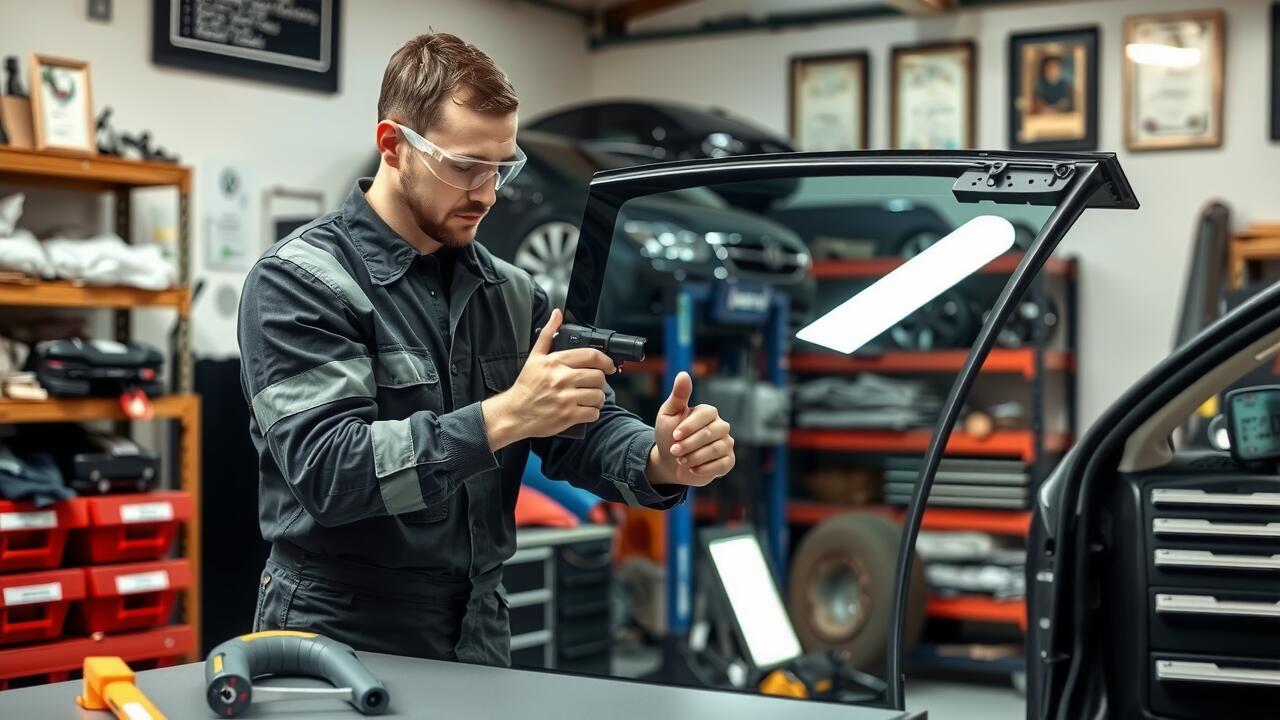
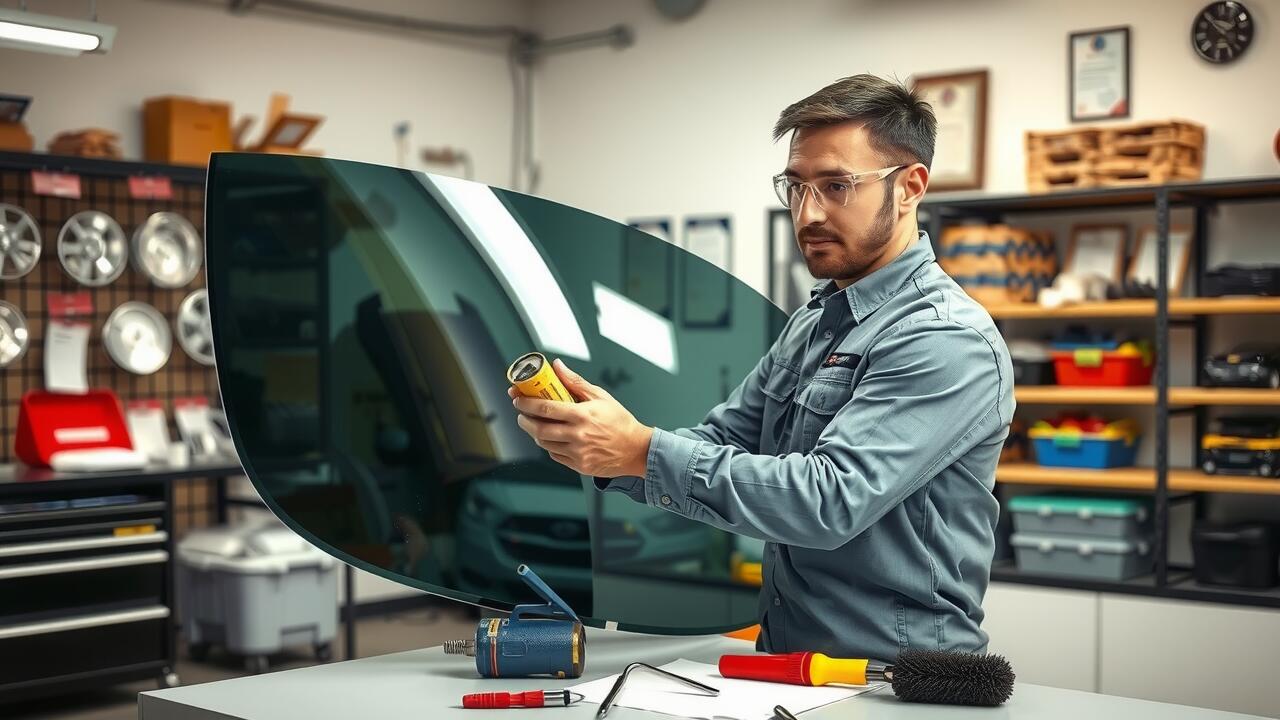
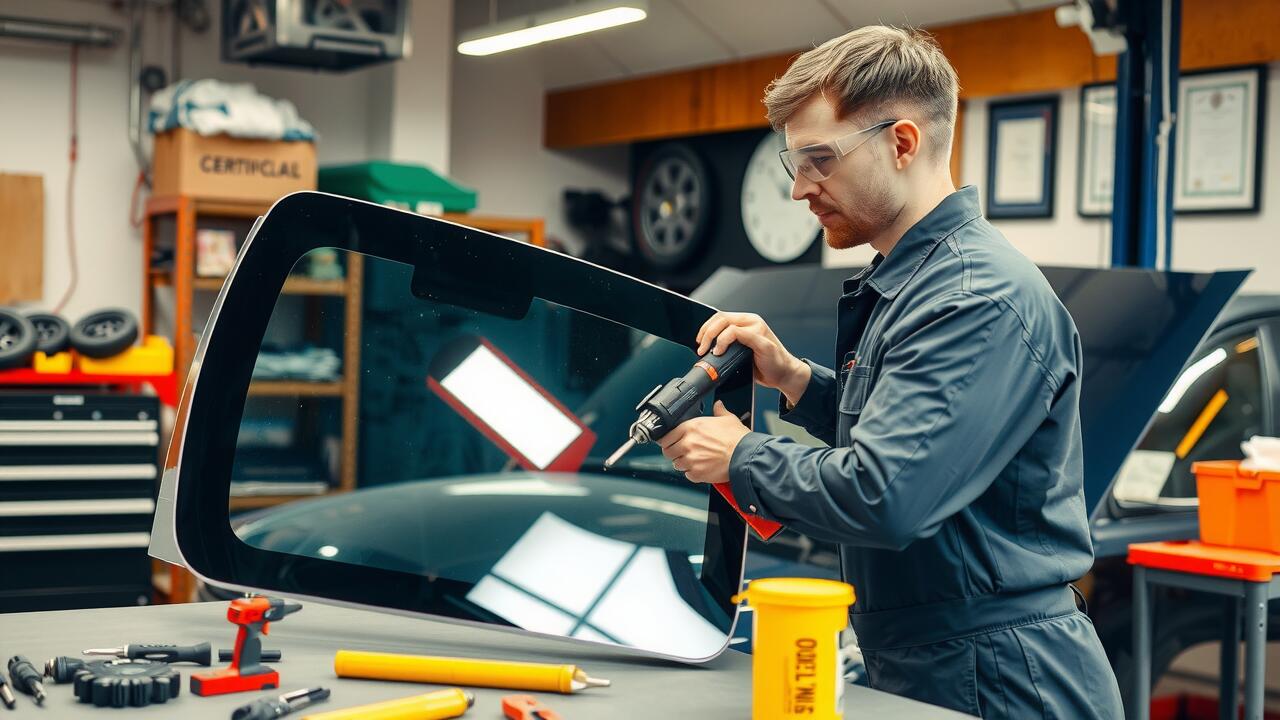
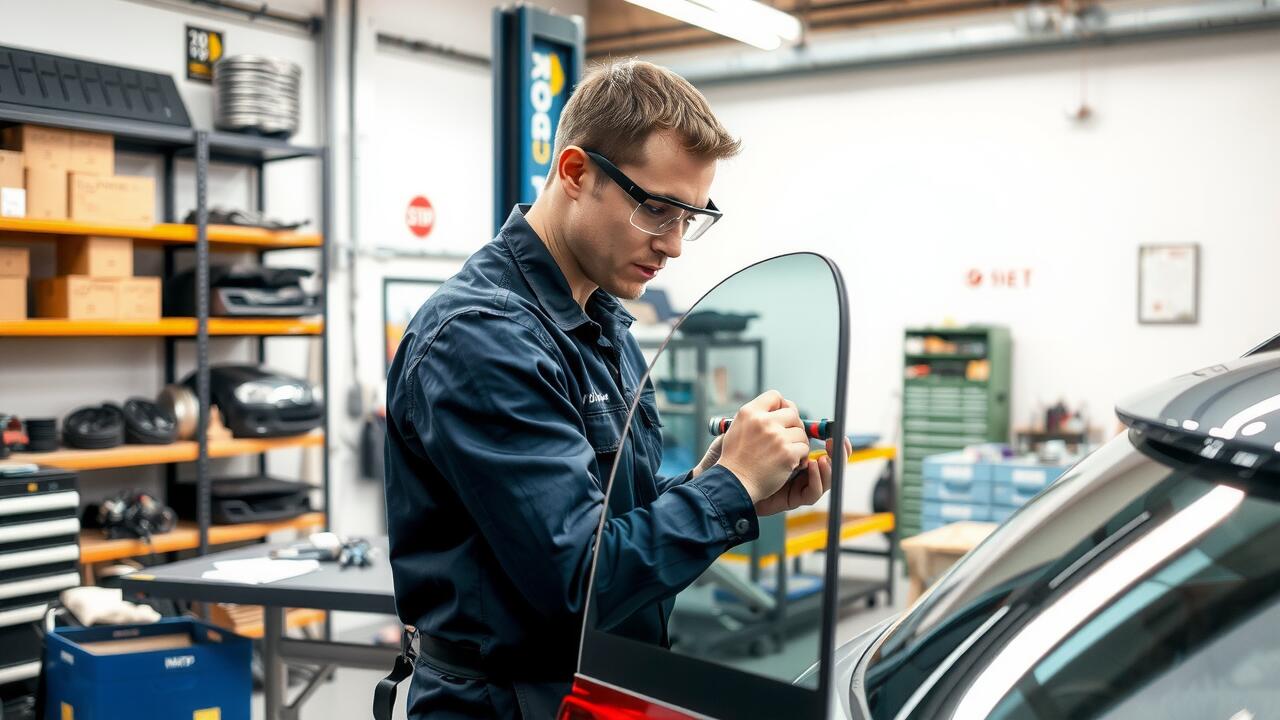
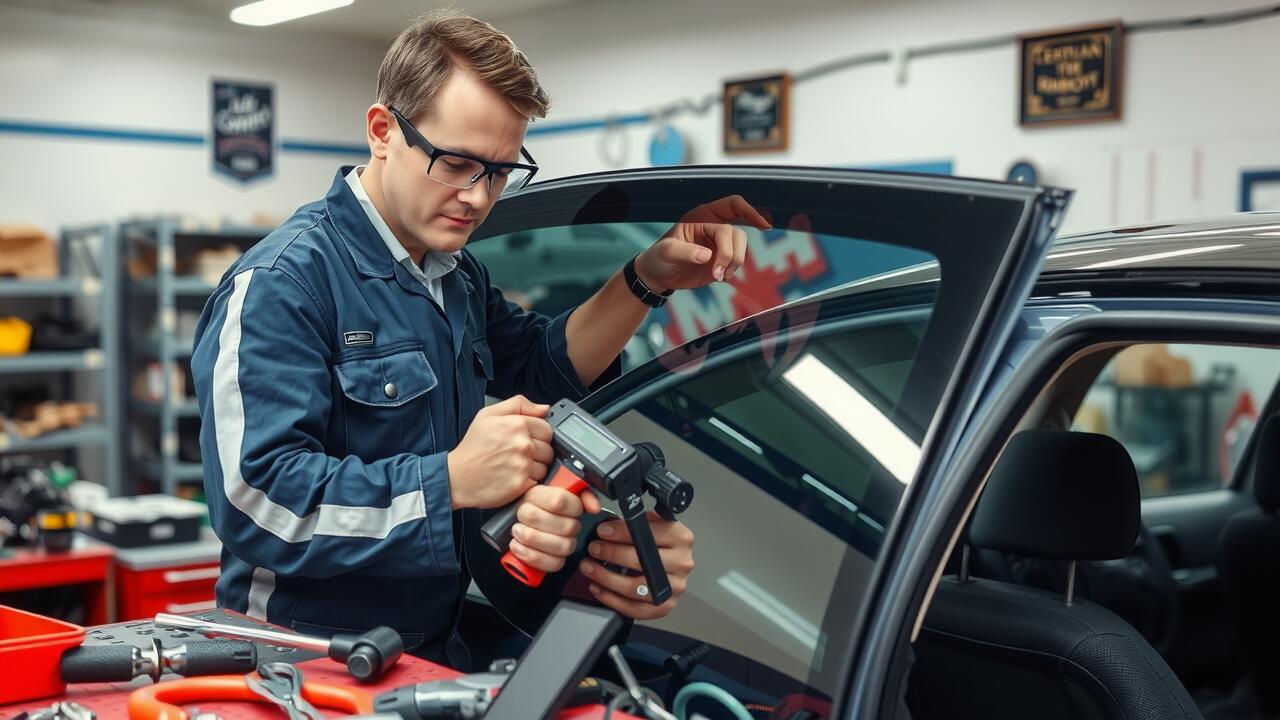
Essential Equipment for Installation
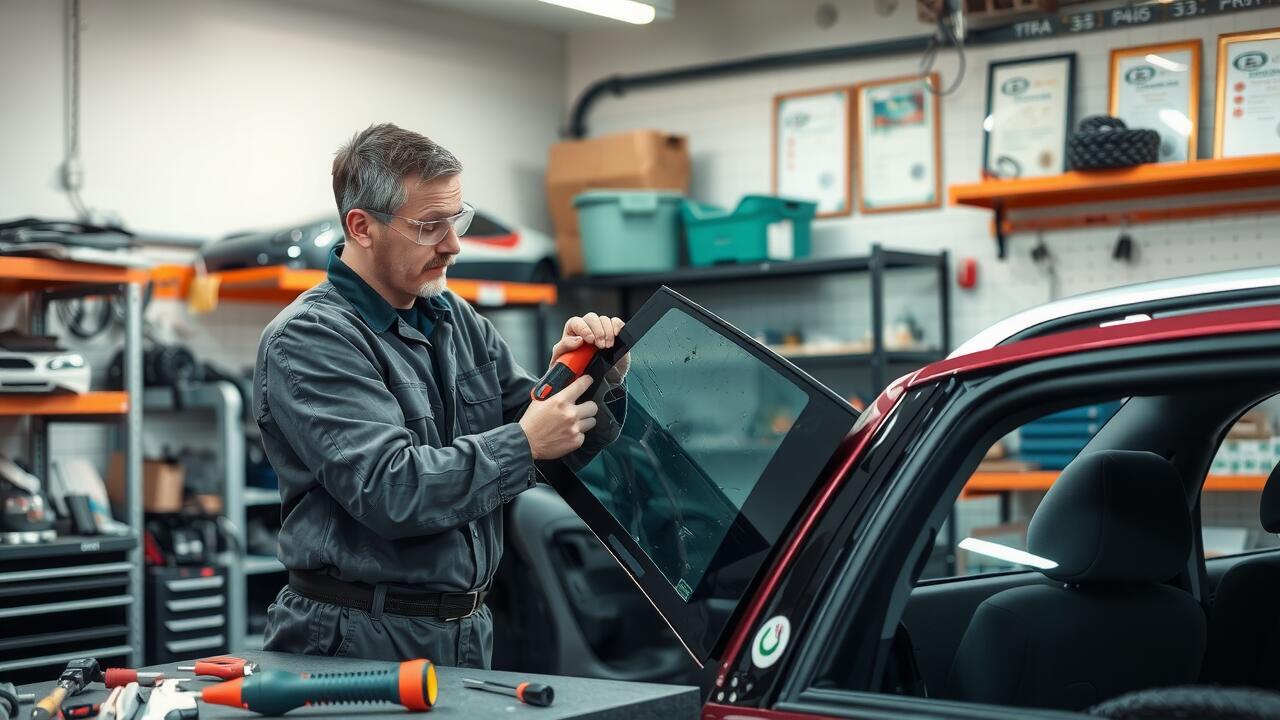
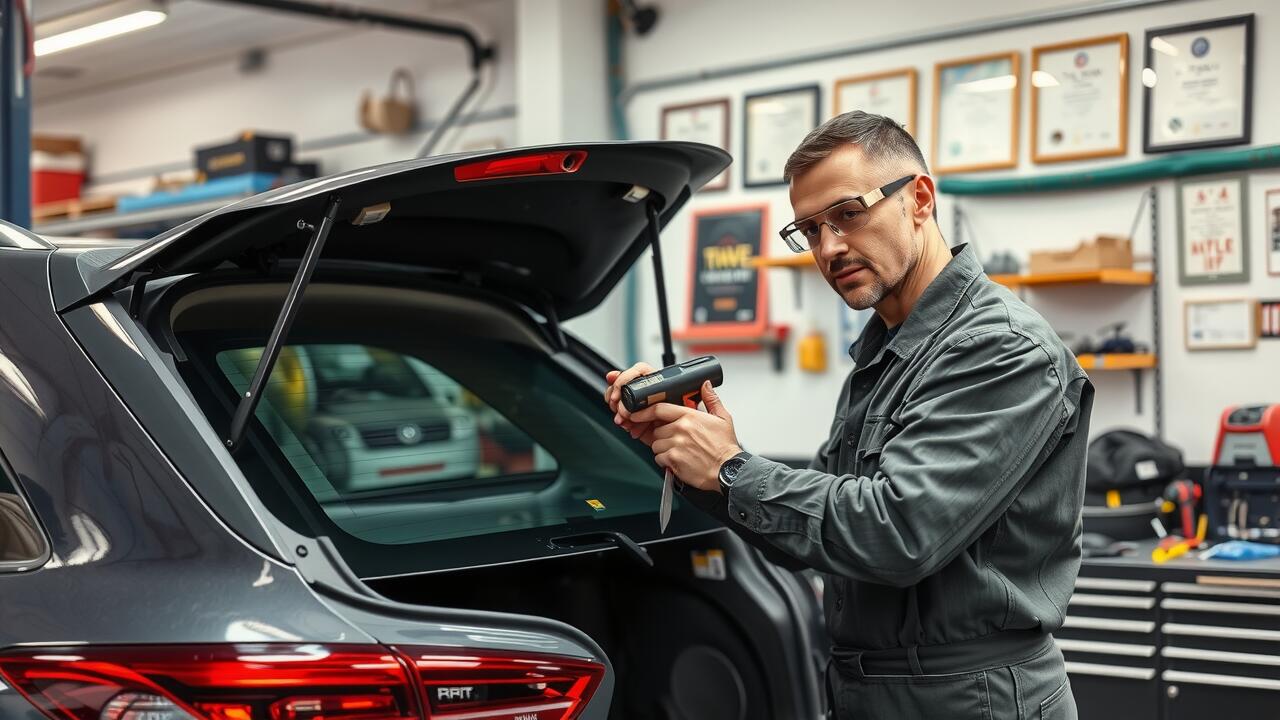
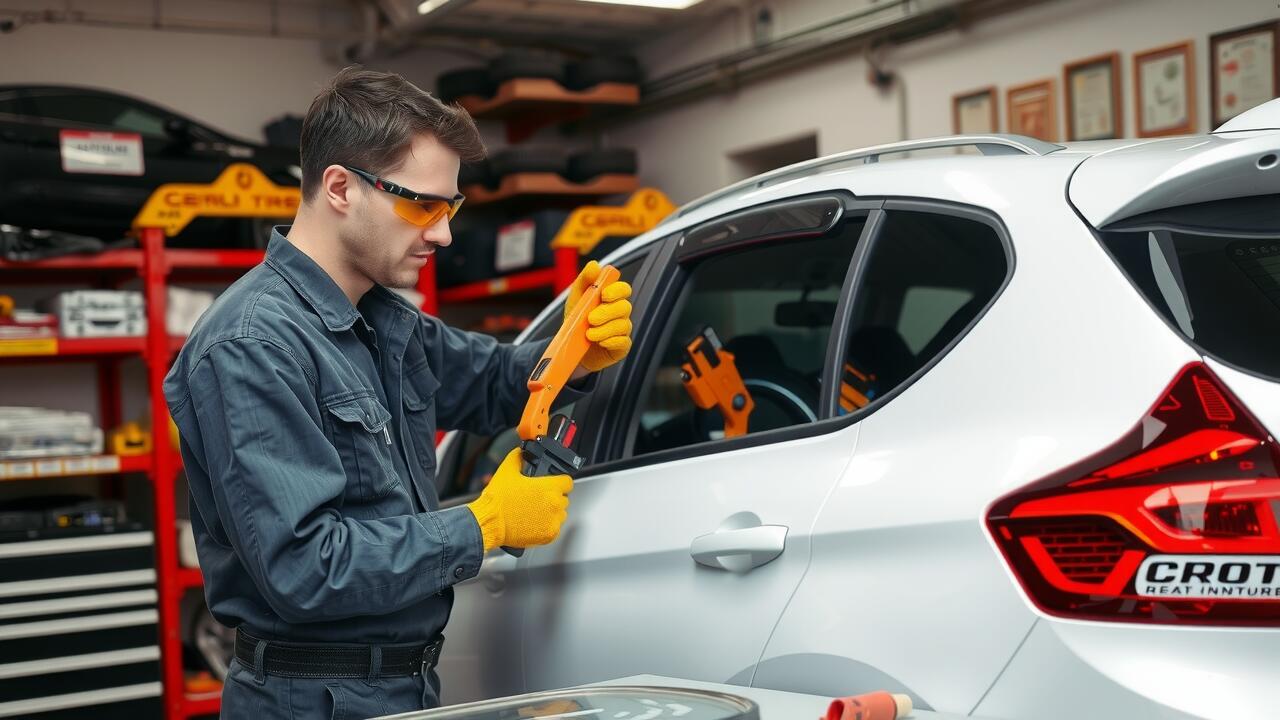
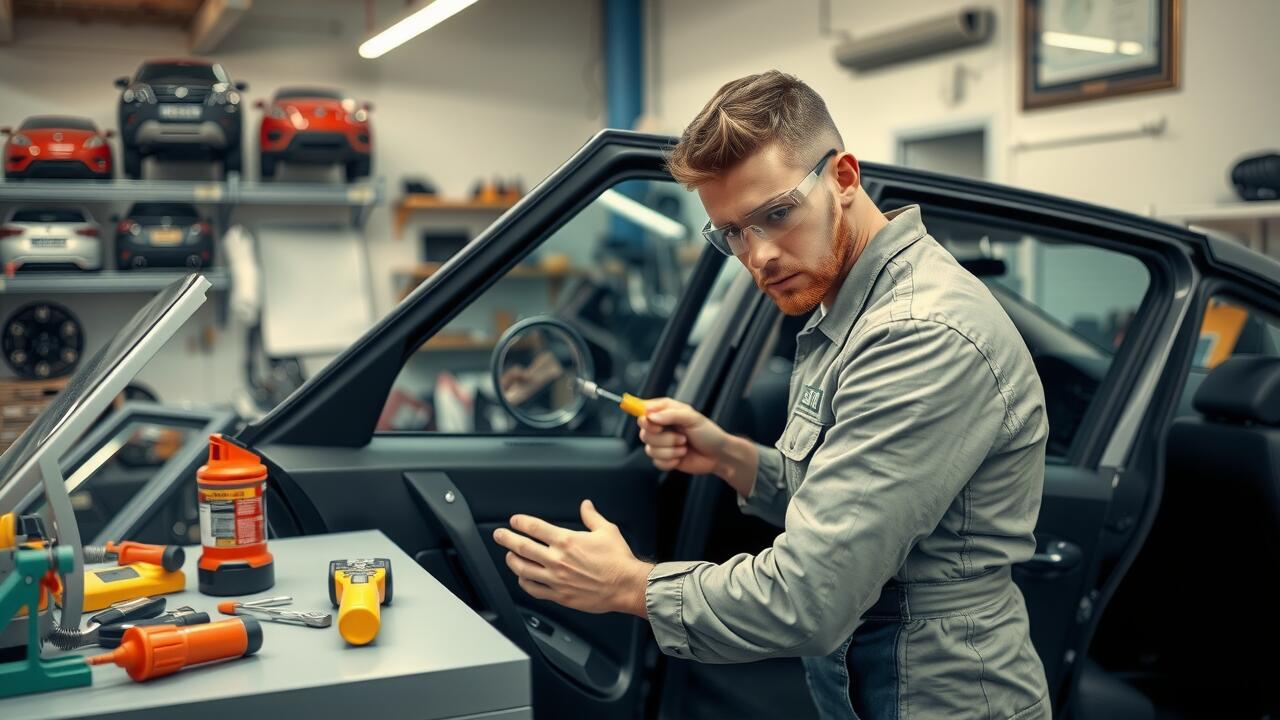
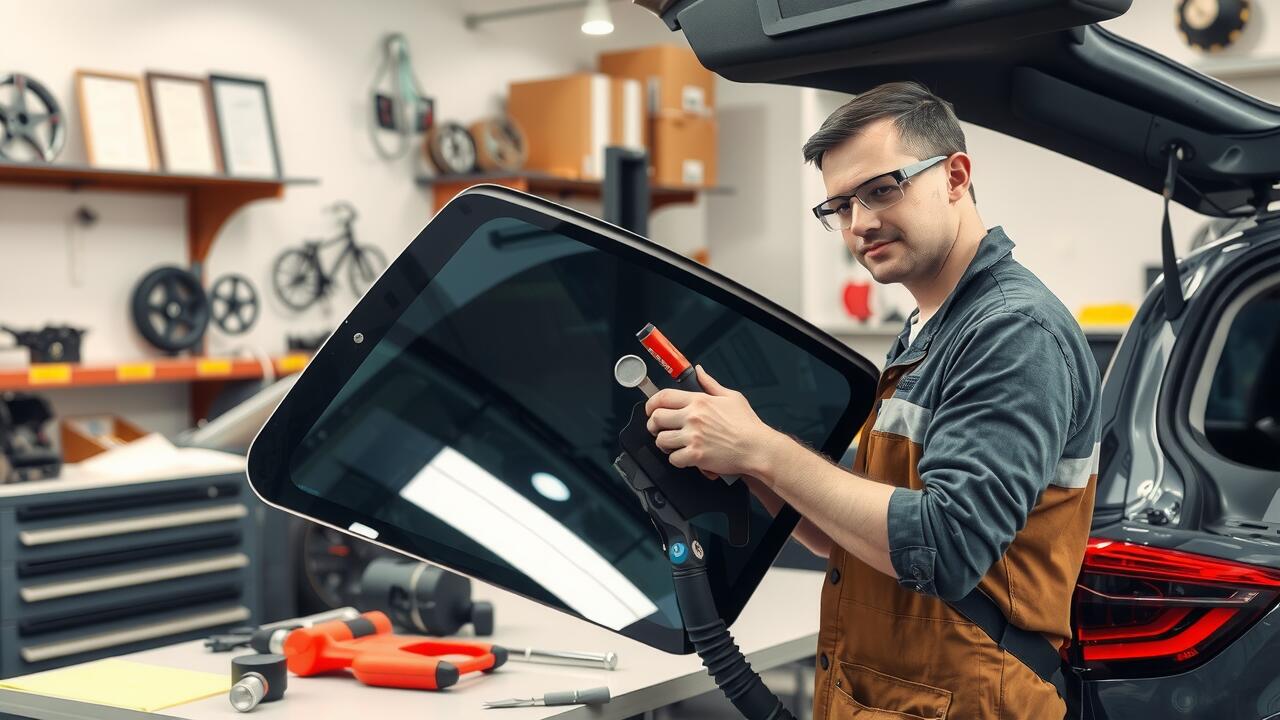
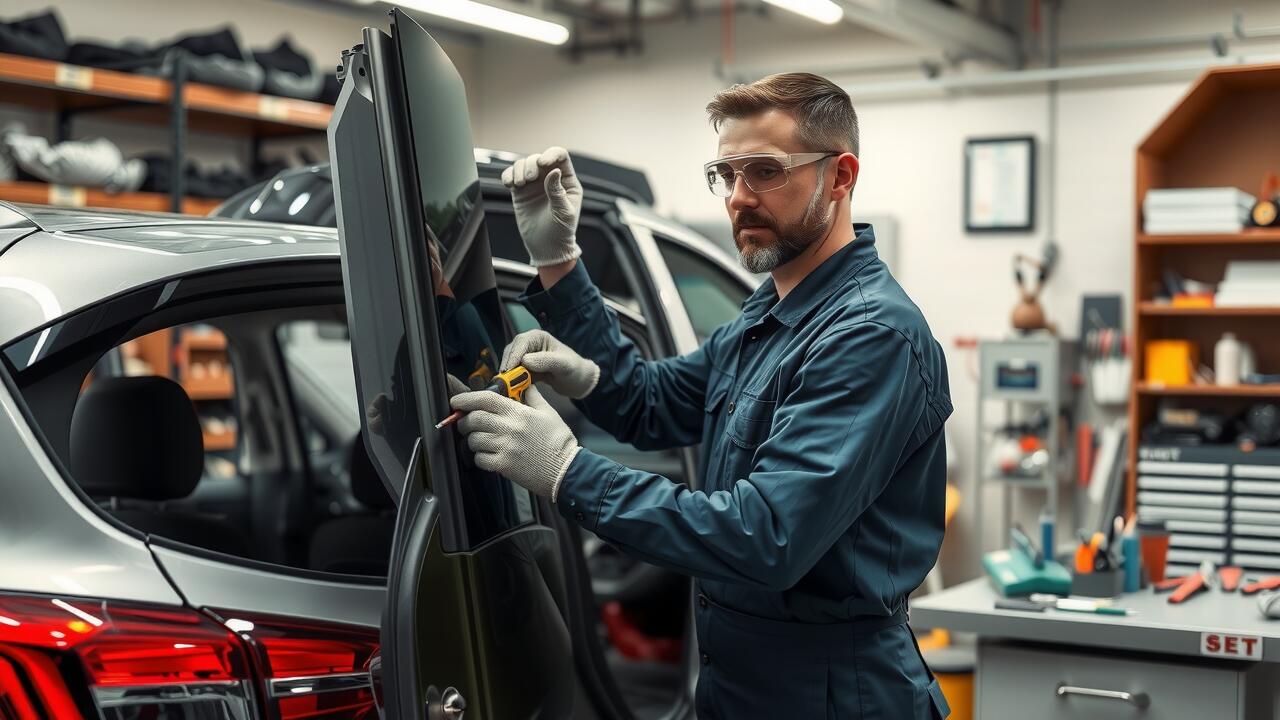
To ensure a successful rear window replacement, having the right equipment is crucial. A quality set of tools designed for automotive glass installation can significantly enhance efficiency and accuracy. Essential items include a suction cup for handling the glass, a cutting tool for removing old adhesive and seals, and a set of trim removal tools. These tools help minimise damage to surrounding areas during the removal process, which is particularly important in rear window repairs.
In addition to basic tools, specialised equipment like a caulking gun for adhesive application can streamline the installation. Correctly applying adhesive is vital for achieving a secure fit and maintaining the integrity of the window. Using a heat gun may also be beneficial for softening adhesive in colder conditions, facilitating easier removal and installation. Investing in these essential items not only supports a more straightforward installation process but also contributes to the longevity and reliability of rear window repairs.
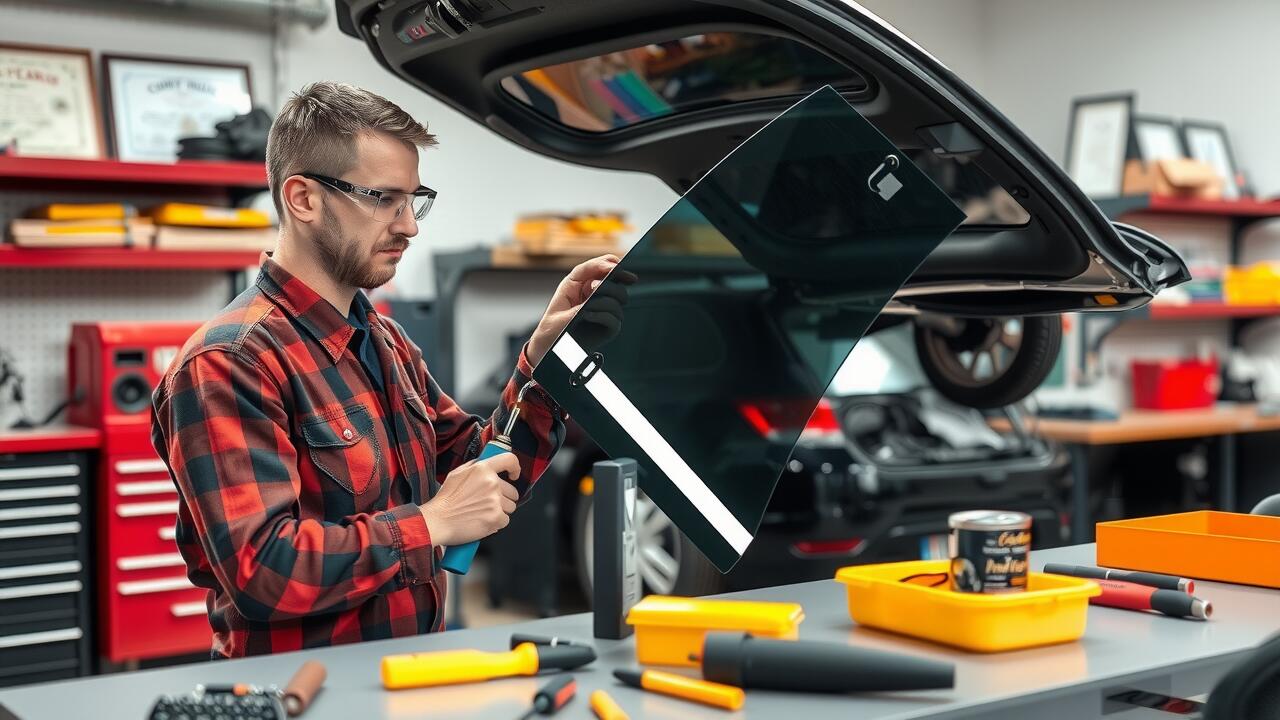
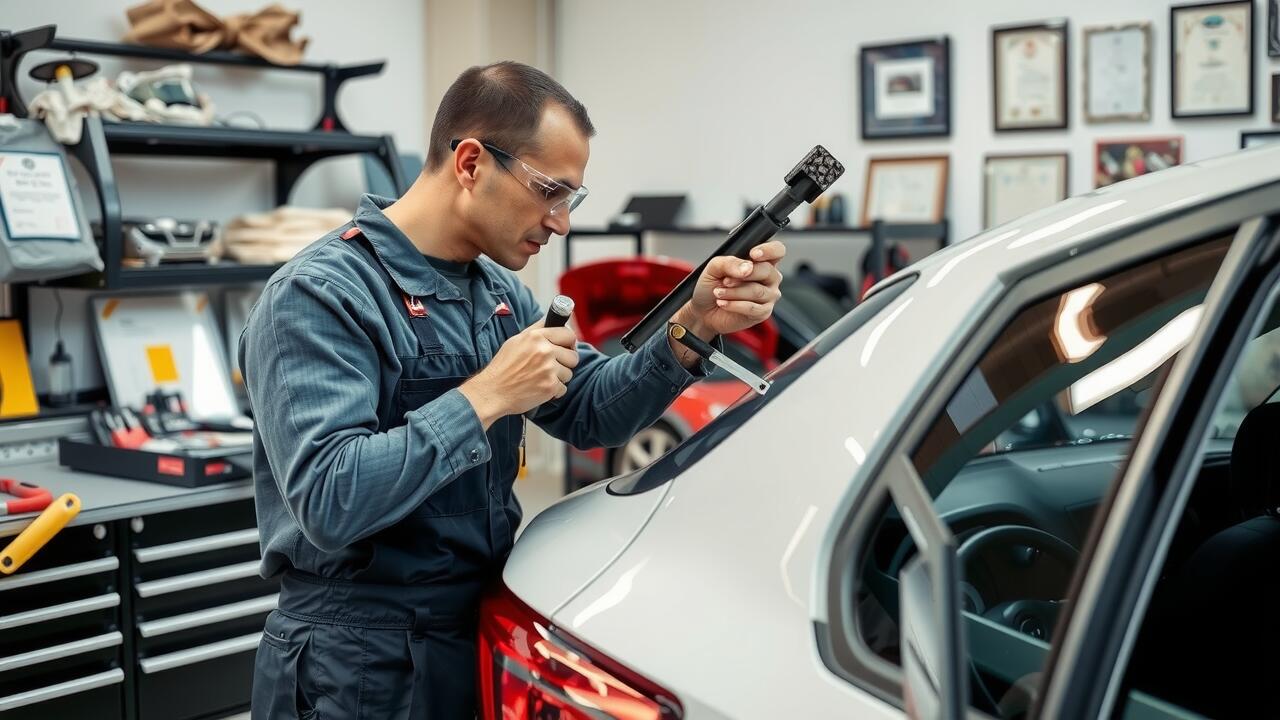
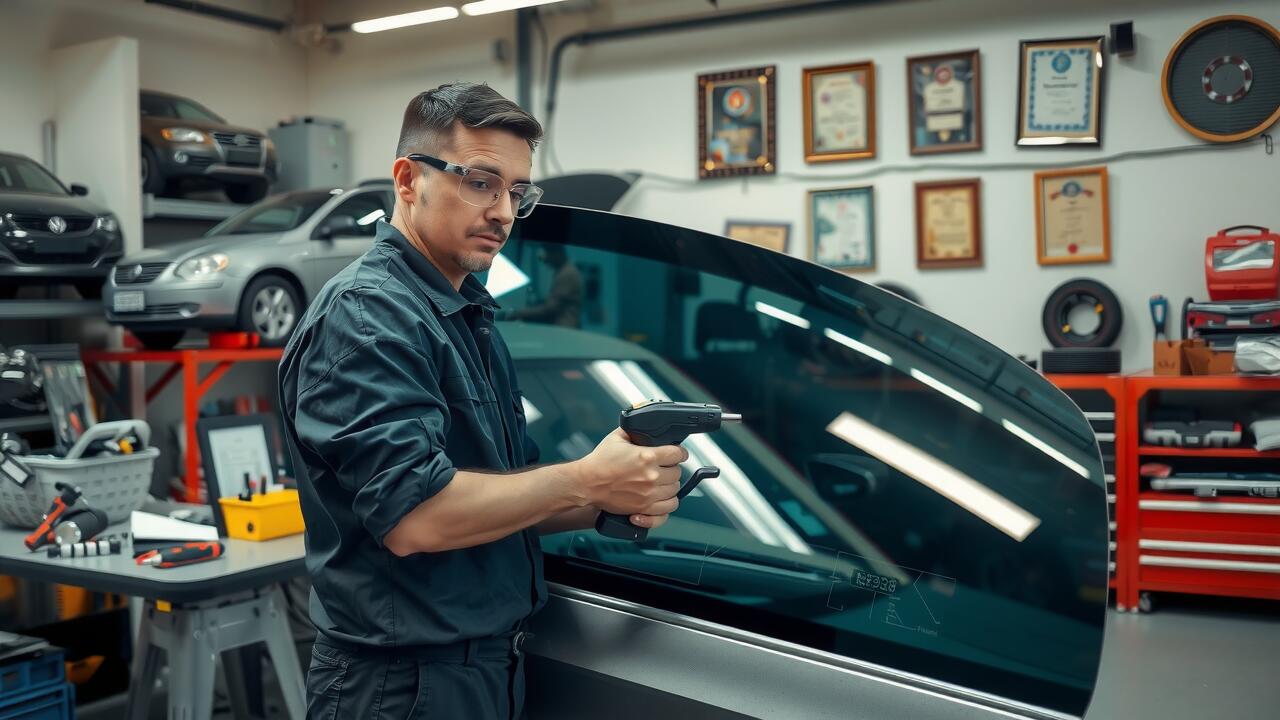
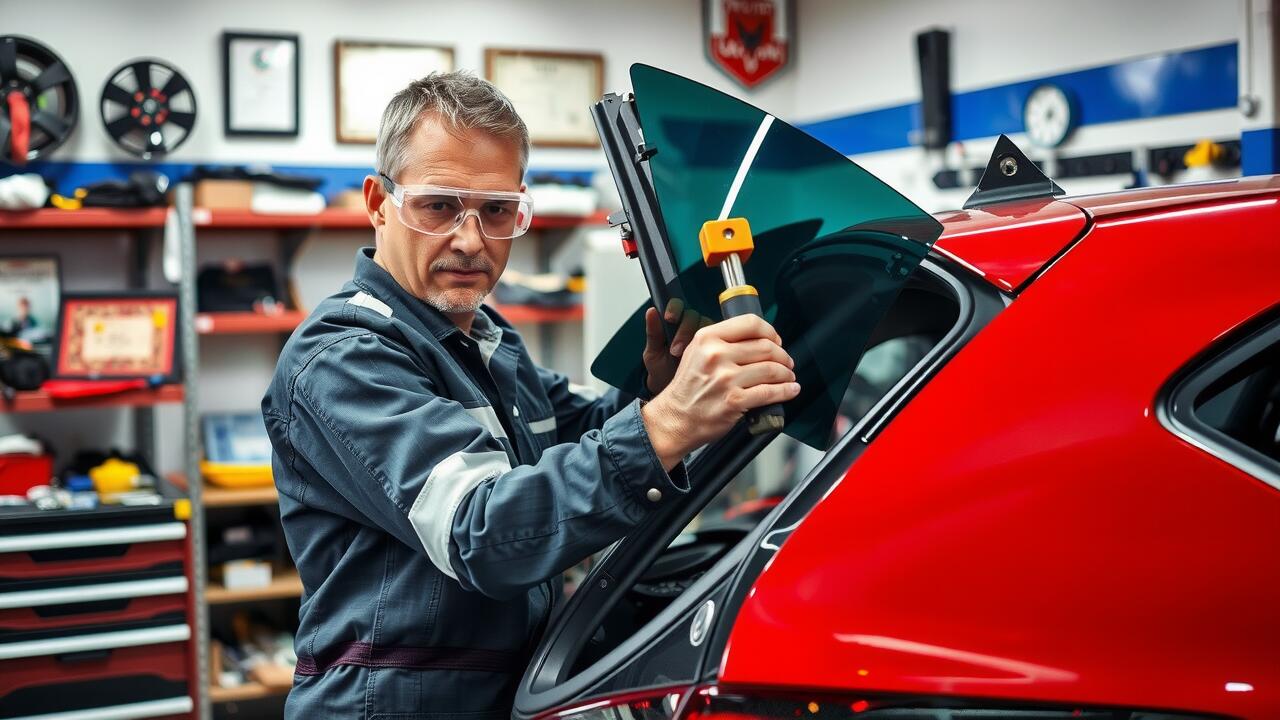
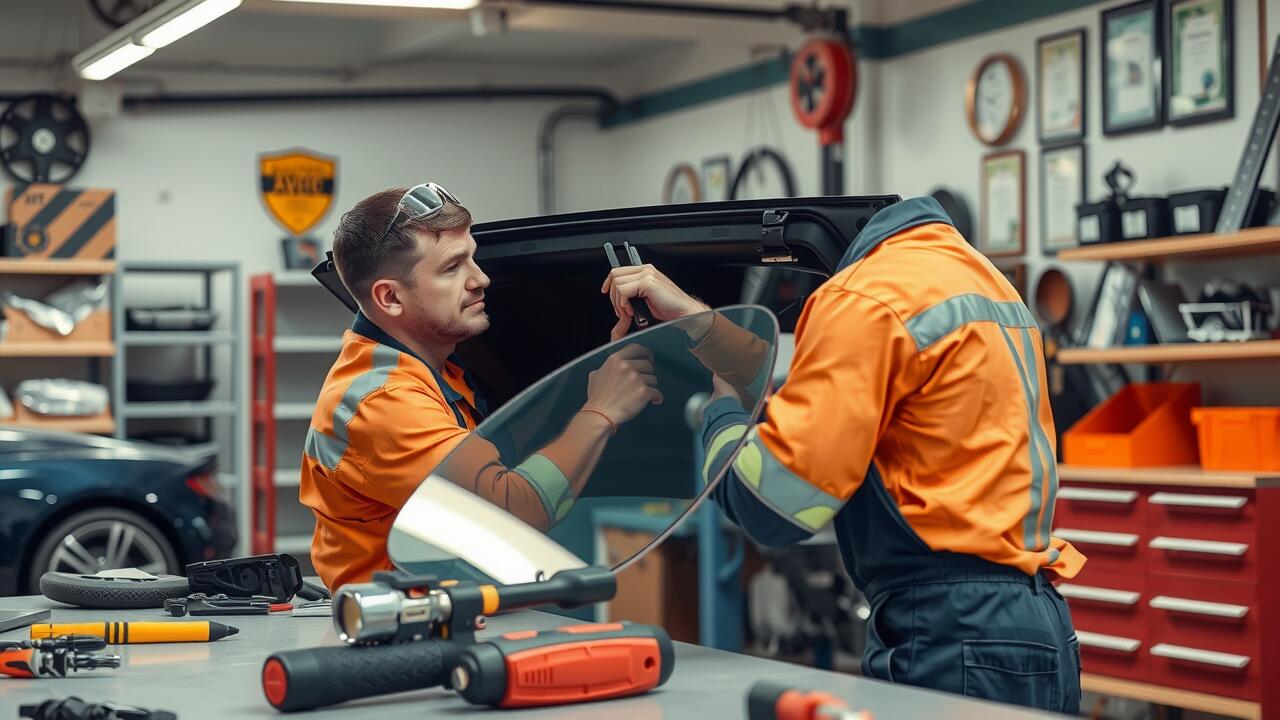
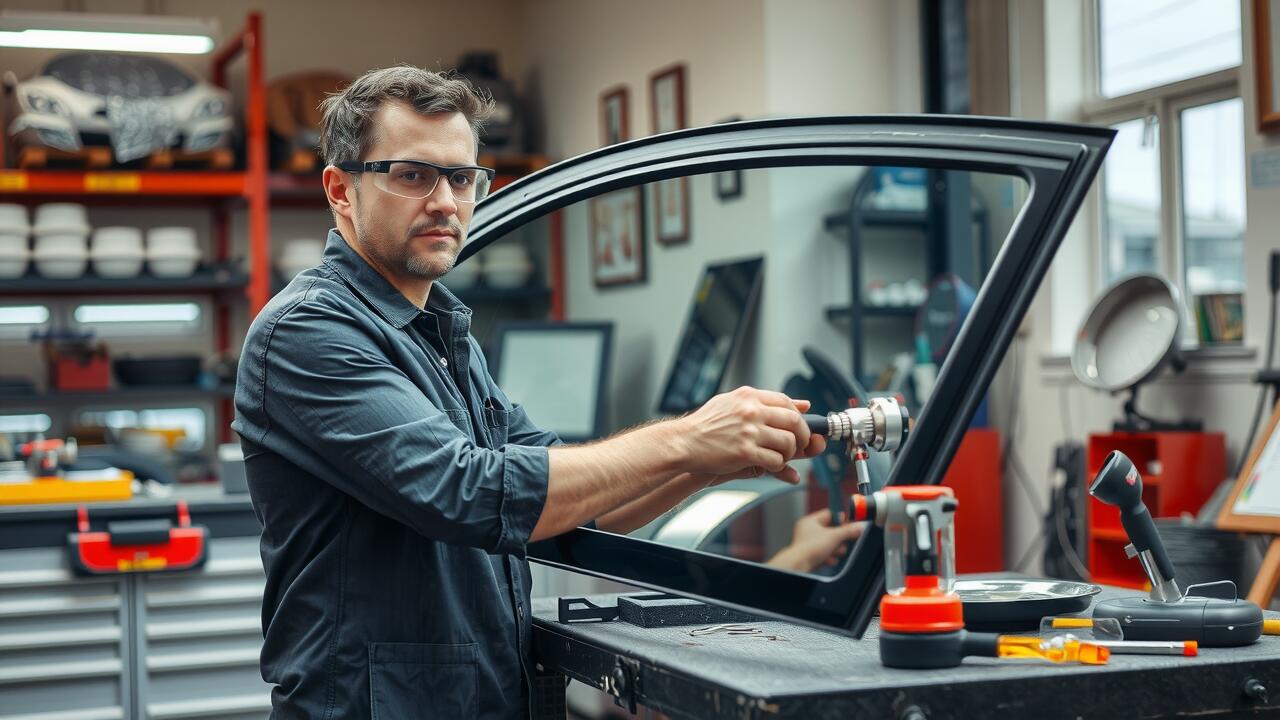
Understanding Adhesives Used in Replacements
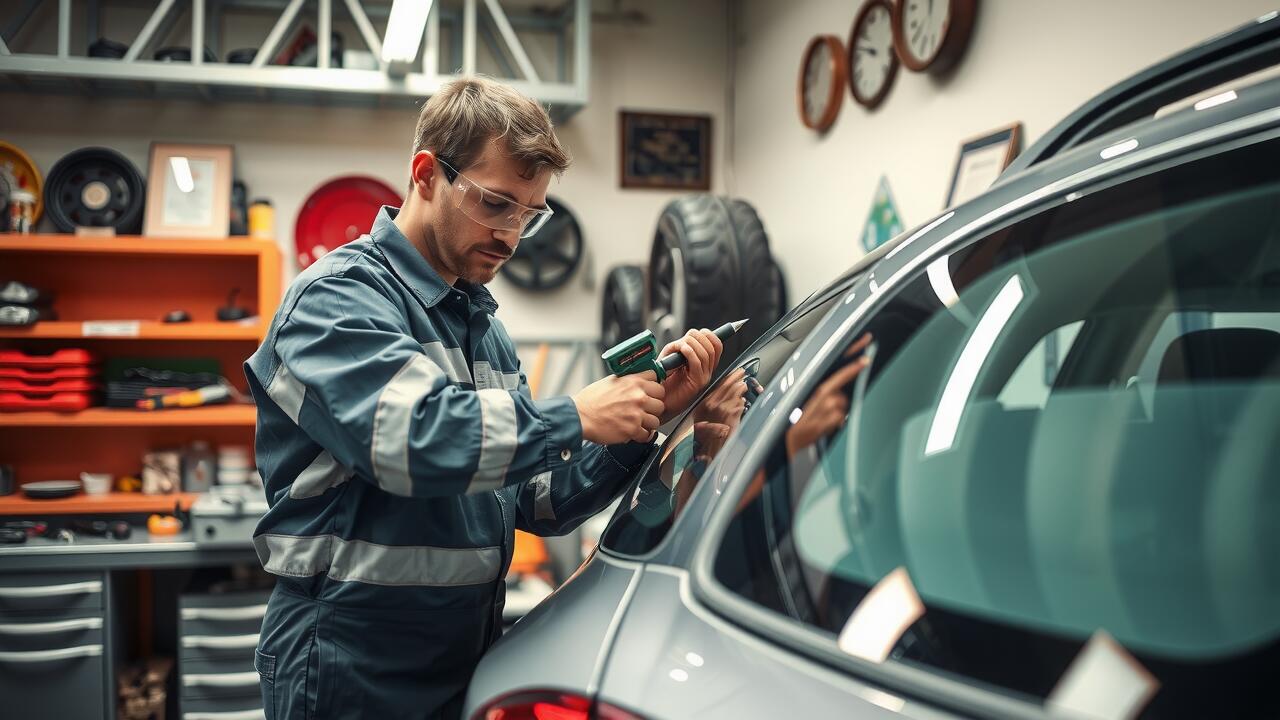
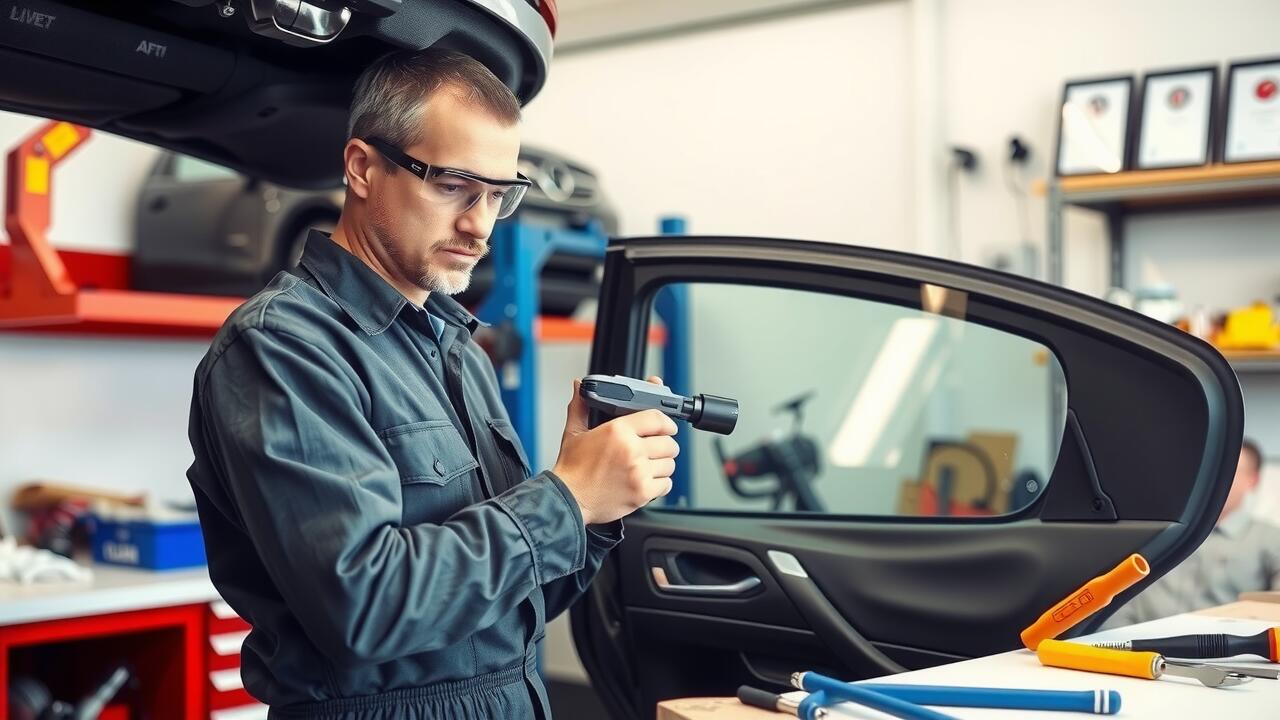
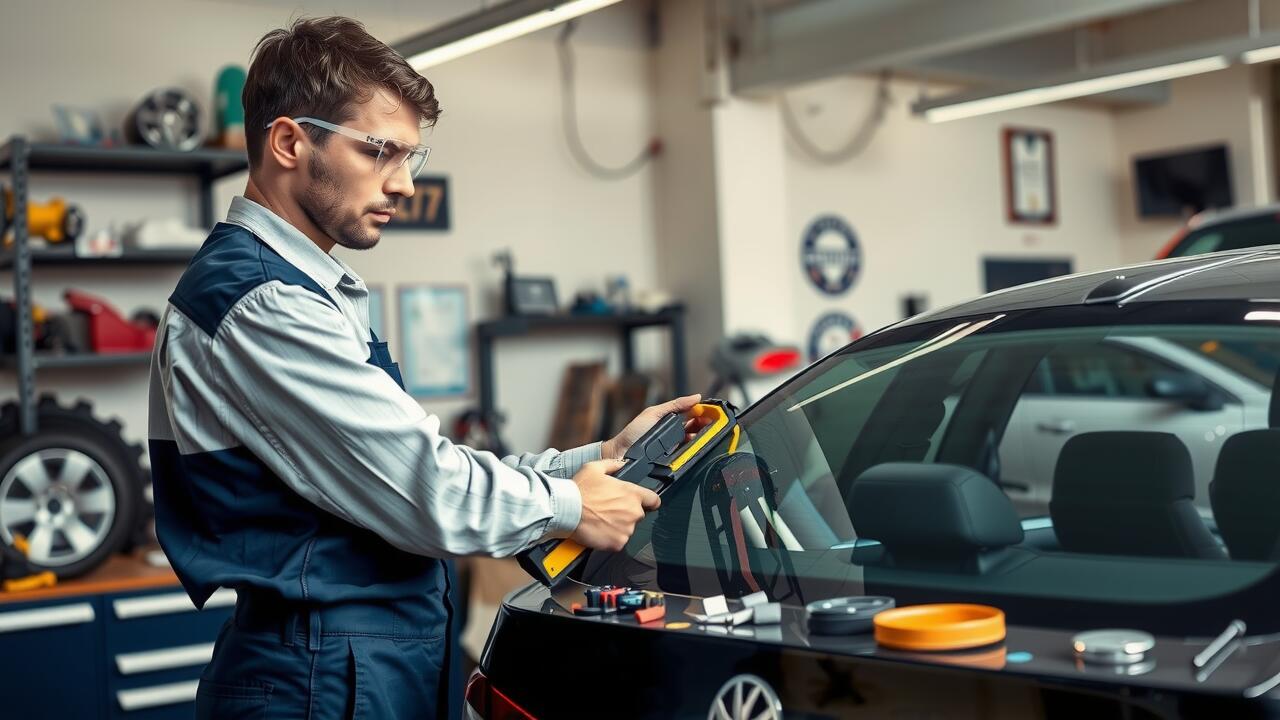
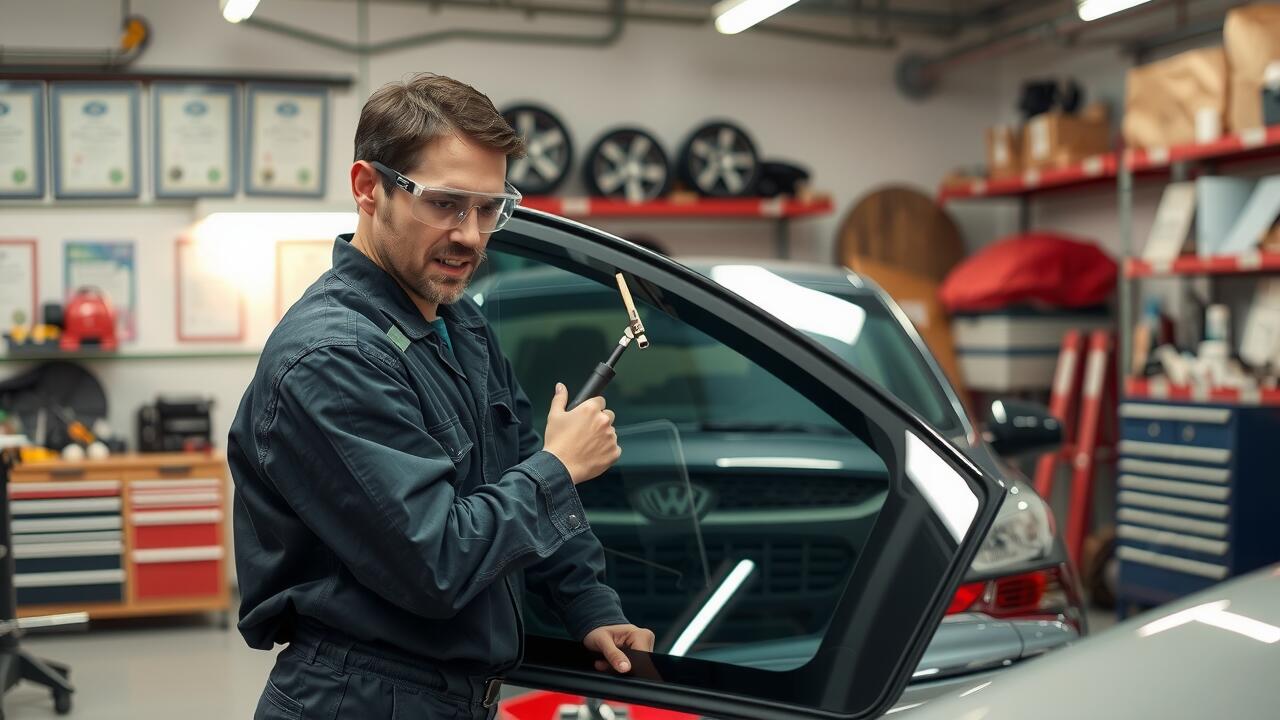
Choosing the right adhesive is critical for effective rear window repairs. Various types of adhesives are available on the market, with options ranging from urethane to silicone-based products. Urethane adhesives are commonly preferred for their strong bonding capabilities and durability, particularly in automotive applications. They allow for adequate flexibility while ensuring a firm hold, which is crucial when dealing with the vibrations and movements that vehicles experience.
Proper bonding agents not only enhance the strength of the installation but also play a significant role in preventing leaks and ensuring a clean finish. It is vital to consider the manufacturer's recommendations for adhesive application and curing times. Neglecting these guidelines could lead to complications down the line, impacting the overall integrity of the rear window repairs. Taking time to select and apply the appropriate adhesive will ultimately lead to a more successful and enduring replacement.
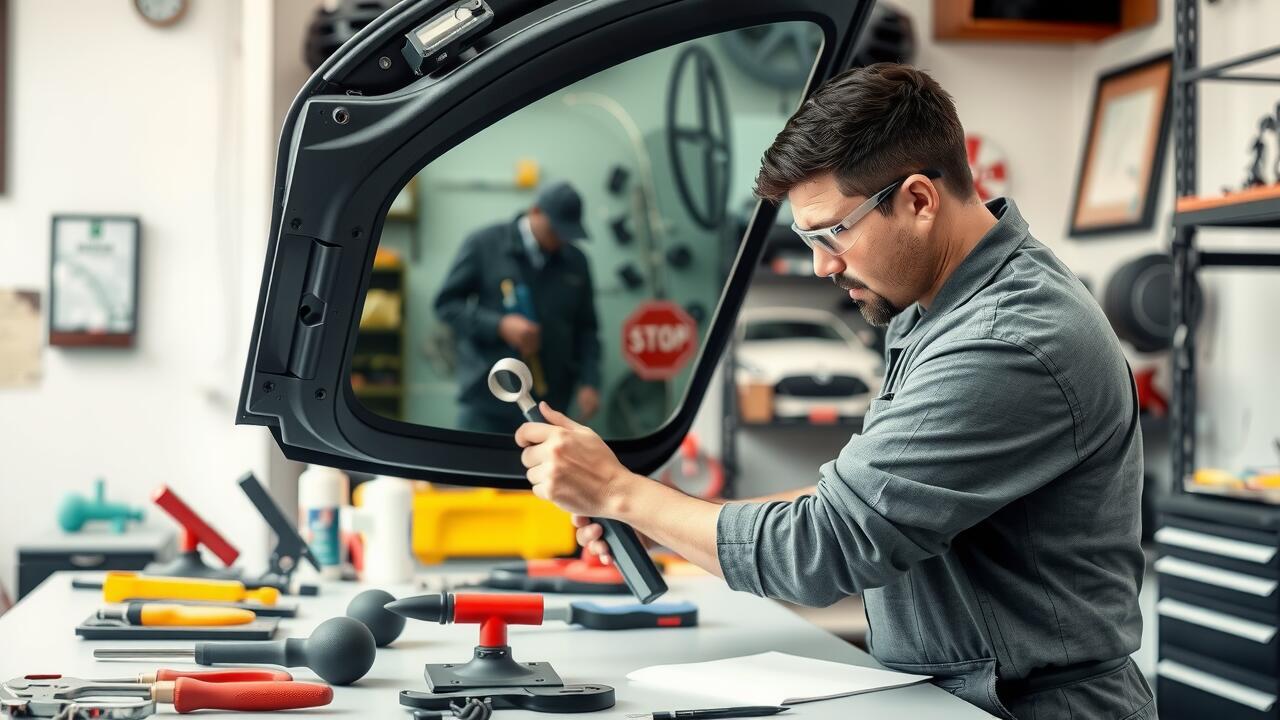
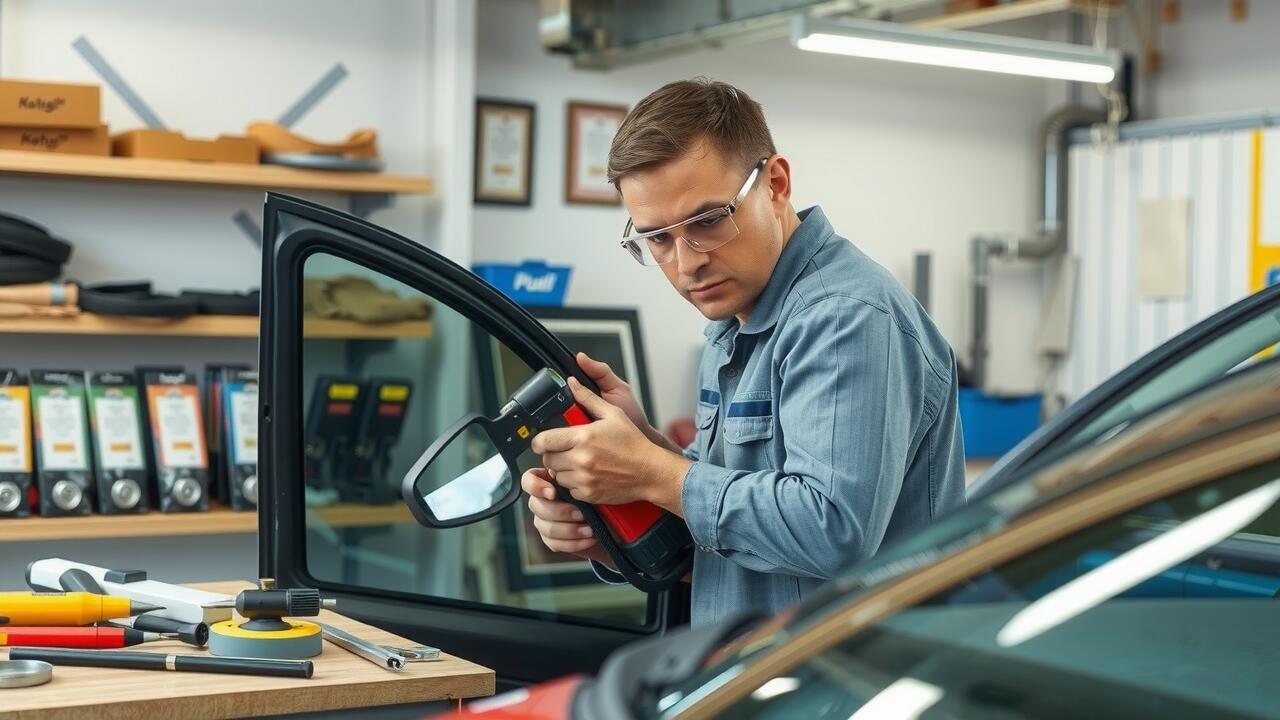
Importance of Proper Bonding Agents
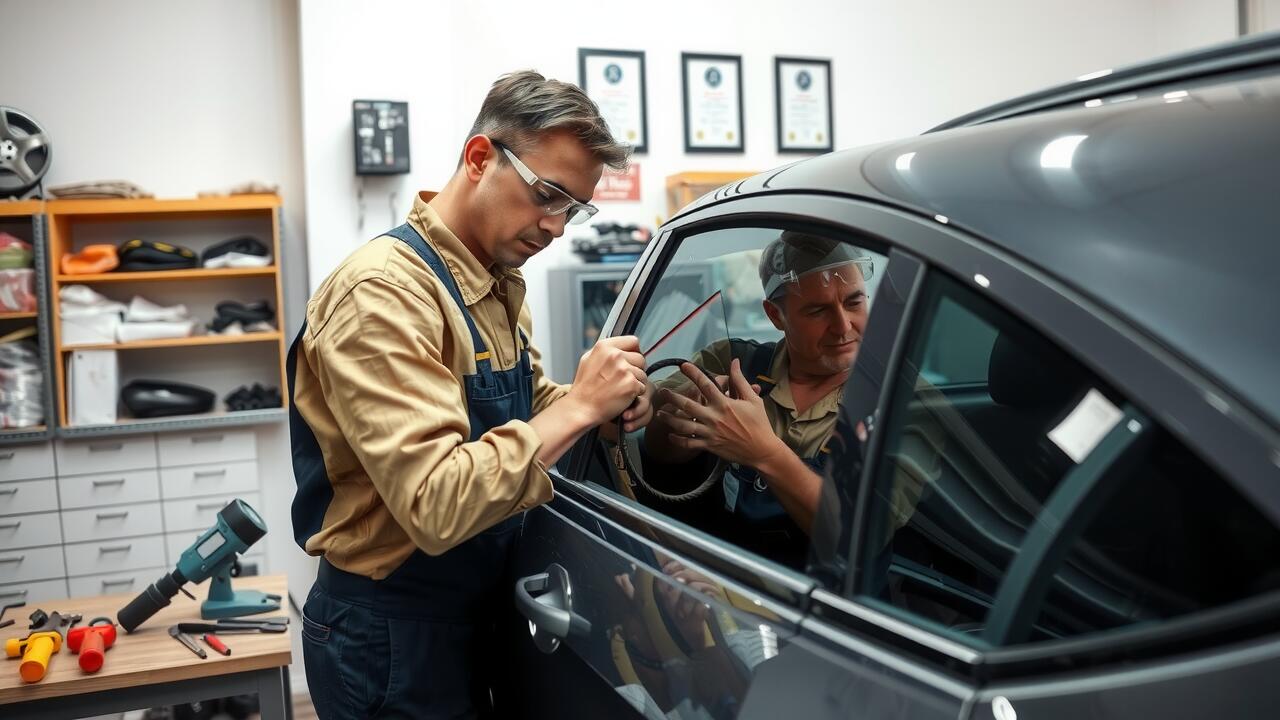
Proper bonding agents play a critical role in ensuring the structural integrity and safety of rear window replacements. These adhesives are formulated to withstand varying temperatures and environmental conditions, which can affect their performance. A reliable bonding agent not only helps secure the glass in place but also prevents leaks and reduces the risk of water damage. Choosing the right adhesive is essential for the longevity of the repair, as subpar options may compromise the seal, leading to issues down the line.
During rear window repairs, it is important to follow manufacturer recommendations regarding drying times and application methods. Any missteps in this process can result in a weak bond, increasing the likelihood of the window becoming dislodged or developing issues. Ensuring the surface is clean and free of debris also adds to the effectiveness of the bonding agent. Ultimately, understanding the importance of proper bonding agents ensures a successful rear window replacement and contributes to the overall safety of the vehicle.
FAQS
What are some common mistakes made during rear window replacements?
Common mistakes include improper measurements, inadequate cleaning of surfaces, and insufficient curing time for adhesives, which can lead to leaks and misalignment.
Is it advisable to attempt a DIY rear window replacement?
While some may successfully perform a DIY replacement, it is generally recommended to seek professional help to avoid potential pitfalls such as improper installation and inadequate sealing.
What tools are essential for replacing a rear window?
Essential tools include a utility knife, a glass suction cup, a sealant gun, and a scraper for removing old adhesive. Safety gloves and goggles are also recommended.
What types of adhesives are commonly used in rear window replacements?
Common adhesives include urethane and silicone-based sealants, with urethane being preferred for its superior bonding strength and flexibility.
Why is the choice of bonding agent important in rear window replacements?
The choice of bonding agent is crucial as it affects the durability, weather resistance, and overall integrity of the installation, ensuring the window remains secure and leak-free over time.