Table Of Contents
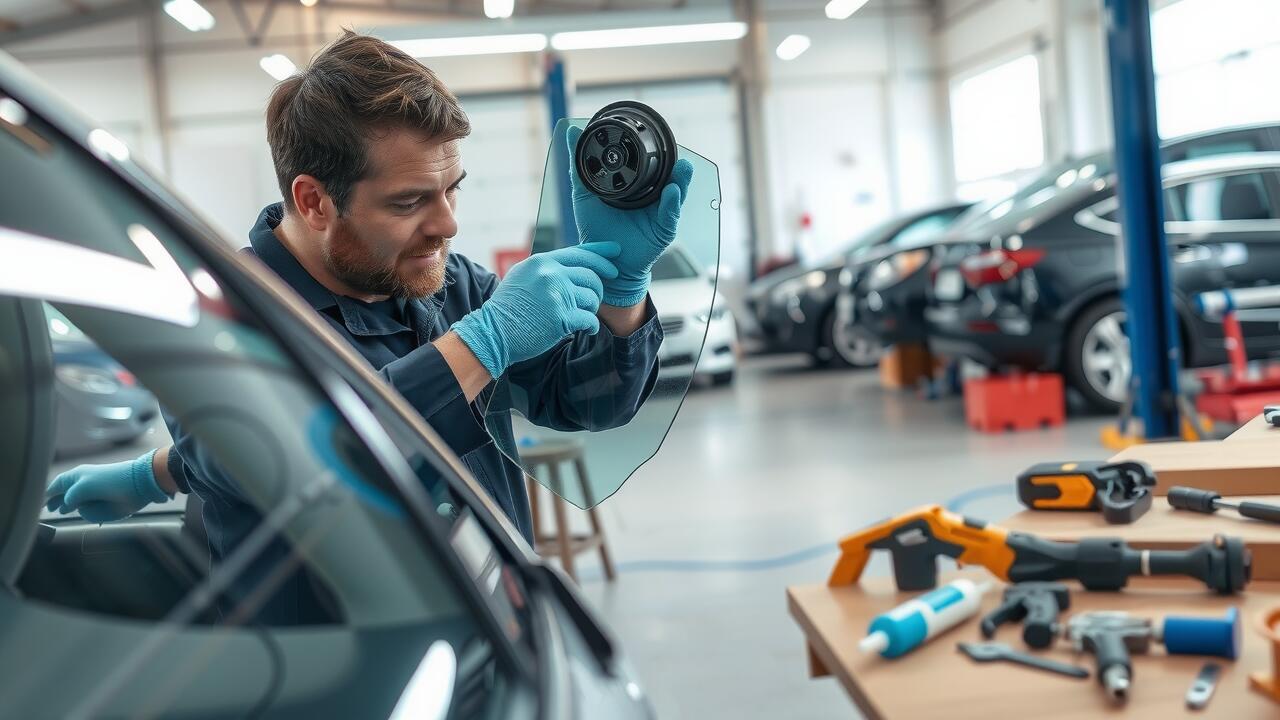
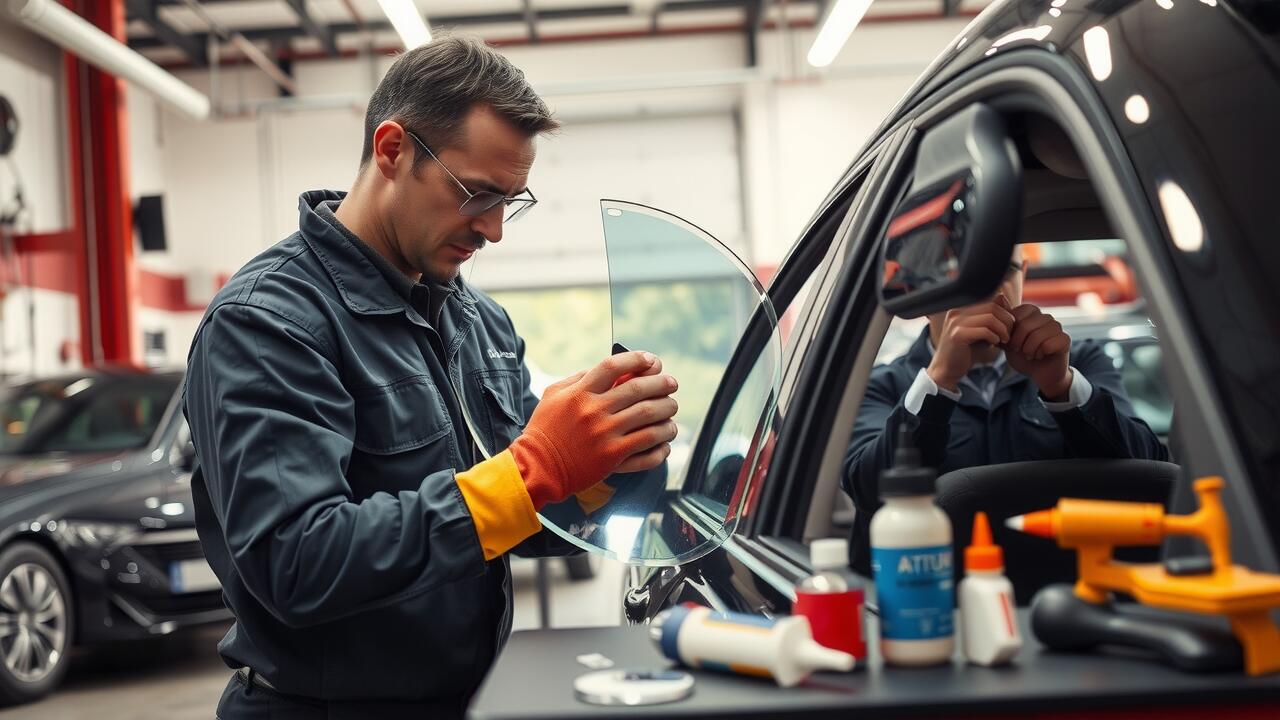
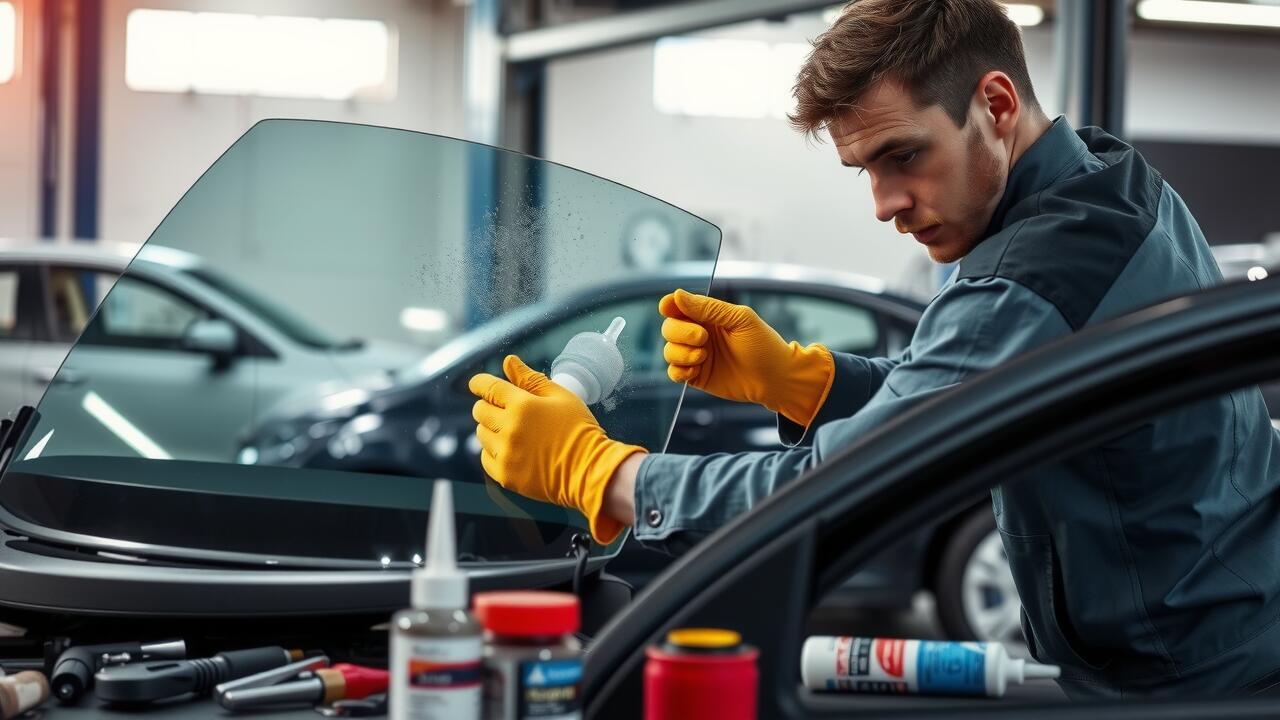
Choosing Replacement Glass
When you are looking for replacement glass for your side window, consider factors such as glass type and thickness. Tempered glass is commonly used because it is stronger and safer. It shatters into small, blunt pieces, reducing the risk of injury. Alternatively, laminated glass offers additional soundproofing and UV protection. Knowing your vehicle's specifications is essential to ensure a proper fit during the side window replacement process.
The availability of aftermarket options versus original equipment manufacturer (OEM) glass can also influence your decision. OEM glass typically matches the original in quality and fit, while aftermarket substitutes may provide more cost-effective solutions. Researching various suppliers and comparing their offerings will aid in selecting the right product for your needs. Ensure that the replacement glass meets local regulations and standards to guarantee safety and compliance during the side window replacement.
Factors to Consider When Selecting Glass
When undertaking a side window replacement, it is crucial to consider the type of glass that will be used. Different vehicles may require specific types of glass, such as tempered or laminated glass, which offer varying degrees of durability and safety. Ensuring that the replacement glass meets the manufacturer's specifications is vital for performance and protection. Additionally, be mindful of any tinting that matches the original window if aesthetics are a concern.
Another essential factor is the quality of the glass itself. Cheaper alternatives may seem appealing but often lack the necessary strength and may not be able to withstand impacts as effectively as higher-quality options. It’s advisable to source glass from reputable suppliers who provide guarantees or certifications. This approach not only helps in selecting the right material but also ensures that the glass will maintain its integrity over time, thereby enhancing the overall safety of the vehicle.
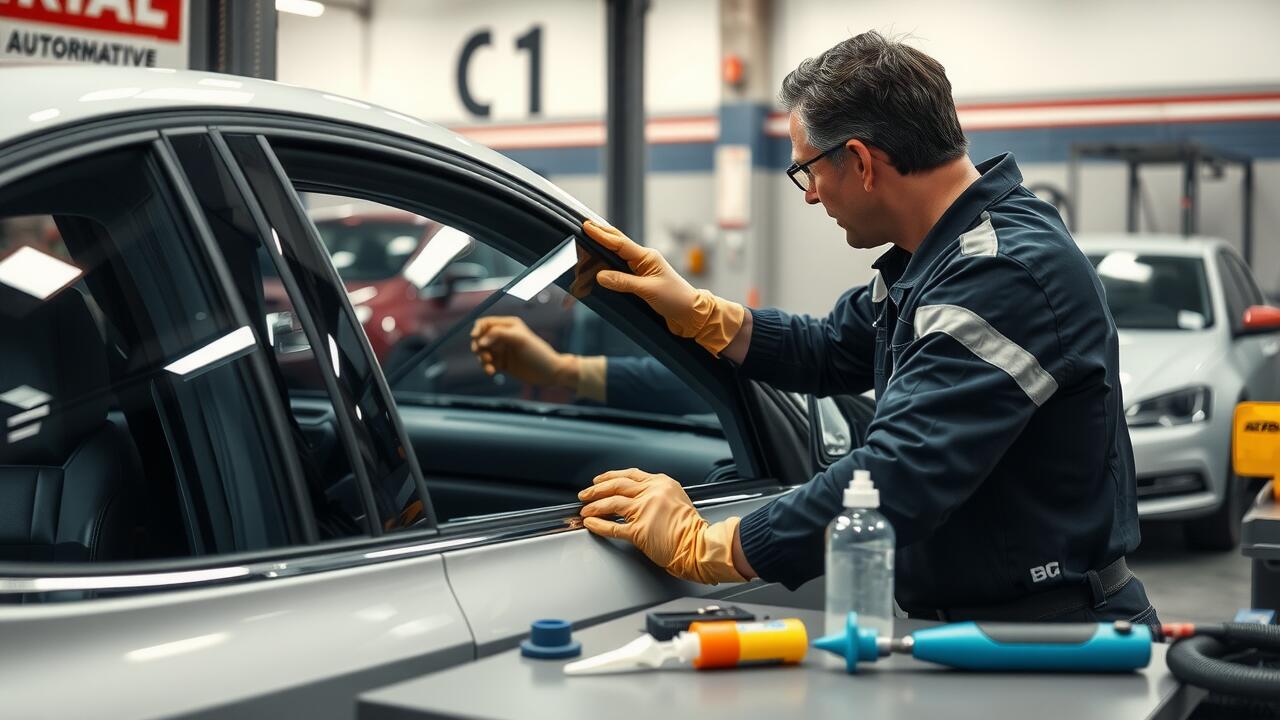
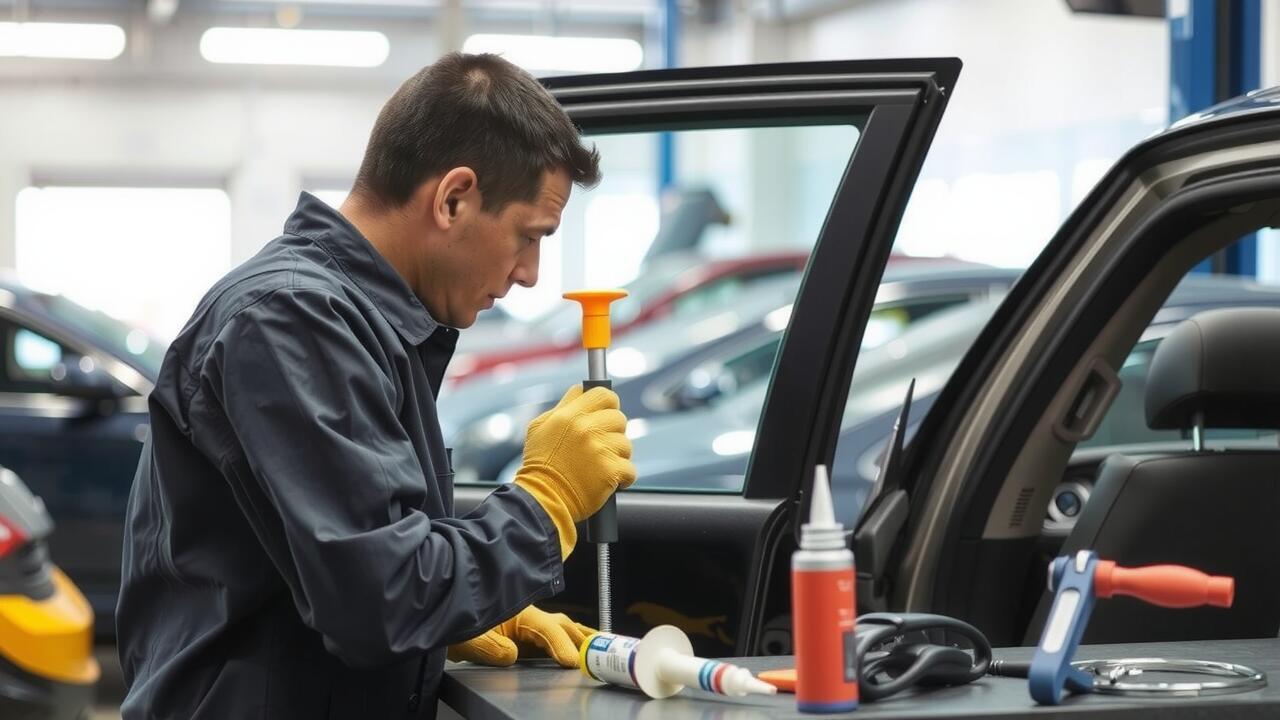
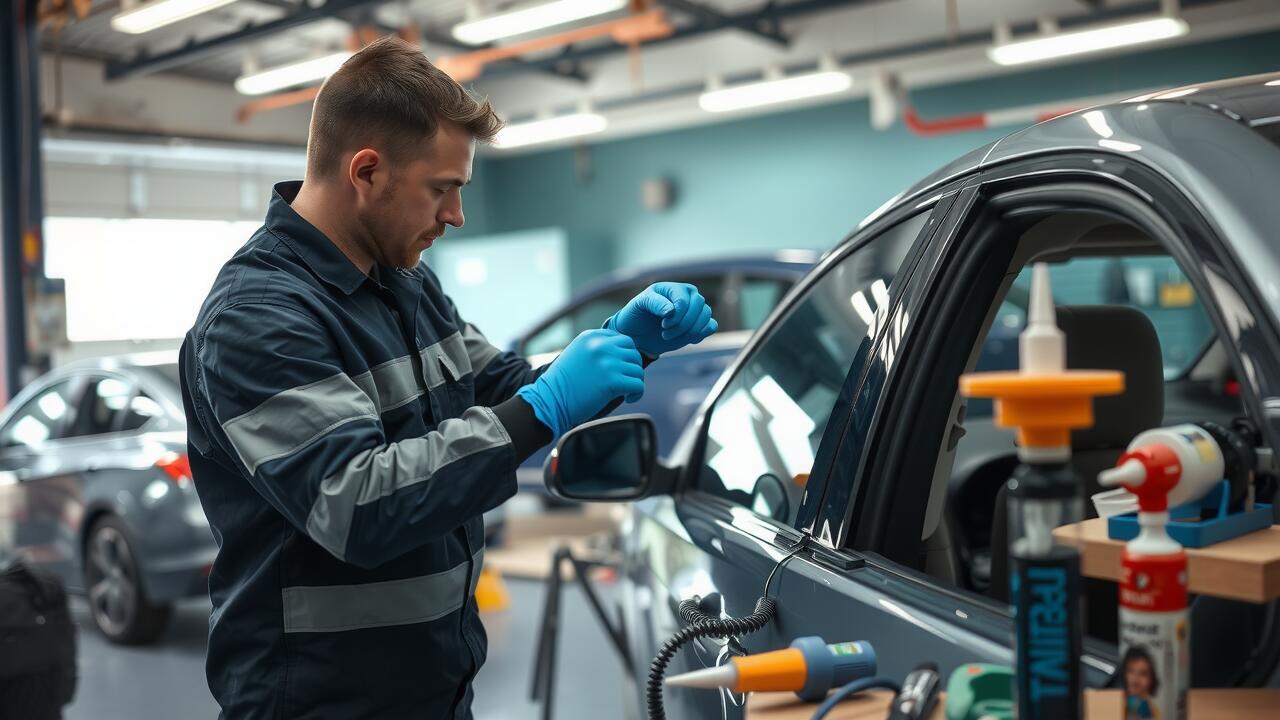
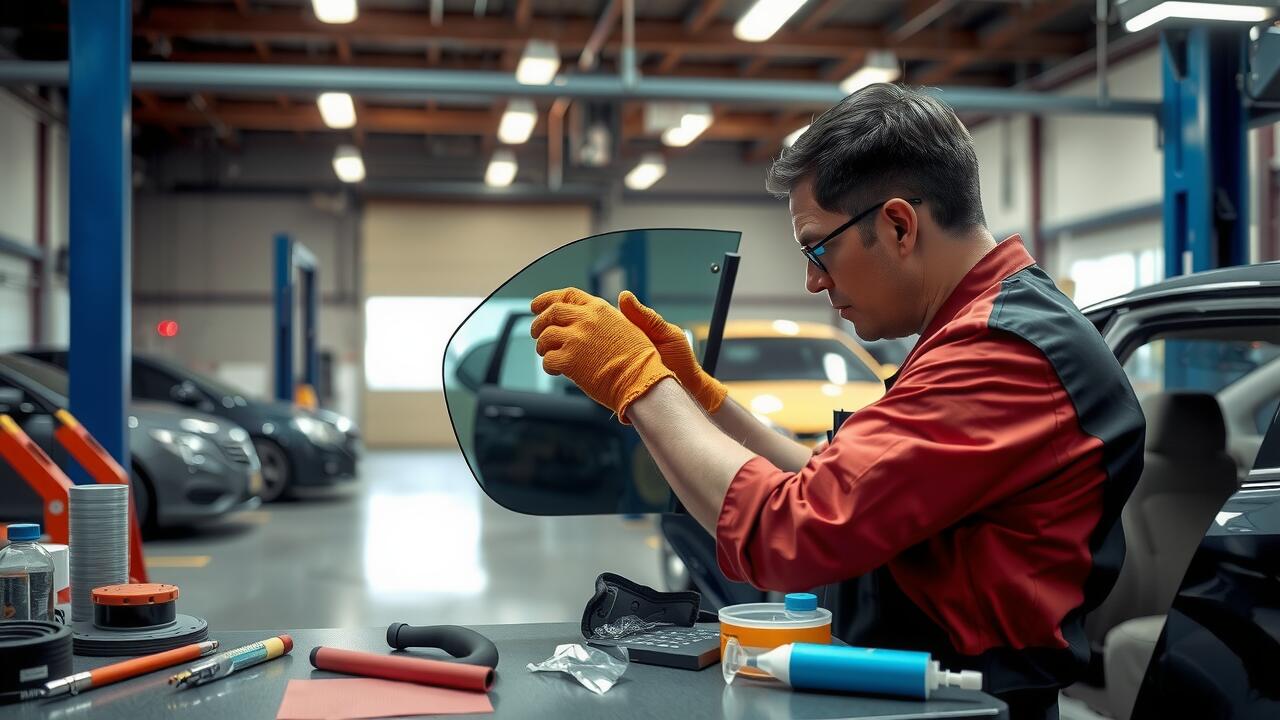
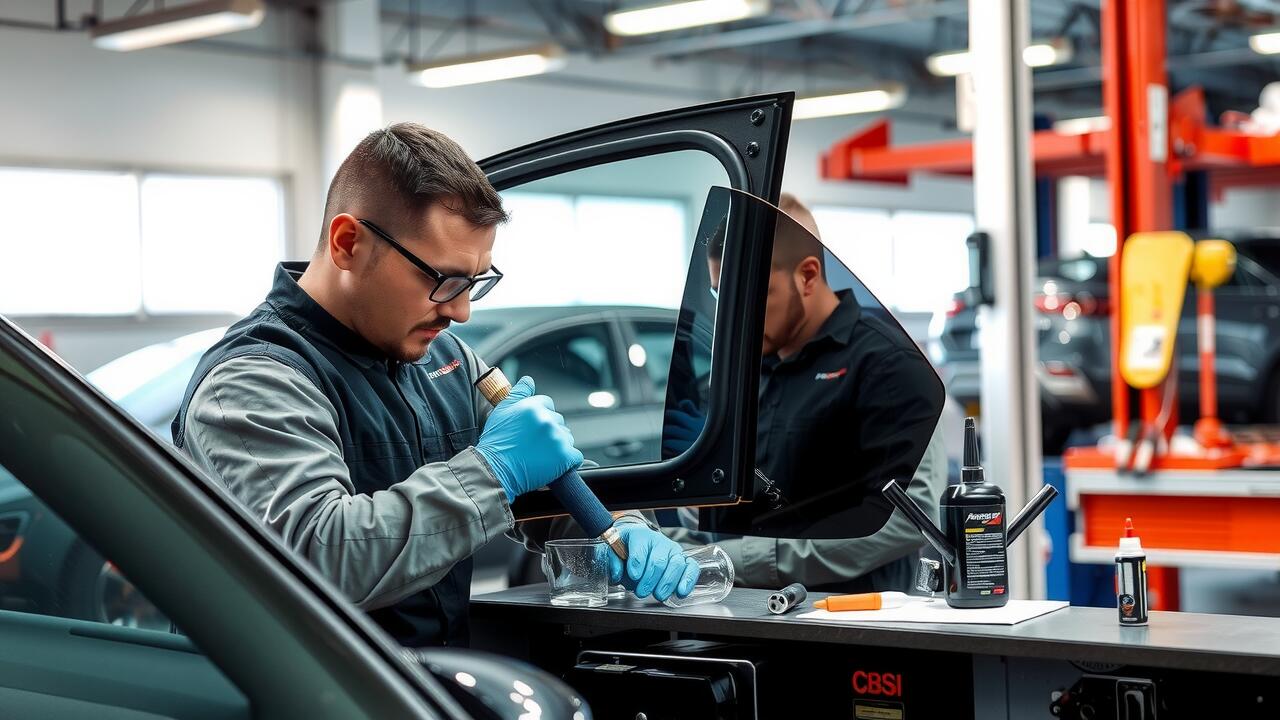
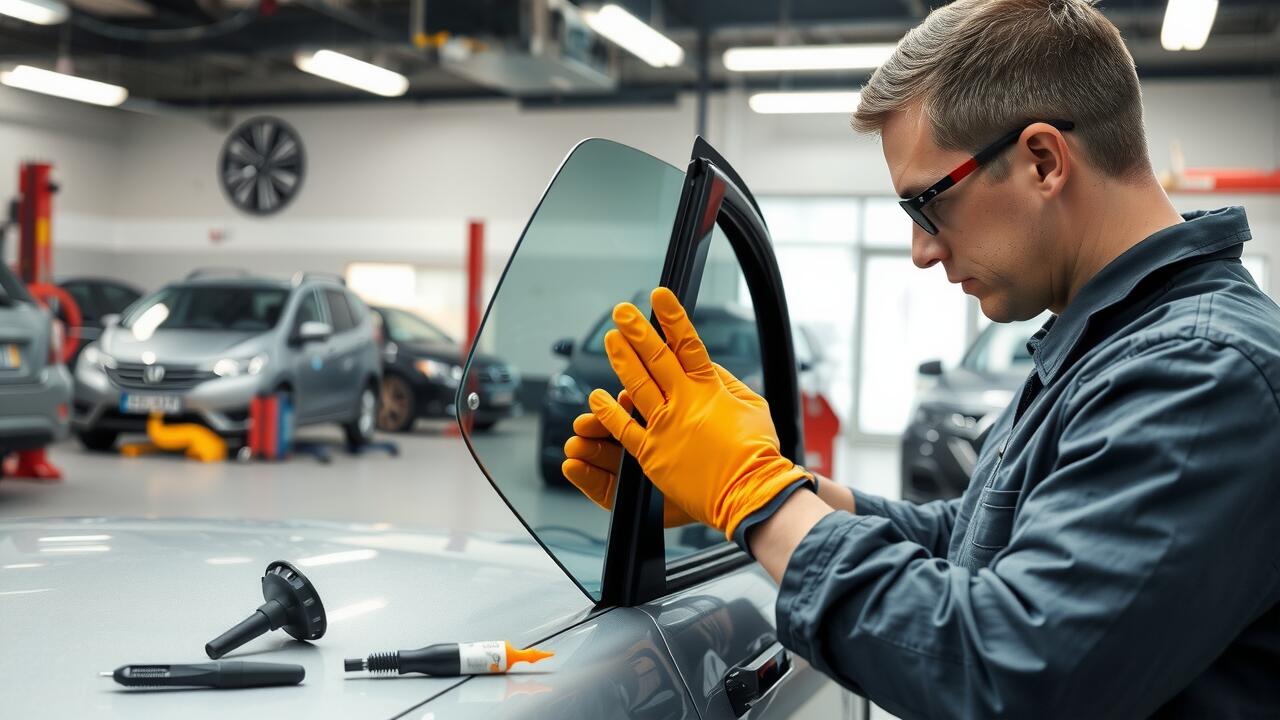
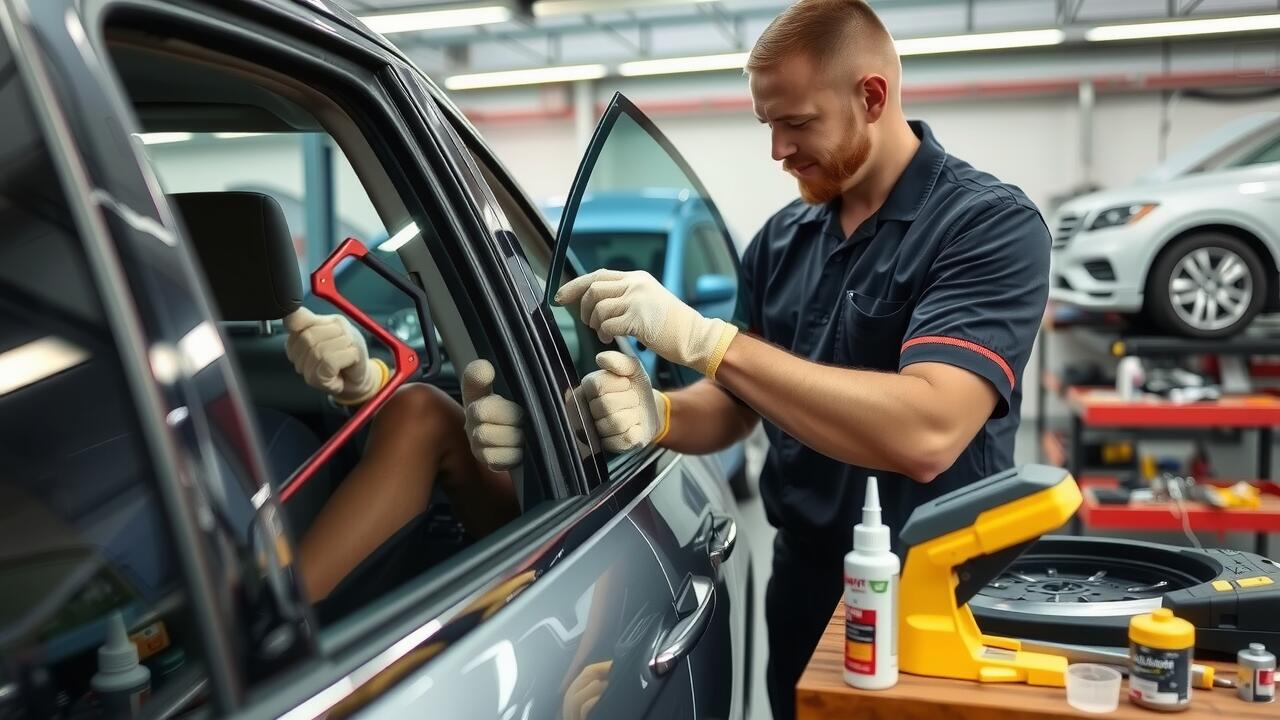
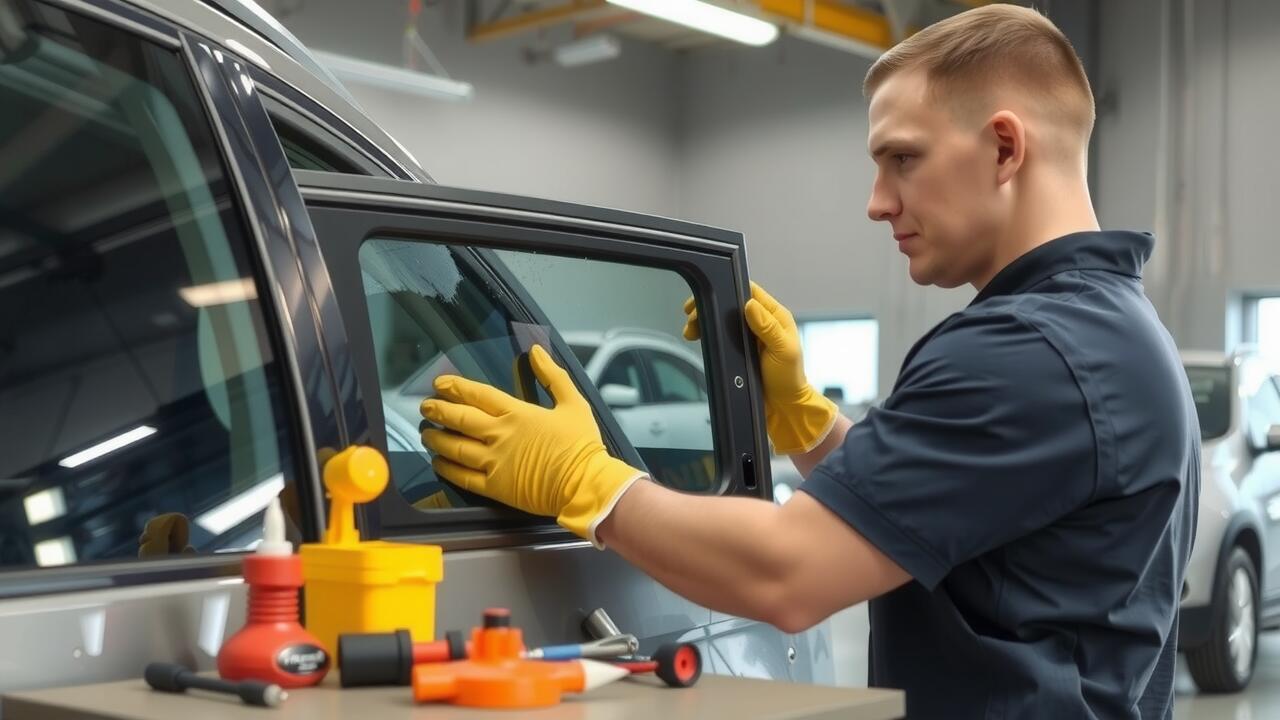
Installing the New Glass
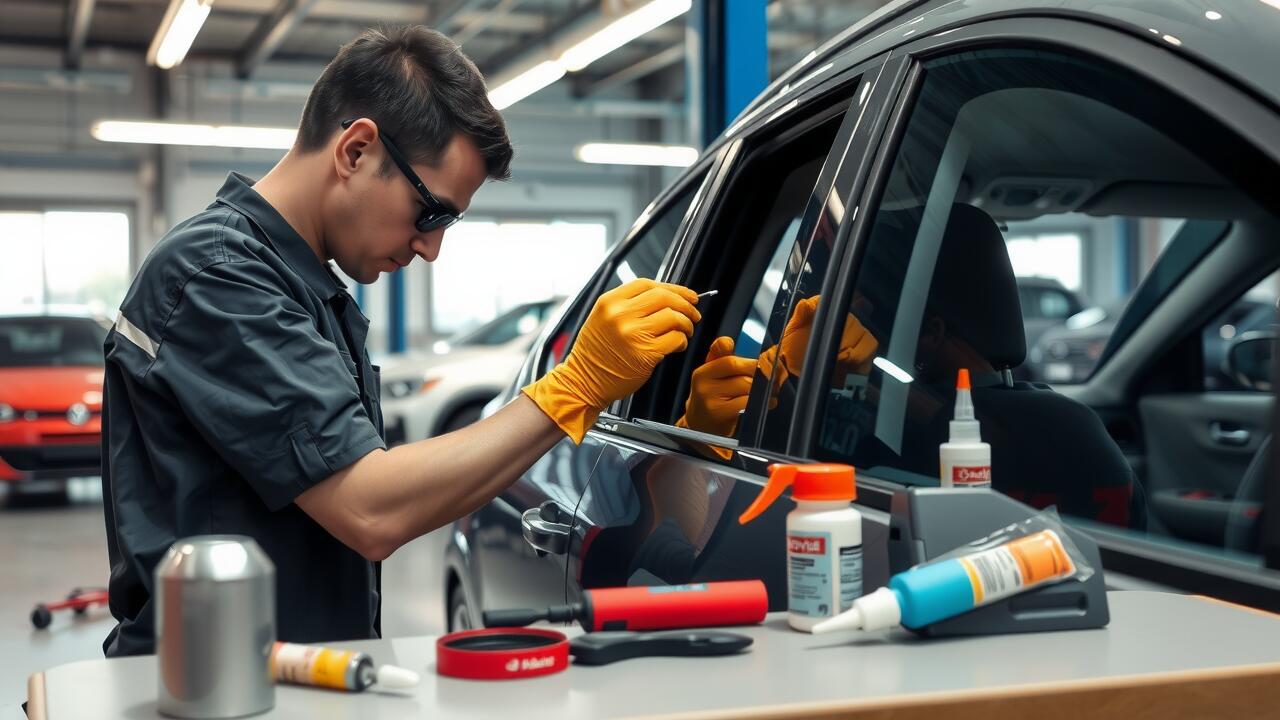
When tackling side window replacement, ensuring a precise fit of the new glass is essential for both functionality and aesthetics. Start by carefully positioning the glass into the window frame. If necessary, use a rubber mallet to gently tap it into place, ensuring that it sits evenly without any gaps. Avoid forceful impacts that could crack the new glass, as this can lead to additional costs and delays.
To secure the glass effectively, apply a suitable adhesive designed specifically for automotive glass. This not only provides a strong bond but also accommodates the natural movements of the vehicle. After applying the adhesive, press the glass firmly into position and make sure to follow the manufacturer's recommendations regarding curing time. This step is crucial for ensuring that the new side window remains intact under various weather conditions and road stresses.
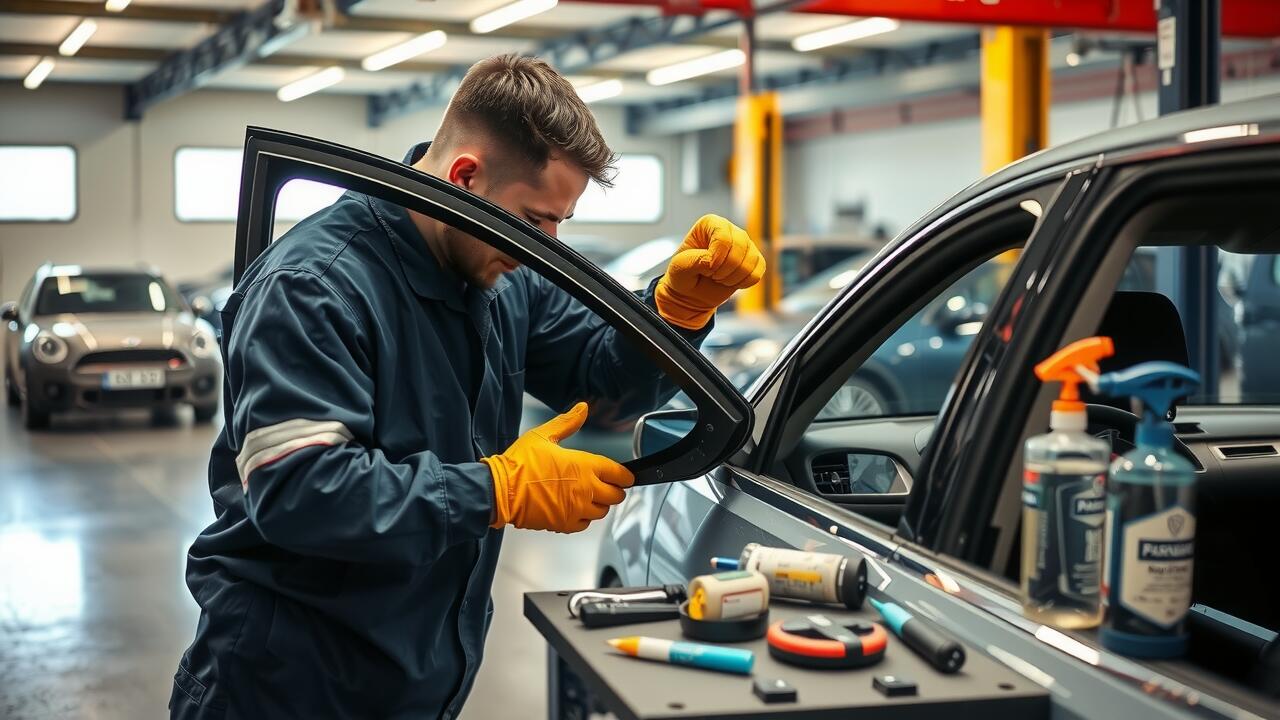
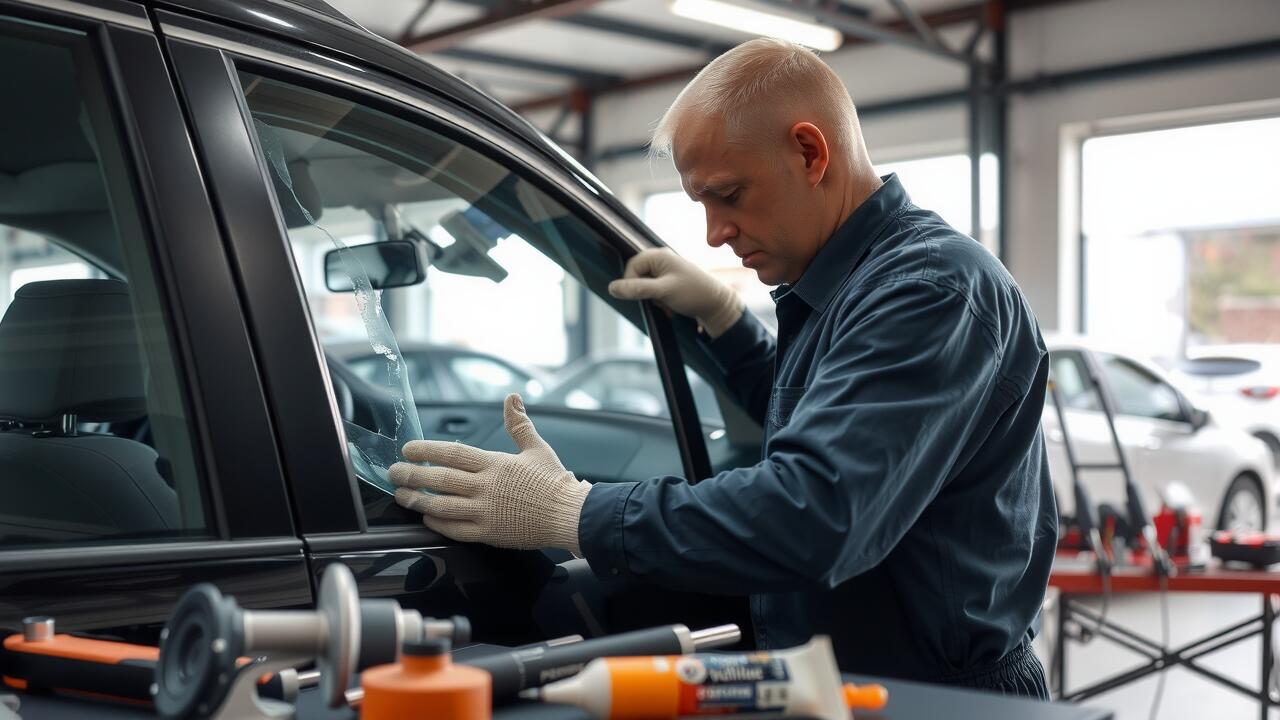
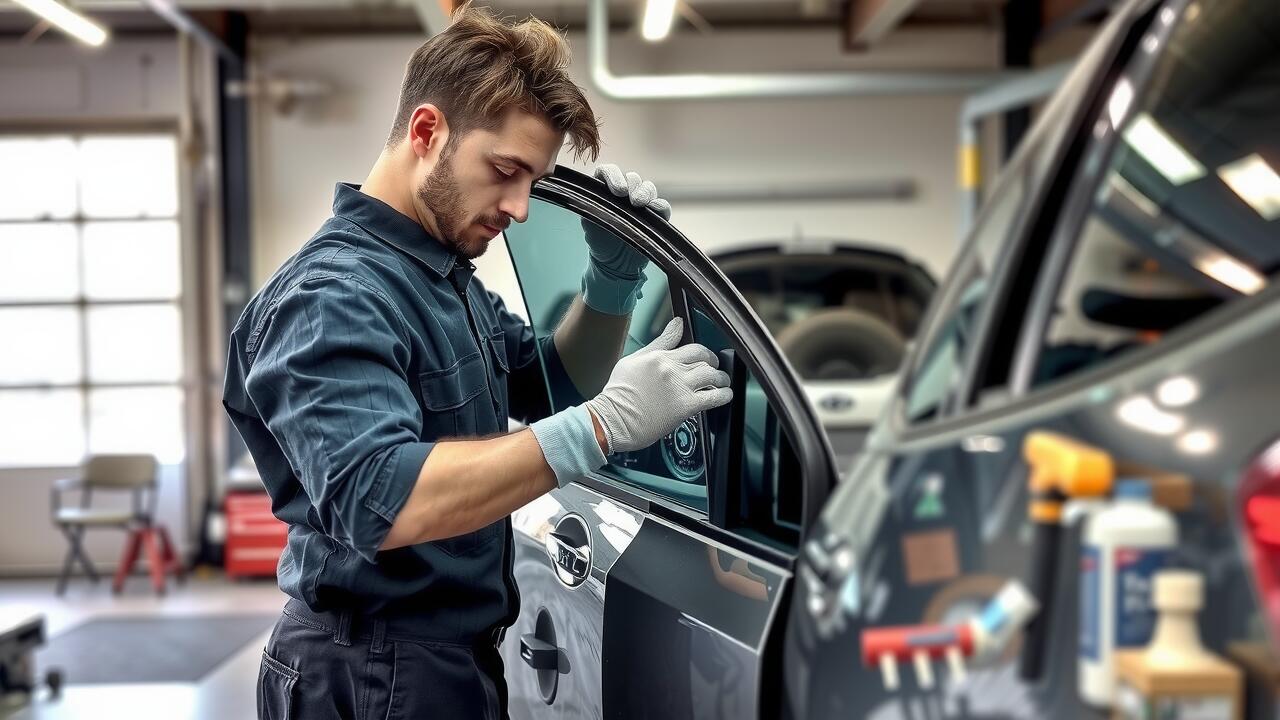
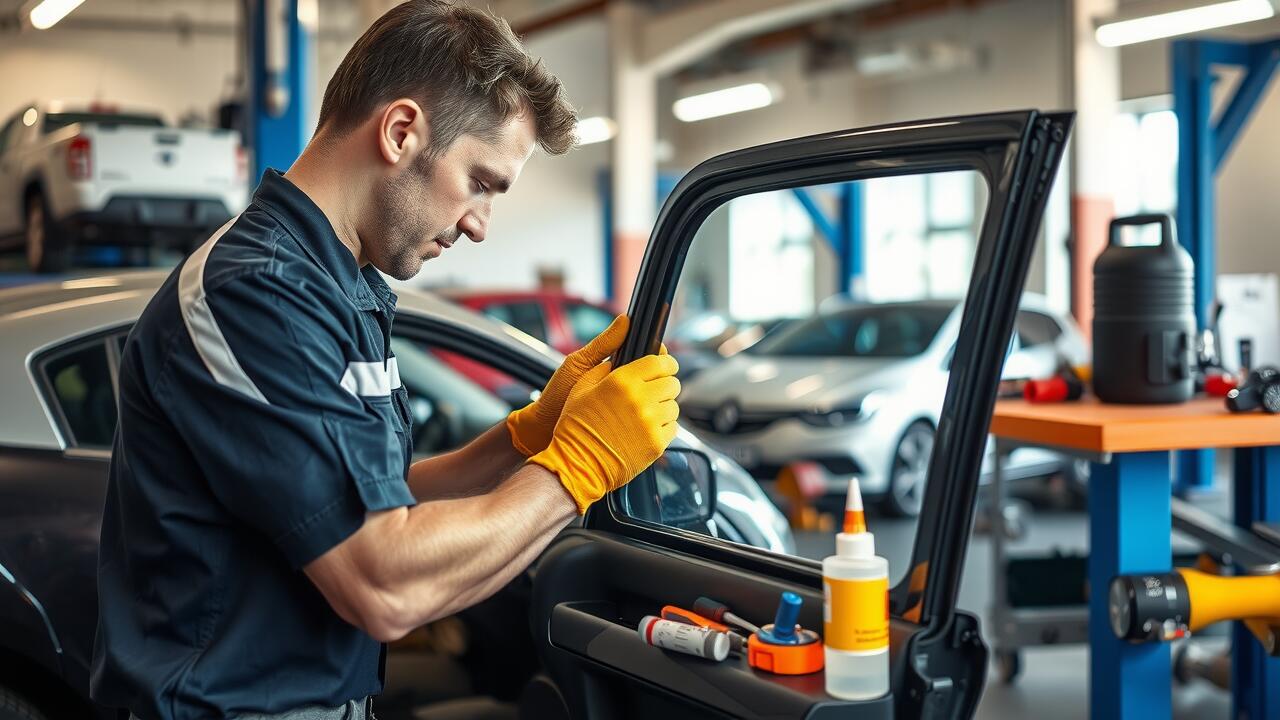
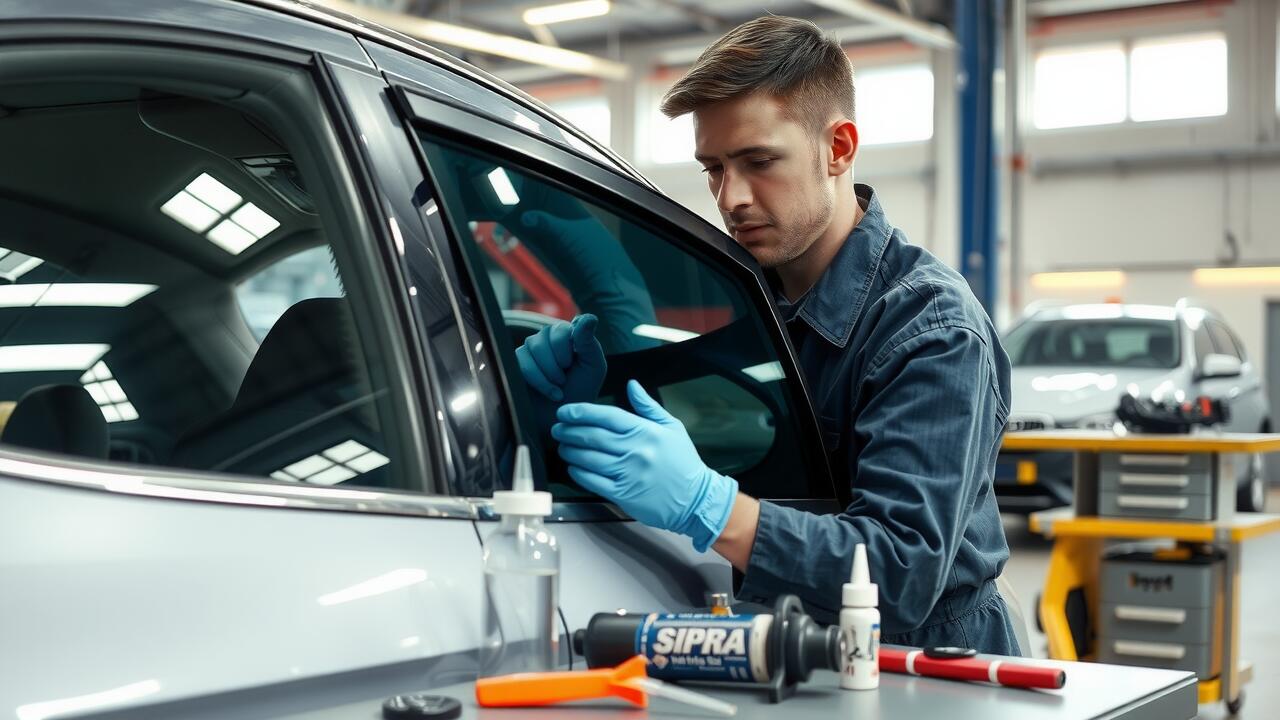
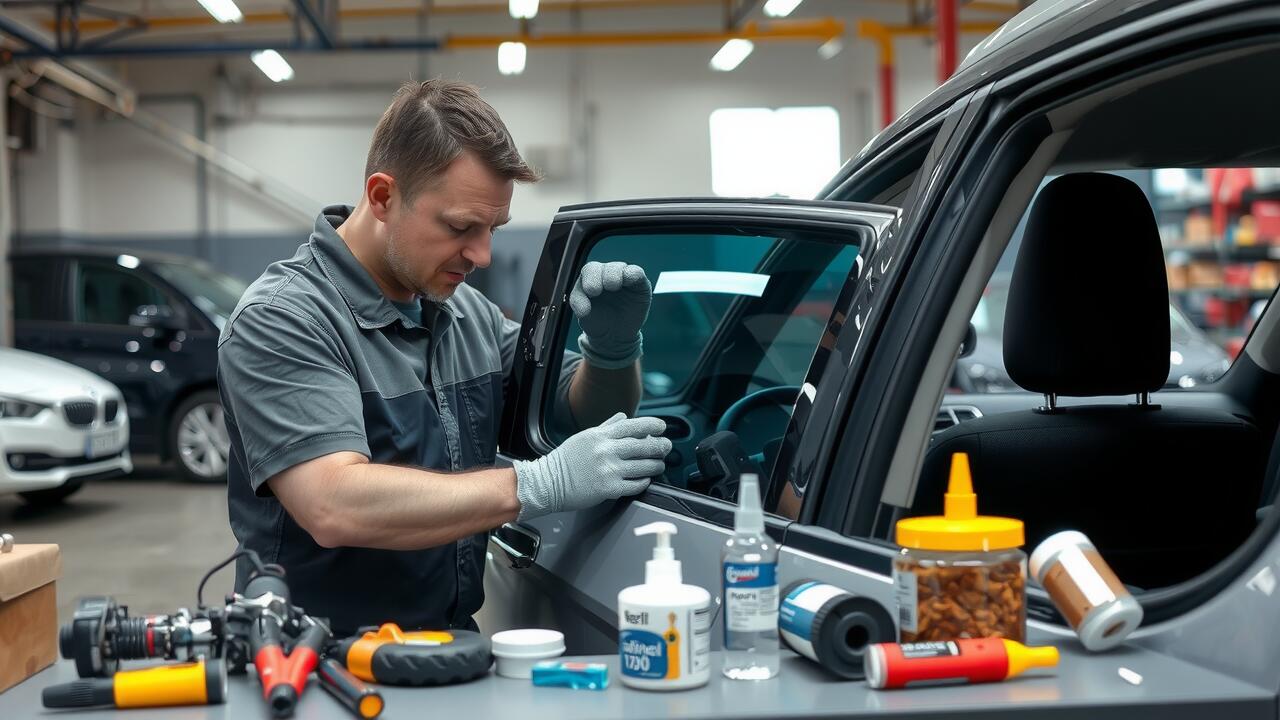
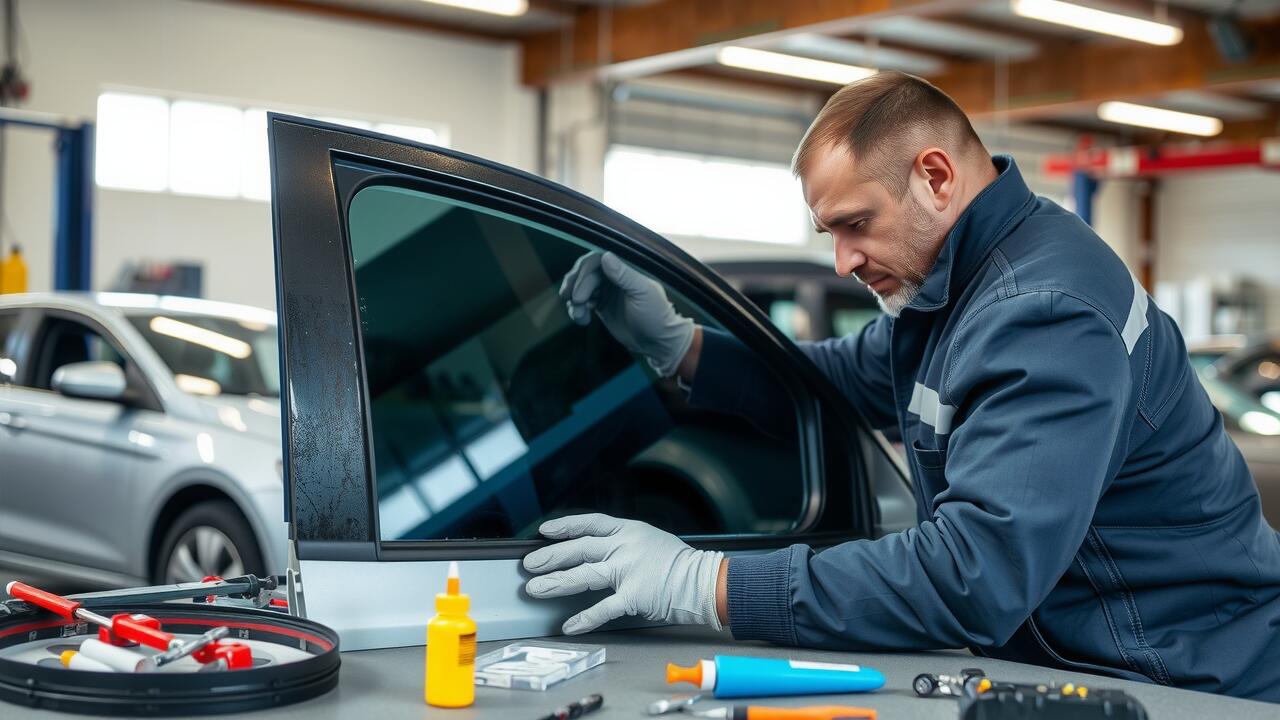
Techniques for Proper Glass Installation
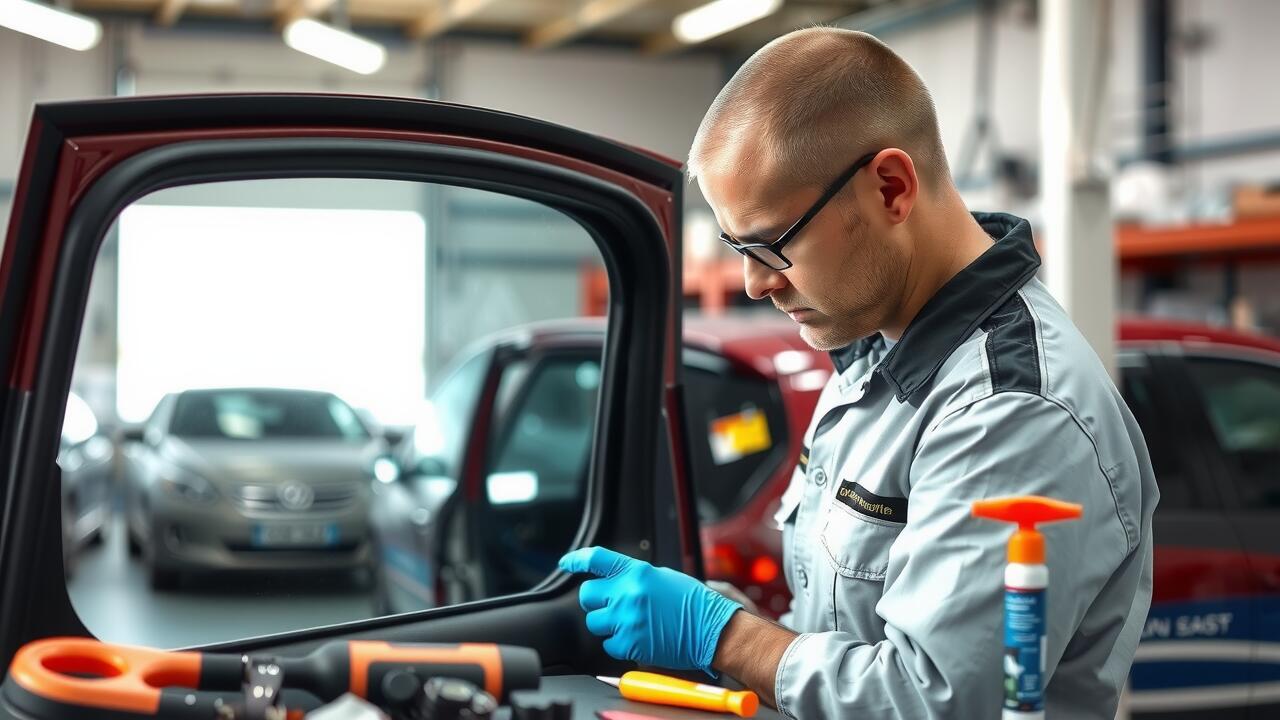
When performing a side window replacement, it's crucial to ensure that the glass is positioned correctly within the frame. Begin by cleaning both the frame and the edges of the new glass to remove any debris or remnants from the old installation. Applying a thin bead of adhesive around the frame helps to create a solid seal. Carefully lower the glass into position, ensuring it aligns with the moulding while maintaining an even gap for the adhesive.
Once the glass is in place, apply gentle pressure around the edges to ensure it bonds properly with the adhesive. Use clamps or tape temporarily to hold the glass in position while the adhesive cures. This step is vital for preventing any shifting during the drying process. Allow the adhesive ample time to set according to the manufacturer’s instructions before removing any retention devices. Proper attention during installation will help achieve a durable and secure side window replacement, enhancing the vehicle's aesthetic and structural integrity.
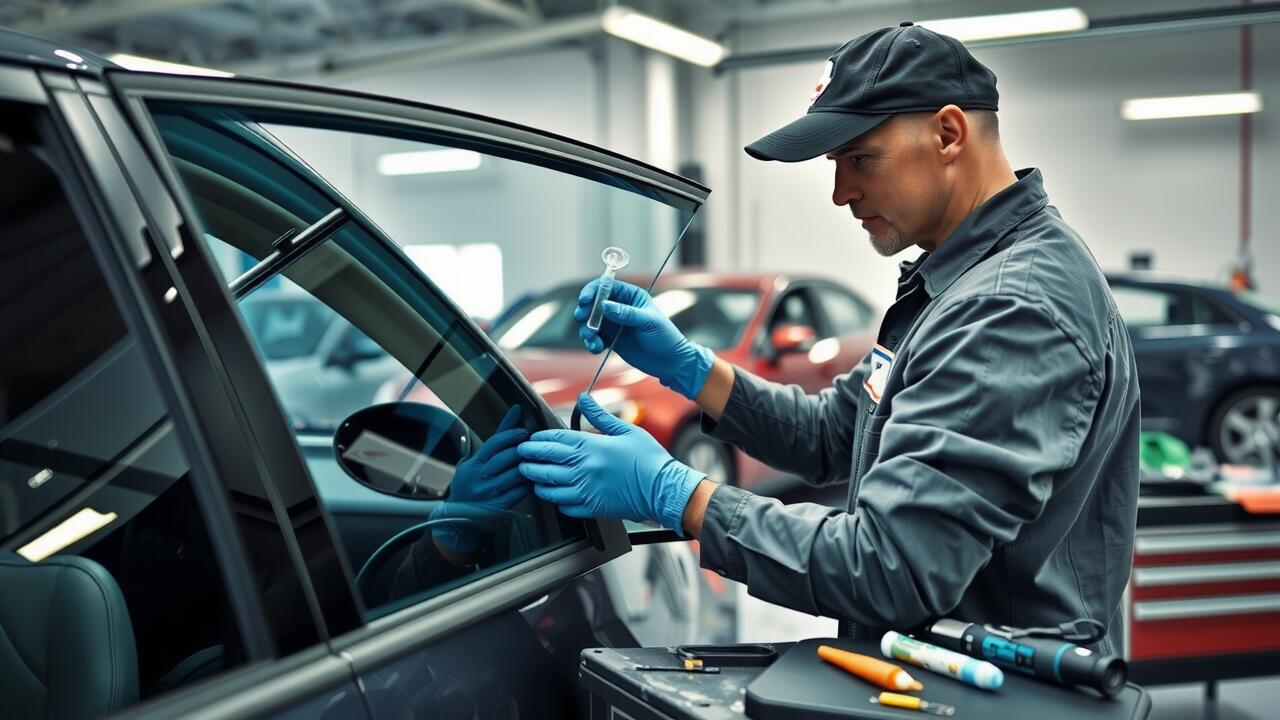
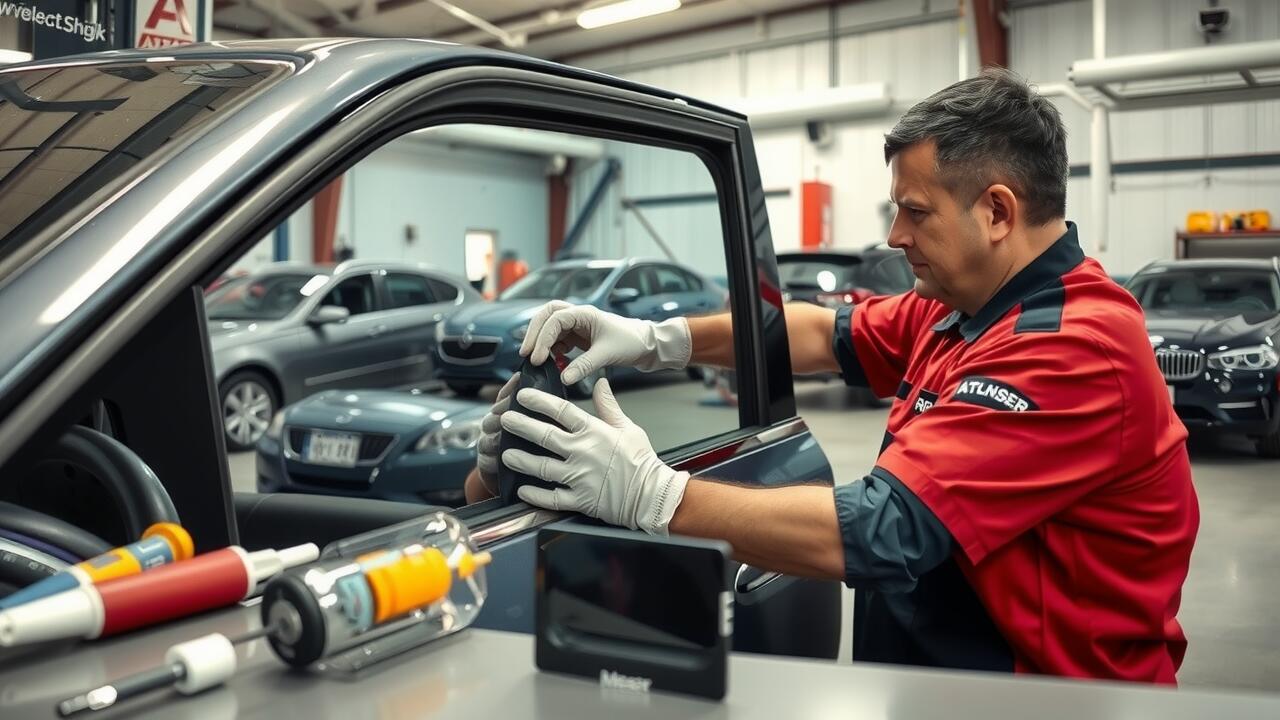
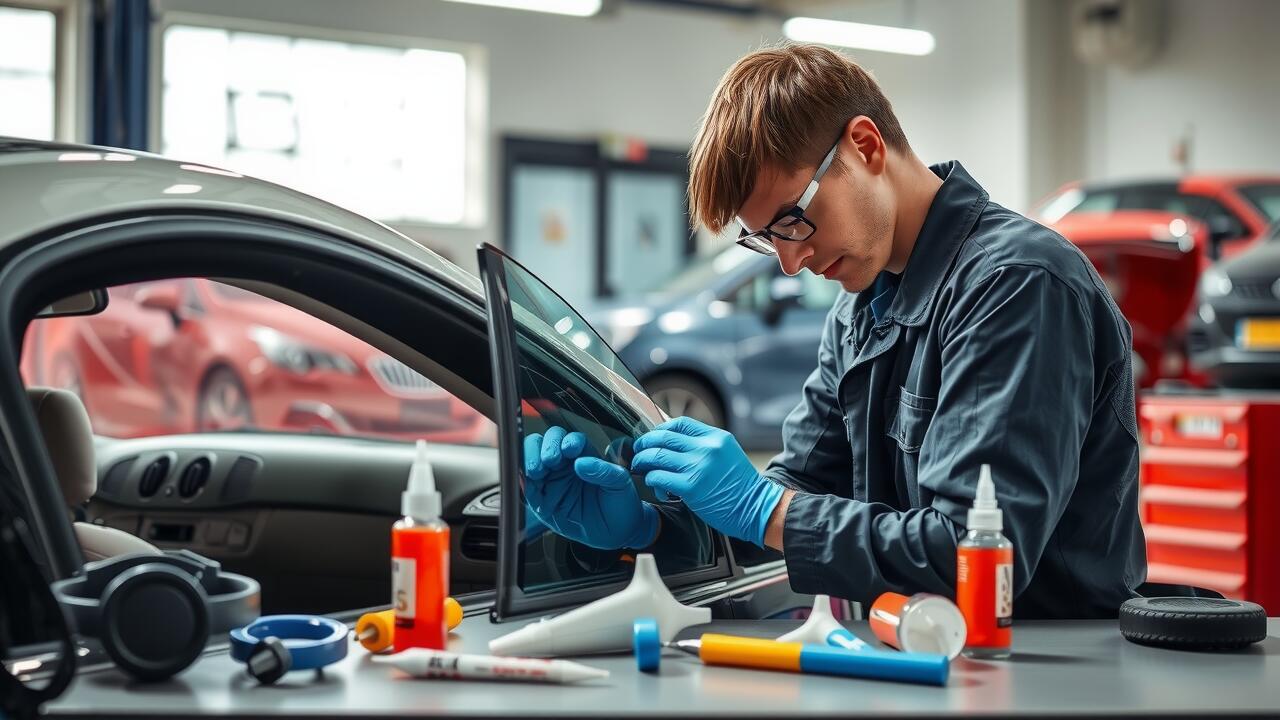
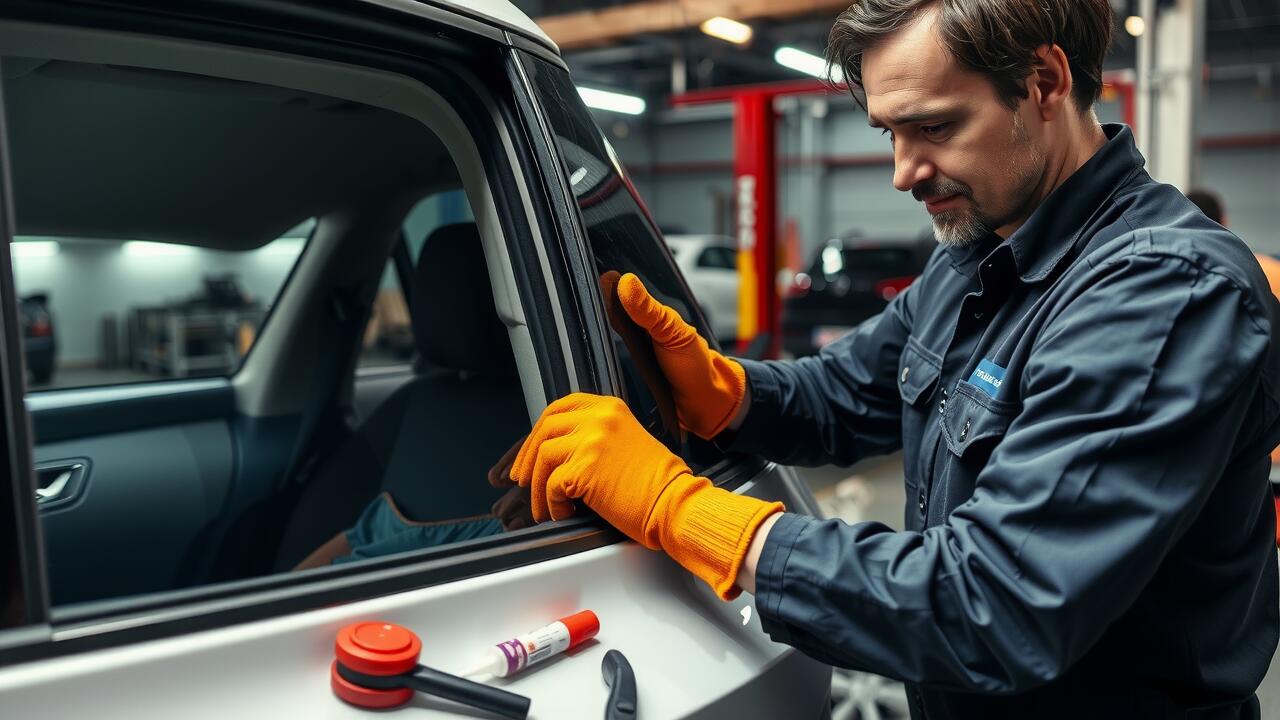
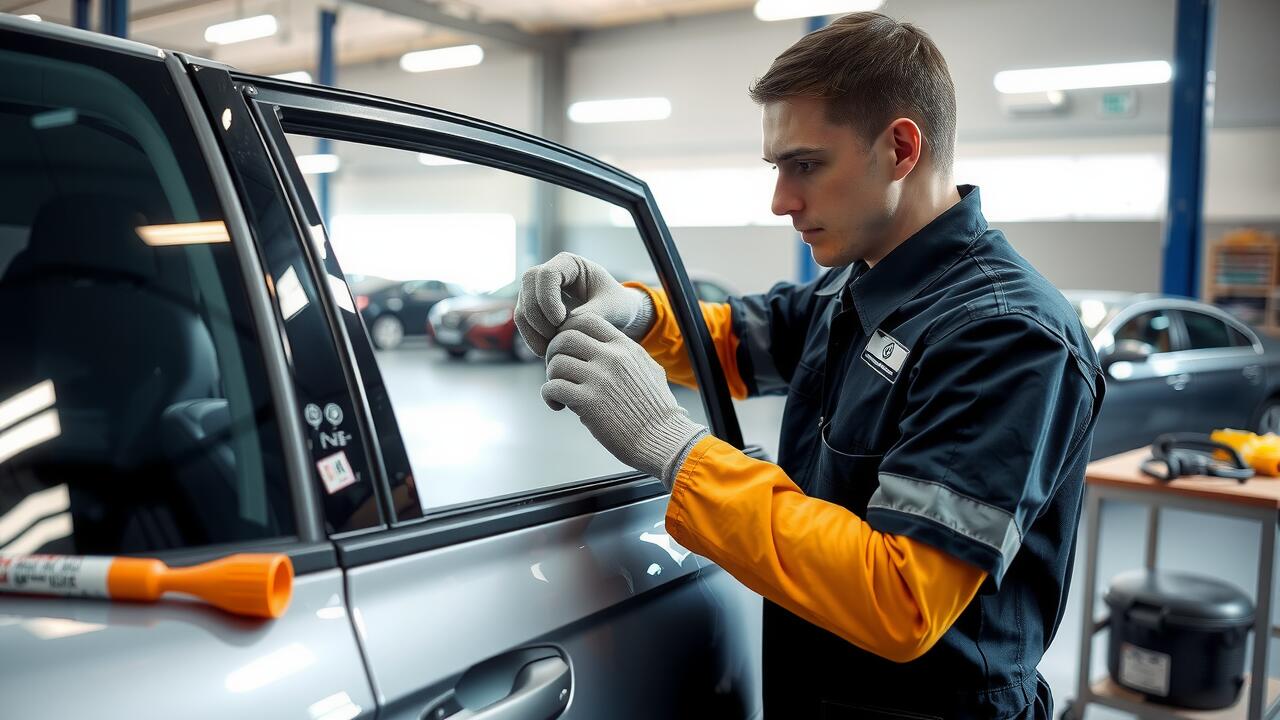
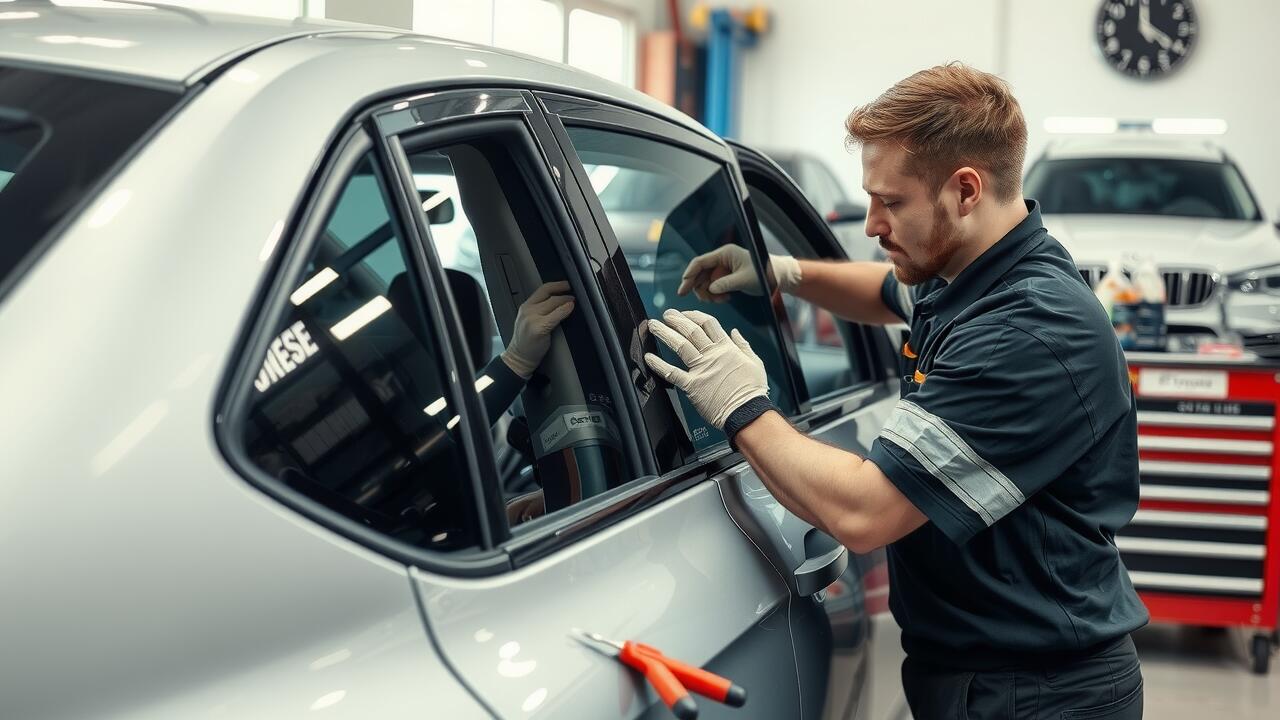
Sealing the Edges
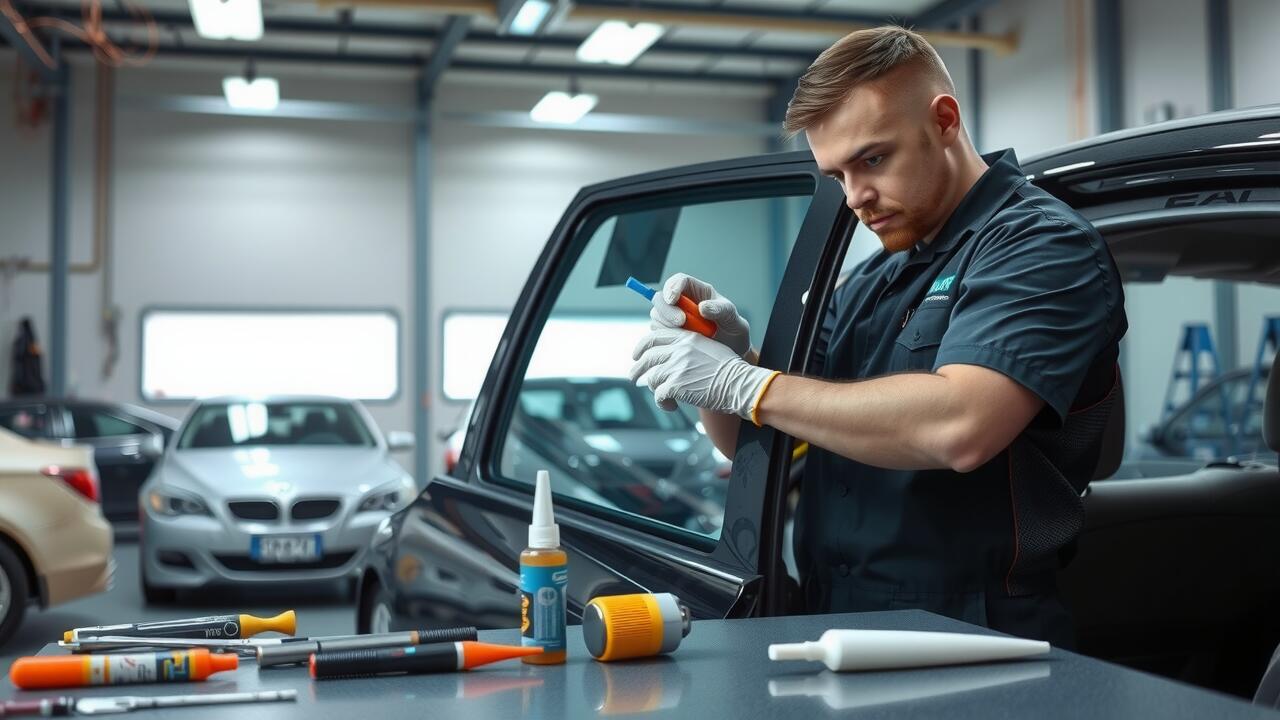
Sealing the edges after a side window replacement is a critical step to ensure durability and weather resistance. Proper sealing prevents water infiltration and protects against dust and debris. It is essential to use high-quality sealant designed for automotive applications. Choose a product that offers flexibility and strength to withstand various temperature changes and environmental conditions.
To achieve the best results, clean the area thoroughly before applying the sealant. Remove any old adhesive residue and ensure that the surface is dry. Apply the sealant evenly around the edges of the glass, ensuring a consistent thickness for optimum adhesion. Use a smoothing tool or finger to create a neat finish, which will not only look professional but also enhance the seal's effectiveness in preventing leaks.
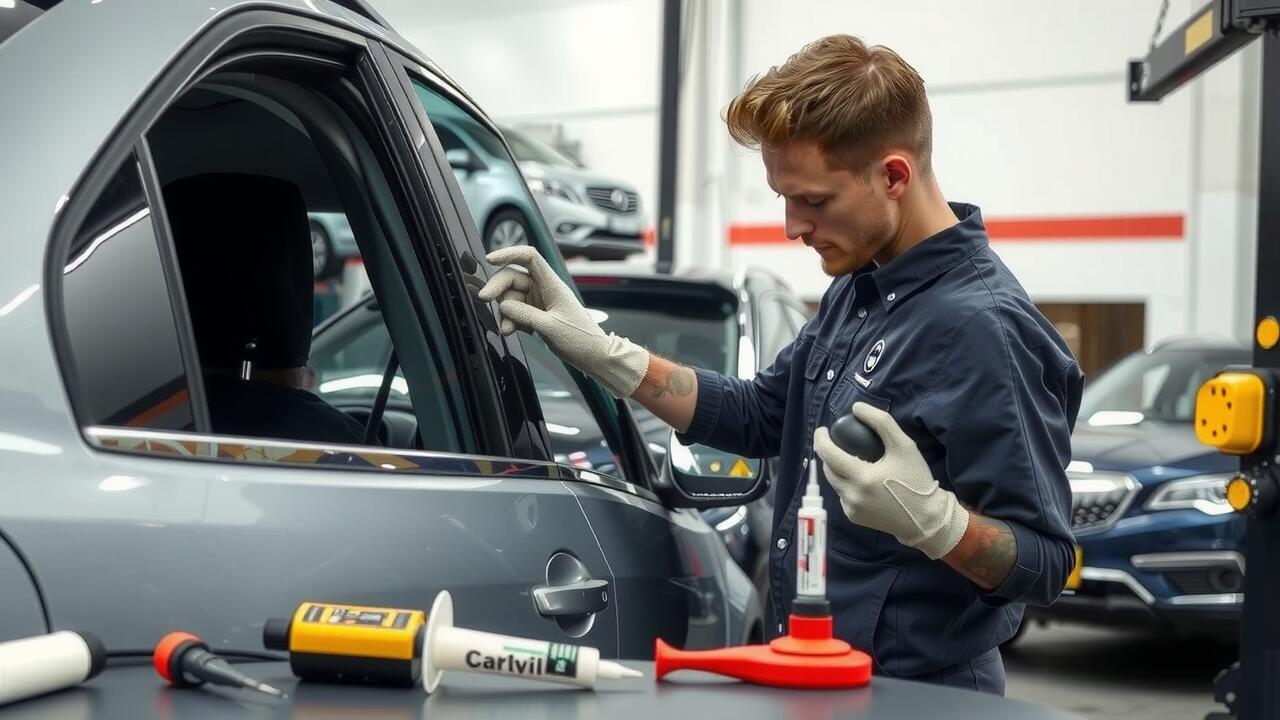
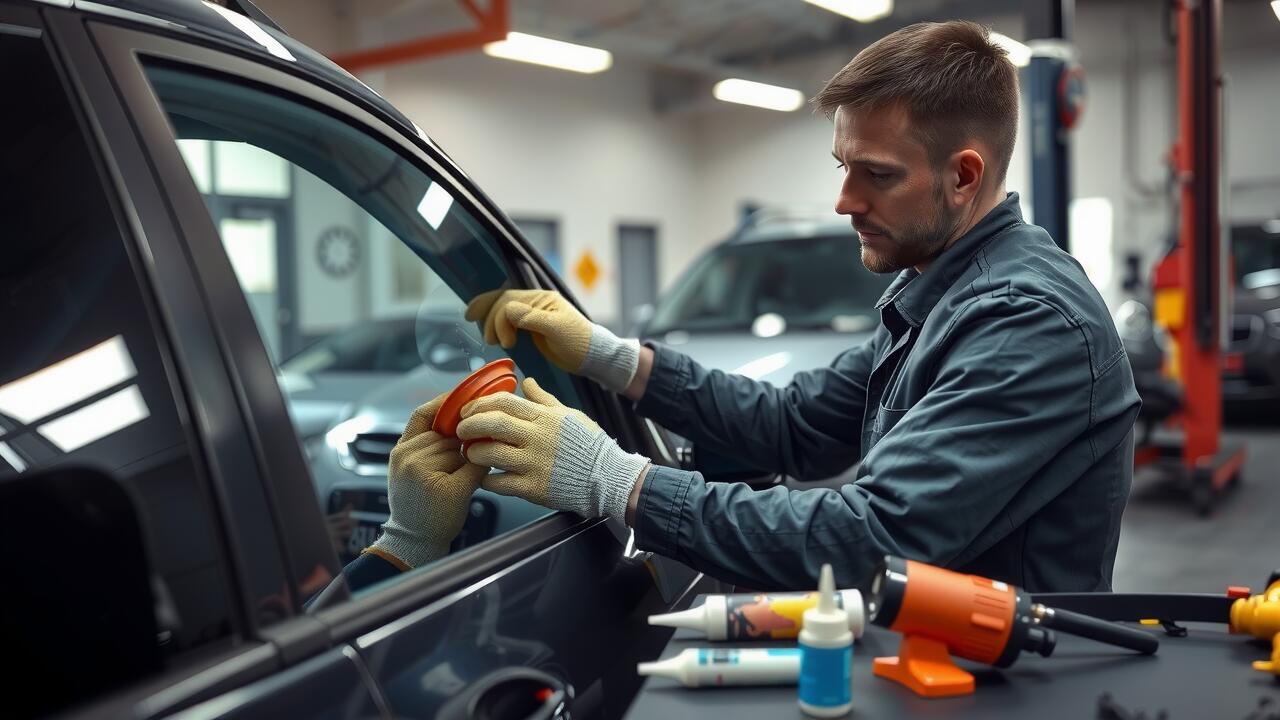
Best Practices for a Weatherproof Seal
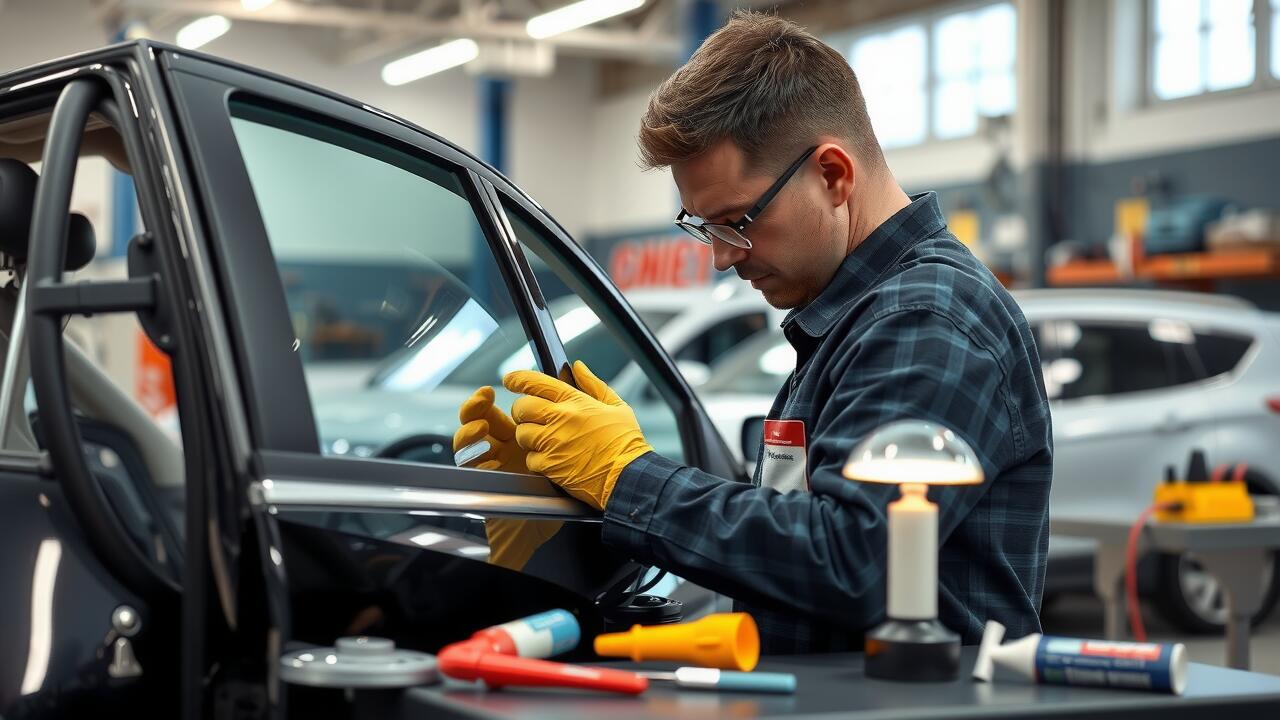
A proper seal is vital for ensuring that your side window replacement withstands the elements. Begin by choosing a high-quality sealant suitable for automotive applications. Silicone-based sealants are often recommended due to their flexibility and water resistance. Clean the surfaces thoroughly before applying the sealant to remove any old adhesive, dirt, or debris. This preparation helps the new sealant adhere more effectively, creating a waterproof barrier.
When applying the sealant, ensure an even bead around the edges of the glass. Use a caulking gun for precision, and avoid over-applying, as excess sealant can attract dirt and may degrade over time. After applying the sealant, smooth it down with a finger or a sealant tool to eliminate air bubbles and ensure proper adhesion. Allow sufficient curing time according to the manufacturer's instructions, which will result in a strong, weatherproof seal that protects your side window replacement from rain and moisture.
FAQS
What type of glass should I choose for my side window replacement?
When selecting replacement glass, it’s important to consider factors such as the type of vehicle, safety standards, and whether you prefer tempered or laminated glass. Always ensure the glass meets the necessary regulations for your specific make and model.
How can I ensure the new glass is installed correctly?
Proper installation techniques include cleaning the frame thoroughly, using the right adhesive, and following the manufacturer’s instructions carefully. It's also essential to secure the glass in place until the adhesive sets completely.
What tools do I need for DIY side window repairs?
Basic tools for DIY side window repairs typically include a glass cutter, suction cups for handling the glass, a caulking gun for adhesives, and safety gear like gloves and goggles.
How do I create a weatherproof seal around the new glass?
For a weatherproof seal, it's crucial to apply a high-quality sealant around the edges of the glass. Use a caulking gun to ensure a uniform bead, and smooth it out with a tool or your finger to eliminate gaps.
Can I replace my side window glass myself, or should I hire a professional?
If you have experience with DIY projects and feel confident in your skills, replacing the side window glass yourself can be a rewarding task. However, if you're unsure or if the damage is extensive, hiring a professional is recommended to ensure safety and proper installation.